

Turn One Design Into Multiple Etsy Products With Printify (In Just a Few Clicks)
If you’ve got a design that’s already doing well, it’s such a waste to only offer it on one product. But at the same time… most of us don’t have unlimited space for stock, unlimited time to make orders, or the ability to keep shipping when life gets busy.
This post is for you if:
You have a popular design and want to offer it on more products without storing more inventory
You’re so busy you need to outsource production because you can’t keep up
You’re going away but don’t want to put your shop on holiday mode
You want your Etsy shop to keep running while someone else prints, packs, and ships

That’s where Printify comes in.
Printify has a huge product catalogue you can add your designs to, and it connects with platforms like Etsy, Shopify, Amazon, and even TikTok Shop (US). The best part? Once it’s set up, orders can be fulfilled automatically, meaning you don’t have to physically make anything.
In this guide, I’ll show you how to:
Get your design out of Cricut Design Space
Upload it to Printify and create products
Connect Printify to Etsy
Publish listings with titles, tags, shipping and profit built in
Reuse the same design across multiple products fast
Continue reading below, or take a look at my video comparison…
The content below contains affiliate links and we may earn a commission if you shop through them, however this won't cost you anything, it just helps us to keep the site running for free. For more information on affiliate links, see the disclosure here.
First: A Quick (Important) Note About Licenses
Before we get into the fun part, you do need to know this:
If you’re using Cricut fonts or Cricut elements, there are restrictions on how you can sell products made with them. In simple terms, designs using Cricut assets are typically intended for items made using your Cricut — not necessarily for print on demand products, and there are also limitations around certain AI-generated and flagged assets (like the ones marked with little purple stars).
This is why I personally avoid relying heavily on Cricut elements, and instead I get most of my fonts and graphics from places like Creative Fabrica, where assets often come with commercial licenses.
That said: I’m not a lawyer, and this isn’t legal advice. Always check the license terms for whatever fonts/elements you’re using and decide based on your own situation.
Okay, boring bit done. Let’s get going.
Step 1: How to Get Your Design Out of Cricut Design Space
Cricut doesn’t make it easy to export designs, so here are two simple workarounds.
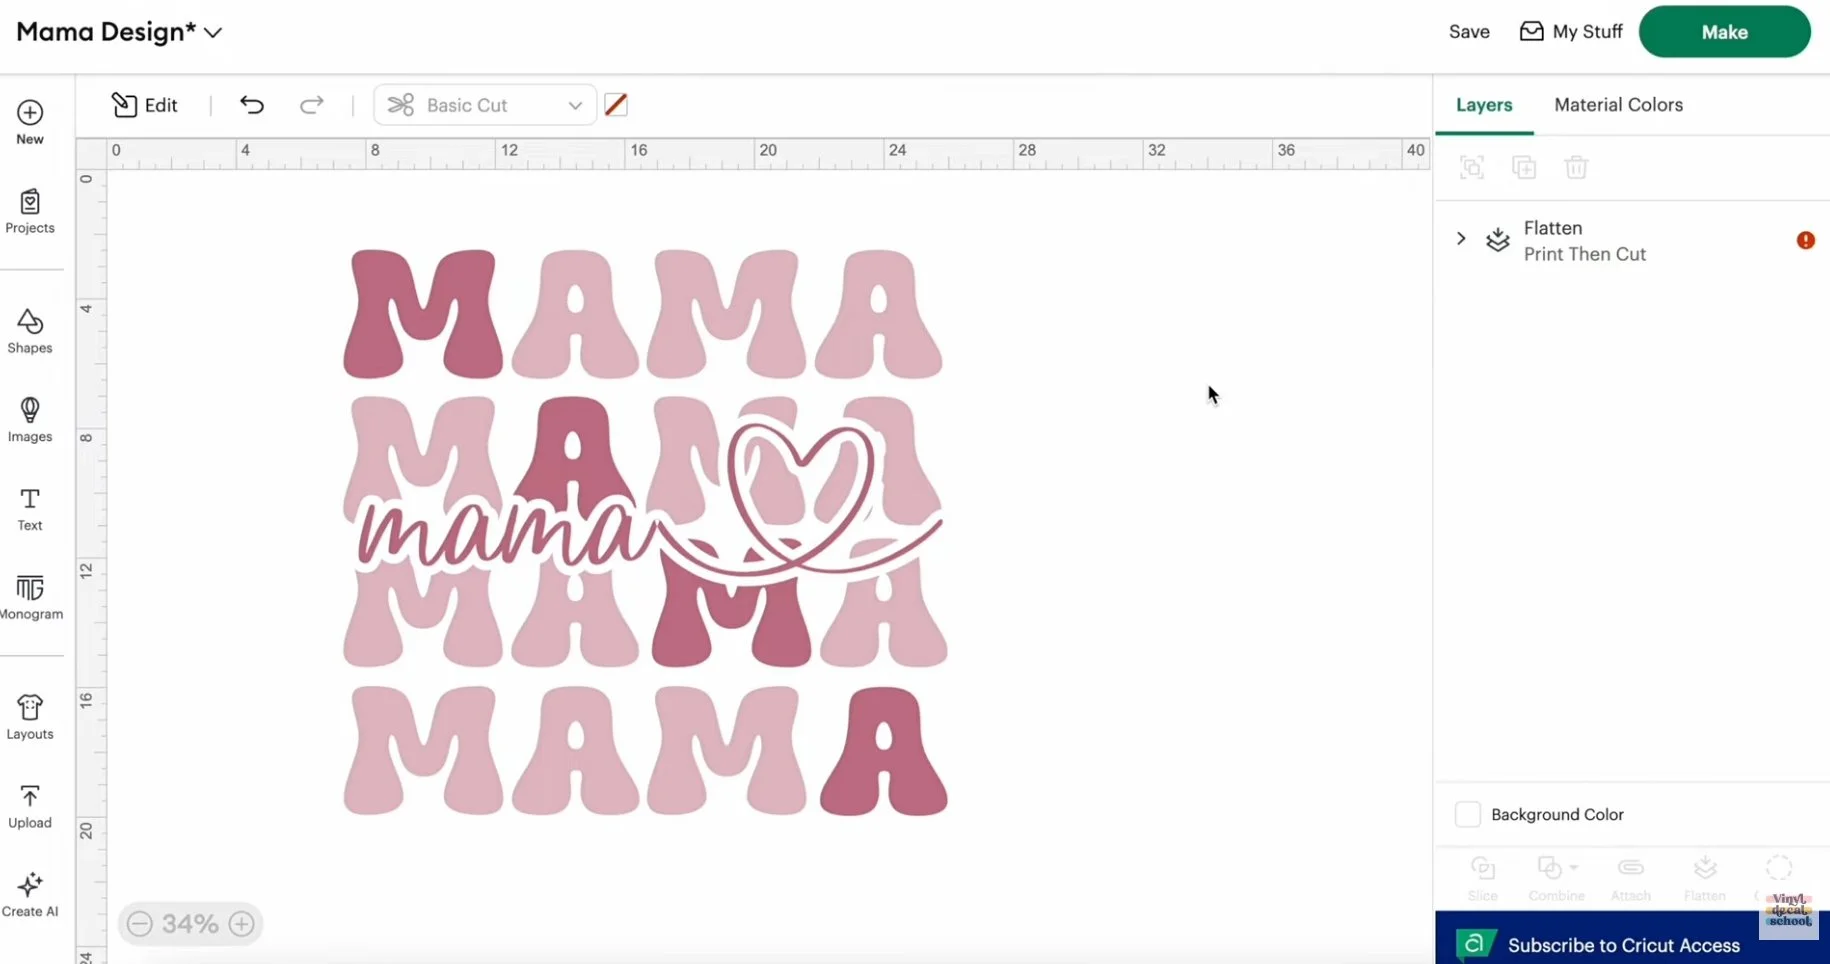
Option A: Screenshot Your Design (Fastest)
Select your design and Flatten it (this helps remove outlines and joins)
Turn off the grid (so it doesn’t show in the image)
Screenshot just the design
Mac: Shift + Command + 4
Windows: Windows key + Shift + S
This is the quickest method, and it works perfectly for simple designs.
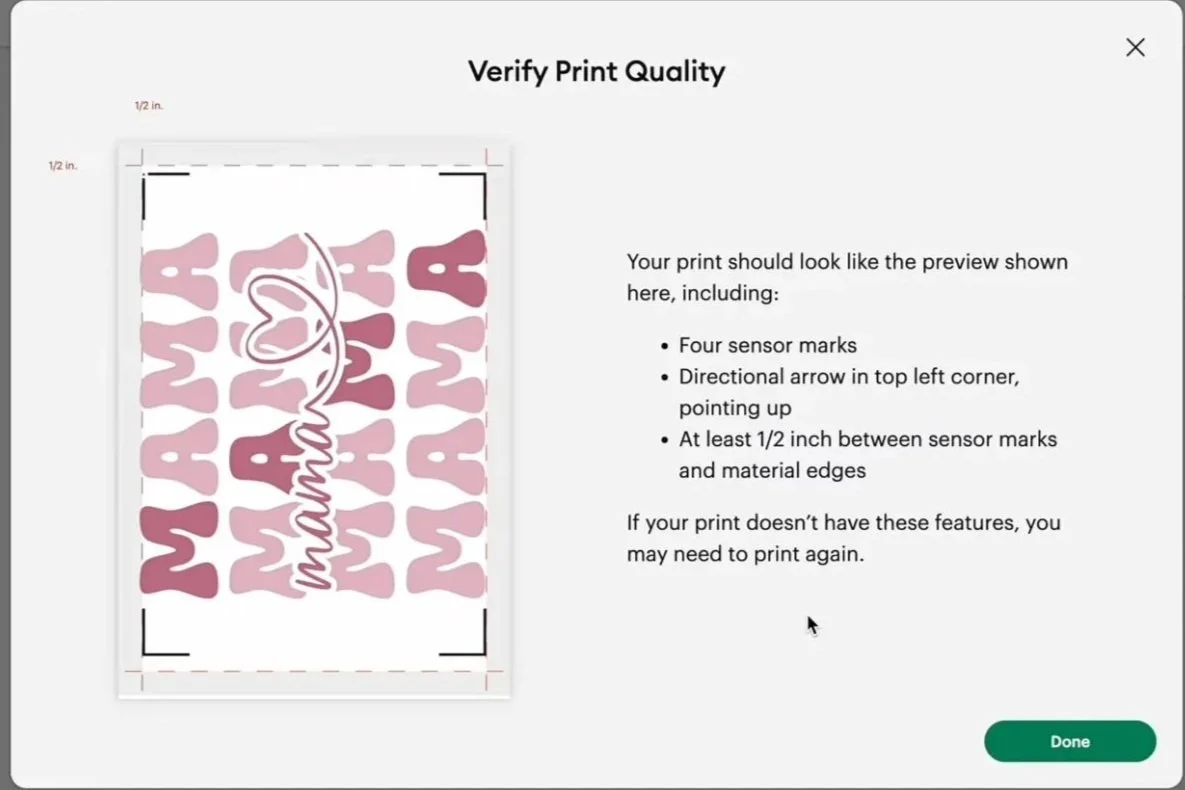
Option B: “Print then Cut” → Save As PDF
Make sure the design fits within a Print then Cut page
Click Make
Toggle Bleed off
Turn System dialog on
Click Print, then choose Save as PDF
This gives you a file outside Design Space, but the downside is it can include black cut lines around the design.
If you create your designs outside Cricut (for example in Canva, Procreate, Affinity, Illustrator etc.), you’re already ahead — just export a high quality PNG, ideally with a transparent background.
Step 2: Upload Your Design to Printify
Next:
Printify create your first product page
Open Printify and create an account
Go to Catalog
Choose your first product (I’m starting with a t-shirt)
Click Upload and upload your screenshot/PNG
Printify offers loads of t-shirt styles at different price points, so you can pick what fits your brand and your audience.
What if you only have a PDF?
Printify doesn’t accept PDFs for design uploads.
Here’s the workaround:
Upload the PDF into Canva
Crop out the black lines
Remove the background (if you have Canva Pro), or simply export as a high-quality PNG
If you don’t have Canva Pro, you can still download a high-quality PNG, you just may need to use Printify’s background remover next.
Step 3: Remove the Background (If Needed)
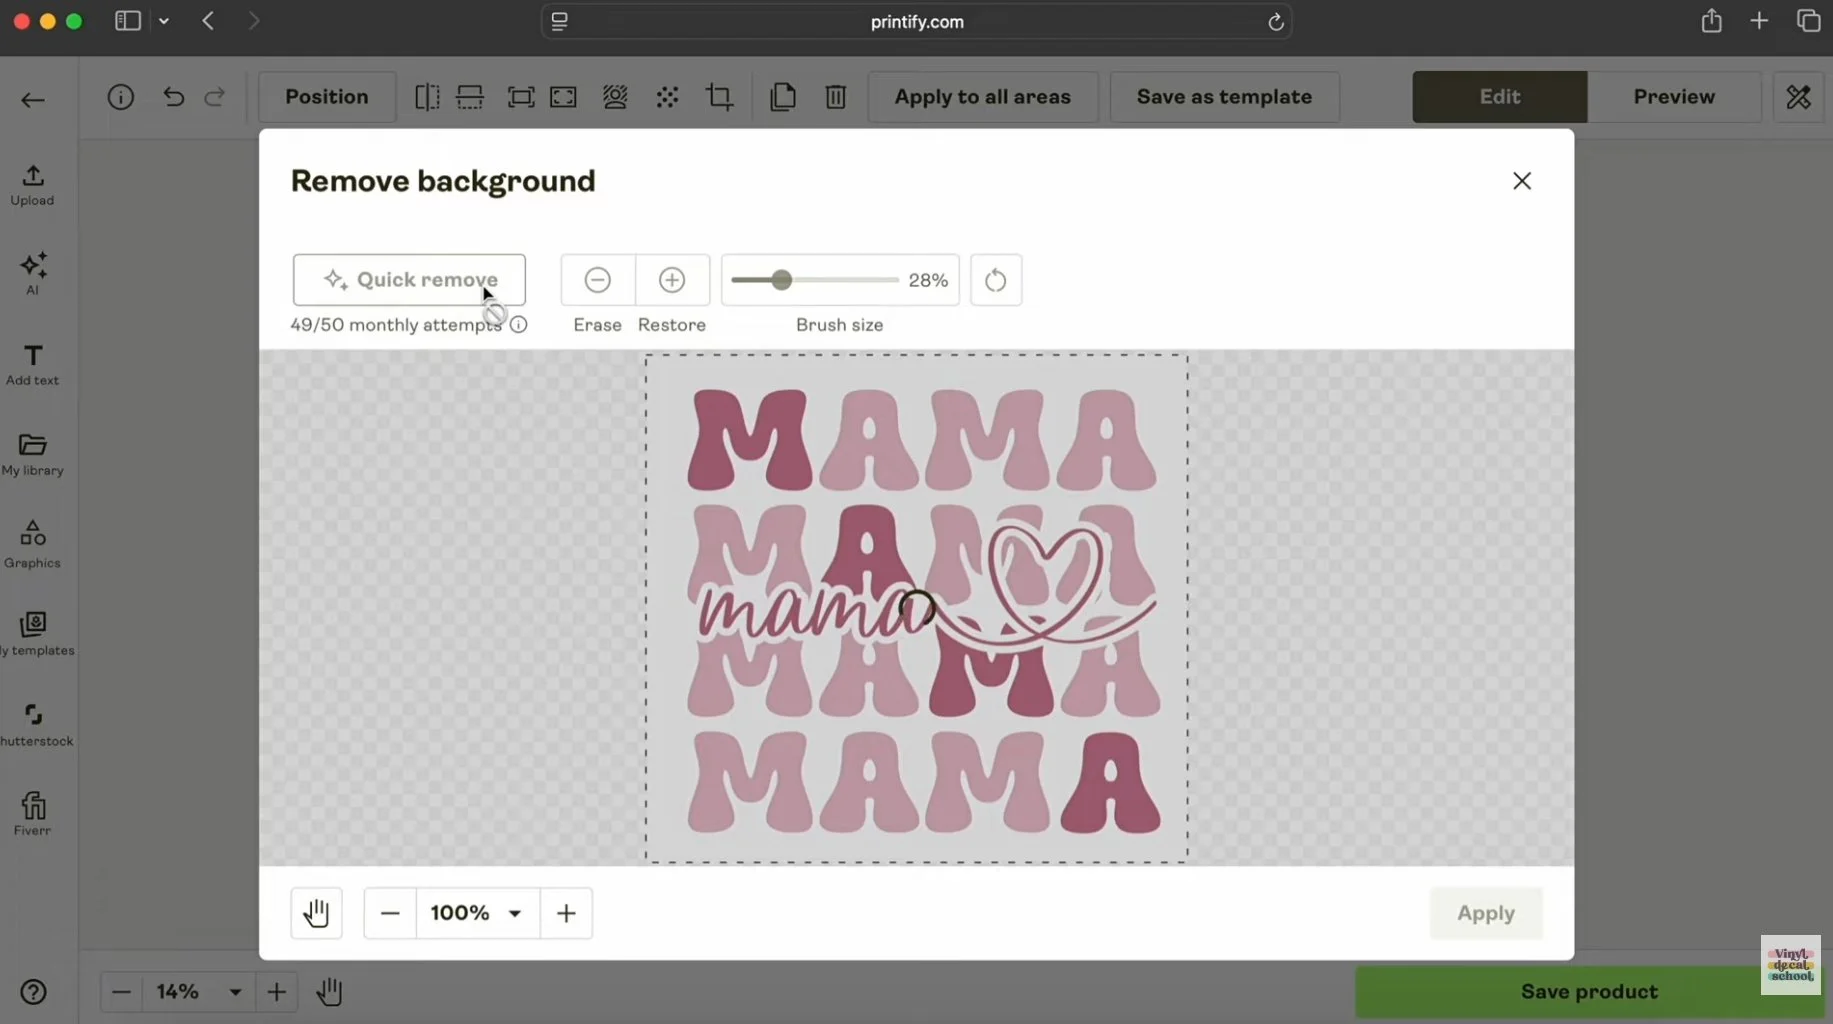
If your design uploads with a background (like a screenshot usually will), you’ll see it right away.
Inside Printify, you can:
click the background remover
choose Quick remove
check it hasn’t deleted parts of your design
apply and preview
If you notice gaps or overlaps (for example, a heart crossing a letter awkwardly), this is your sign to jump back into Design Space, tweak it, flatten again, and re-screenshot.
Tip for White Designs
If your design is white (or has white outlines), change the background colour before screenshotting to a colour not used in the design. That way, when you remove the background, it won’t accidentally remove parts of your artwork.
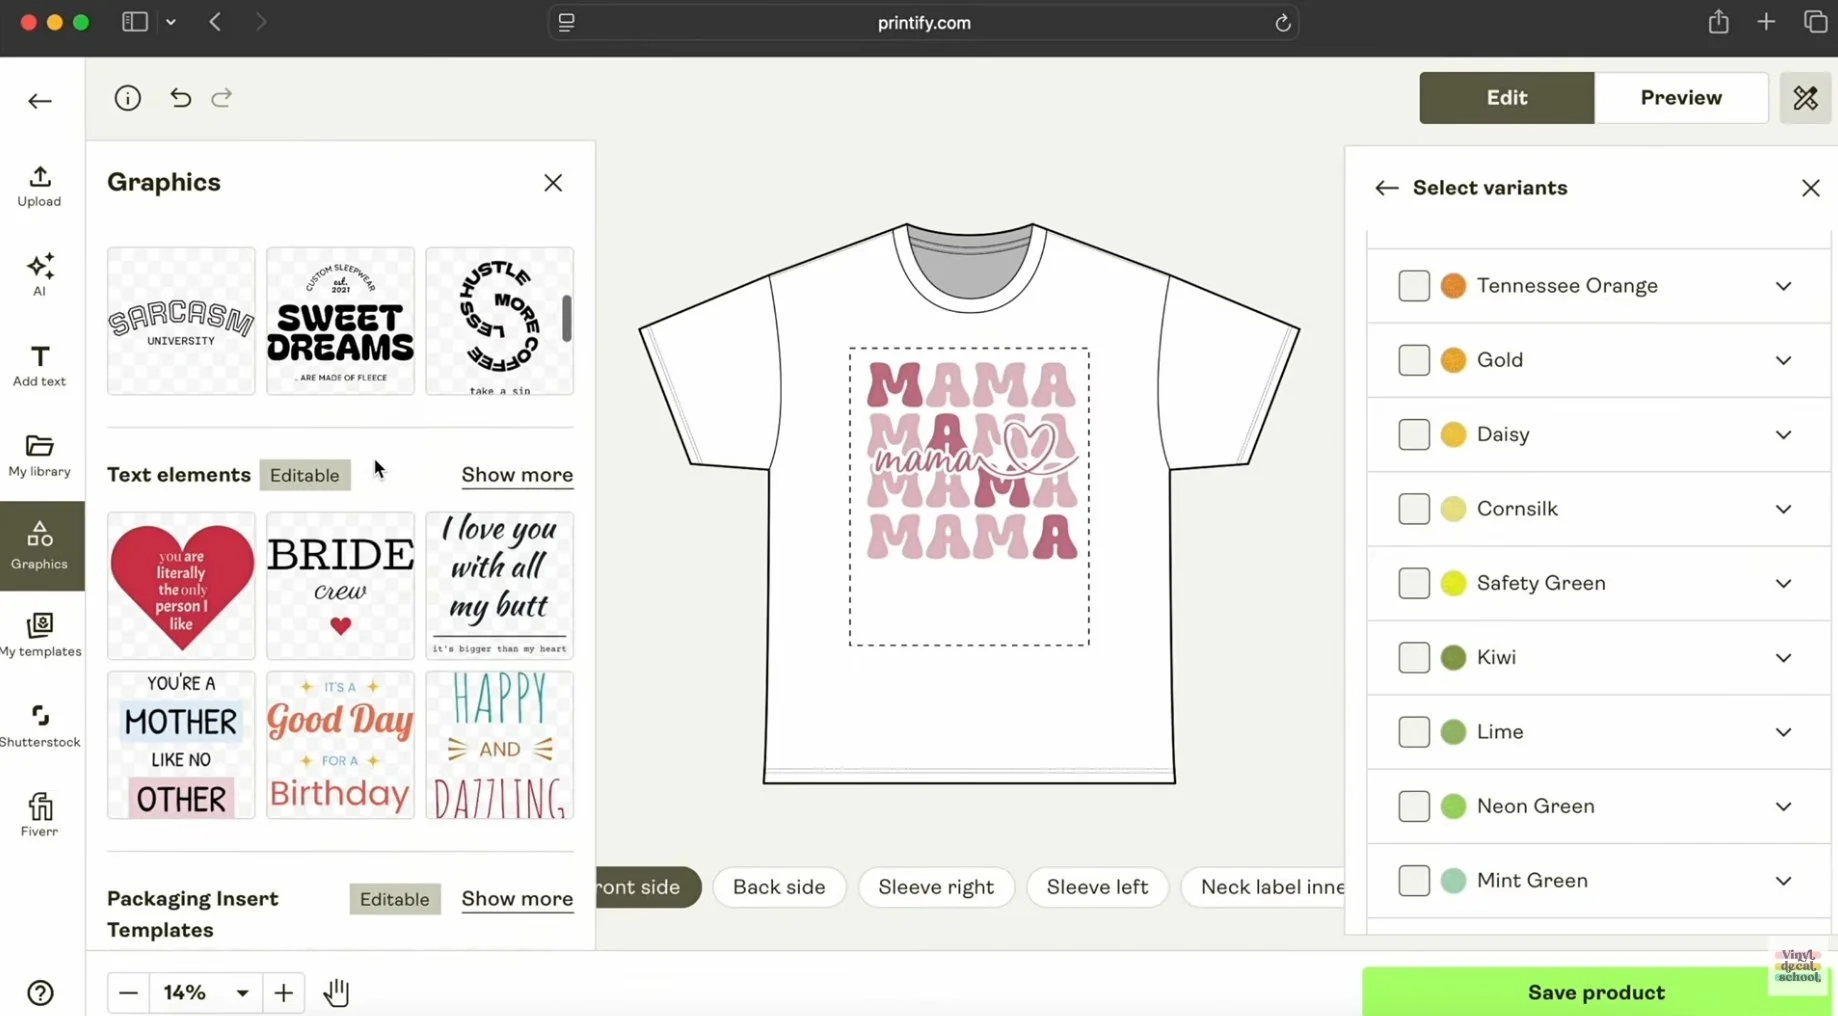
Step 4: Preview on Different Colours & Mockups

Printify T-Shirt MockUp
Once your design is uploaded, you can quickly preview it on:
different t-shirt colours
different mockups
lifestyle photos with people
This is where it gets exciting — because you can immediately see how your design could work across styles and audiences.
Select all the variants you want to sell (sizes, colours, etc.), and adjust placement until you’re happy.
Bonus: You Can Design Inside Printify Too
Step 5: Connect Printify to Etsy
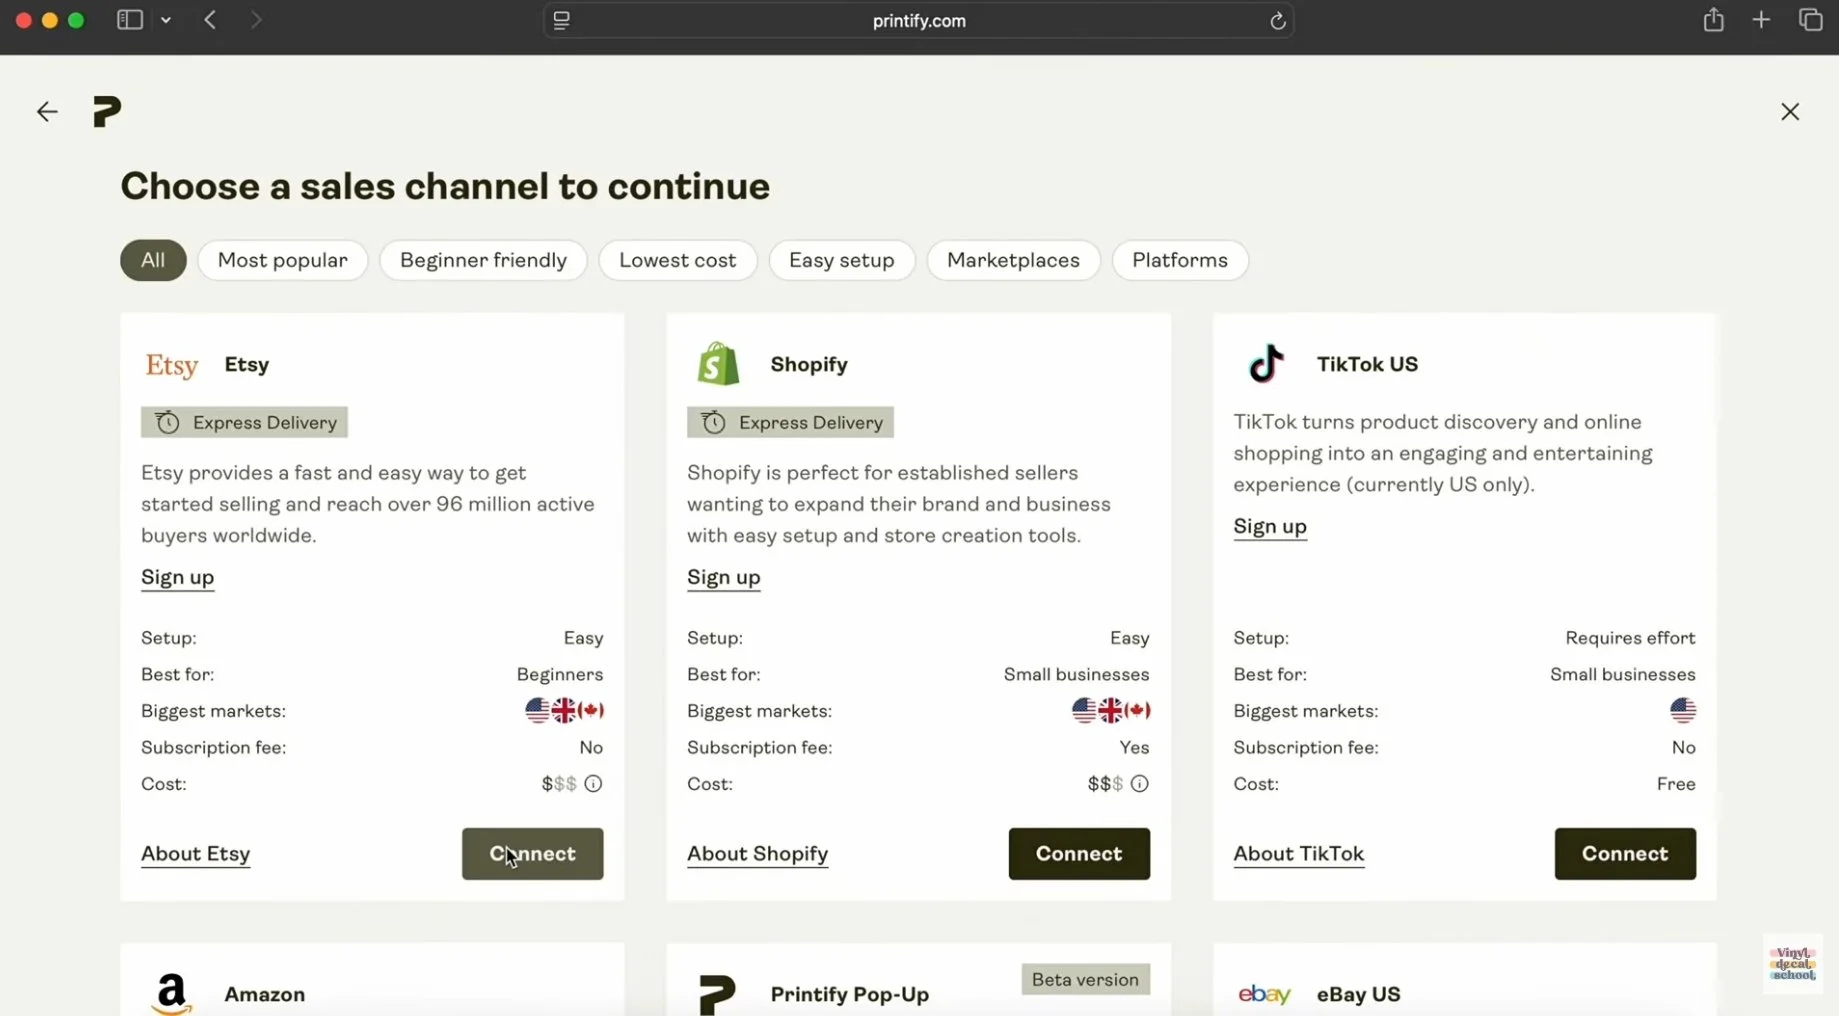
When your product is ready:
Click Save product
Click Connect your store
Choose Etsy and log in
Grant Printify access
Then you can click Publish and Printify will create the Etsy listing for you.
Step 6: Create Etsy Listings Faster With AI (And Tweak Them)
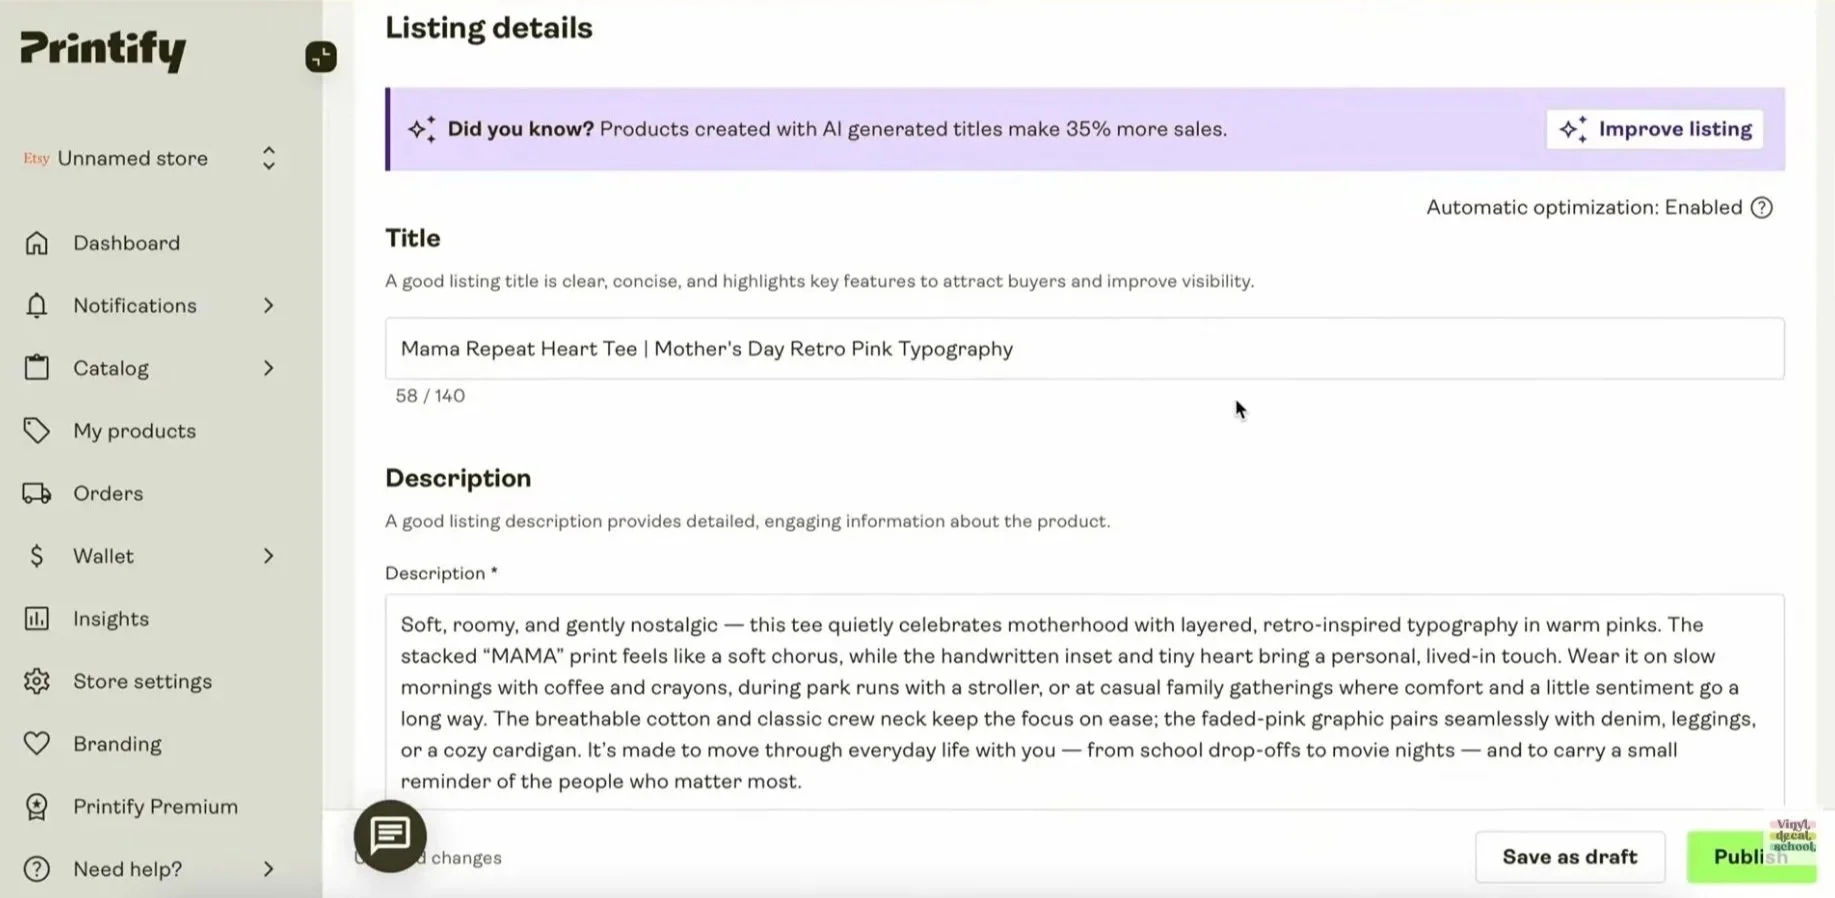
Printify can auto-generate:
a product title
a full description
loads of Etsy tags
shipping settings and costs
It’s a huge time-saver. I recommend:
editing the title to make it more specific
choosing tags intentionally (don’t just rely on auto tags)
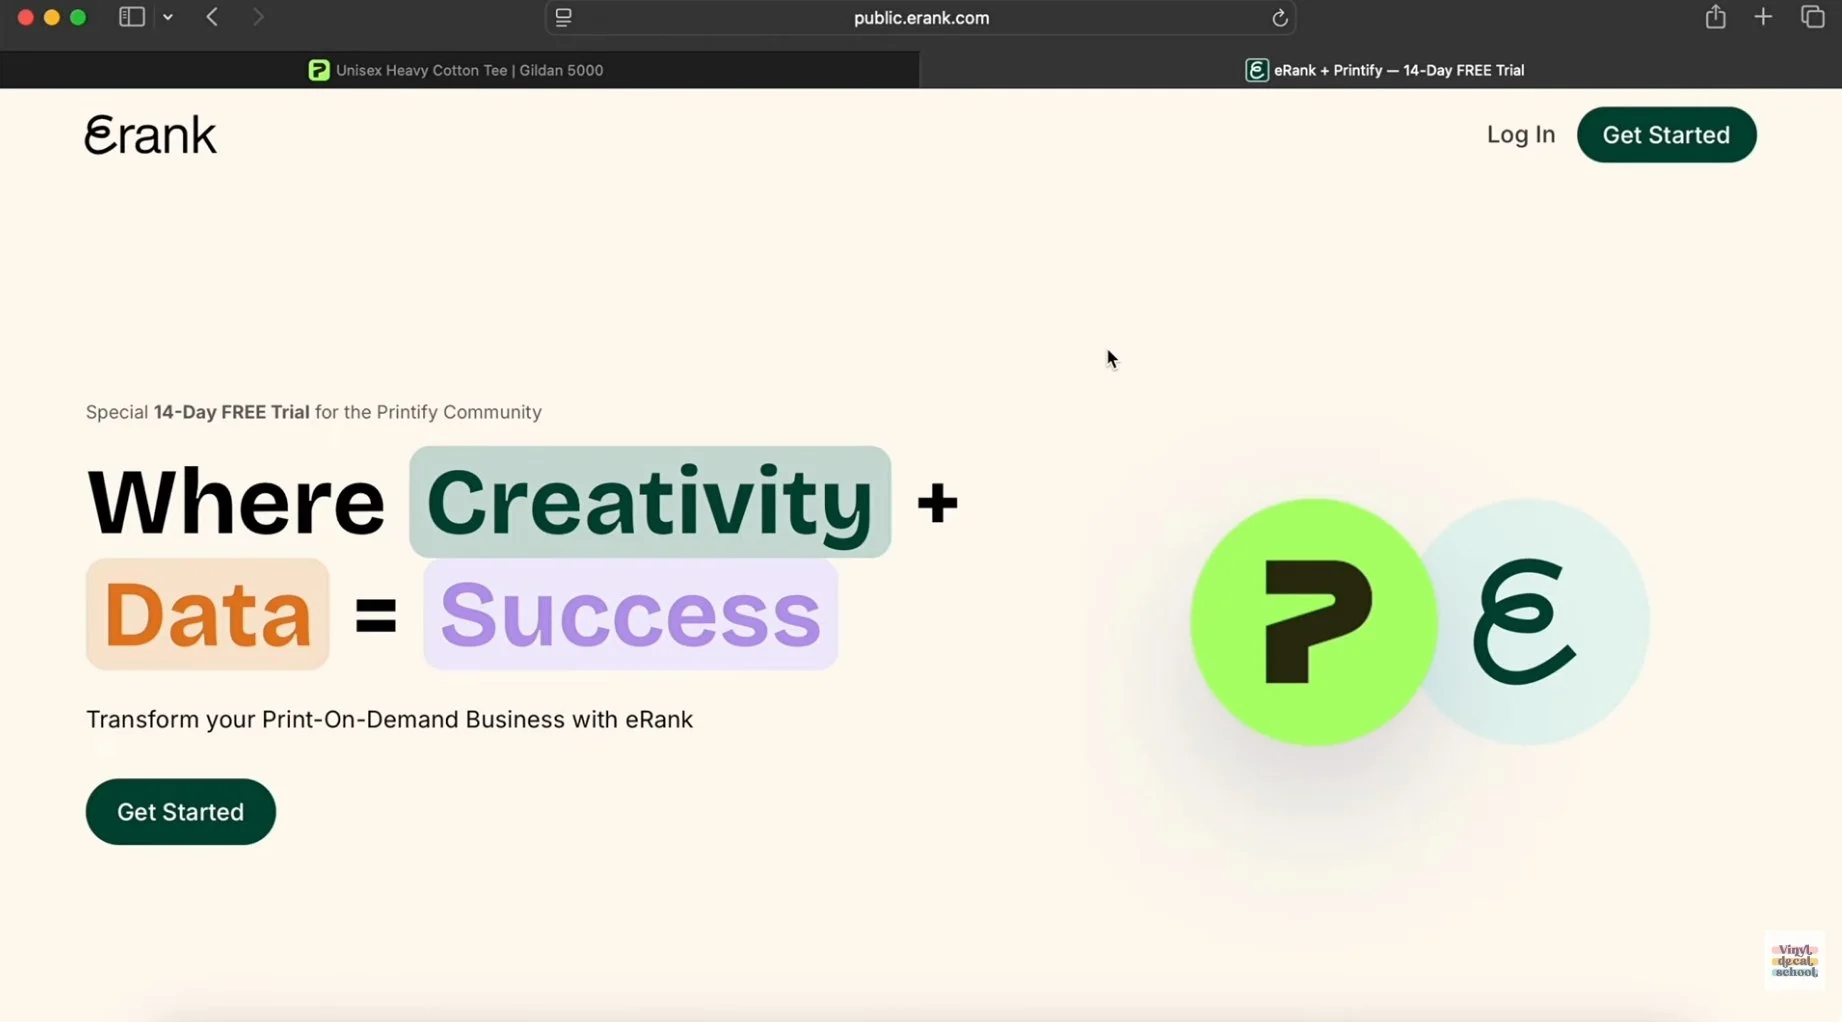
using a keyword tool like eRank if you want to be strategic
Personalisation Note
You can enable personalisation if your design allows it, just know this adds manual steps and makes the process less fully-automated.
Step 7: Set Pricing With Profit Built In
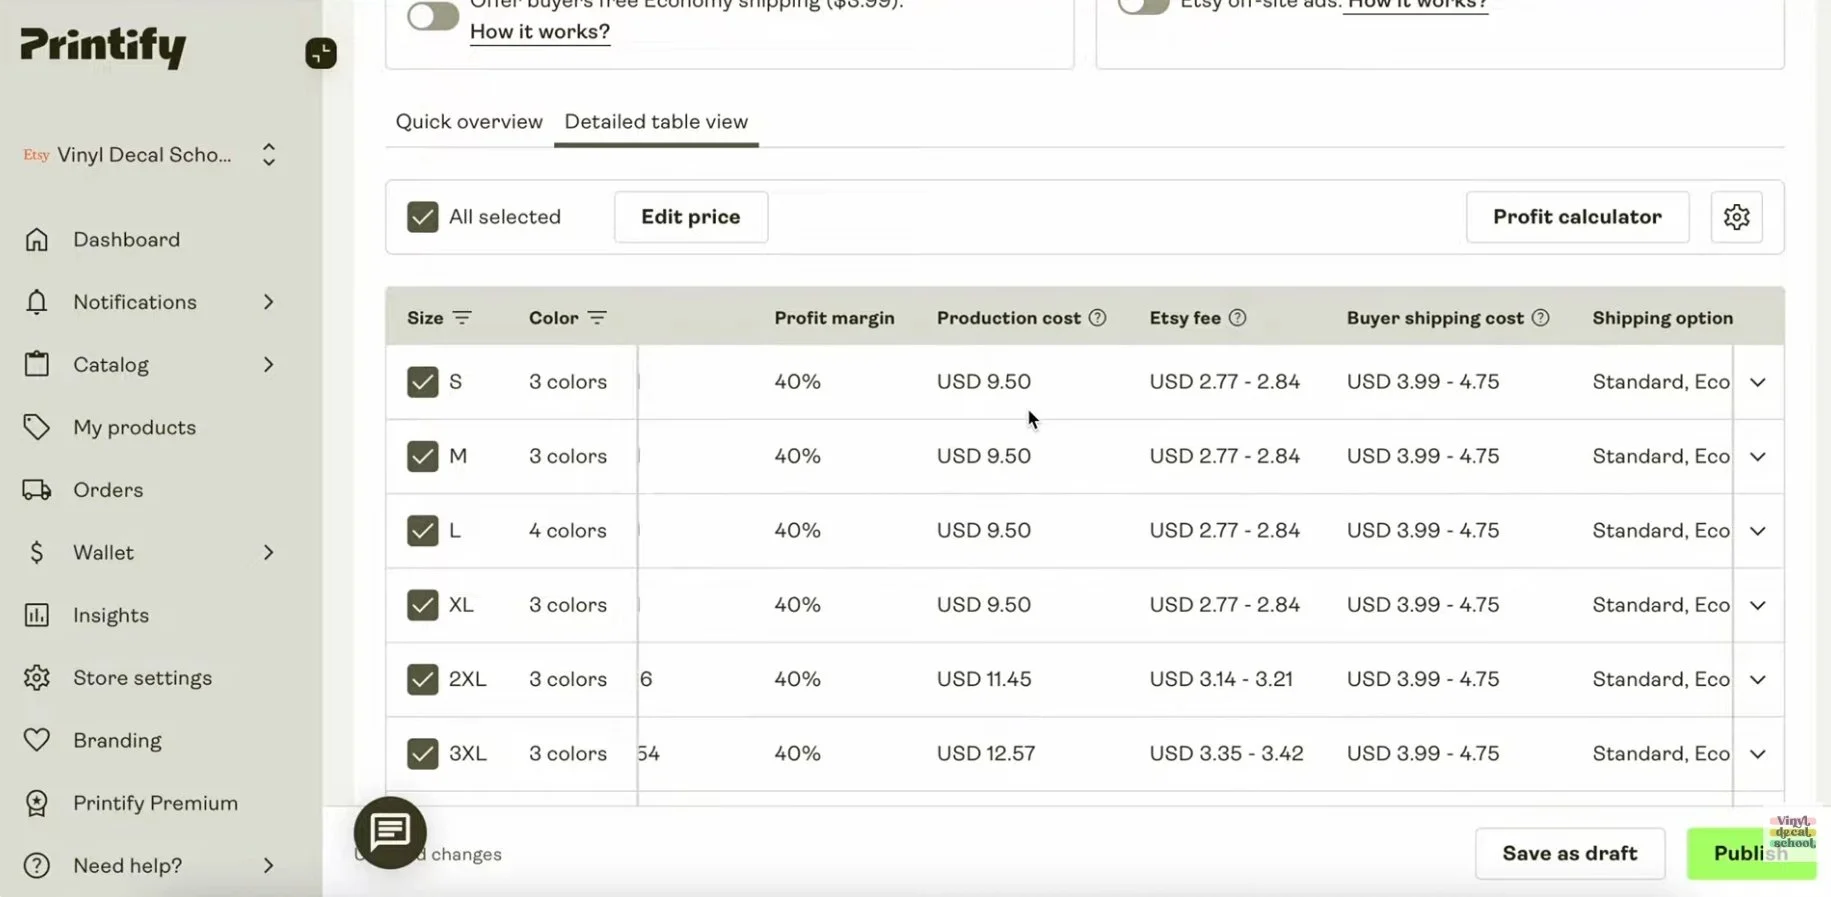
One of the best features is that Printify shows you:
the product cost
shipping cost
Etsy fees (so you’re not caught out)
profit and profit margin
You can adjust pricing to:
increase margin
stay competitive
offer free shipping (and see the impact immediately)
There’s also a profit calculator so you can test different numbers before publishing.
Step 8: Publish — And Your Listing Appears in Etsy
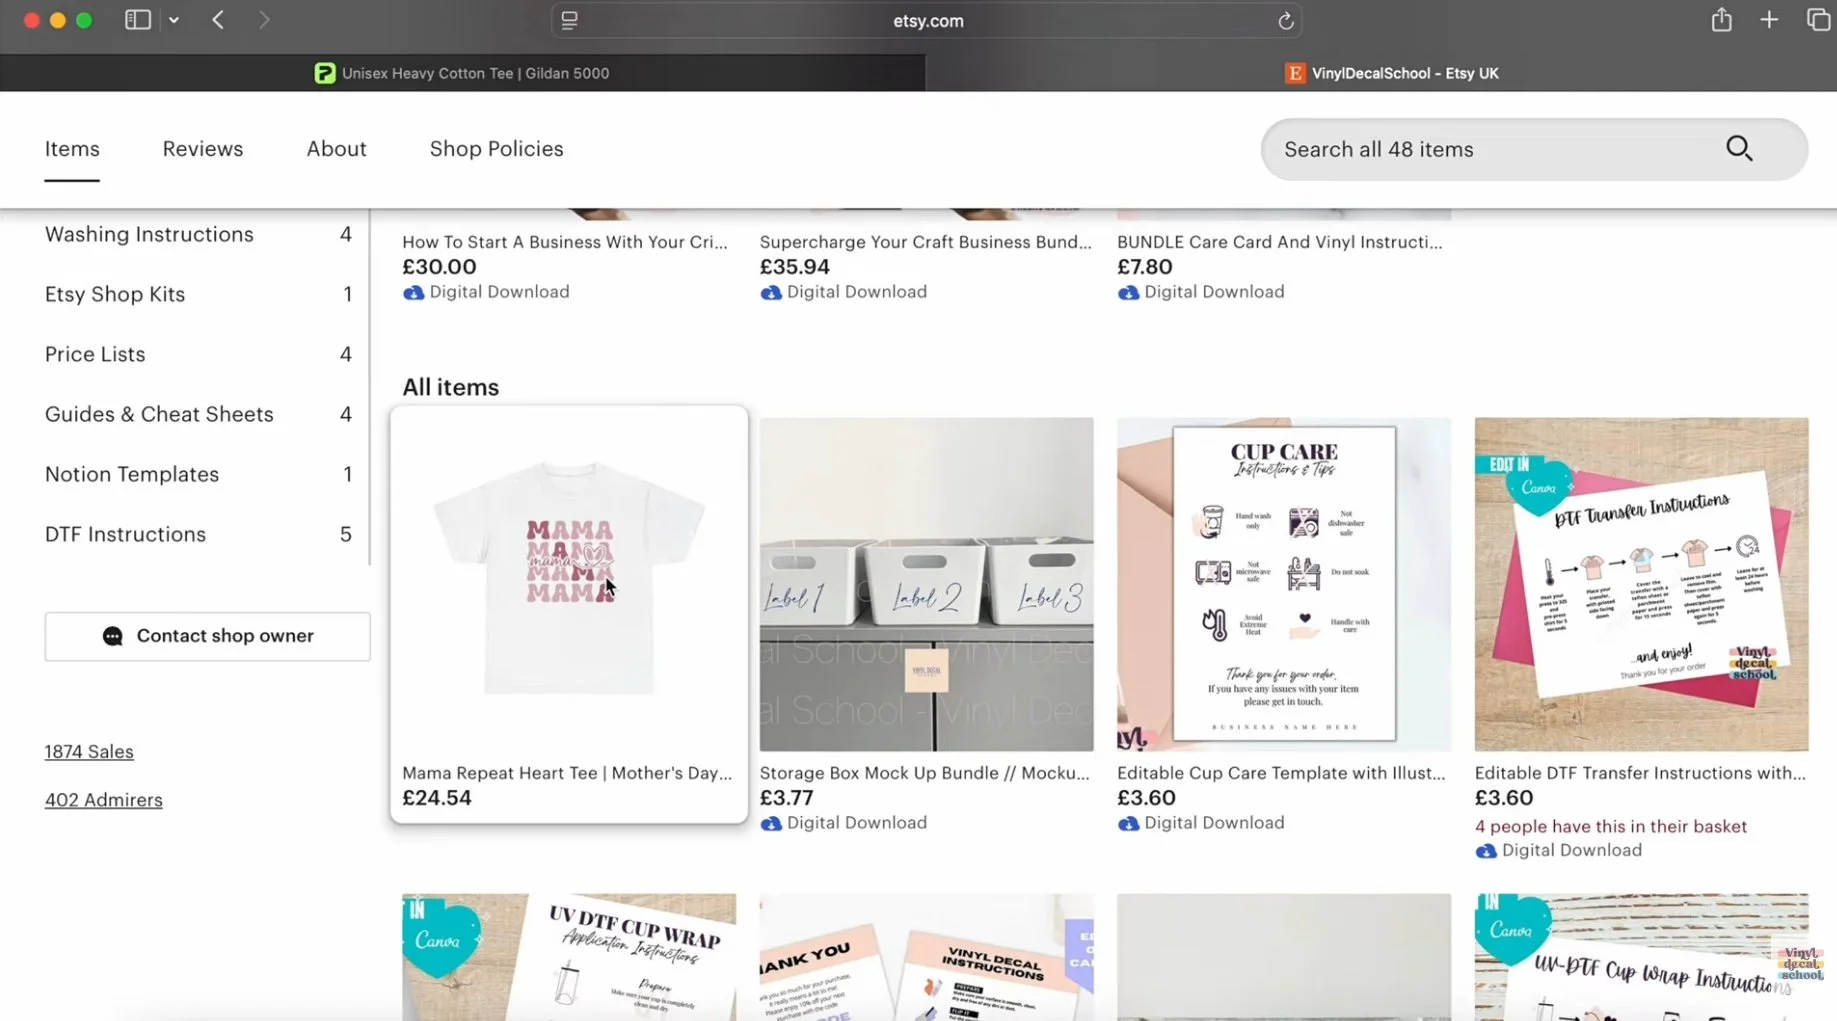
Once you hit publish, the product is added to your Etsy shop automatically.
After that, it’s worth:
deleting mockups you don’t want
adding more lifestyle mockups with people
filling in Etsy categories, materials, and shop sections
polishing the description with extra helpful info
And here’s the magic:
When you make a sale…
If your listing isn’t personalised, Printify can fulfil the order automatically and ship it directly to your customer.
So your job becomes:
marketing
customer service
running the business
…instead of constantly making and packing products.
Step 9: Add the Same Design to More Products

This is where the “few clicks” part really kicks in.
To reuse your design:
Go back to Catalog
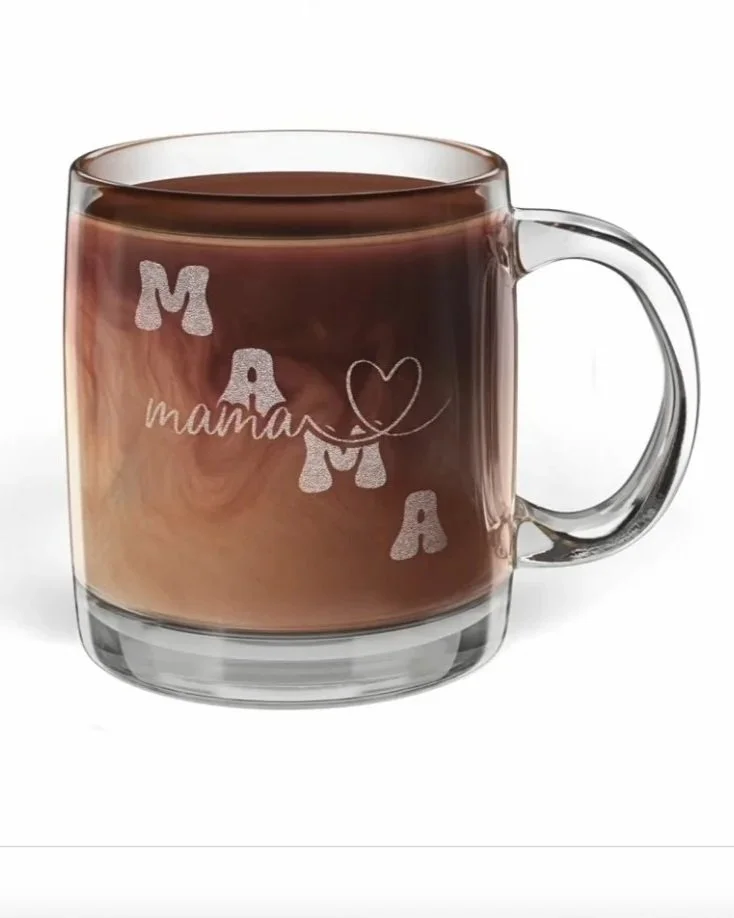
Choose another product (mugs, candles, tote bags, hoodies, etc.)
Select My library
Add your existing design again
You can reuse one design across dozens of products in minutes.
Extra Features Worth Knowing
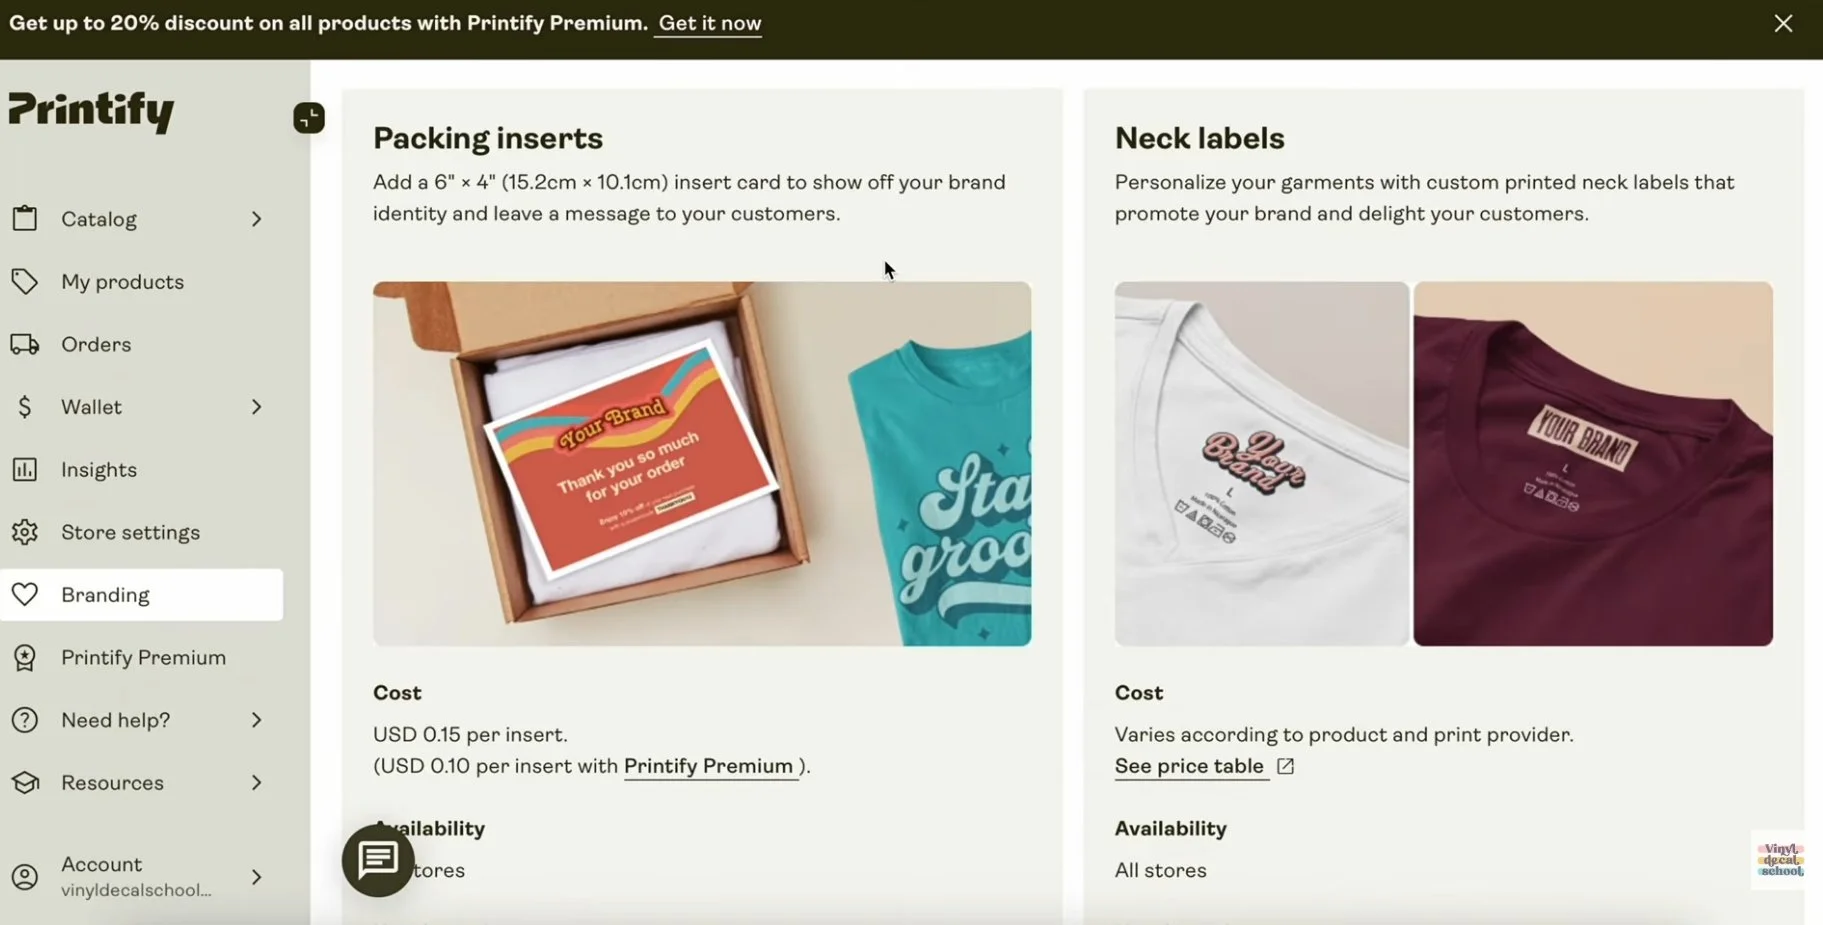
As you sell, Printify can provide insights to help boost sales.
You can also upgrade your branding with:
packing inserts
neck labels
gift messages
And if you subscribe to Printify Premium, you get discounted product costs — meaning you can:
increase profit margins
or lower prices to stay competitive
Things to Watch Out For
A few quick reminders before you list everything under the sun:
Always preview designs — some products need darker artwork (like engraved items)
Check where items ship from
If most of your customers are in the UK, prioritise UK-based suppliers for faster delivery and lower shipping costs
Consider ordering samples to check quality and delivery speed
Final Thoughts
If you’ve been stuck because you:
don’t have space for more stock
can’t keep up with demand
want your shop to run while you travel
or want to scale without burning out
…Printify can be a really smart next step.
The hard part is still:
creating designs people want
and marketing them well
But if someone else is doing the printing and shipping, you suddenly have a lot more time (and energy) to focus on what actually grows your shop.
So… are you going to try Printify? And what product would you put your best-selling design on first?
Let me know in the comments! If you found this helpful, don’t forget to subscribe for more tutorials and craft business tips.