

DTF vs HTV: Which Is Right for Your T-Shirt Business?
Is DTF or HTV the best solution for your t-shirt business?
If you’re thinking about starting a t-shirt business from home, or you already have one and you’re considering switching things up, this is a decision almost everyone faces at some point.
In this post, I’m breaking down iron-on vinyl (HTV) versus DTF (Direct to Film) in a very practical way. I’ll walk you through:
the design process for each
how long they take to make
how they apply to a t-shirt
a real wash test
the pros and cons
and a realistic startup cost comparison
By the end, you should have a much clearer idea of which option makes the most sense for your business.
Continue reading below, or take a look at my video comparison…
The content below contains affiliate links and we may earn a commission if you shop through them, however this won't cost you anything, it just helps us to keep the site running for free. For more information on affiliate links, see the disclosure here.
The Setup: What I’m Using
For HTV, I’m cutting vinyl on my Cricut (though the process applies to any cutting machine).
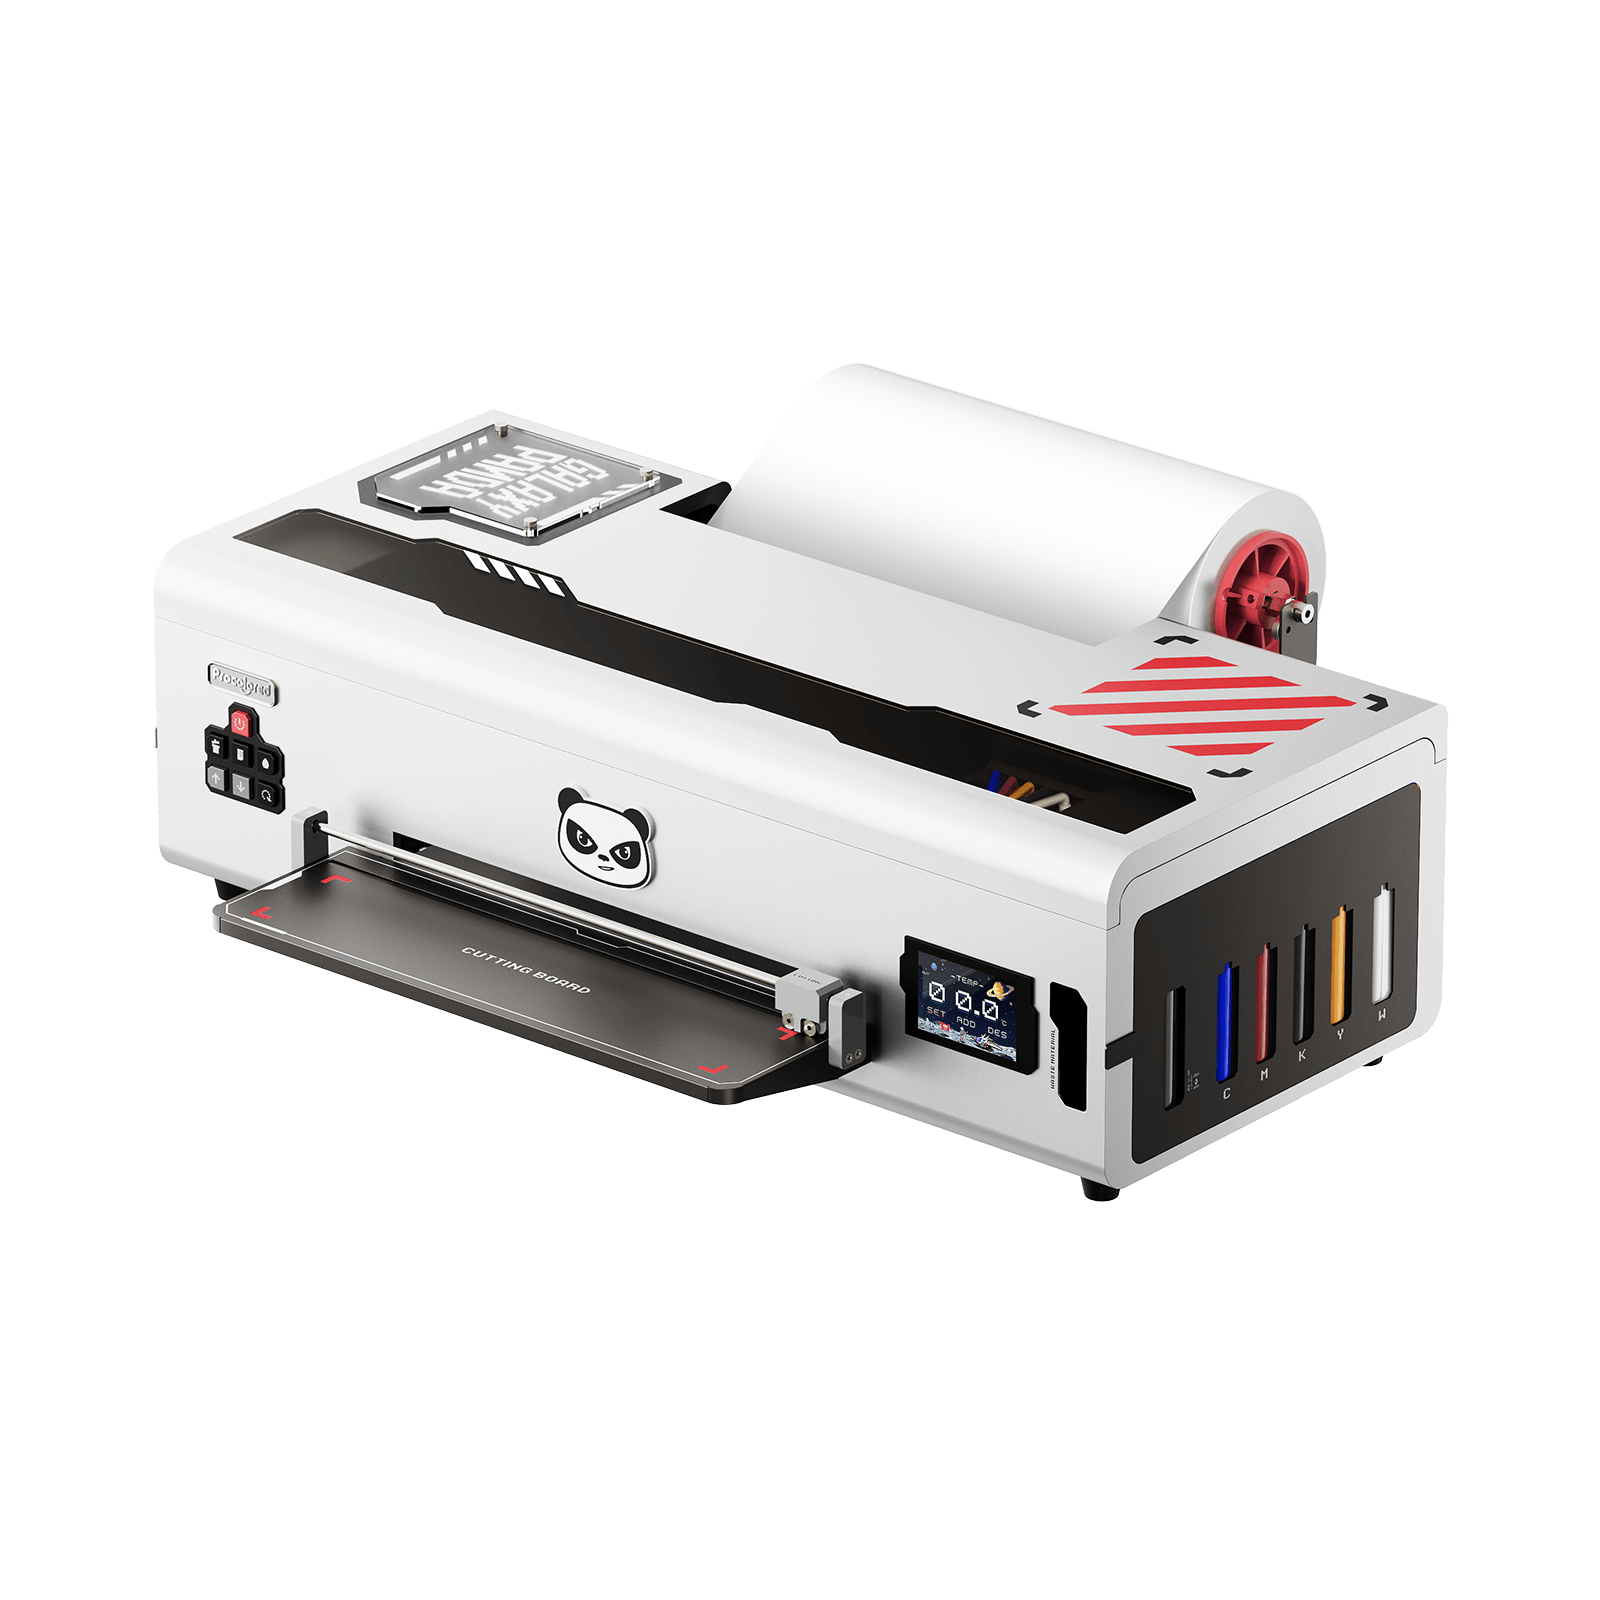
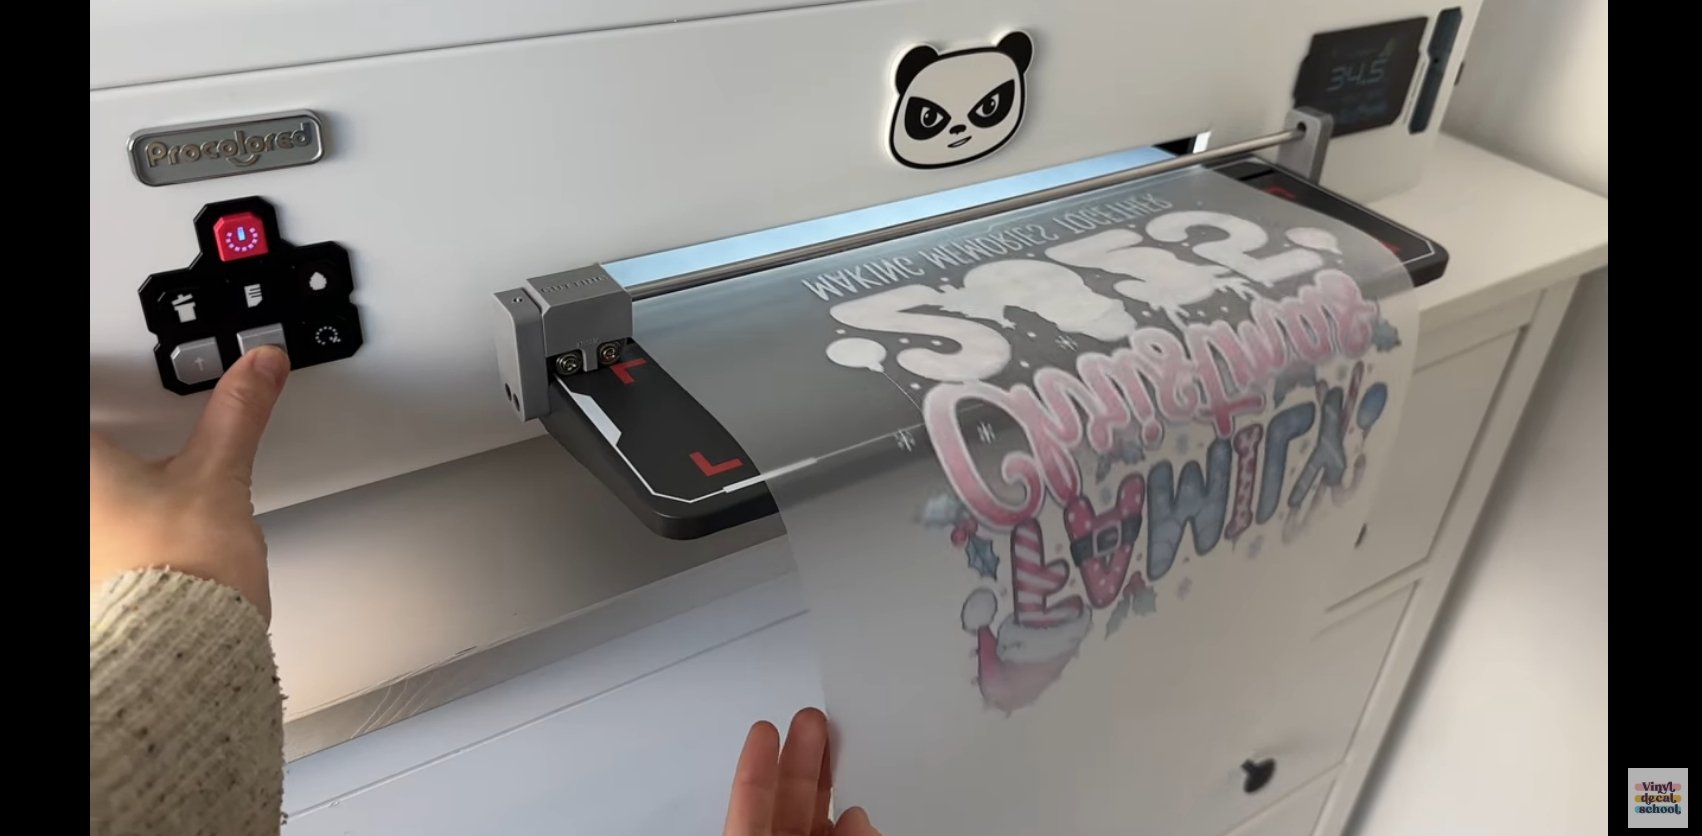
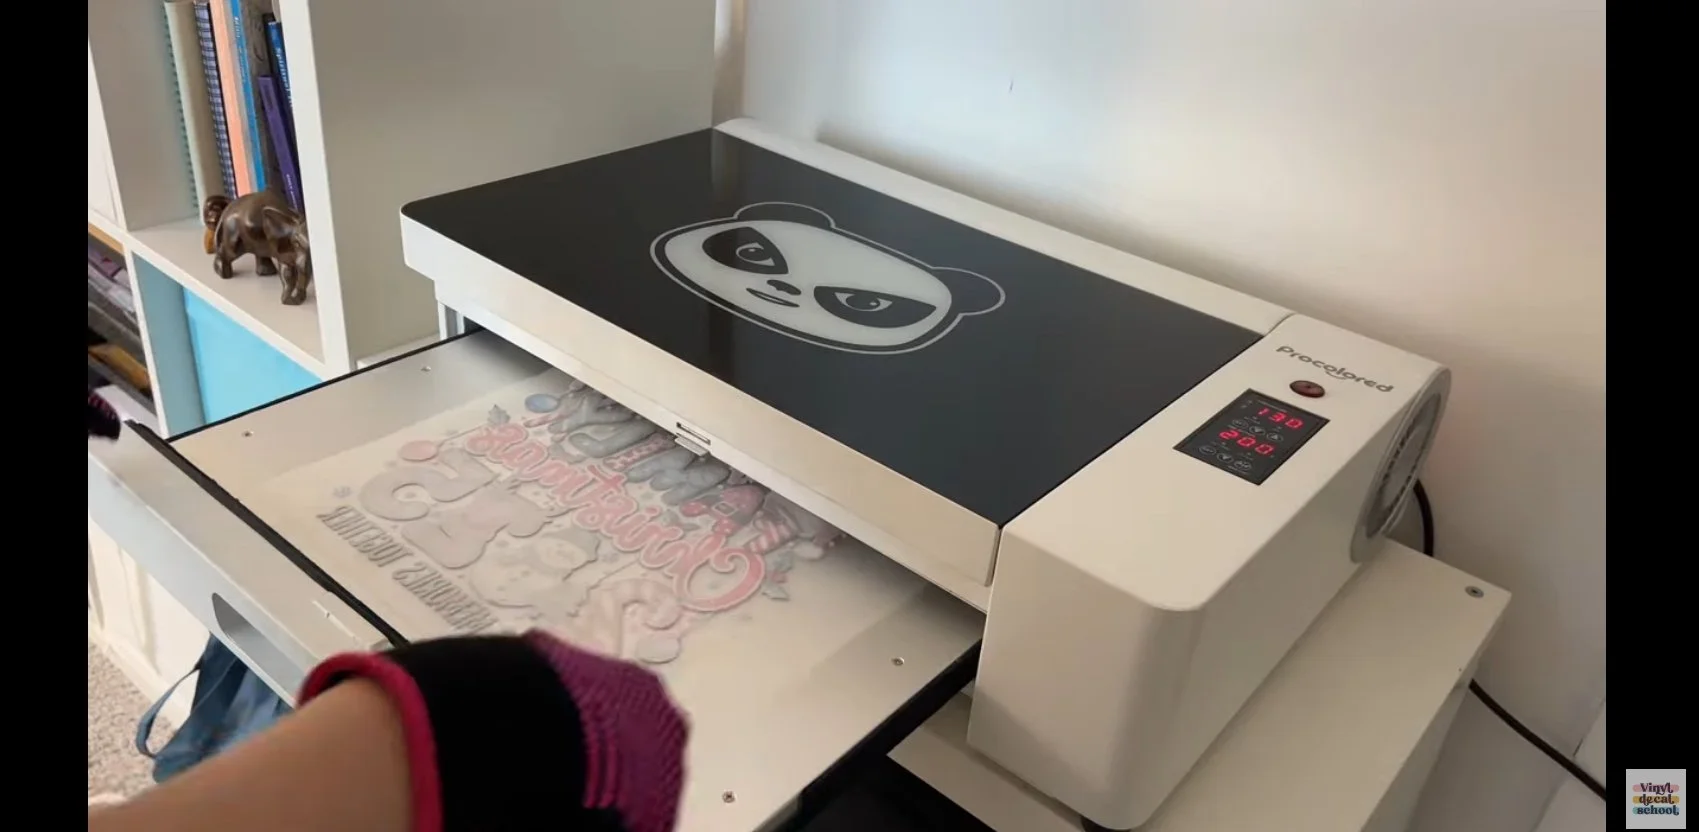
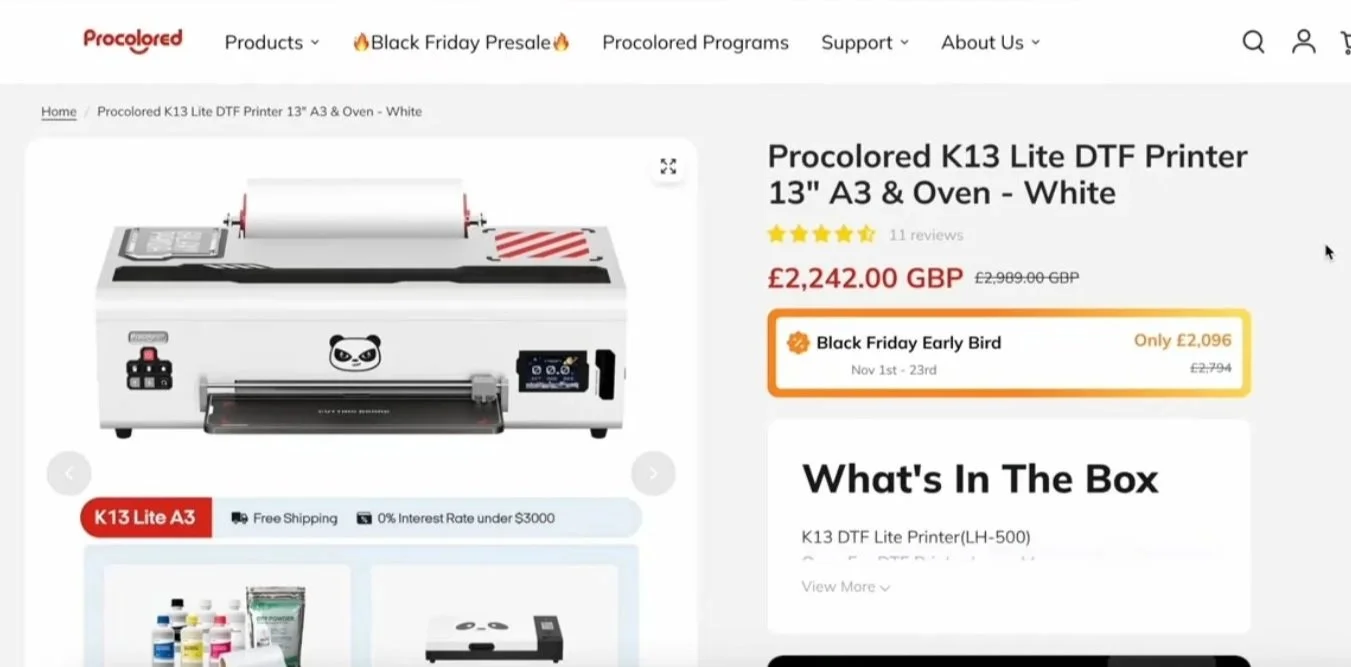
For DTF, I’m printing with the Procolored K13 Lite, which I was kindly gifted. It’s designed as a beginner-friendly DTF printer, with:
an easy-maintenance printhead
automatic cleaning technology
fewer technical steps to learn
This comparison is sponsored by Procolored, but everything below is my honest, real-world experience with both materials so you can make your own decision.
Design Process: HTV vs DTF
Designing for HTV (Iron-On Vinyl)
When designing for HTV, your options are more limited.
You can’t use full-colour designs, so you’re generally looking for:
single-colour SVGs
or layered designs (one colour per layer)
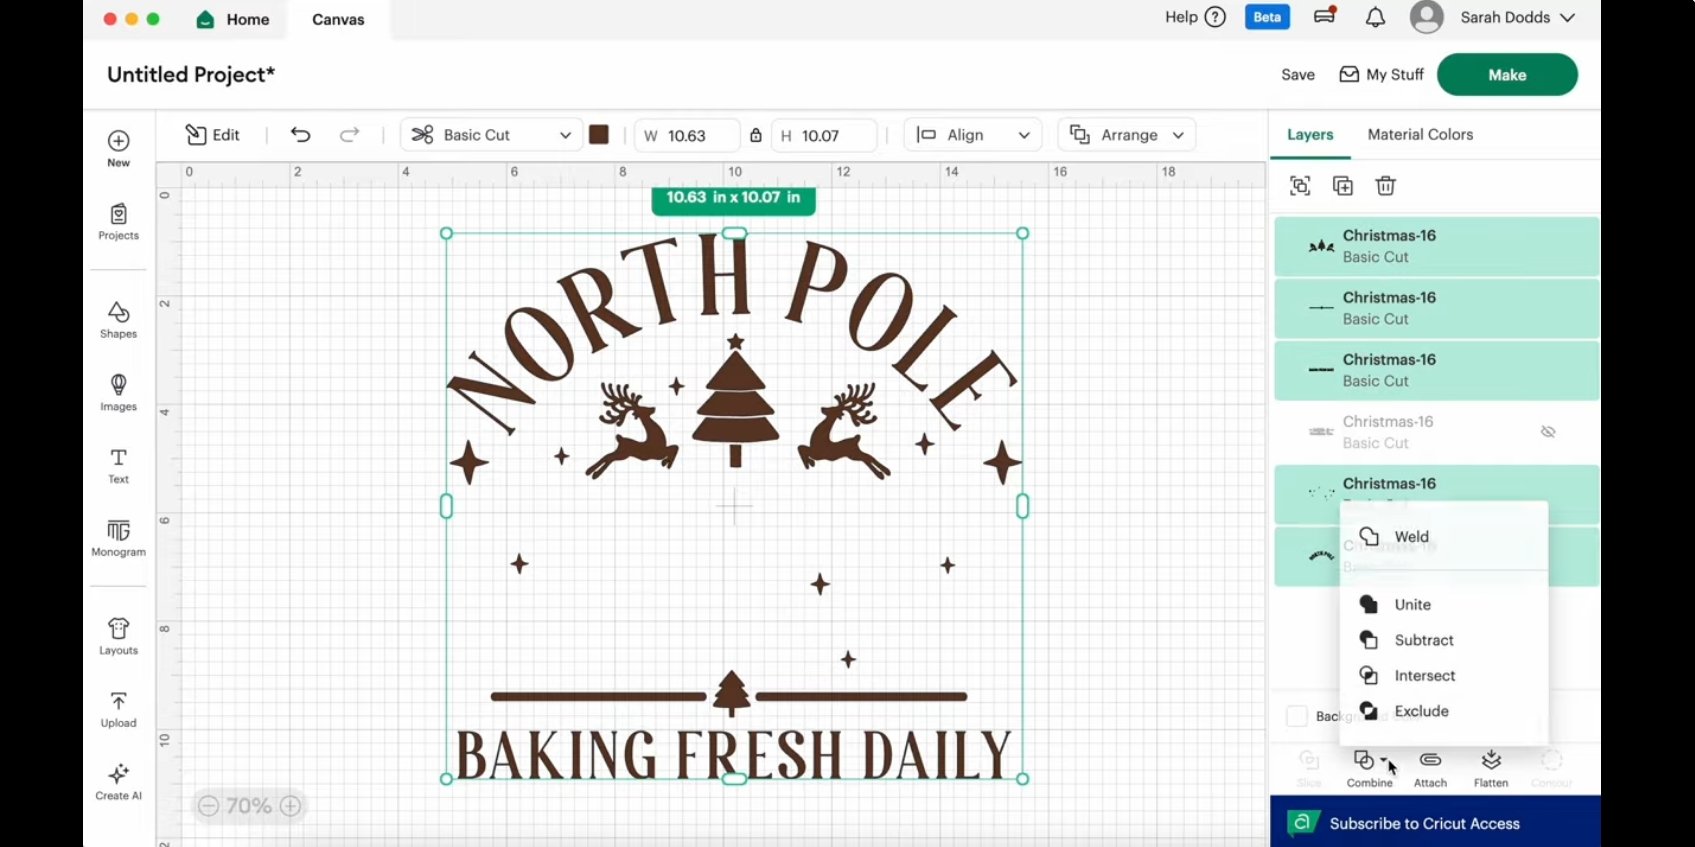
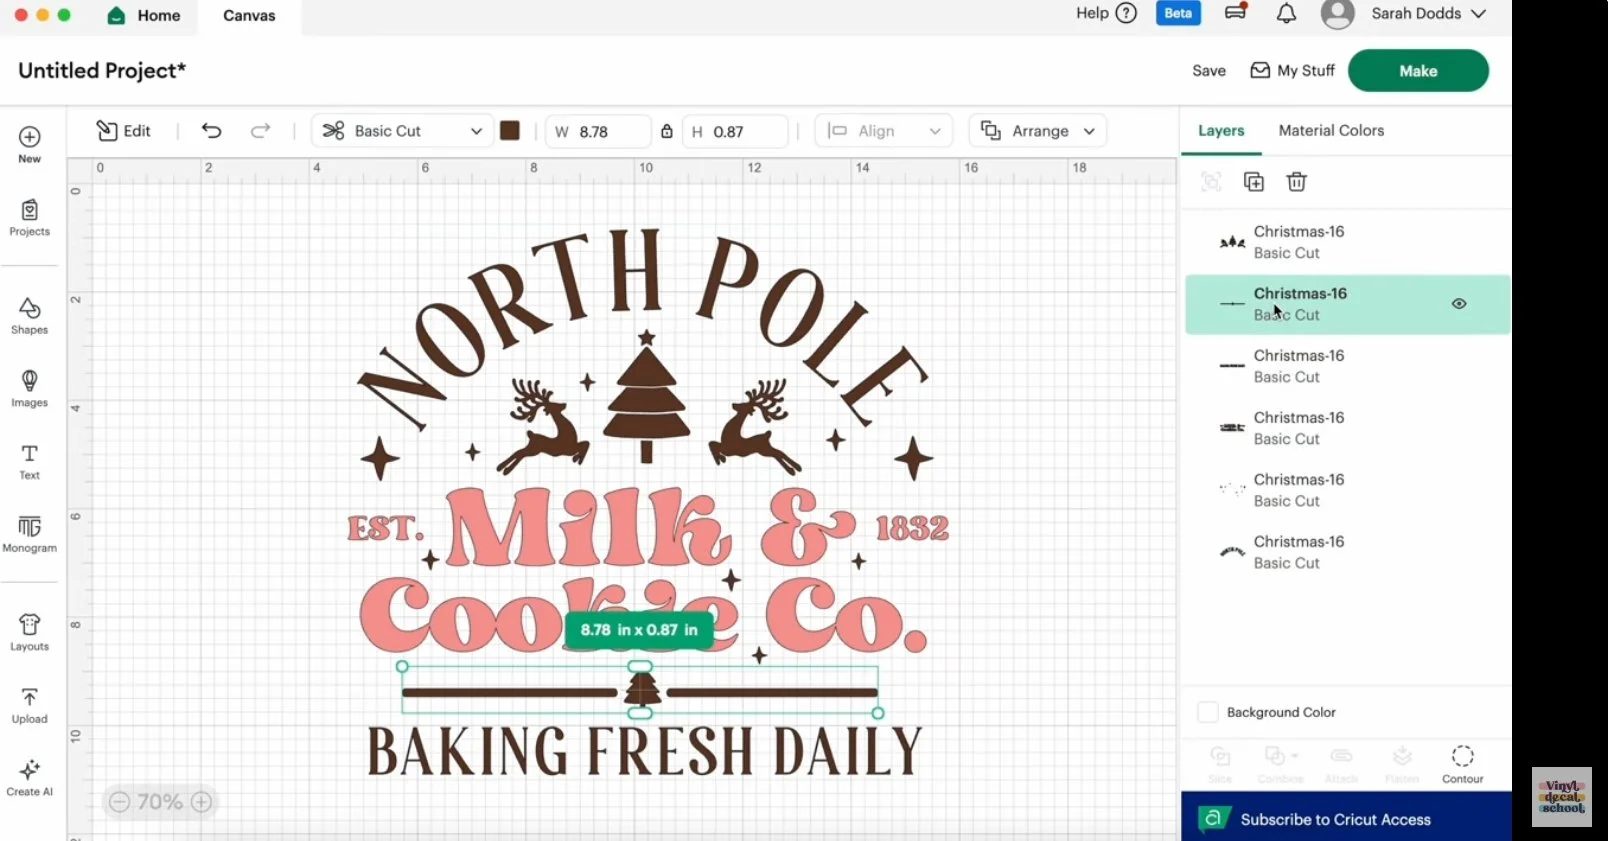
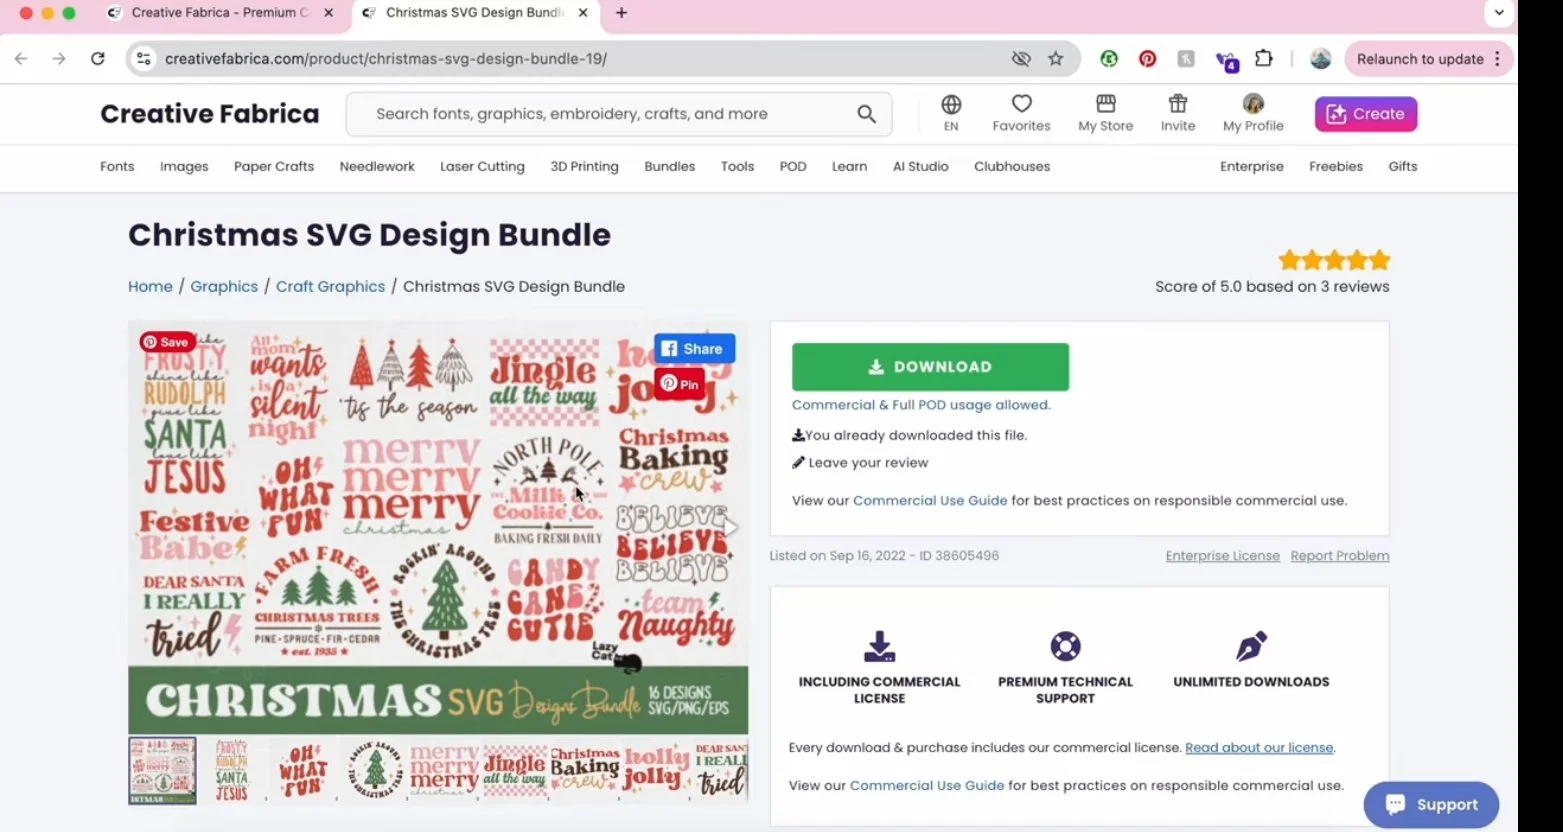
I downloaded a layered SVG bundle and uploaded it into Design Space, although you could also:
design directly in the software
or use designs from Cricut Access
Layered designs often need:
ungrouping
cleaning up
merging shapes
assigning correct colours
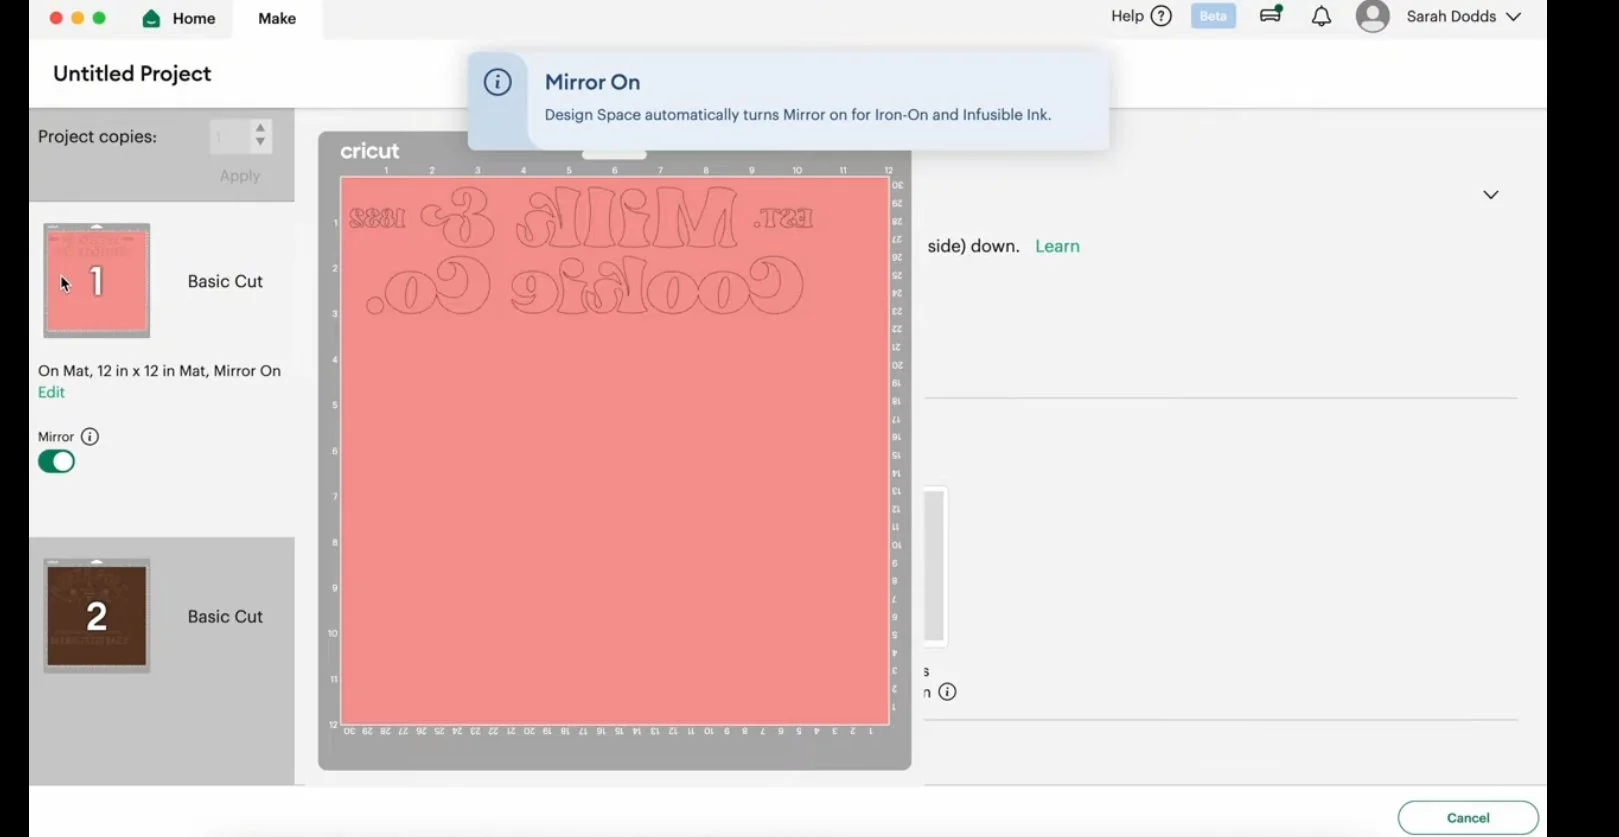
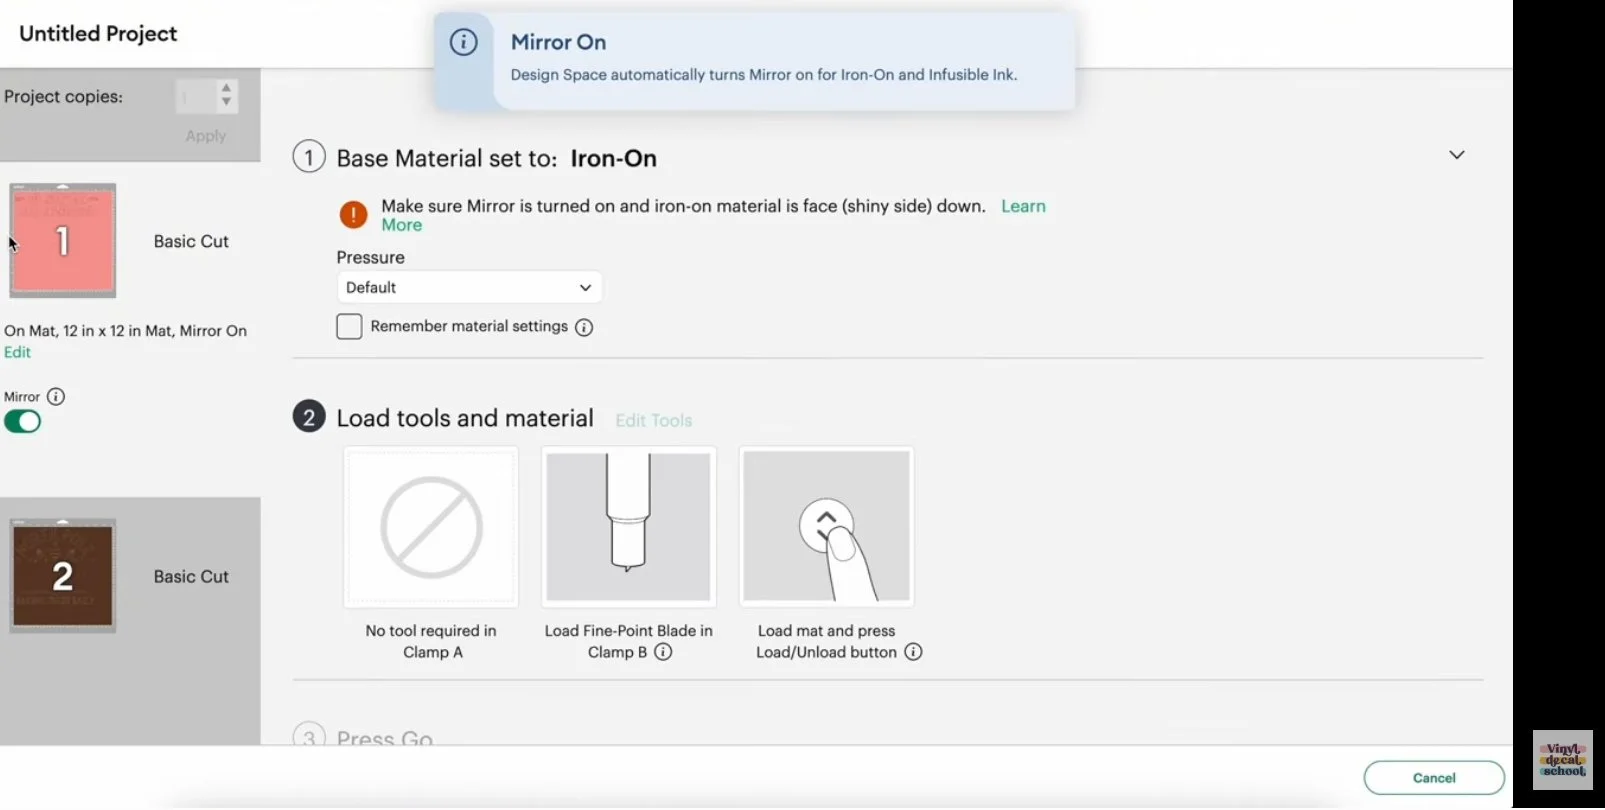
Once ready, you must:
choose the correct cut setting
mirror the design before cutting
This setup stage can take time, especially with complex designs.

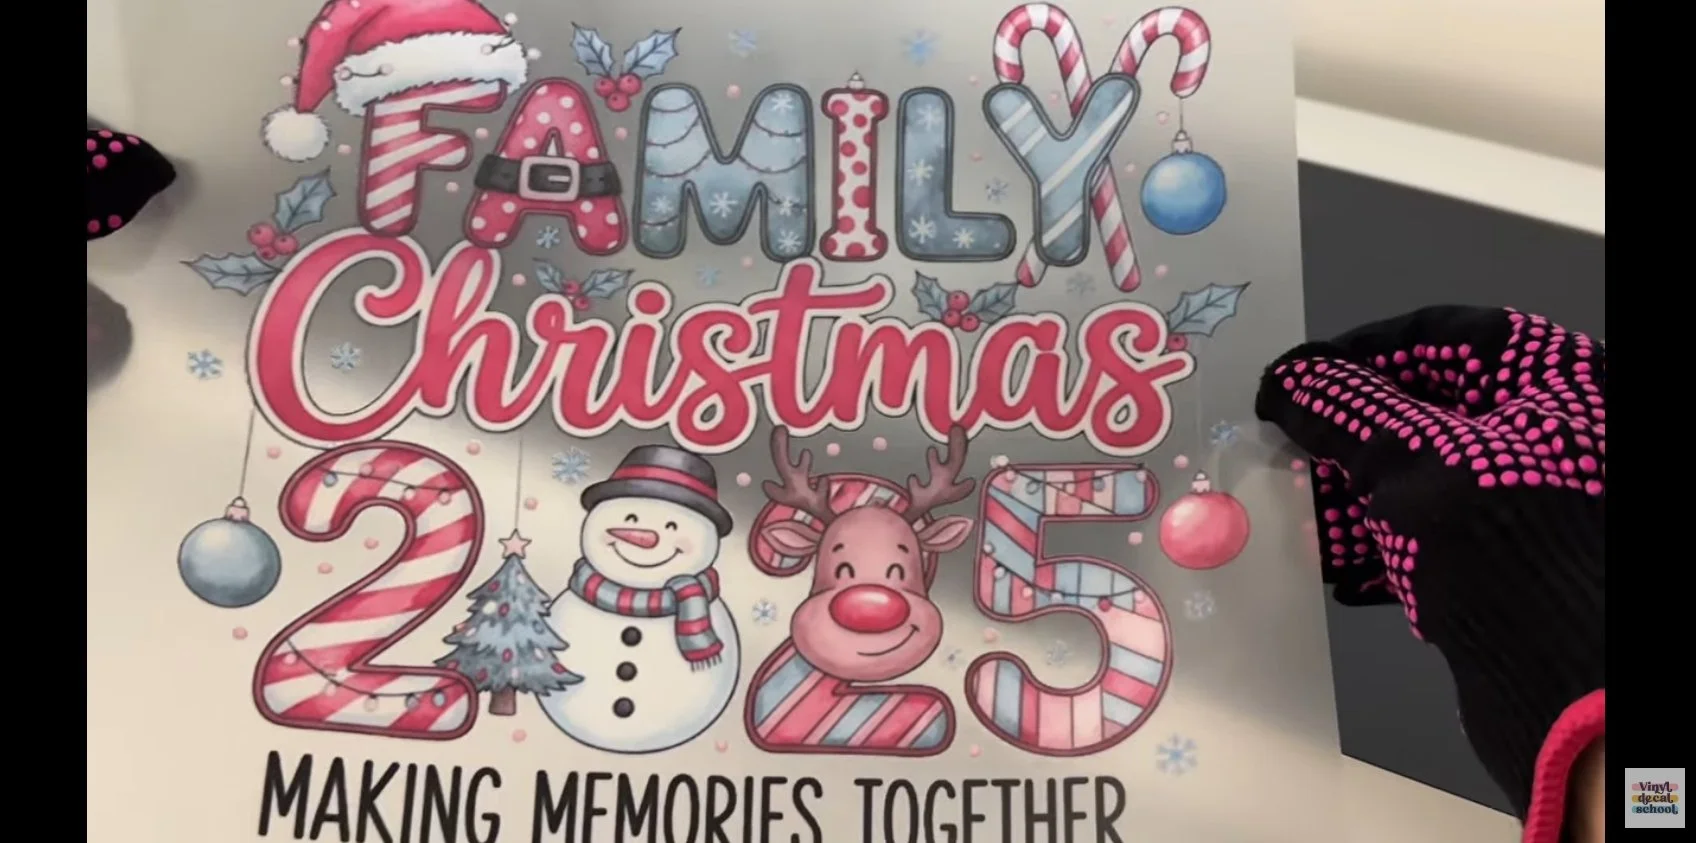
Designing for DTF
DTF offers far more creative freedom.
You can use:
full-colour designs
gradients
illustrations
detailed graphics
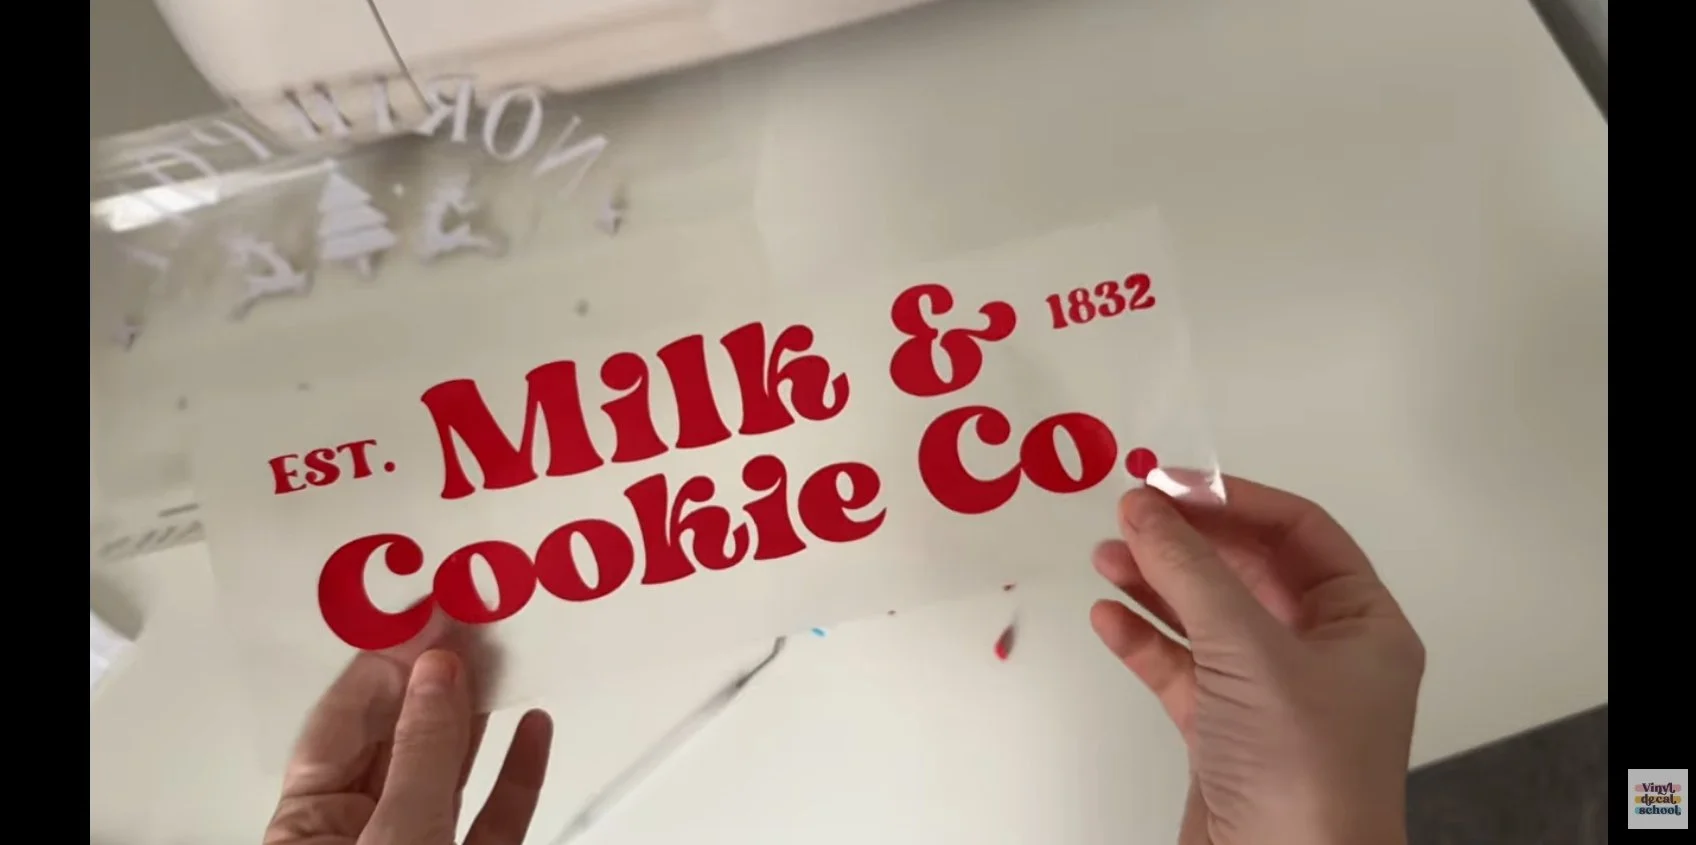
The only requirement is that your design is a transparent PNG.
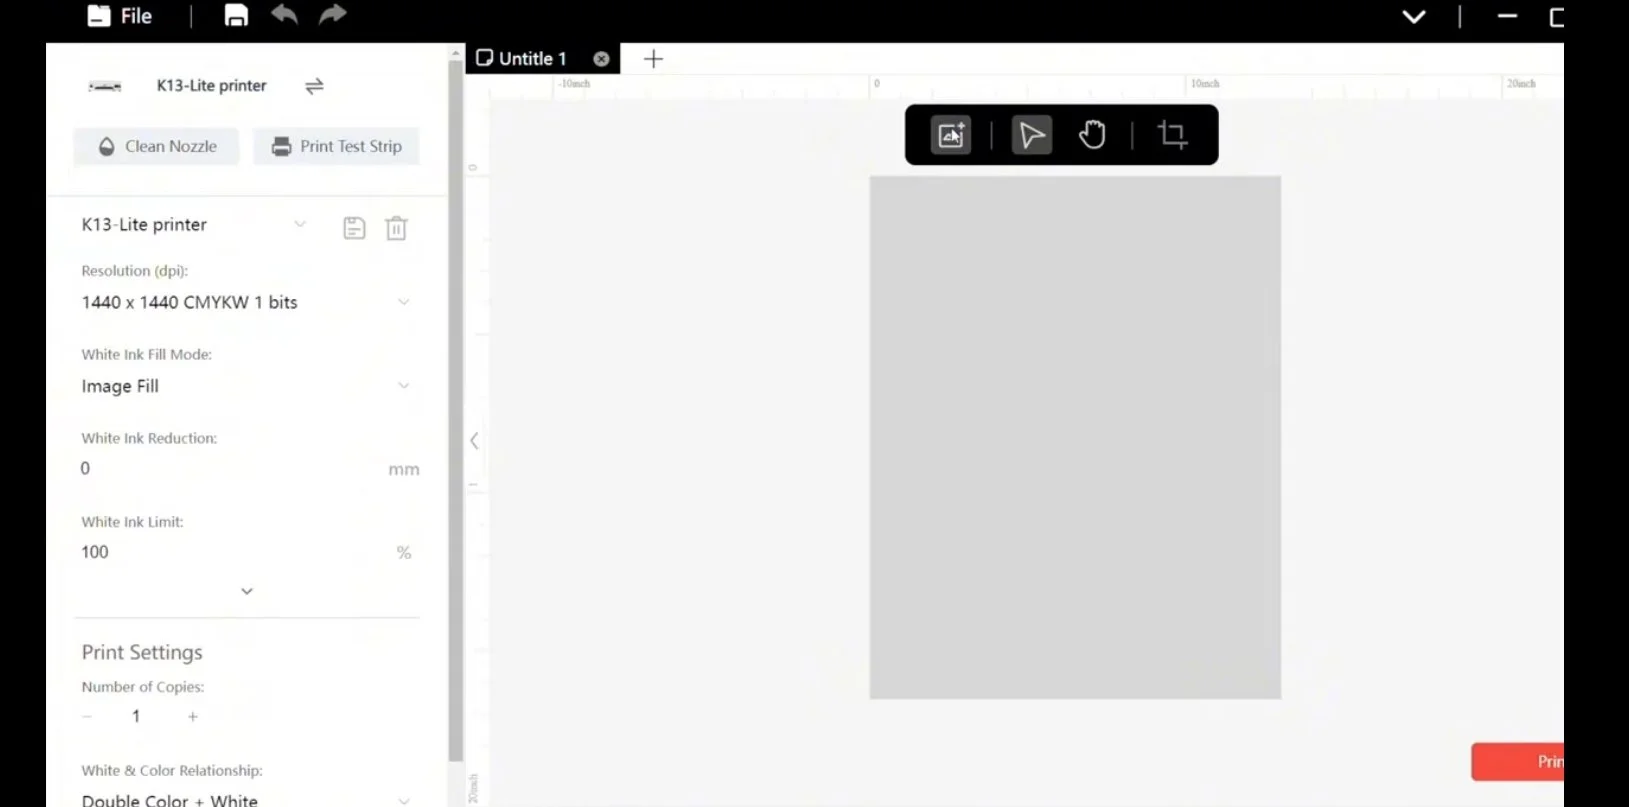
For the Procolored K13 Lite:
the printer connects to your computer via USB
a dongle needs to be plugged in
designs are uploaded into the Procolored software
The software itself is fairly basic — it’s mainly for:
uploading designs
resizing
positioning them on the film
You can print multiple designs on one sheet, which is great for efficiency.
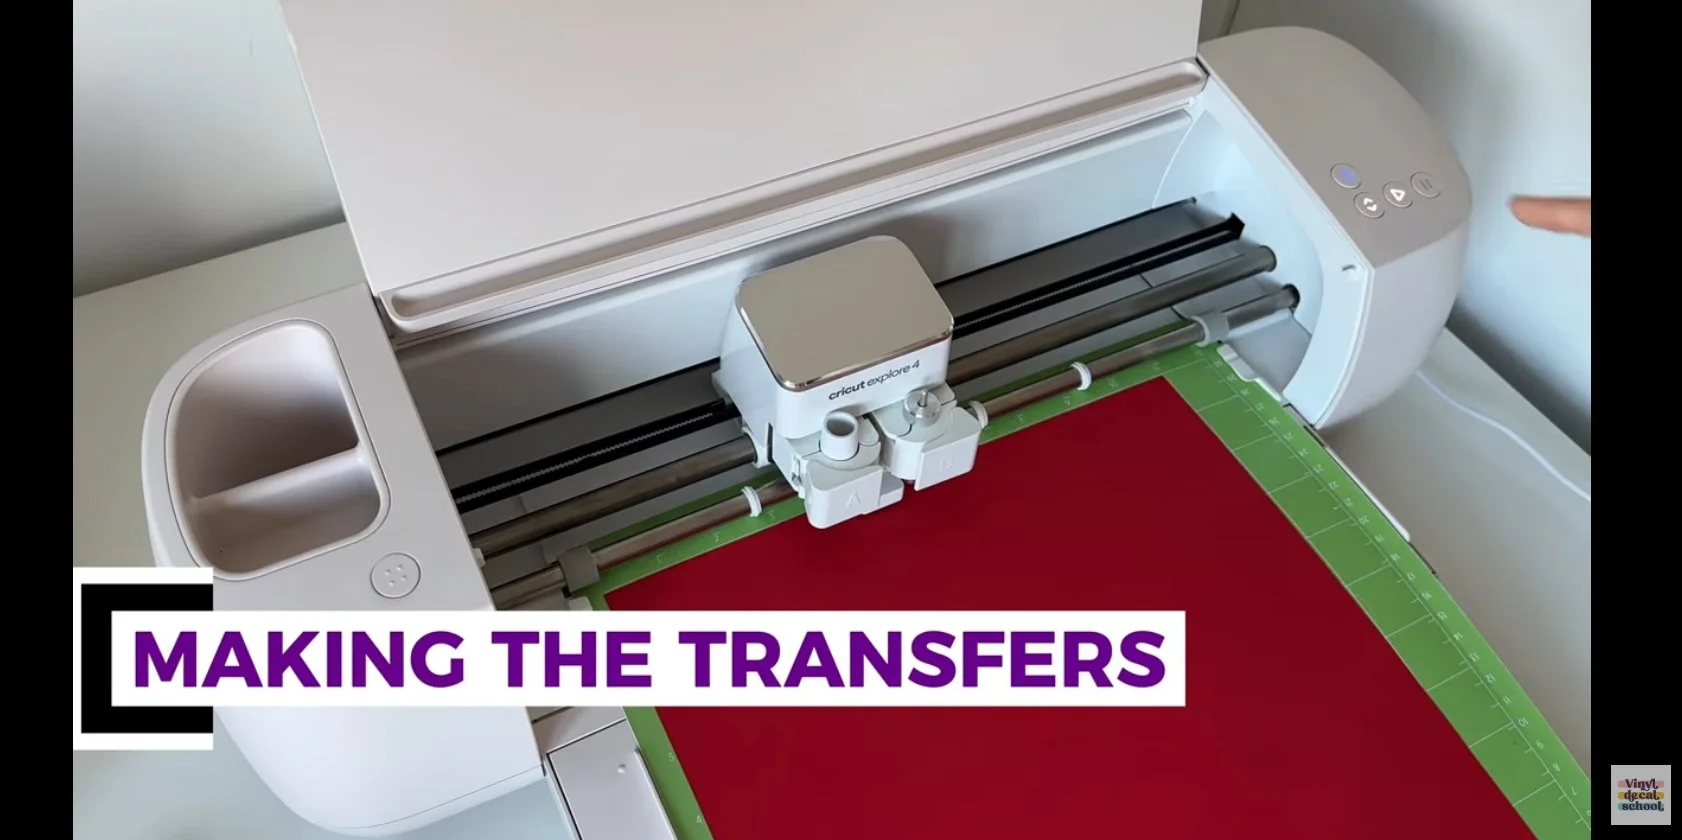
Making the Transfers
Making HTV Transfers
For HTV, the process looks like this:
Place vinyl on the mat
Cut each colour layer separately
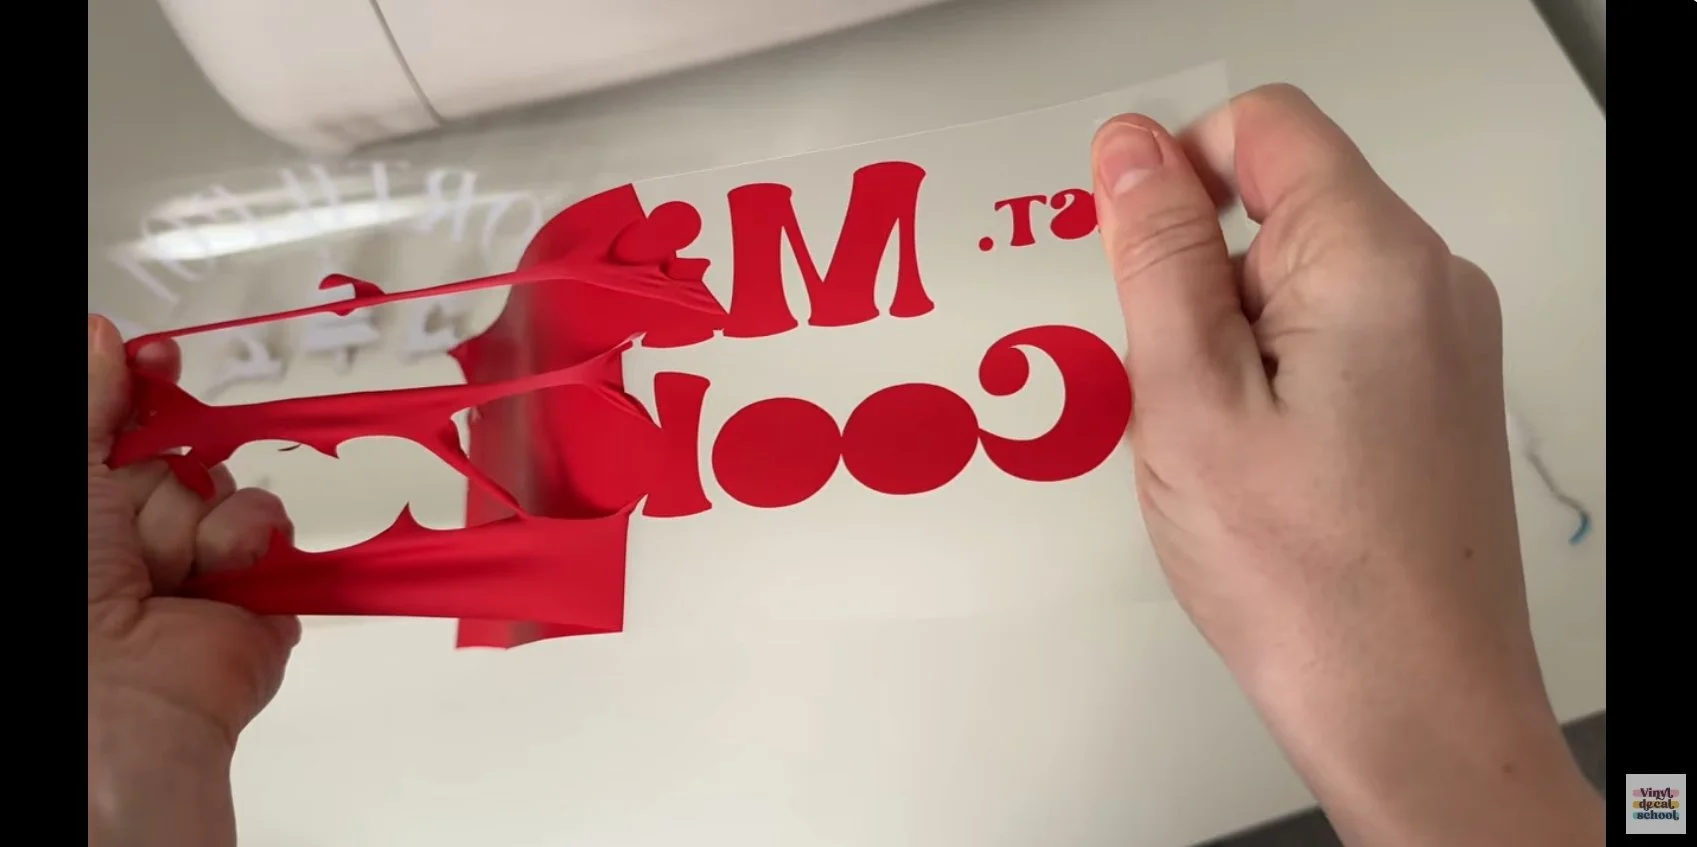
Weed every layer by hand
Weeding can be:
time-consuming
wasteful (especially with small cut-outs)
fiddly around letters and details
You also need to be careful not to leave tiny vinyl scraps on the carrier sheet, as these can accidentally transfer to your t-shirt.
Making DTF Transfers
With DTF:
Turn on the printer and let it warm up
Send the design to print
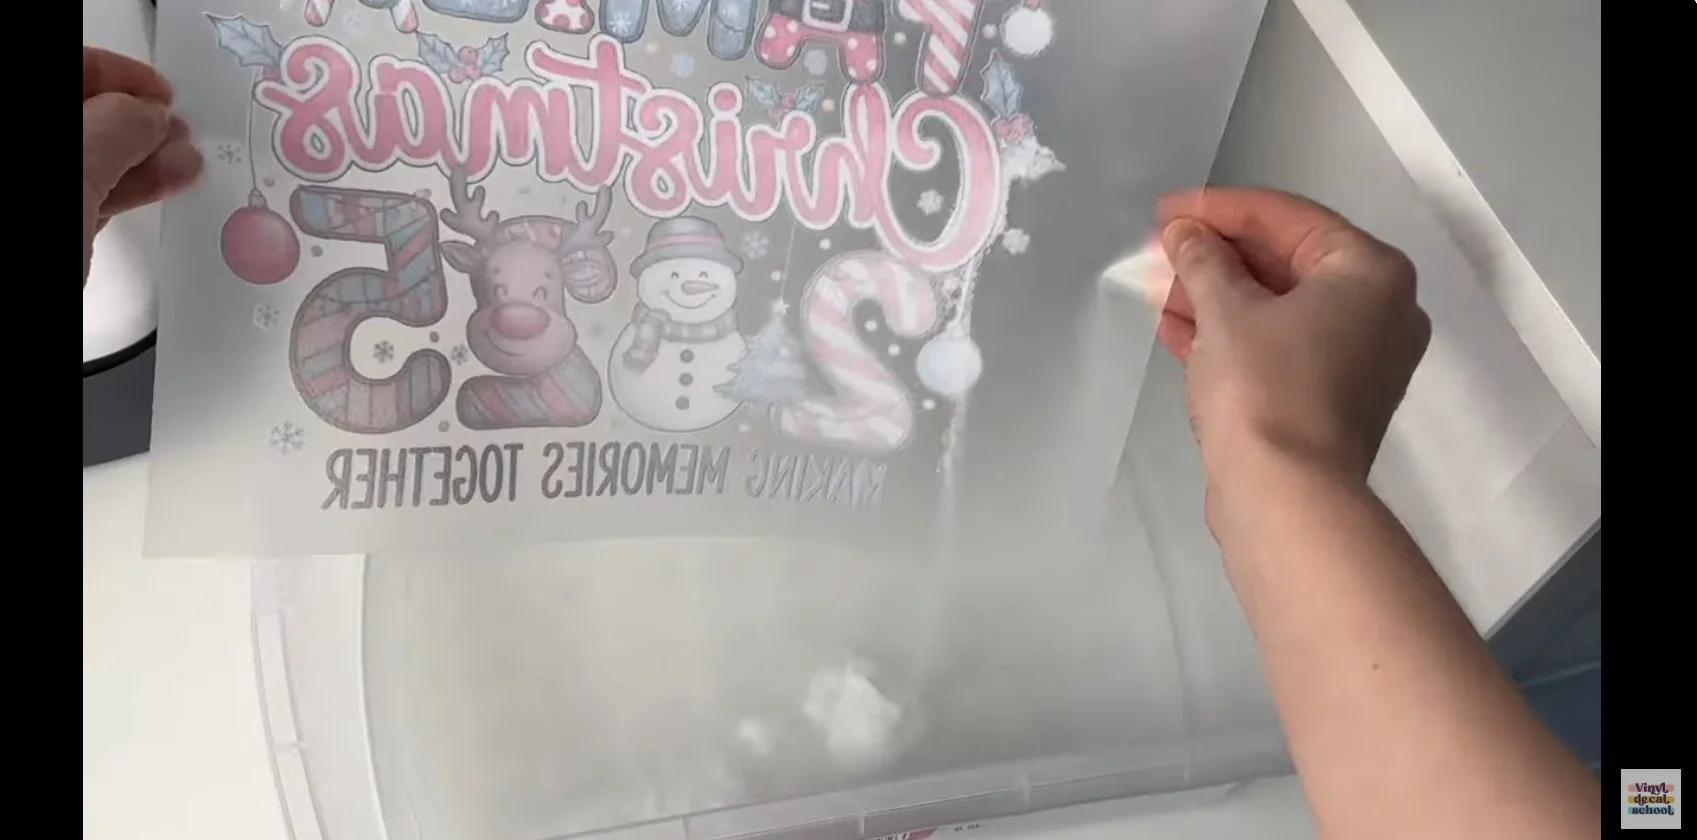
Trim the printed film
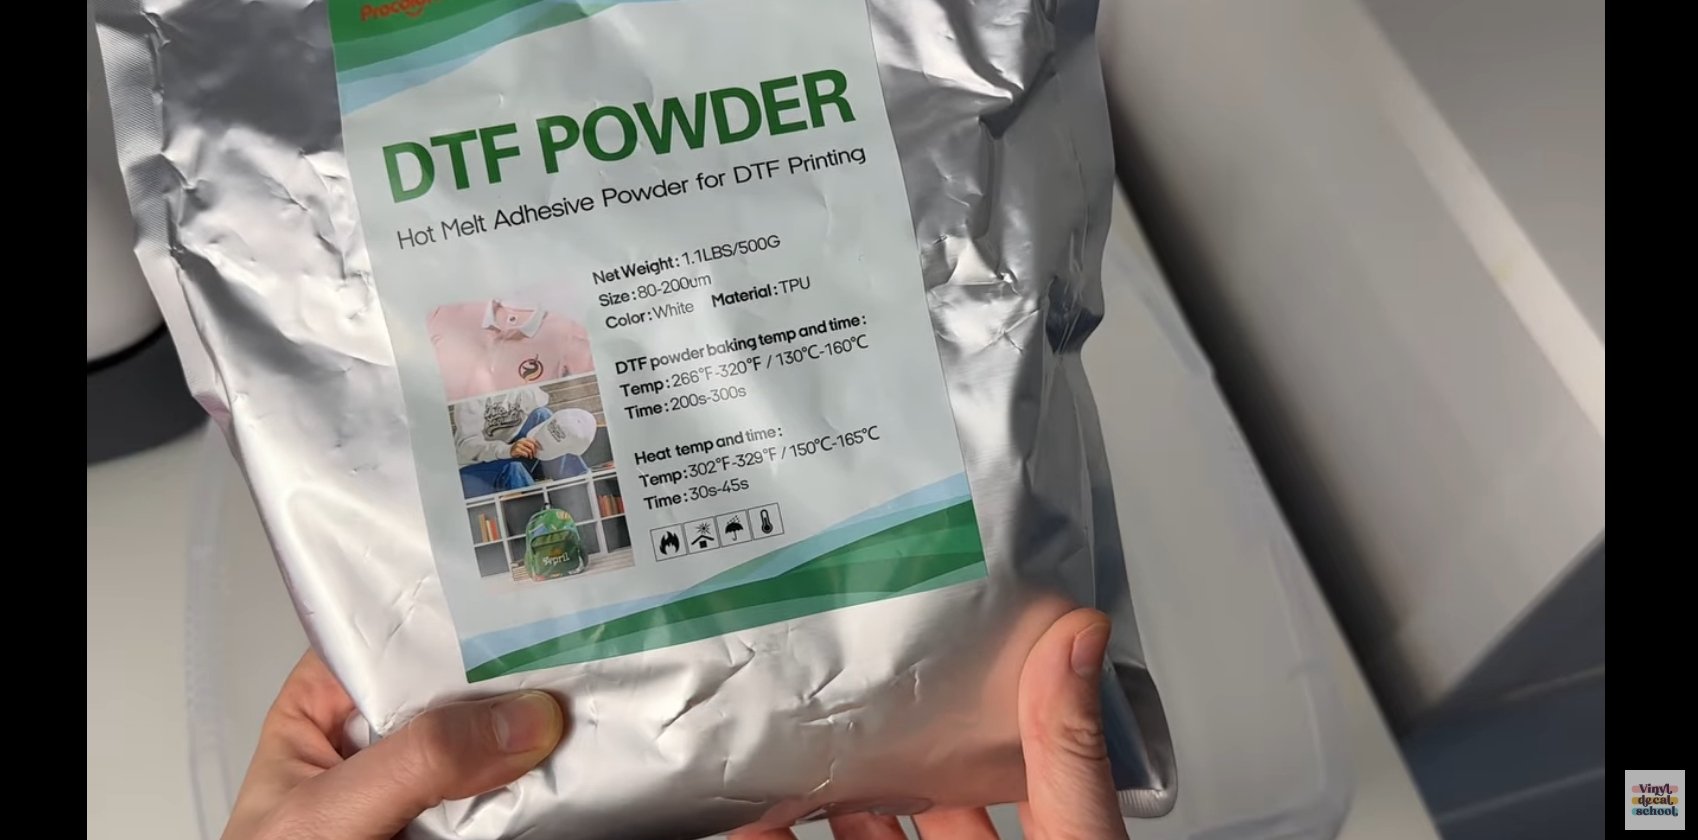
Apply DTF powder to the adhesive side
Shake off excess powder
Cure the design in a smokeless oven
The curing stage took around 200 seconds, and you’re looking for an “orange peel” texture on the back — that’s how you know it’s done.

Both HTV and DTF are technically two-step processes, but the time involved depends heavily on design complexity and machine warm-up times.
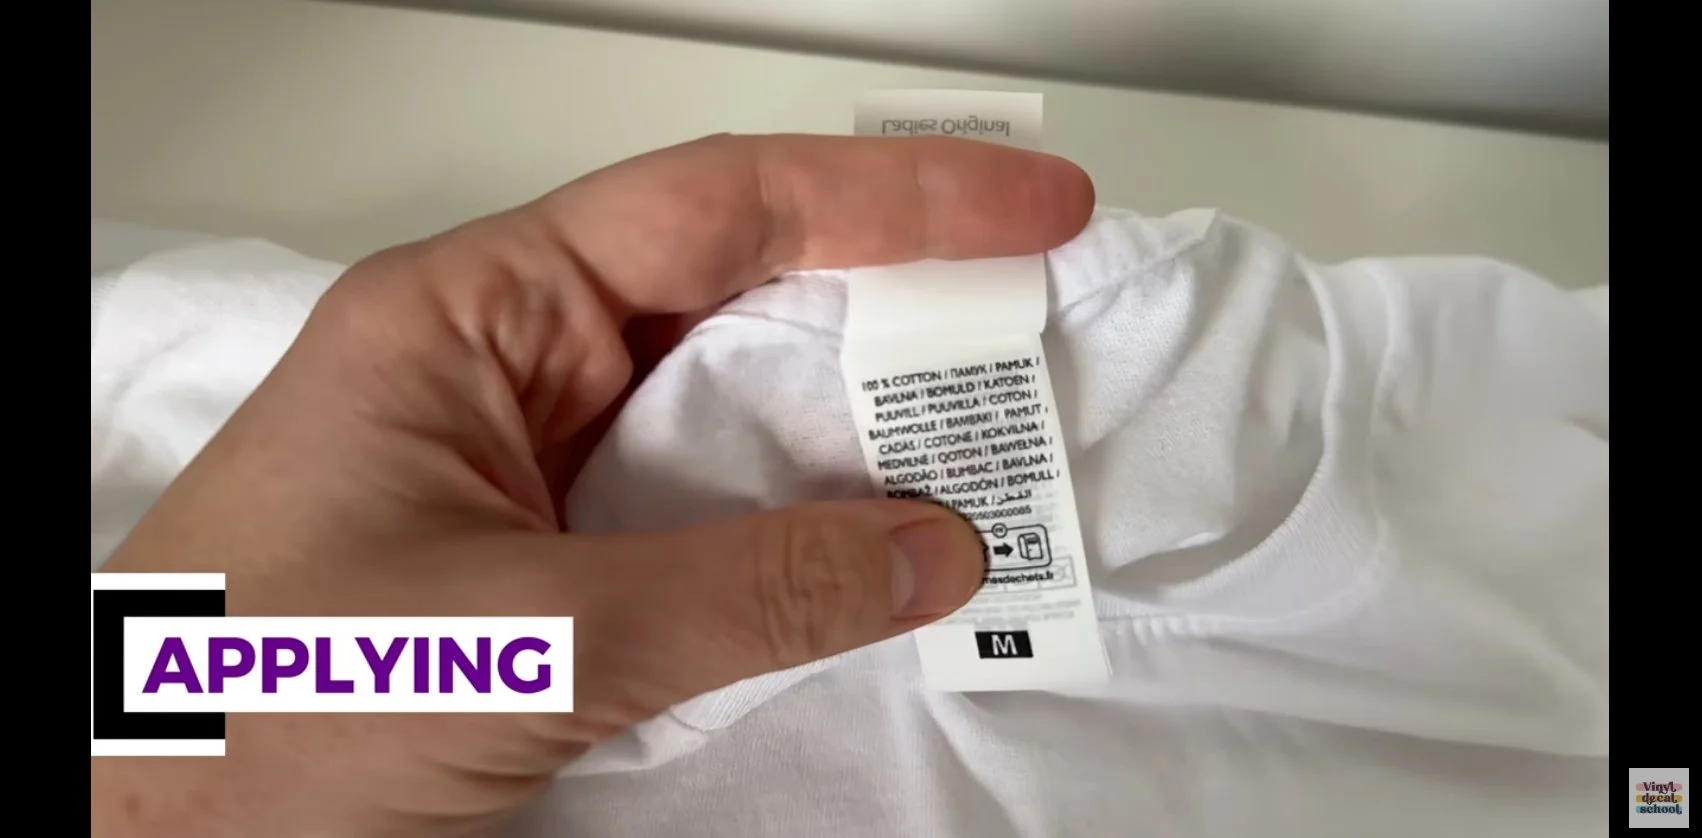
Applying to T-Shirts
I applied both designs to 100% cotton t-shirts.
Applying HTV
Line up first layer
Cover with a Teflon sheet
Heat press
Warm peel
Repeat for each layer
HTV layering requires precision and patience, but metallic vinyls do give a really beautiful sheen.
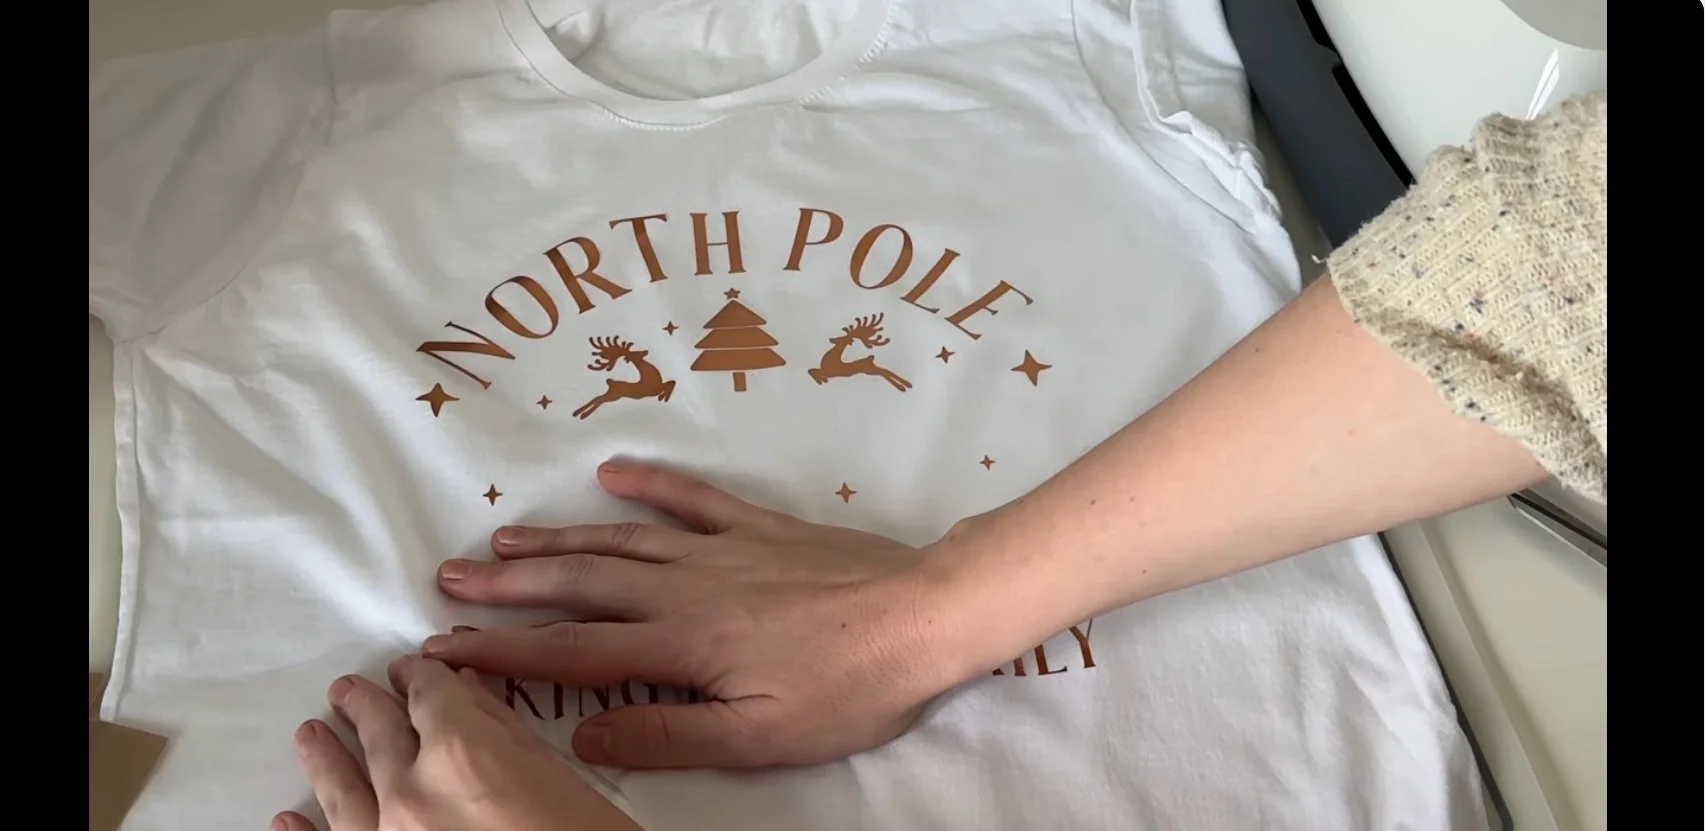
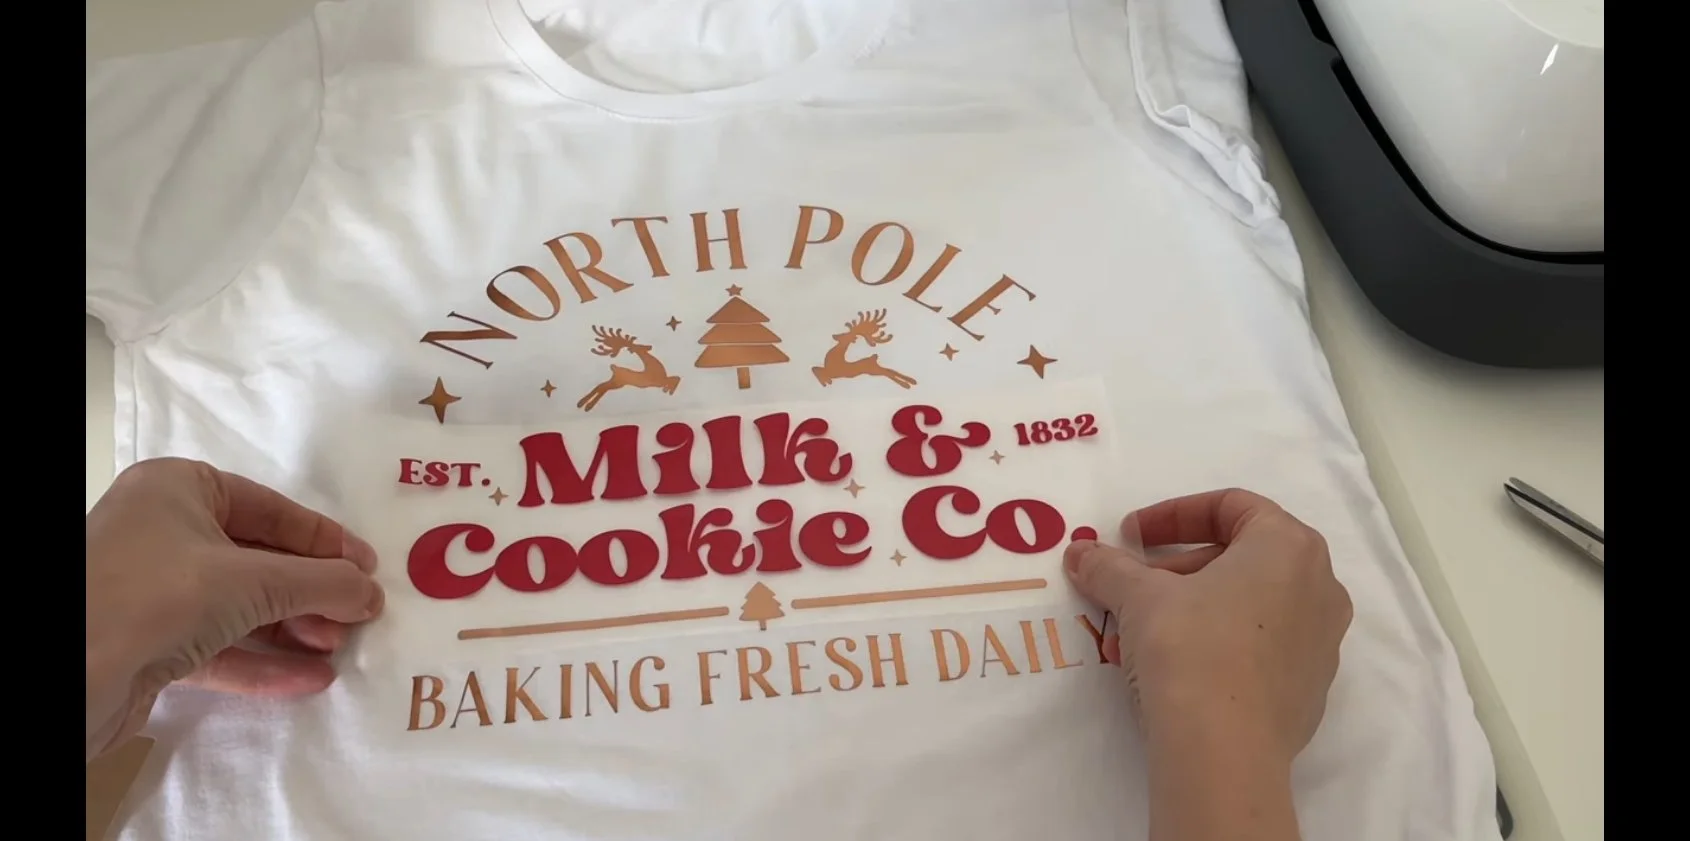
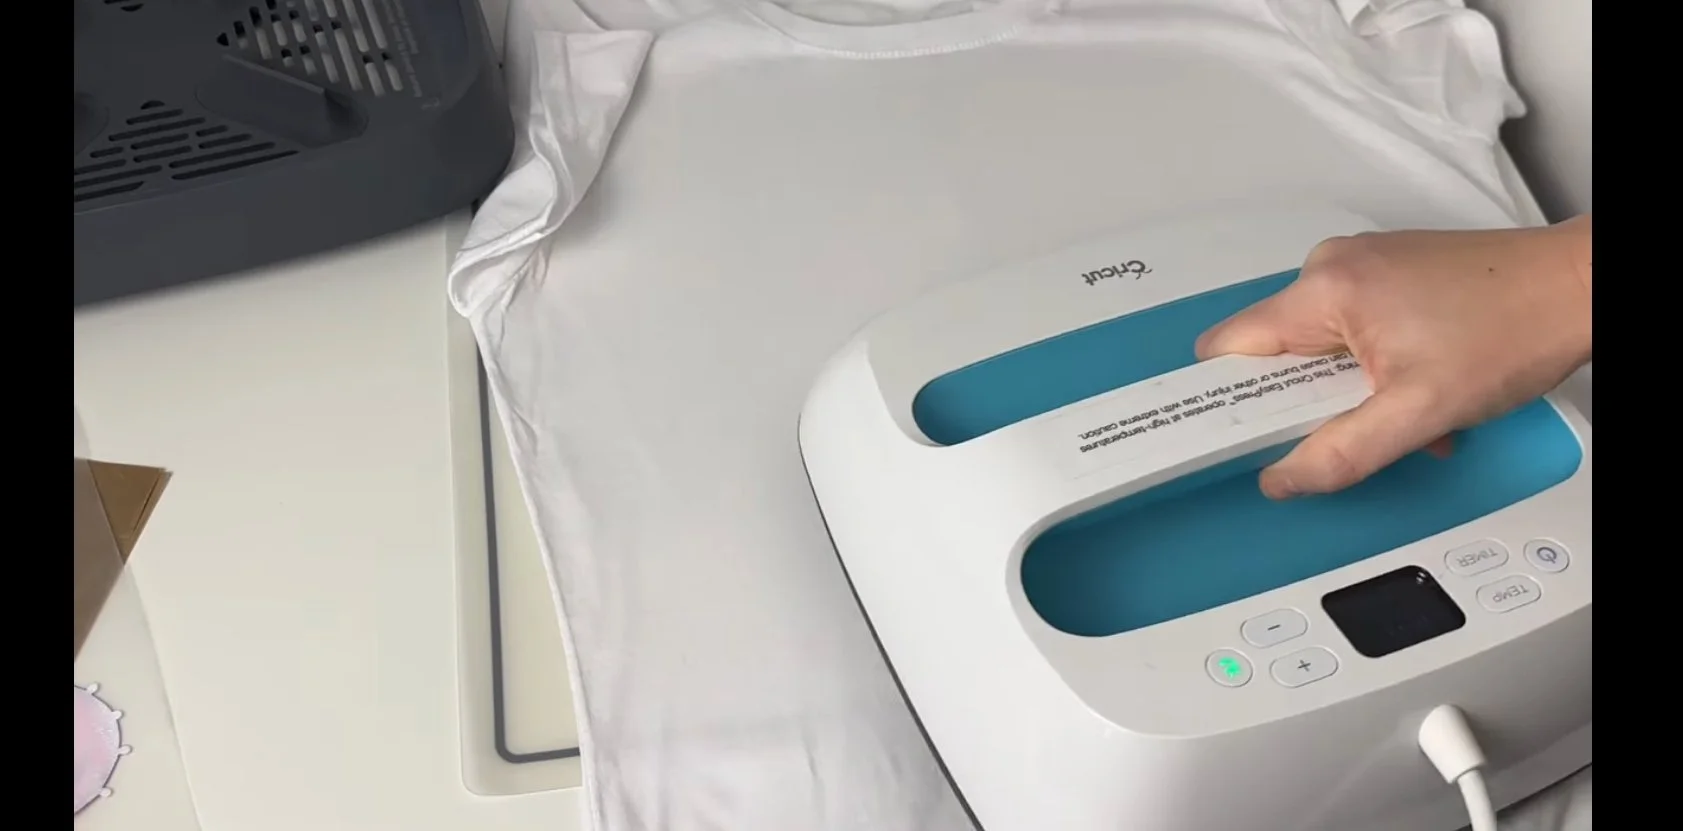
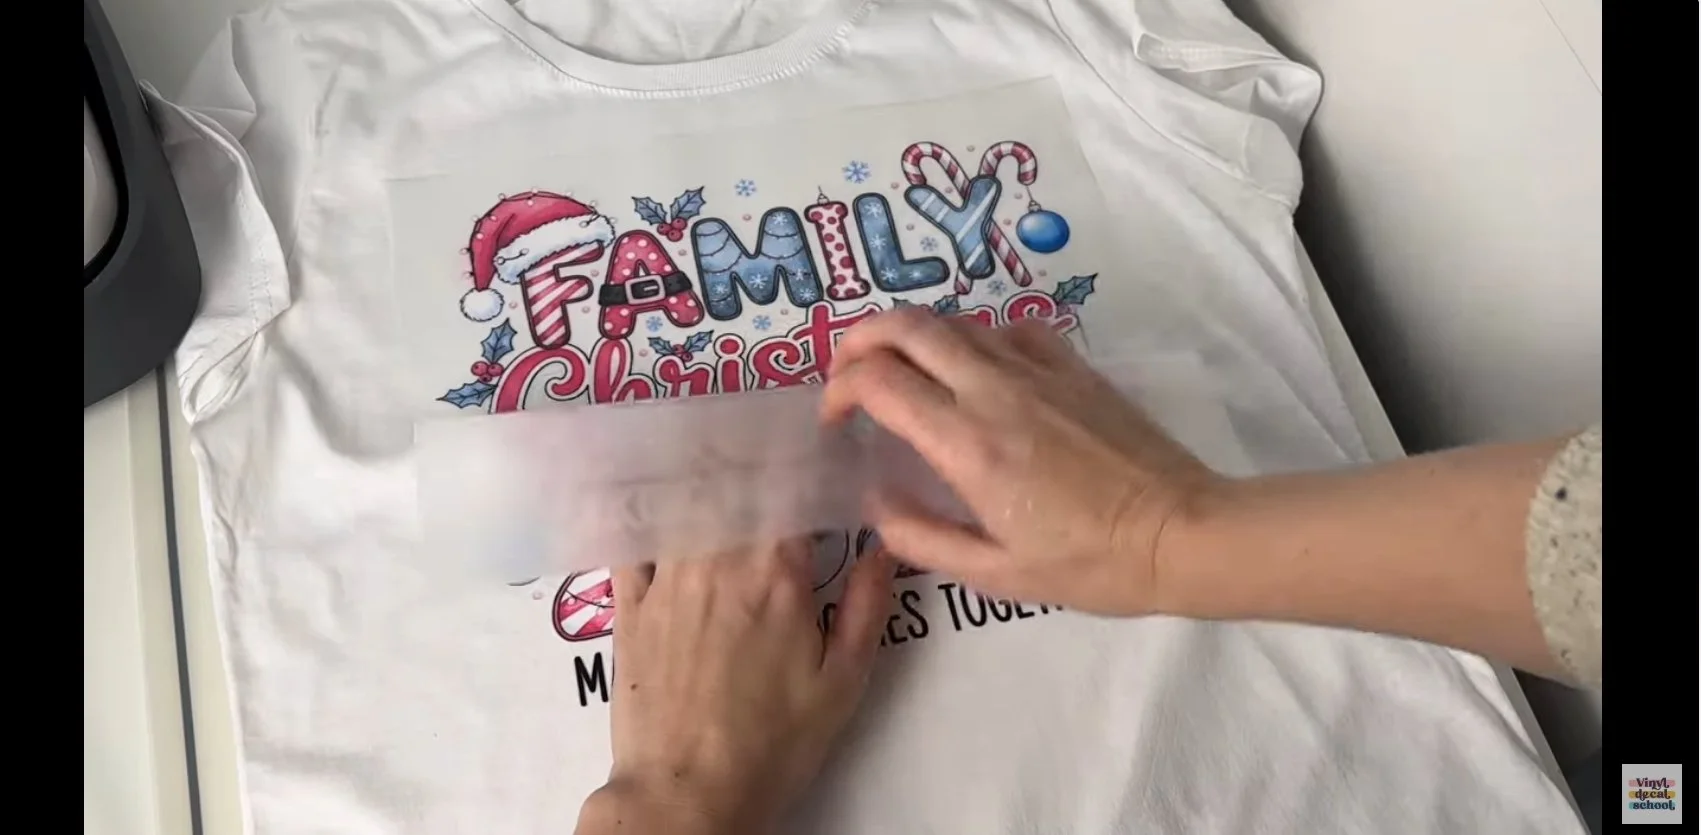
Applying DTF
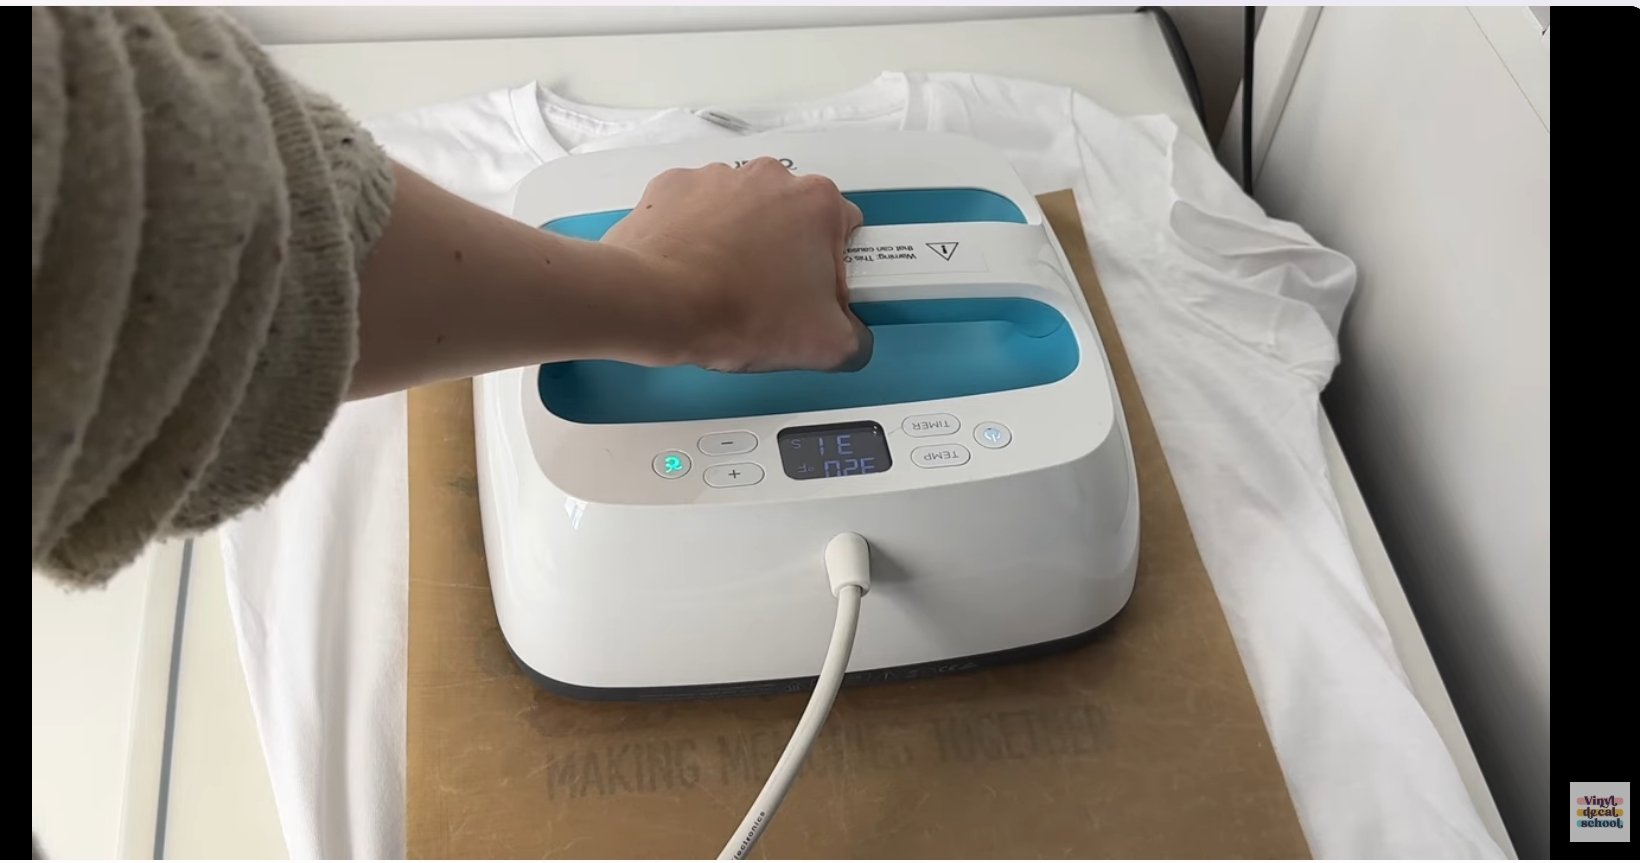
Pre-press the shirt
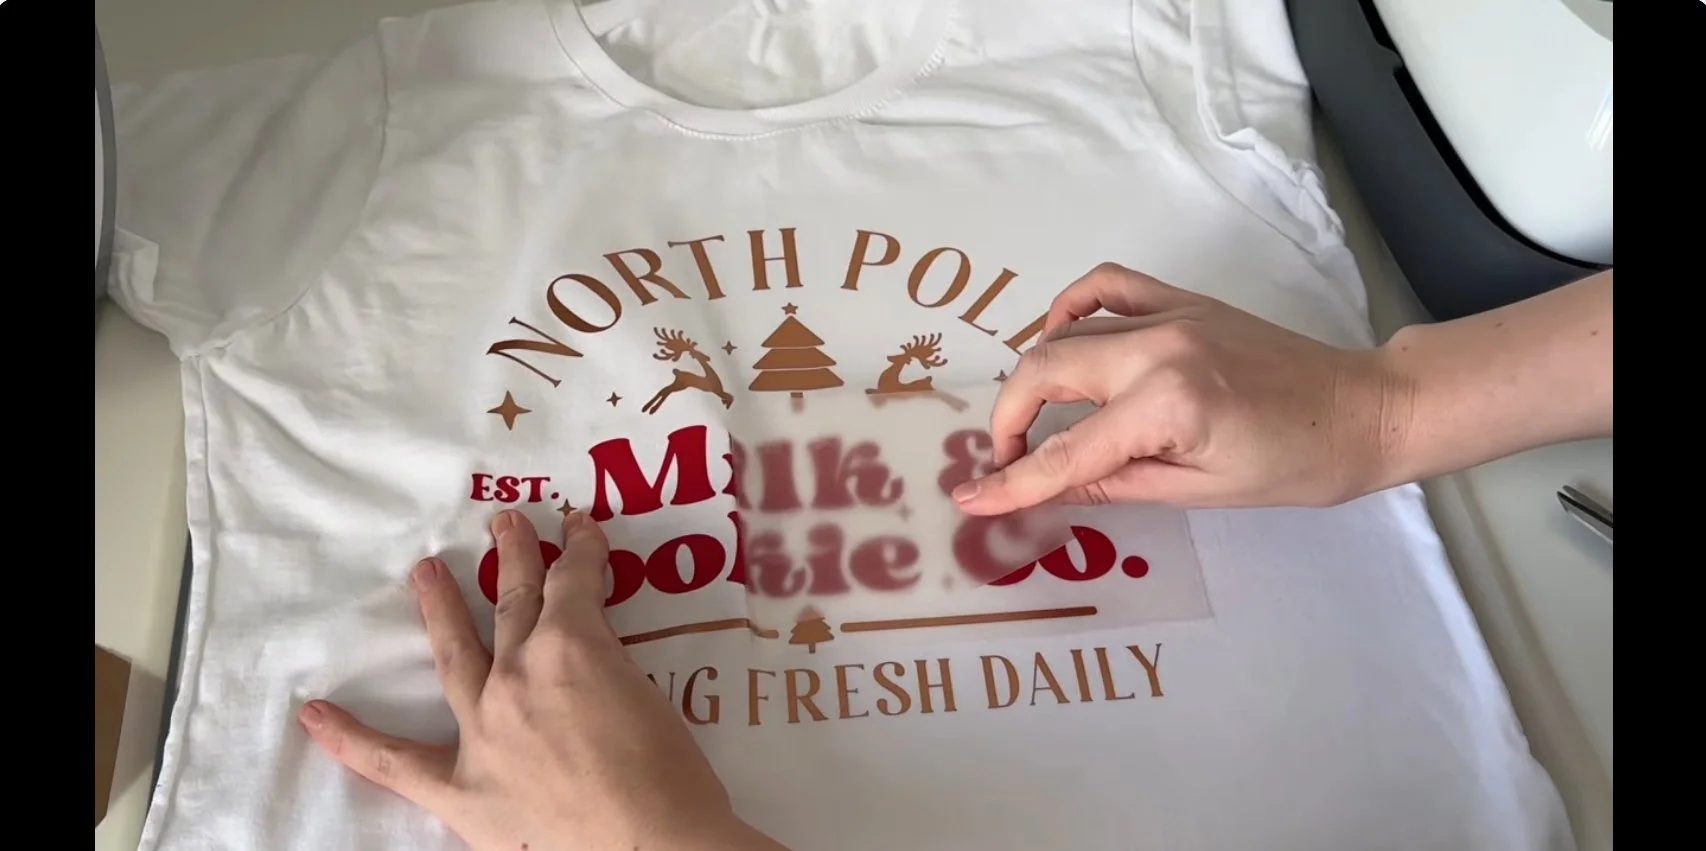
Position the transfer
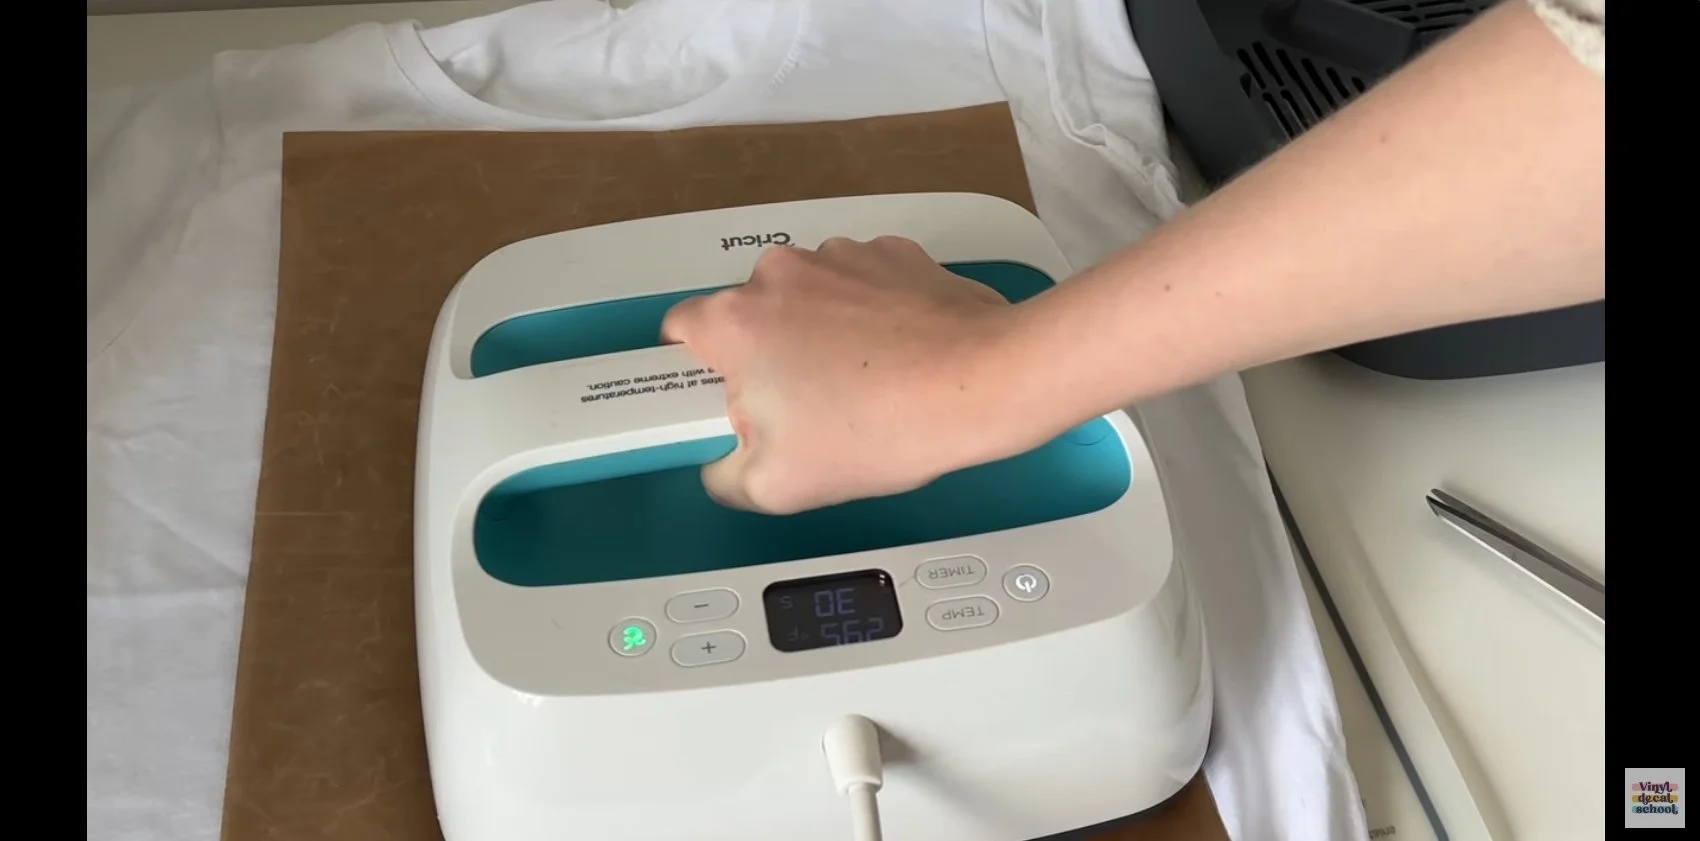
Cover and press
Allow to cool fully
Cold peel the film
The Procolored printer included a cooling block to speed this up. Some very small details were slightly trickier to peel, which is something to consider when designing.
If you plan to make large volumes of shirts with either method, a swing heat press is highly recommended for:
even pressure
consistent adhesion
faster production

The Wash Test
Both shirts were:
washed inside out
on a 30°C cycle
air dried (never tumble dried)
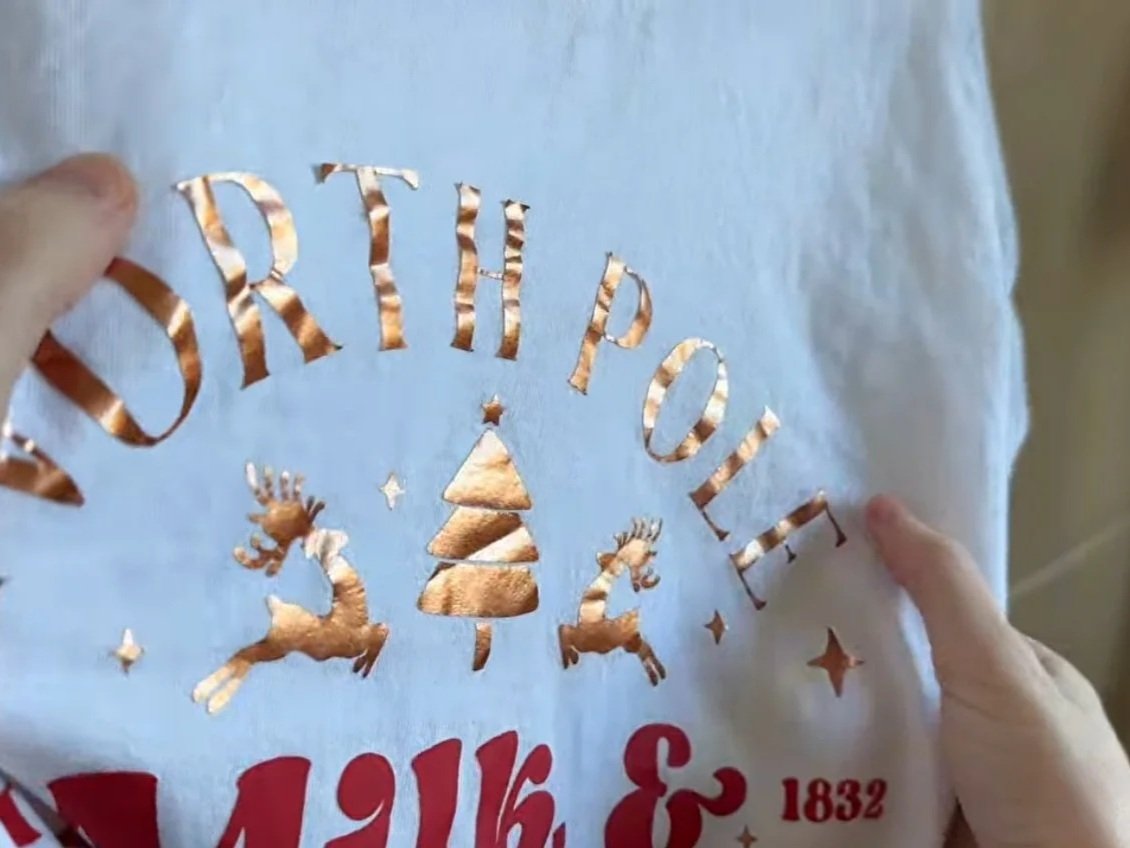
HTV Results
metallic HTV began peeling
some edges lifted
red vinyl held better than the metallic
HTV can last well, but durability depends heavily on:
vinyl quality
pressure consistency
heat accuracy
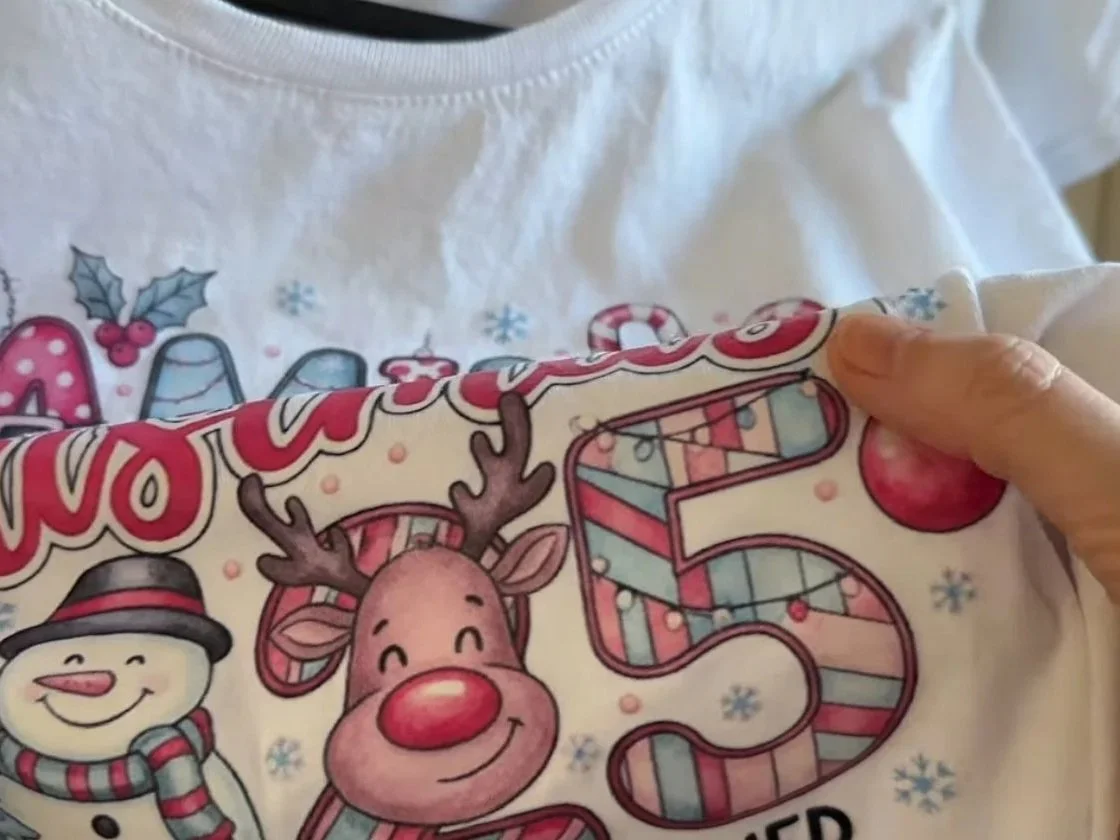
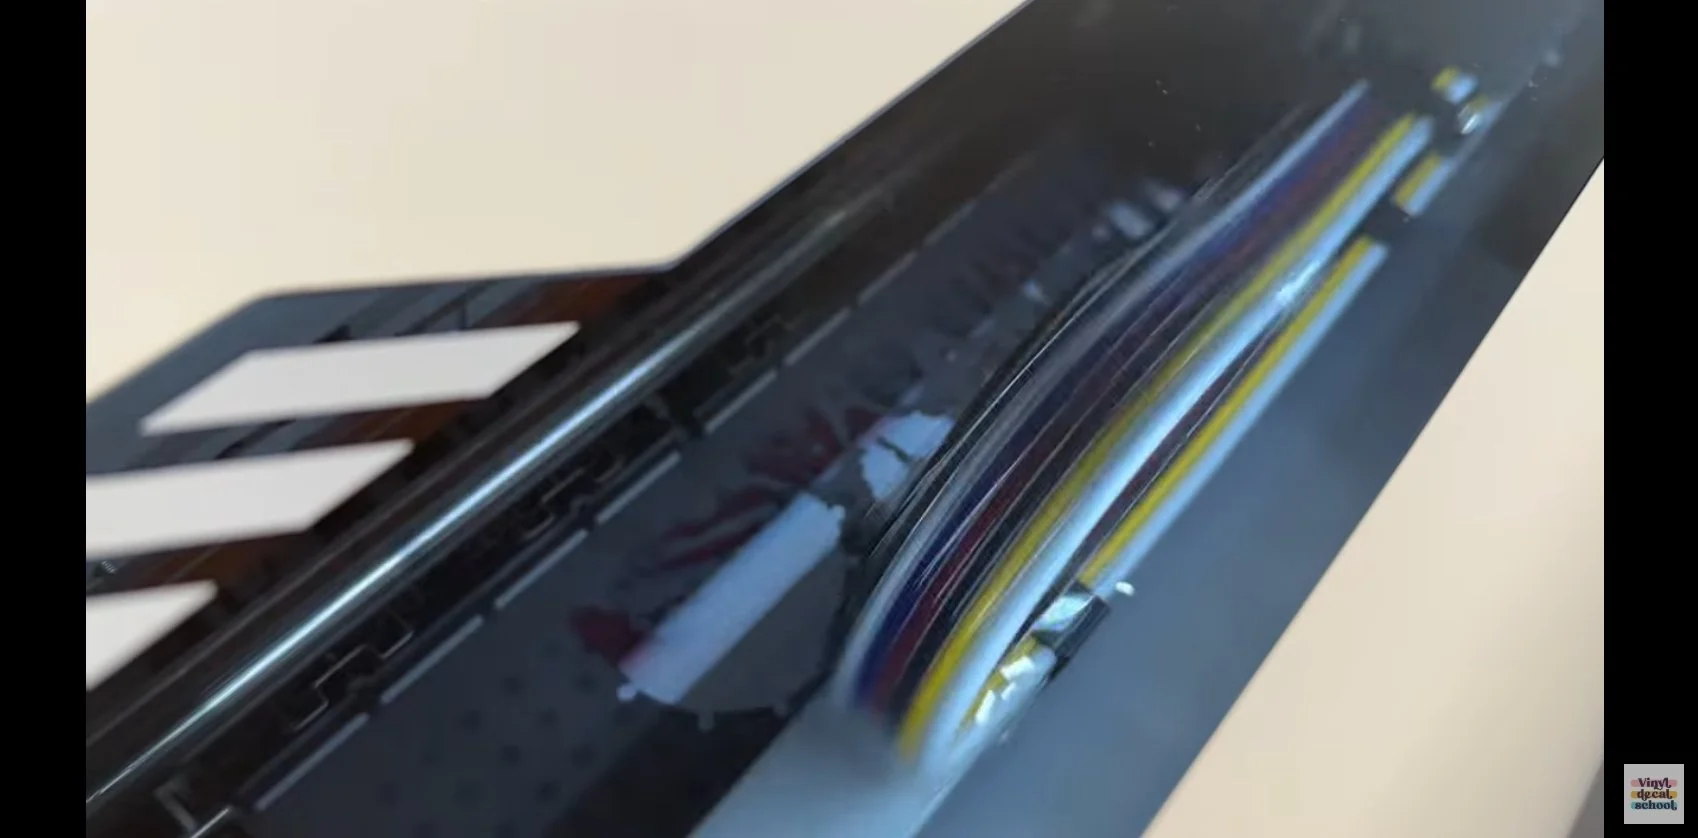
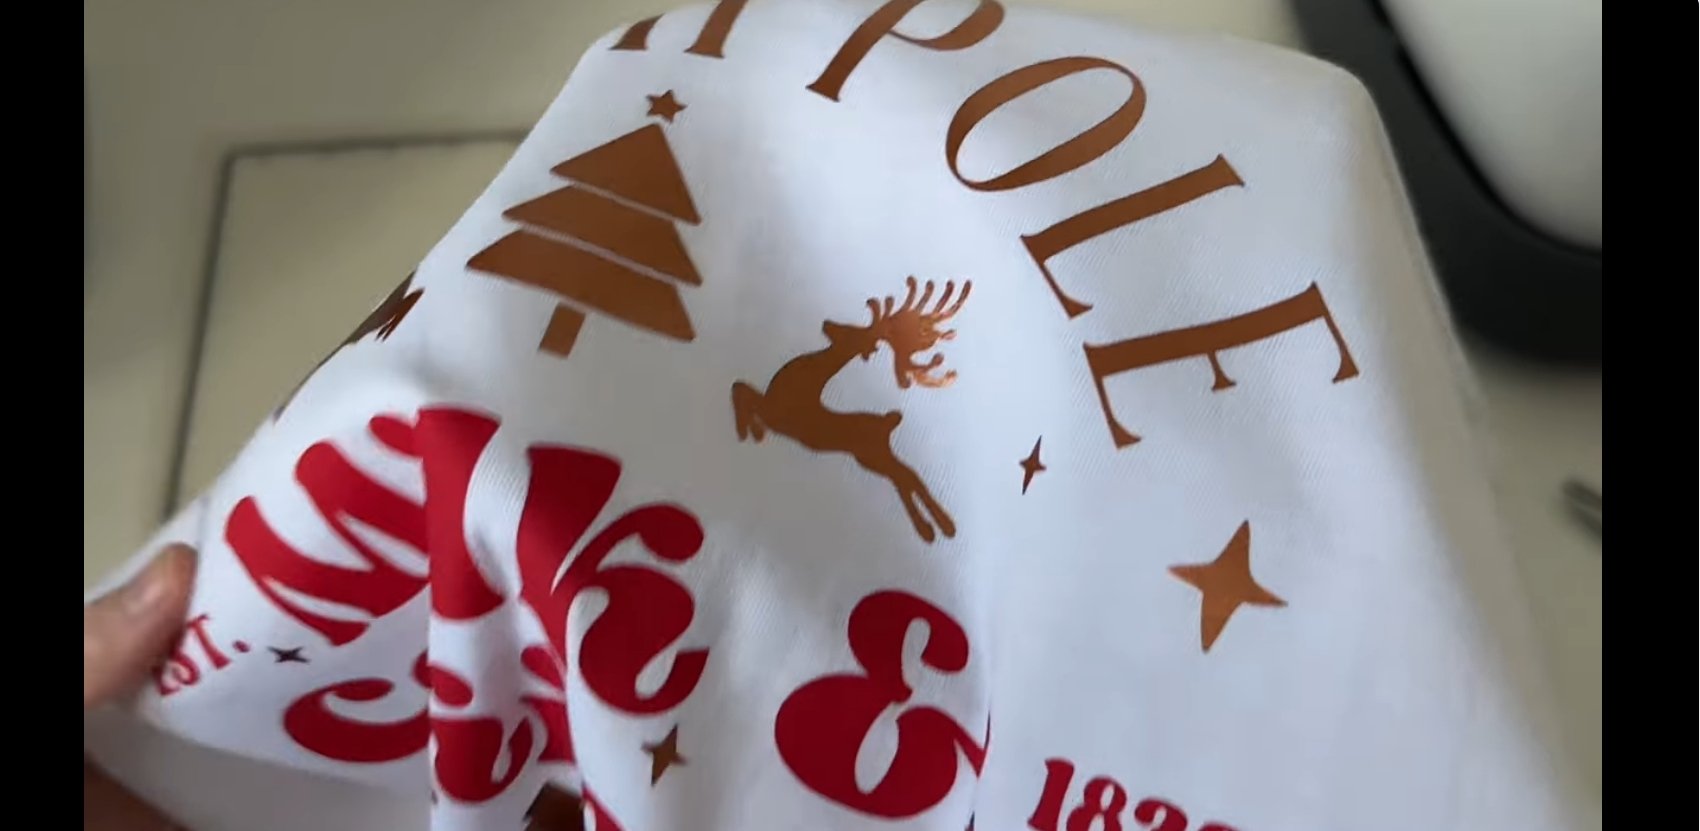
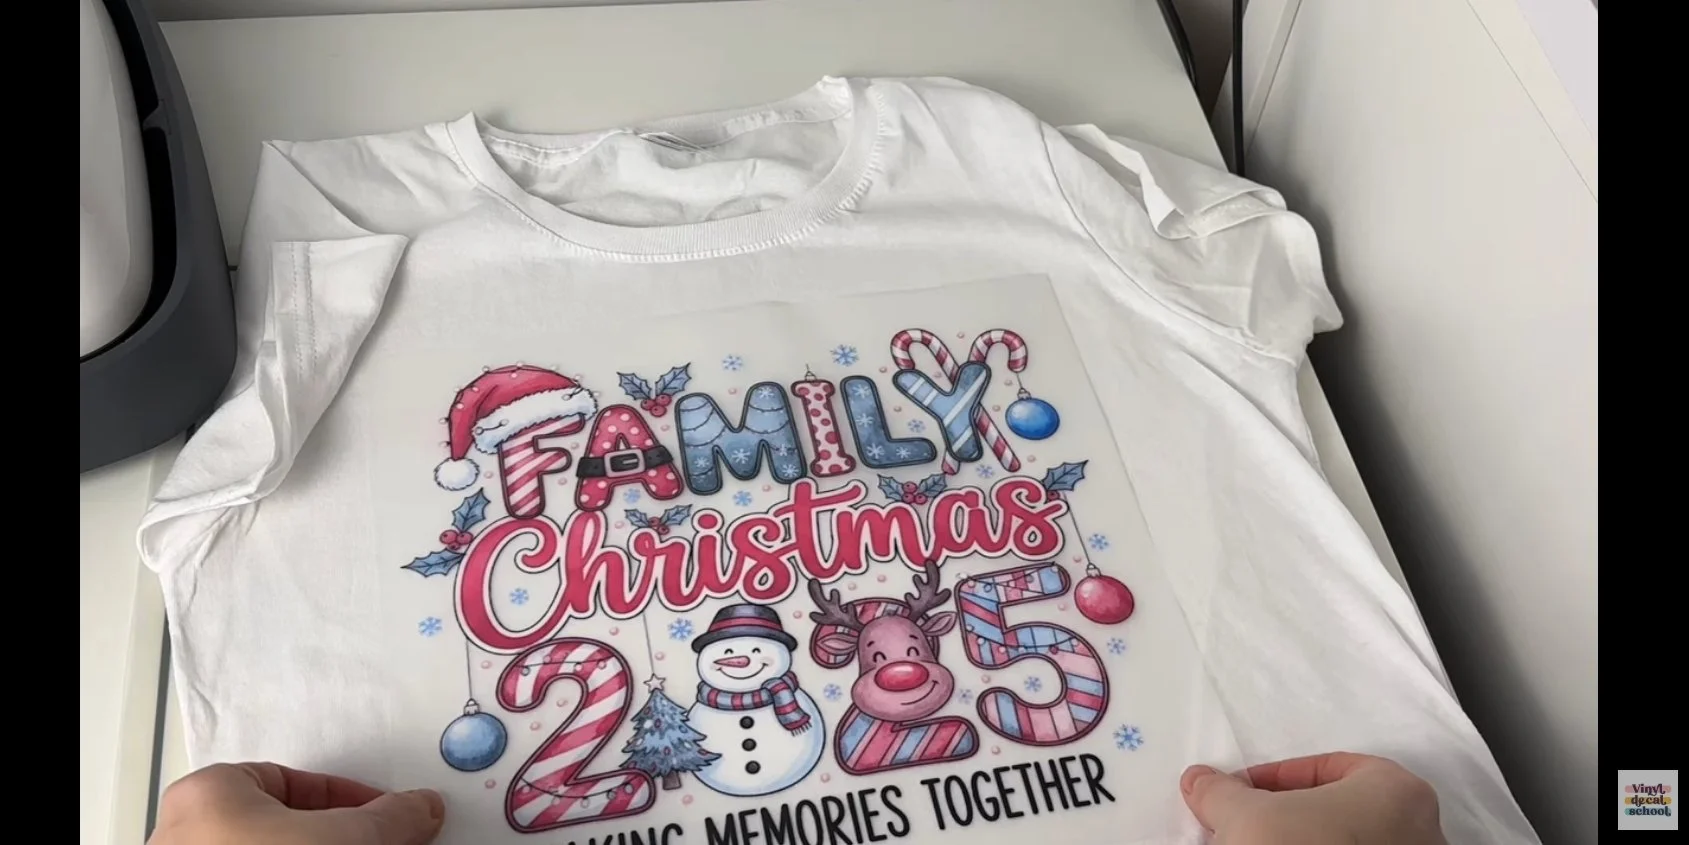
DTF Results
looked almost identical to pre-wash
small details stayed intact
only a tiny edge lifted
Overall, DTF performed significantly better in this wash test.
Pros & Cons Summary
HTV (Iron-On Vinyl)
Pros
Accessible for beginners
Lower startup cost
Specialty finishes (glitter, puff, metallic)
Cons
Limited to single-colour or layered designs
Time-consuming weeding
Can be less durable over time
DTF (Direct to Film)
Pros
Full-colour designs
No weeding
Excellent durability
Ideal for bulk production
More competitive for modern designs
Cons
Higher upfront machine cost
Some maintenance required (though minimal on the K13 Lite)
Customer support helped me quickly fix a colour issue using provided tools, and after that the prints were vibrant and accurate.
Cost Comparison (UK Example)
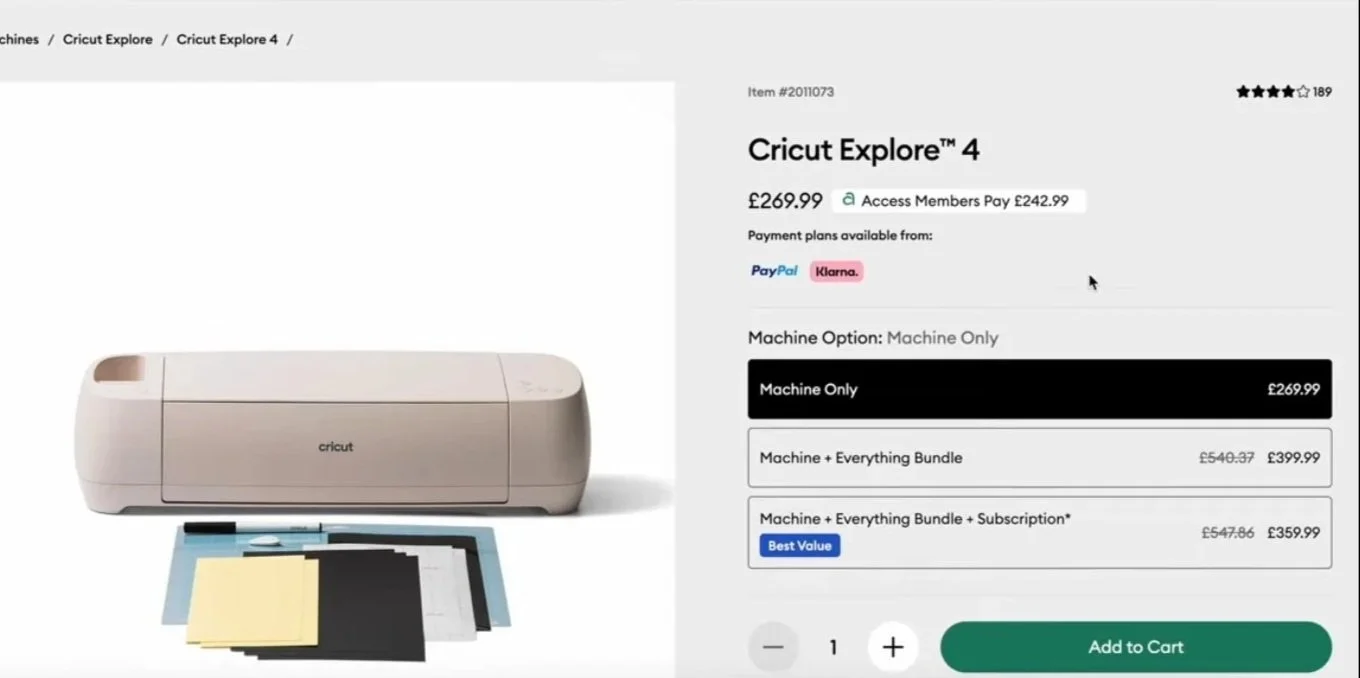
HTV Setup
Cutting machine: ~£270
HTV vinyl: ~£5.95 per metre
10 colours + shipping: ~£67
Costs scale up quickly with layered or specialty vinyls.
DTF Setup
Procolored K13 Lite: ~£2242 (on deal)
Includes ink, powder and film
100m film roll (much longer than vinyl rolls)
~400 A4 prints per ink set (approximate)
Although the upfront cost is much higher, DTF becomes cheaper per print over time — especially for multi-colour designs.
And when you look at marketplaces like Etsy, most best-selling t-shirts are already full colour, which DTF makes much easier to compete with.

So… which should you choose?
Ask yourself:
Who are my customers?
Do I need full-colour designs?
Am I selling one-off shirts or bulk orders?
What can I realistically afford right now?
If you’re just starting out, one smart option is to:
order DTF prints from a supplier
test demand
then invest in a printer later
Final Thoughts
There’s no “one size fits all” answer.
HTV is brilliant for beginners, logos, and textured designs
DTF is ideal for scaling, durability, and competing visually
So… are you Team HTV or Team DTF?
Let me know what you’d choose, and why! If you found this helpful, keep an eye out for more craft business tutorials, comparisons, and honest reviews.