

How To Convert A Photo Into An SVG
So I've wanted to do this post for quite a while but I've never really found an accessible online tool that I was 100% happy with until I came across this one below! So this isn't sponsored or anything I just really like the tool and I wanted to share it with you all.
So either watch the video here…
The below content contains affiliate links and we may earn a commission if you shop through them, however this won't cost you anything, it just helps us to keep the site running for free. For more information on affiliate links, see the disclosure here.
Or follow the instructions below…
Open The Website
The tool we are going to be using is called Cute Cutter…
It is free at the moment as it is in the beta testing stage, but obviously if you're using it a lot or for business then do consider buying them a coffee to say thank you!

Upload and Prepare Your Image
Click the Get Started button then upload a JPEG image of a pet portrait or a person's portrait.
I'm just going to look for one on Unsplash of a dog. You need the background to not blend in with the portrait ideally, so something with a light or dark background should work well. I'm going to go for this little puppy because that one is in focus, whereas the background is out of focus, so hopefully, it should work well.

Image by TR Photography on Unsplash

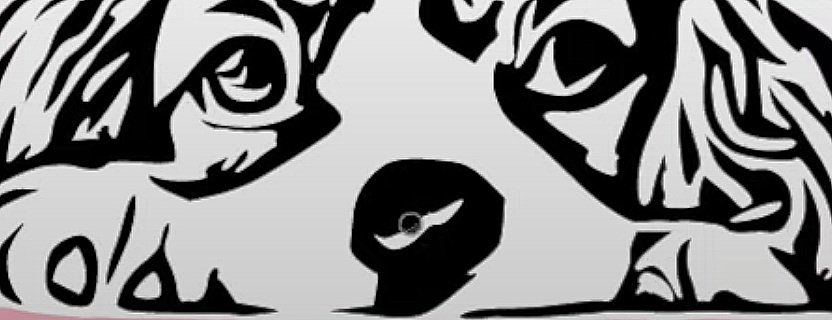
Once you upload it, it will probably look like this.

You want to get rid of the background first.
Use the green ‘Mark Foreground’ button to mark what you want to keep. You shouldn’t need to be really accurate with that, it picks it up really well.
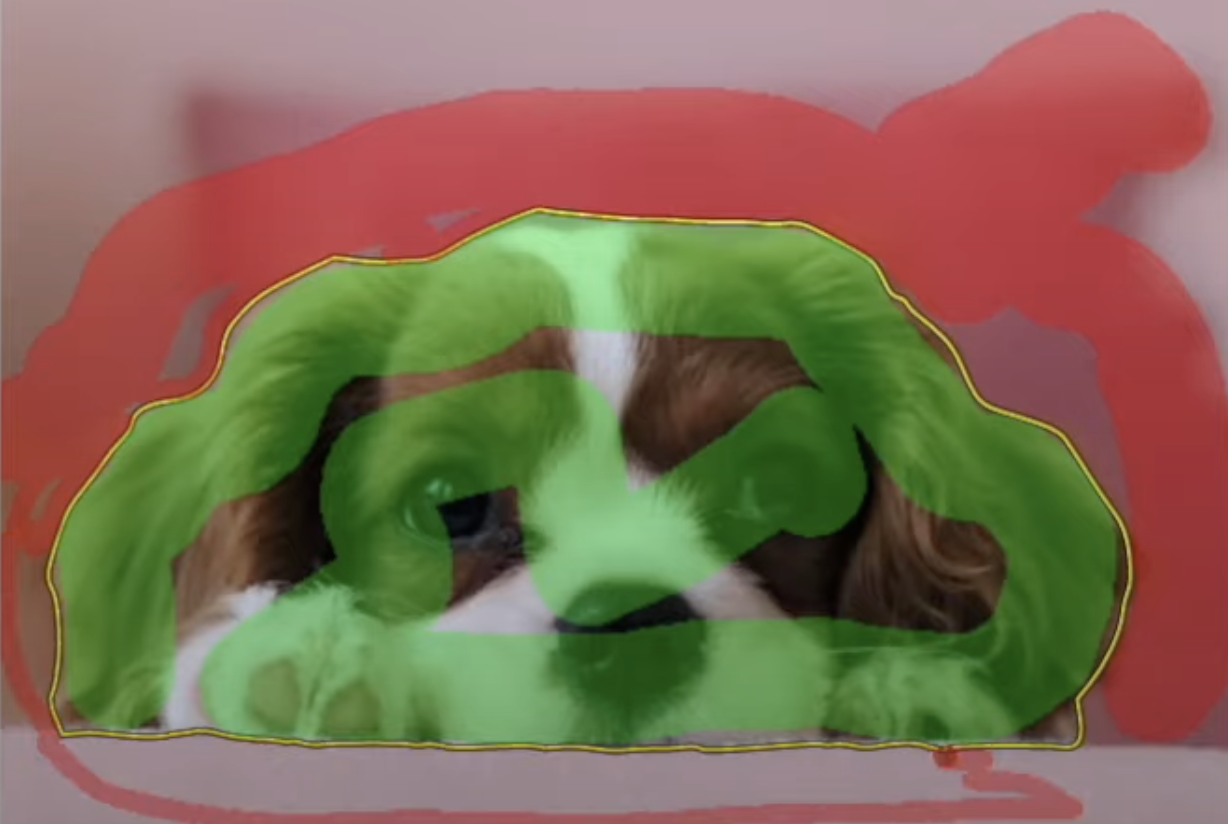
Use the red ‘Mark Background’ button to mark the background of the image.
Again, it picks it up really well.
Work your way around the subject making sure you get all the little bits. You might need to make the brush a little bit smaller just so you can get in all the nooks and crannies. Just be careful you don't go over the main part that you want to keep. as you can see kind of does a lot of it for you.
Then once you're done just press ‘Done’ and that will remove the background.
Refine Your Image

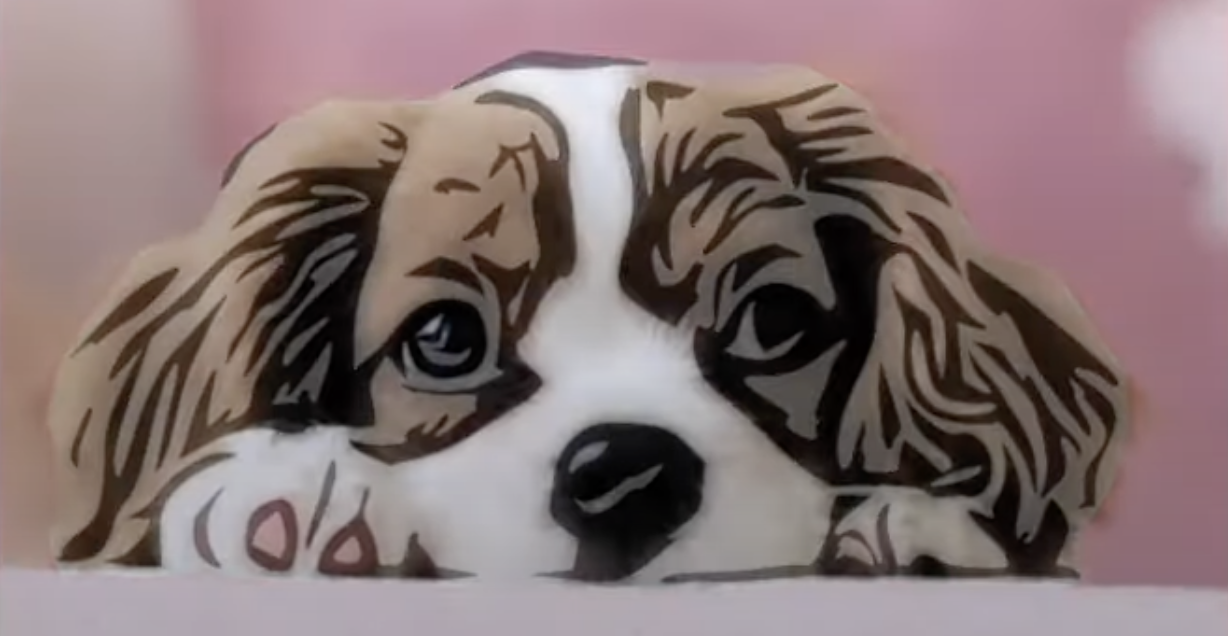
If you want to just check what the original photo looks like use the slider at the top, you won’t lose any integrity.

Use these buttons to get your details
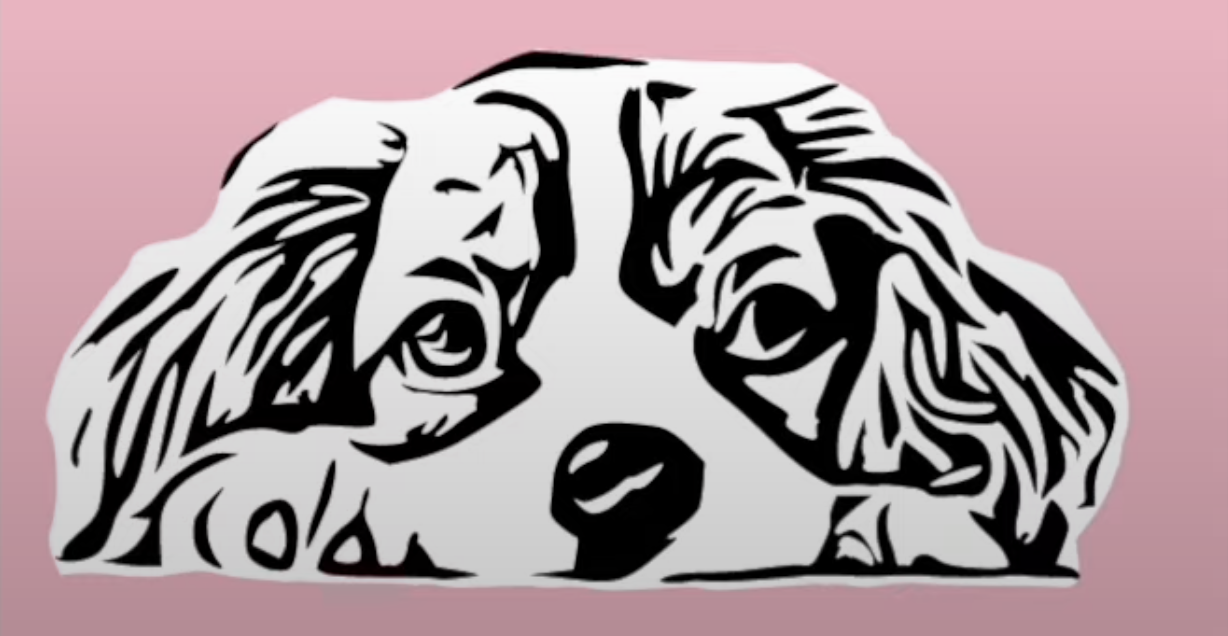
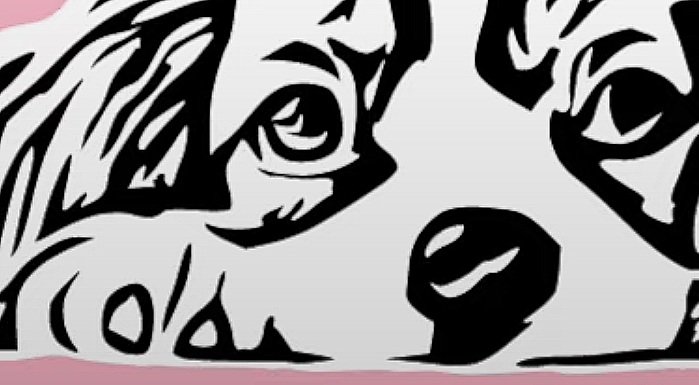
Use the Edge Contrast to bring all of the details out.
Then use the Blur to make it a bit smoother. Remember when you're cutting this in vinyl you don't want too many little bits and pieces.
You can also remove those little speckly bits by the Remove Speckles slider and then bring the Threshold up and down as well.
Just play with these sliders until you're happy with an image that is both easy to cut in vinyl, but you can also see the details of the original photo. And it's going to look right when you apply it as well.
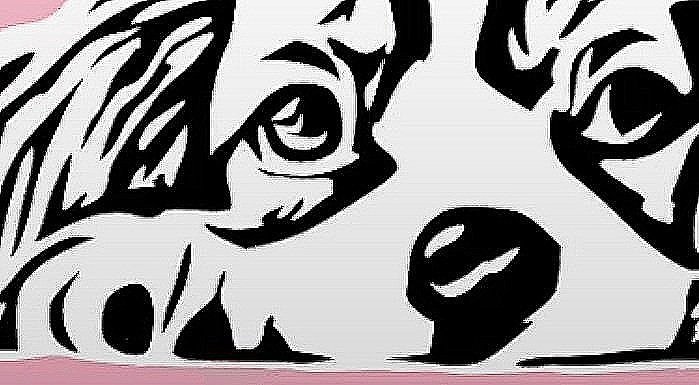
Use the slider at the top to just make sure it looks like the original photo. I think it does.
You can also use the touch-ups section if you want to make sections a little bit easier to cut by rounding them out.
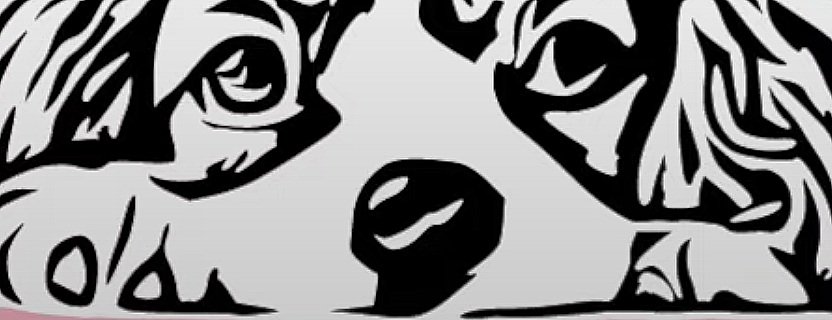
There's also the ‘Fill’.
If there are some sections you think will look fine filled, it will be easier for you to weed.
Then you come to the ‘Layers’.

It has put it into three layers for you.
There's the background (bottom image),
Behind the photo (middle image),
and the main picture (top image).
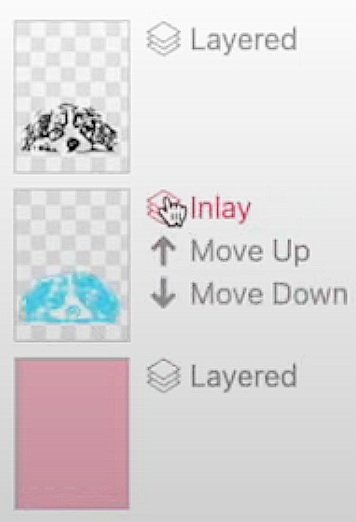
If you change that to ‘Inlay’ it will give you a reverse of the image, but we're going to keep it as ‘Layered’.

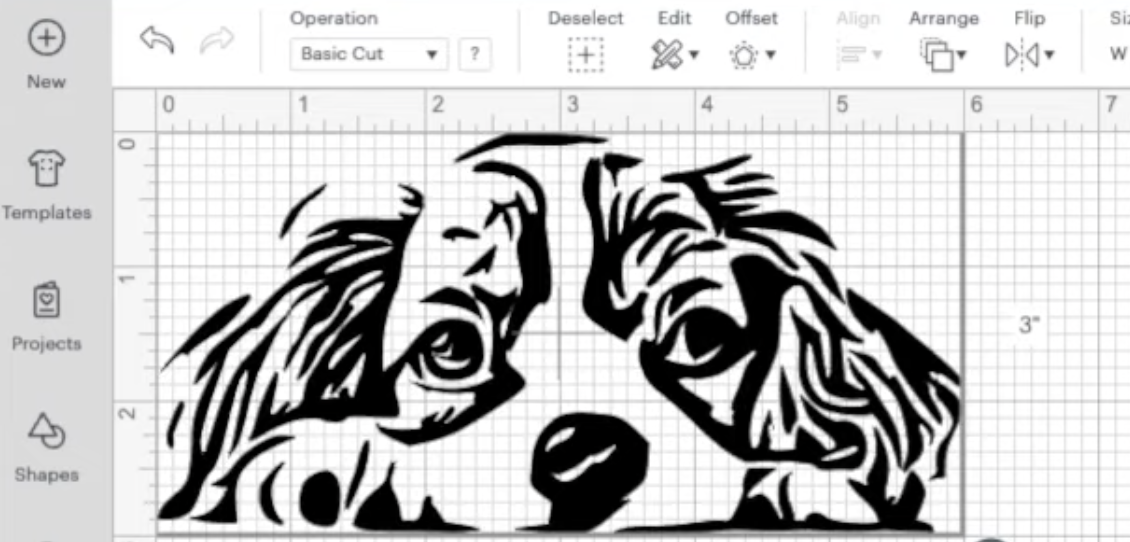
Get Your Image Ready in Design Space
Now I'll show you what it looks like in Design Space.
Just [click] ‘Download’. You might want to change the name of it so you know what it is.
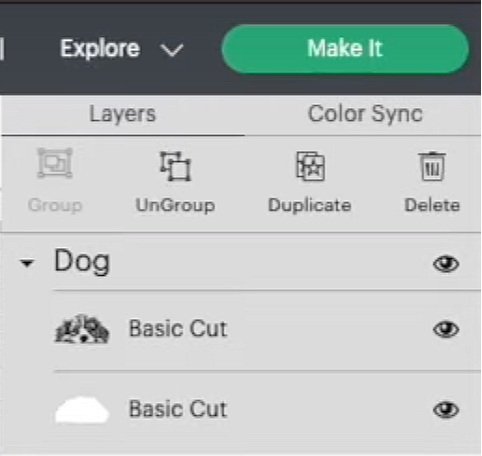
Click ‘Download SGV’ and then it should be in your downloads folder, so you can add it to Design Space. When you pull it in there you can see it's still got those three layers.

I'm just going to get rid of the pink one. Click on it and delete, then it'll give you these two layers.

If you make that it will put it on separate mats for you so you can do the background in one colour and the foreground in another (colour).
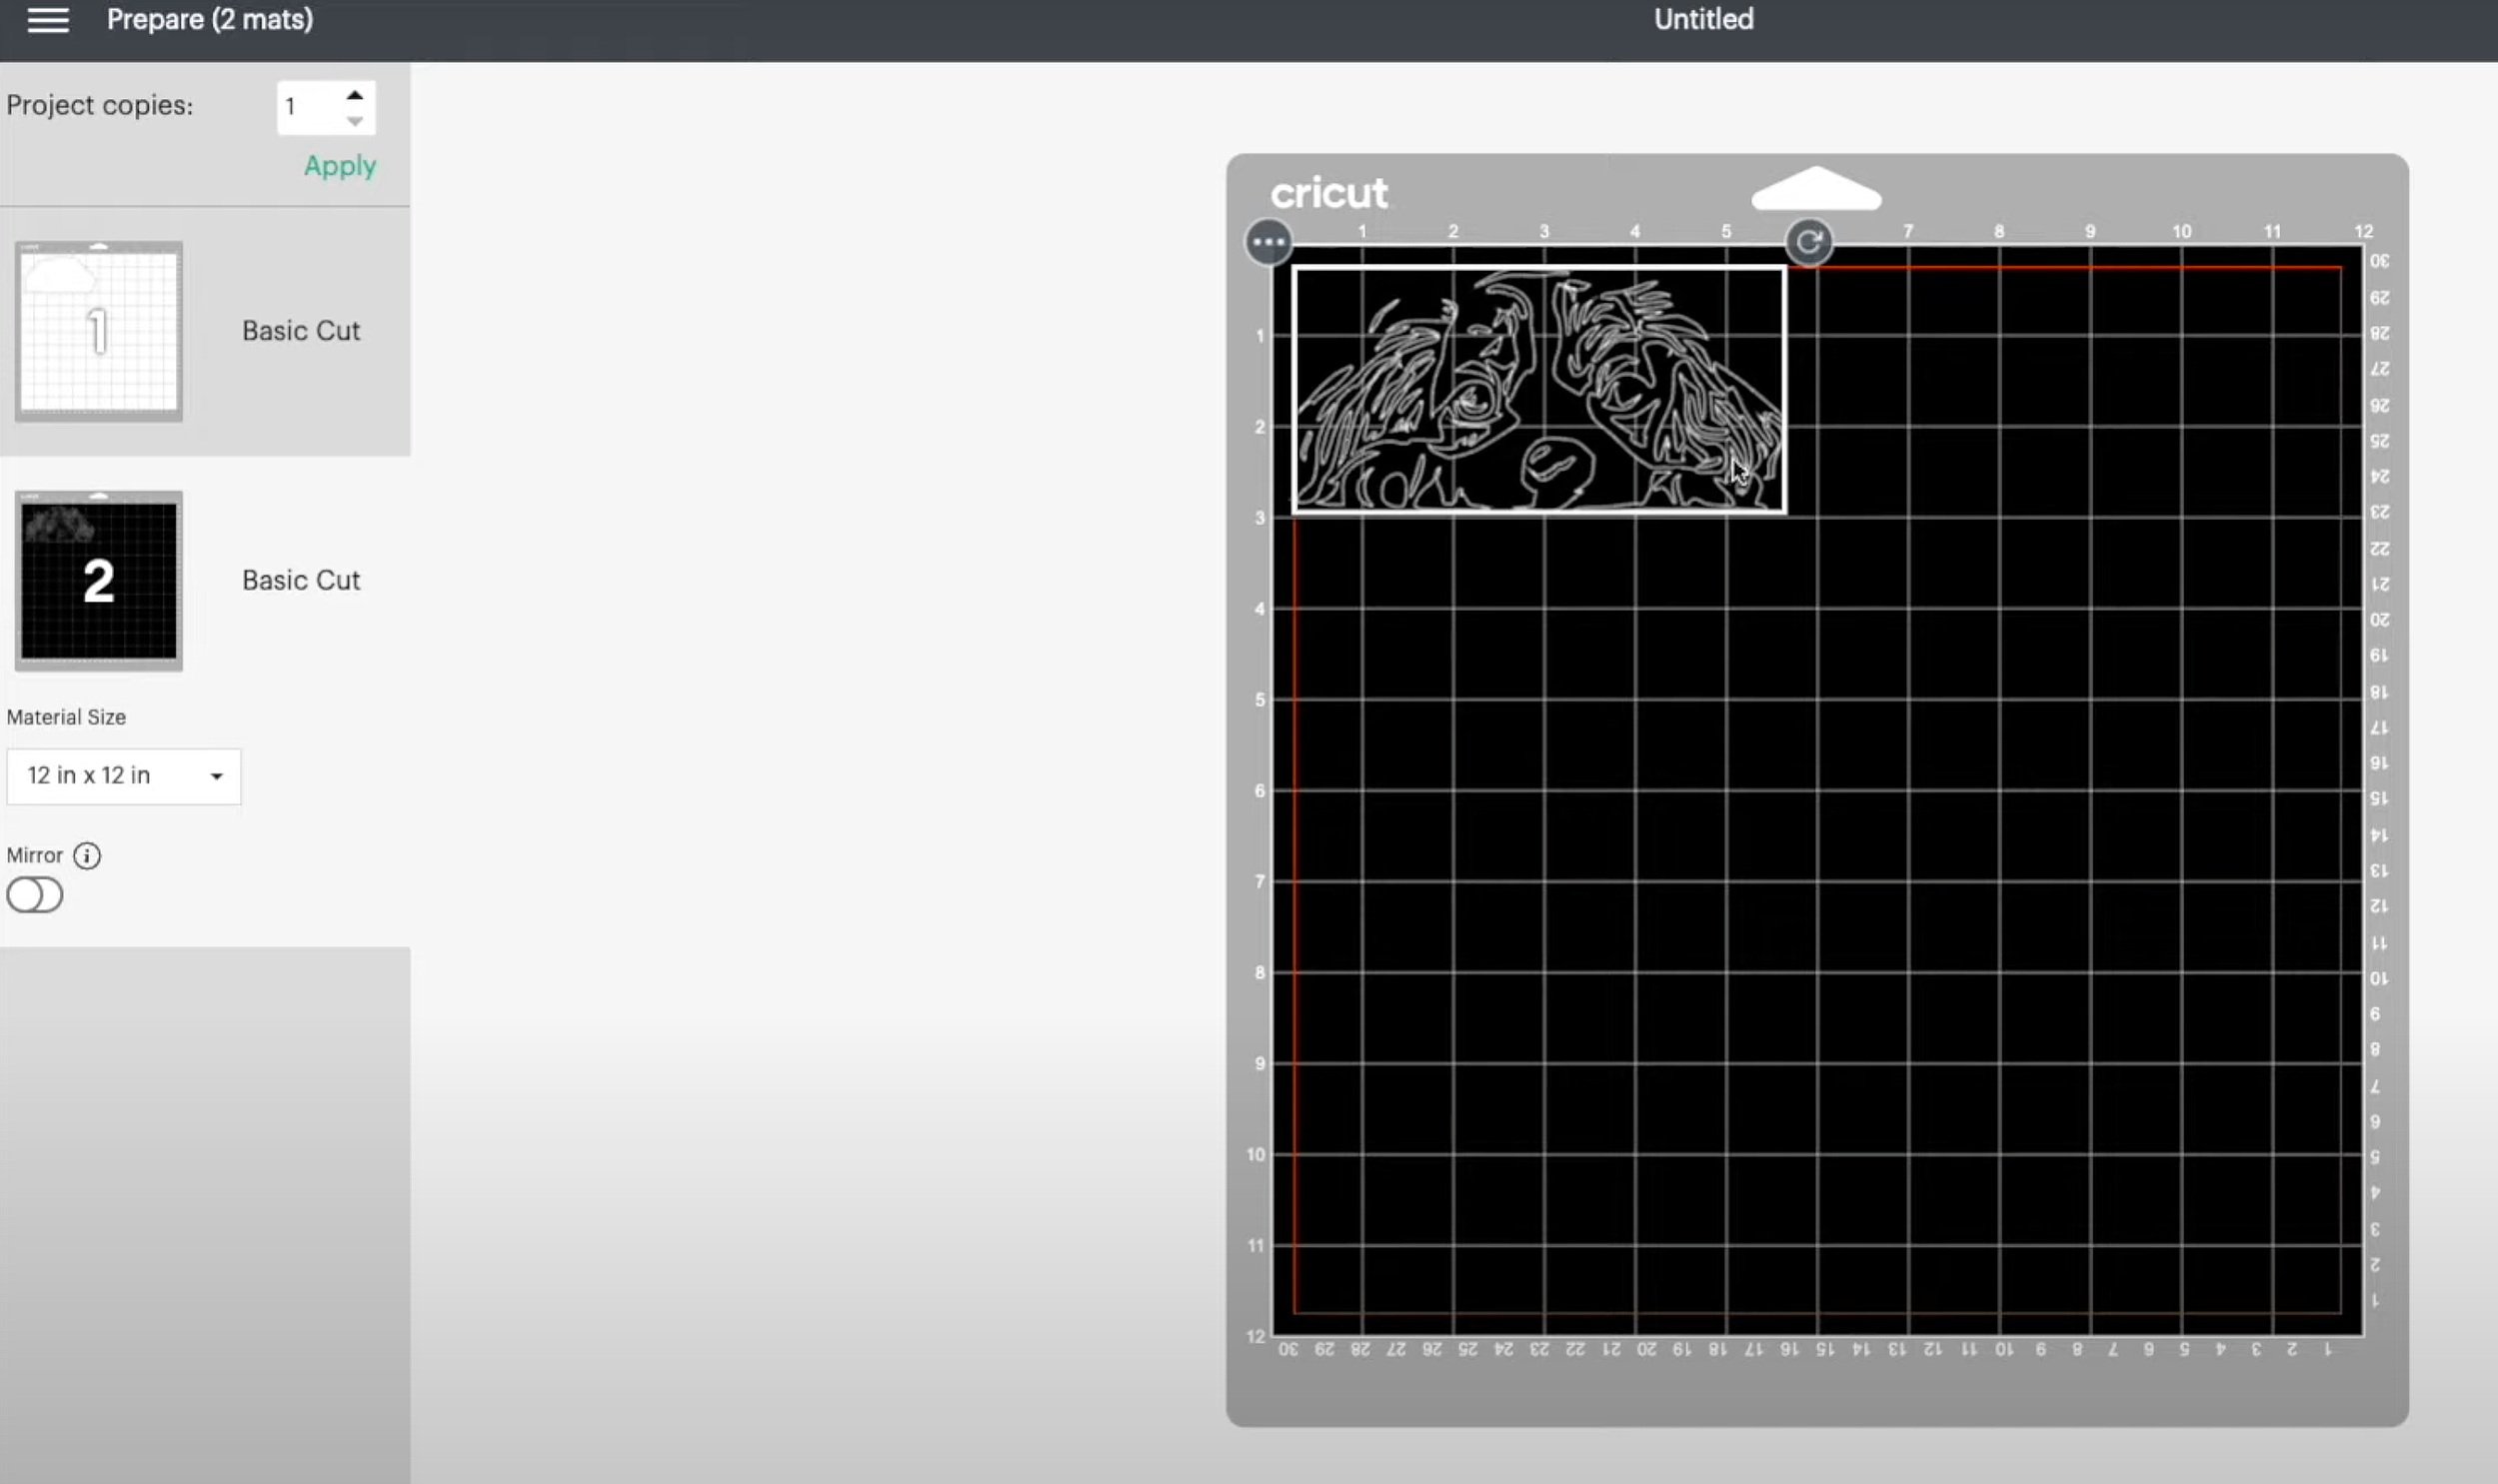
You might need to do that if your photo isn't going to look quite right without a background.
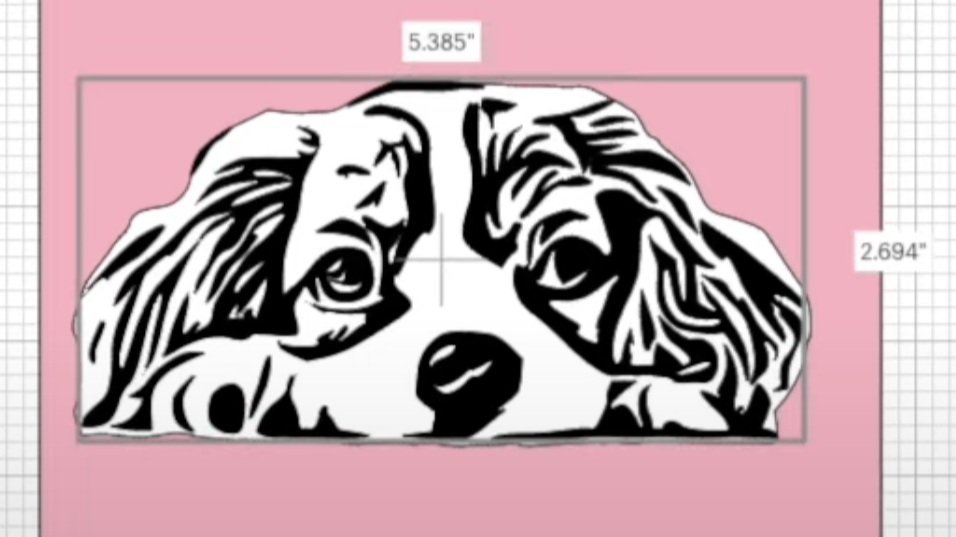
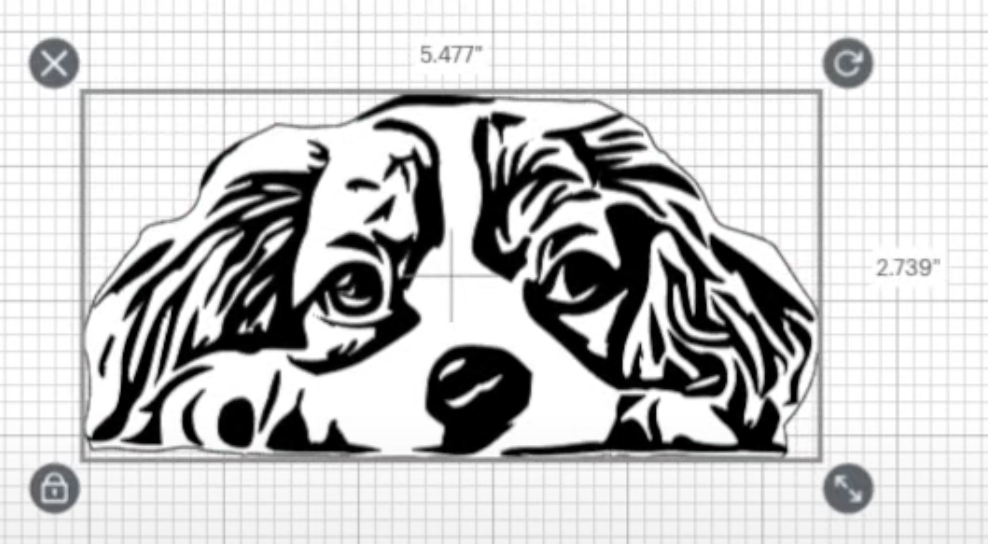
I think mine looks really good without so that's how I'm going to cut it, and I'm just going to stick it directly onto my Cricut machine. Just figure out the size you need it to be and put it through your machine.

The Exciting Part!

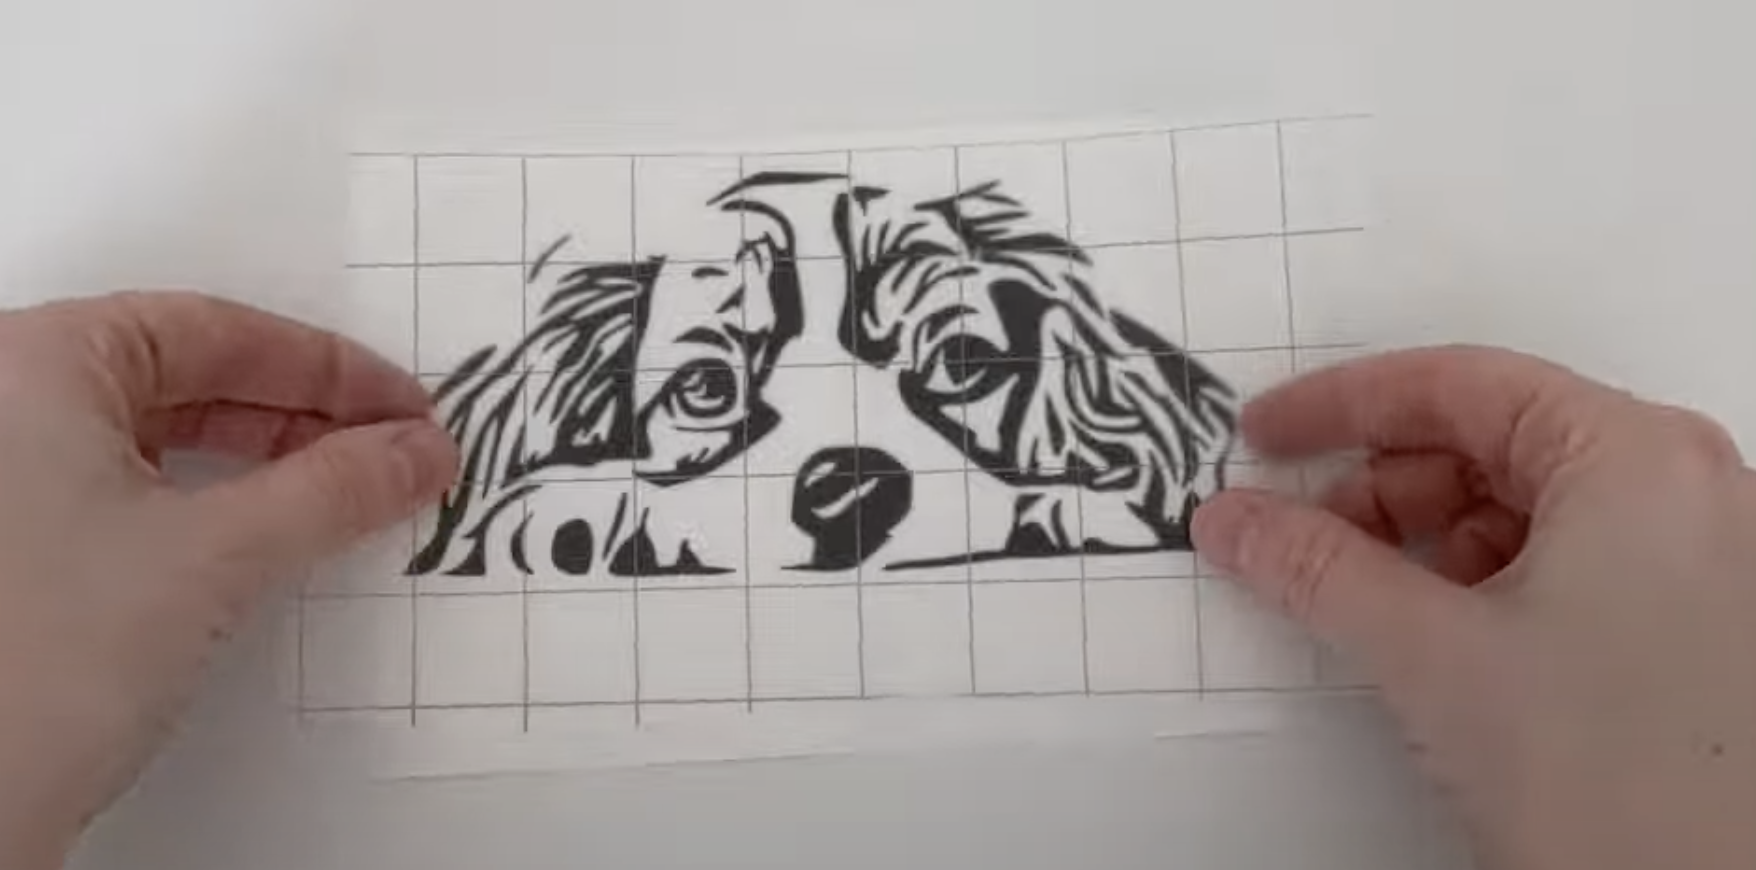
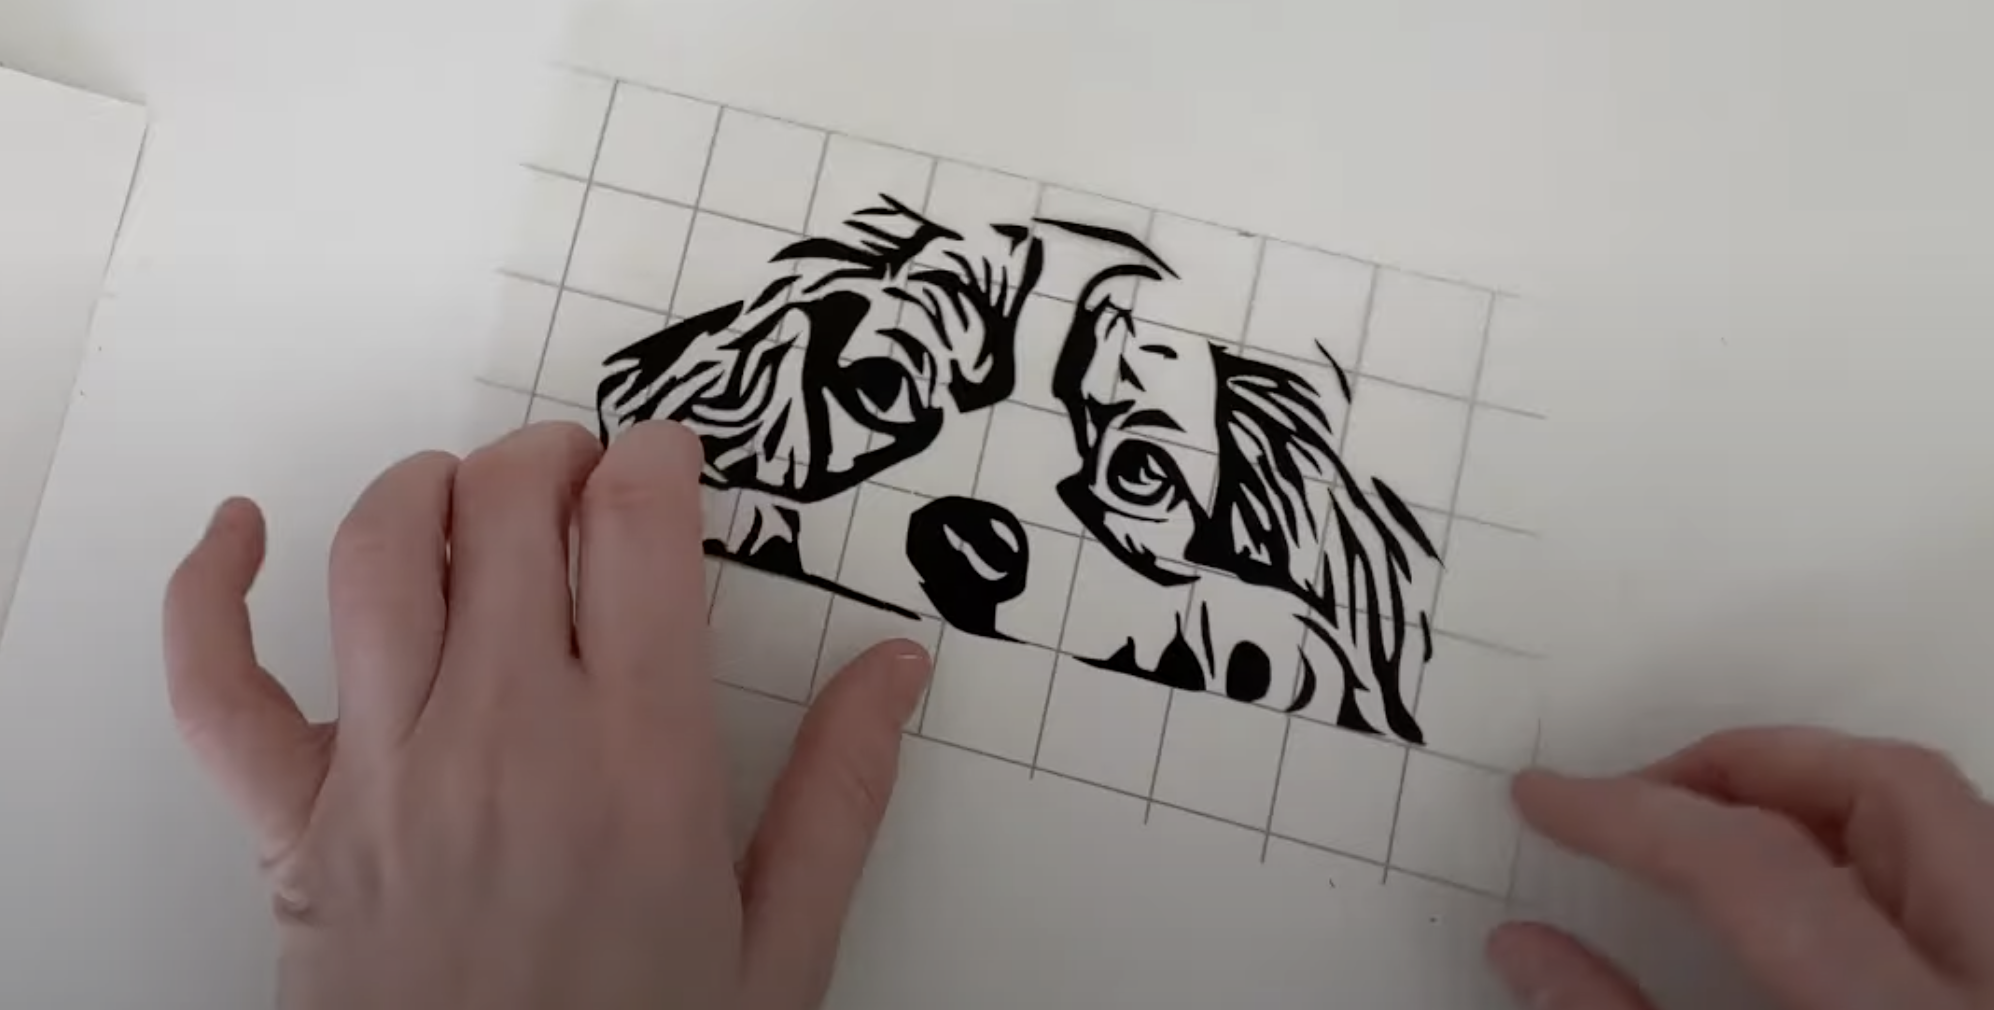
Remember always peel your mat away from the vinyl if it's sticky.

I'm just using Ritrama permanent vinyl for this and you could reverse weed if it has quite a lot of detail, but I'm just going to weed it the normal way for this to see how well it does. Obviously, there are lots of little bits so be super careful.
Black vinyl is sometimes quite hard to see, so you do need quite good lighting if you’re using a dark colour like this.

Whatever surface you're putting it on always remember to clean it make sure it's free of dust. You might want to use rubbing alcohol but I just decided to apply it straight on my machine, and tried to centre it with the wording underneath so it's just peeking out on the lid there.
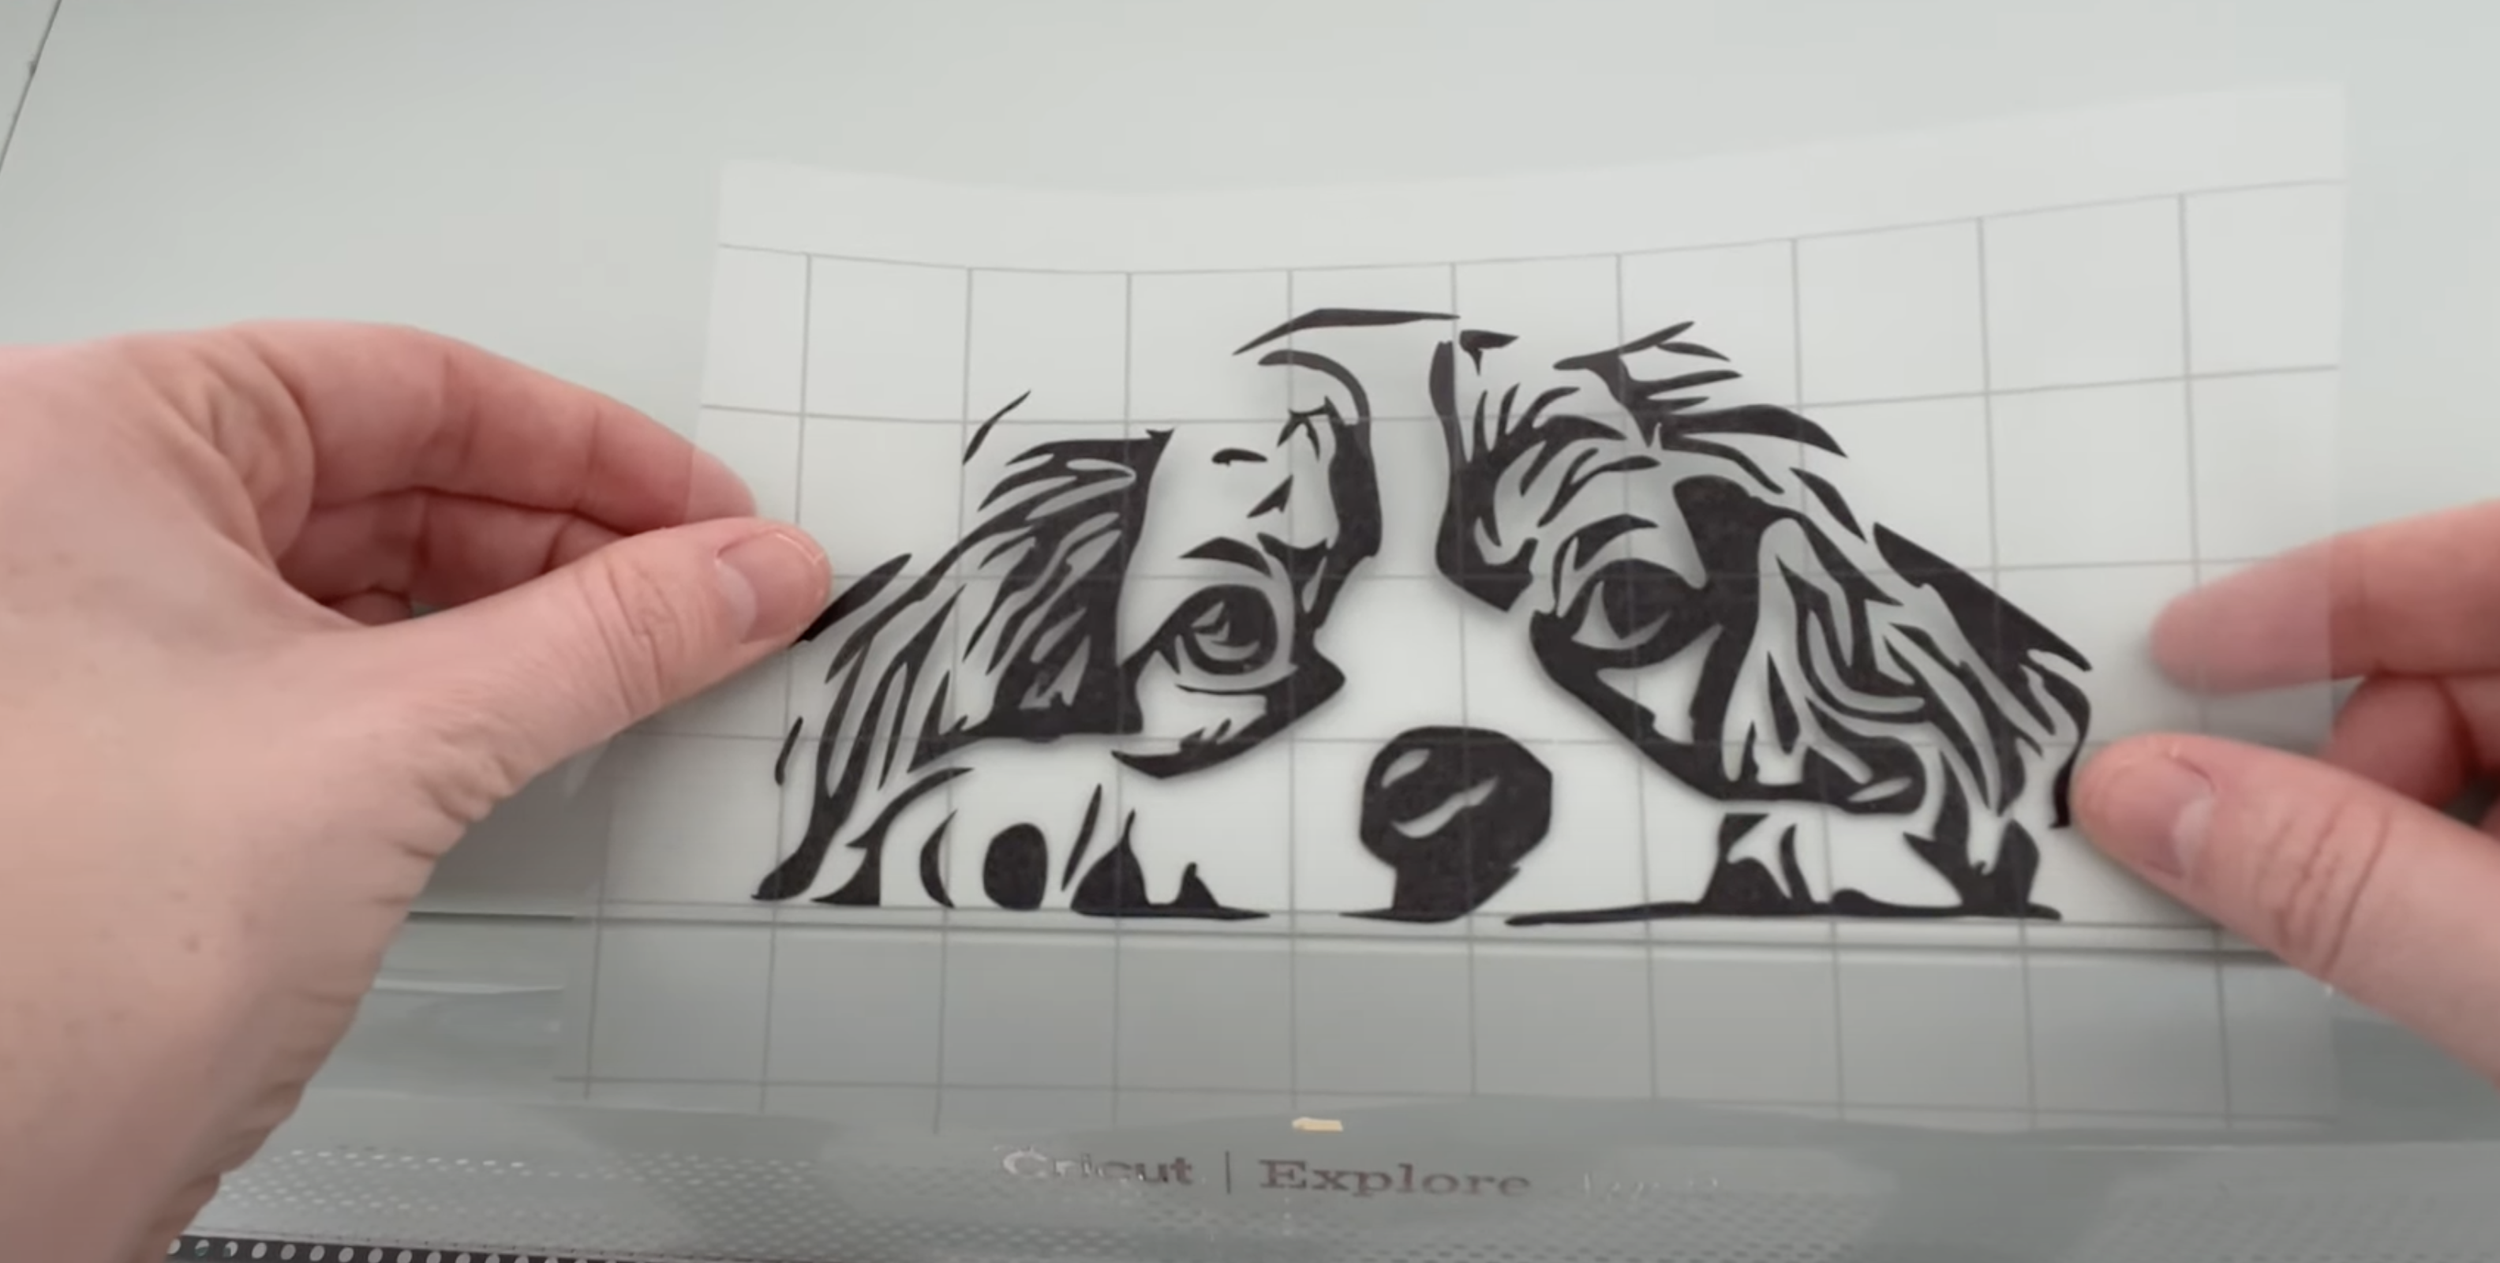
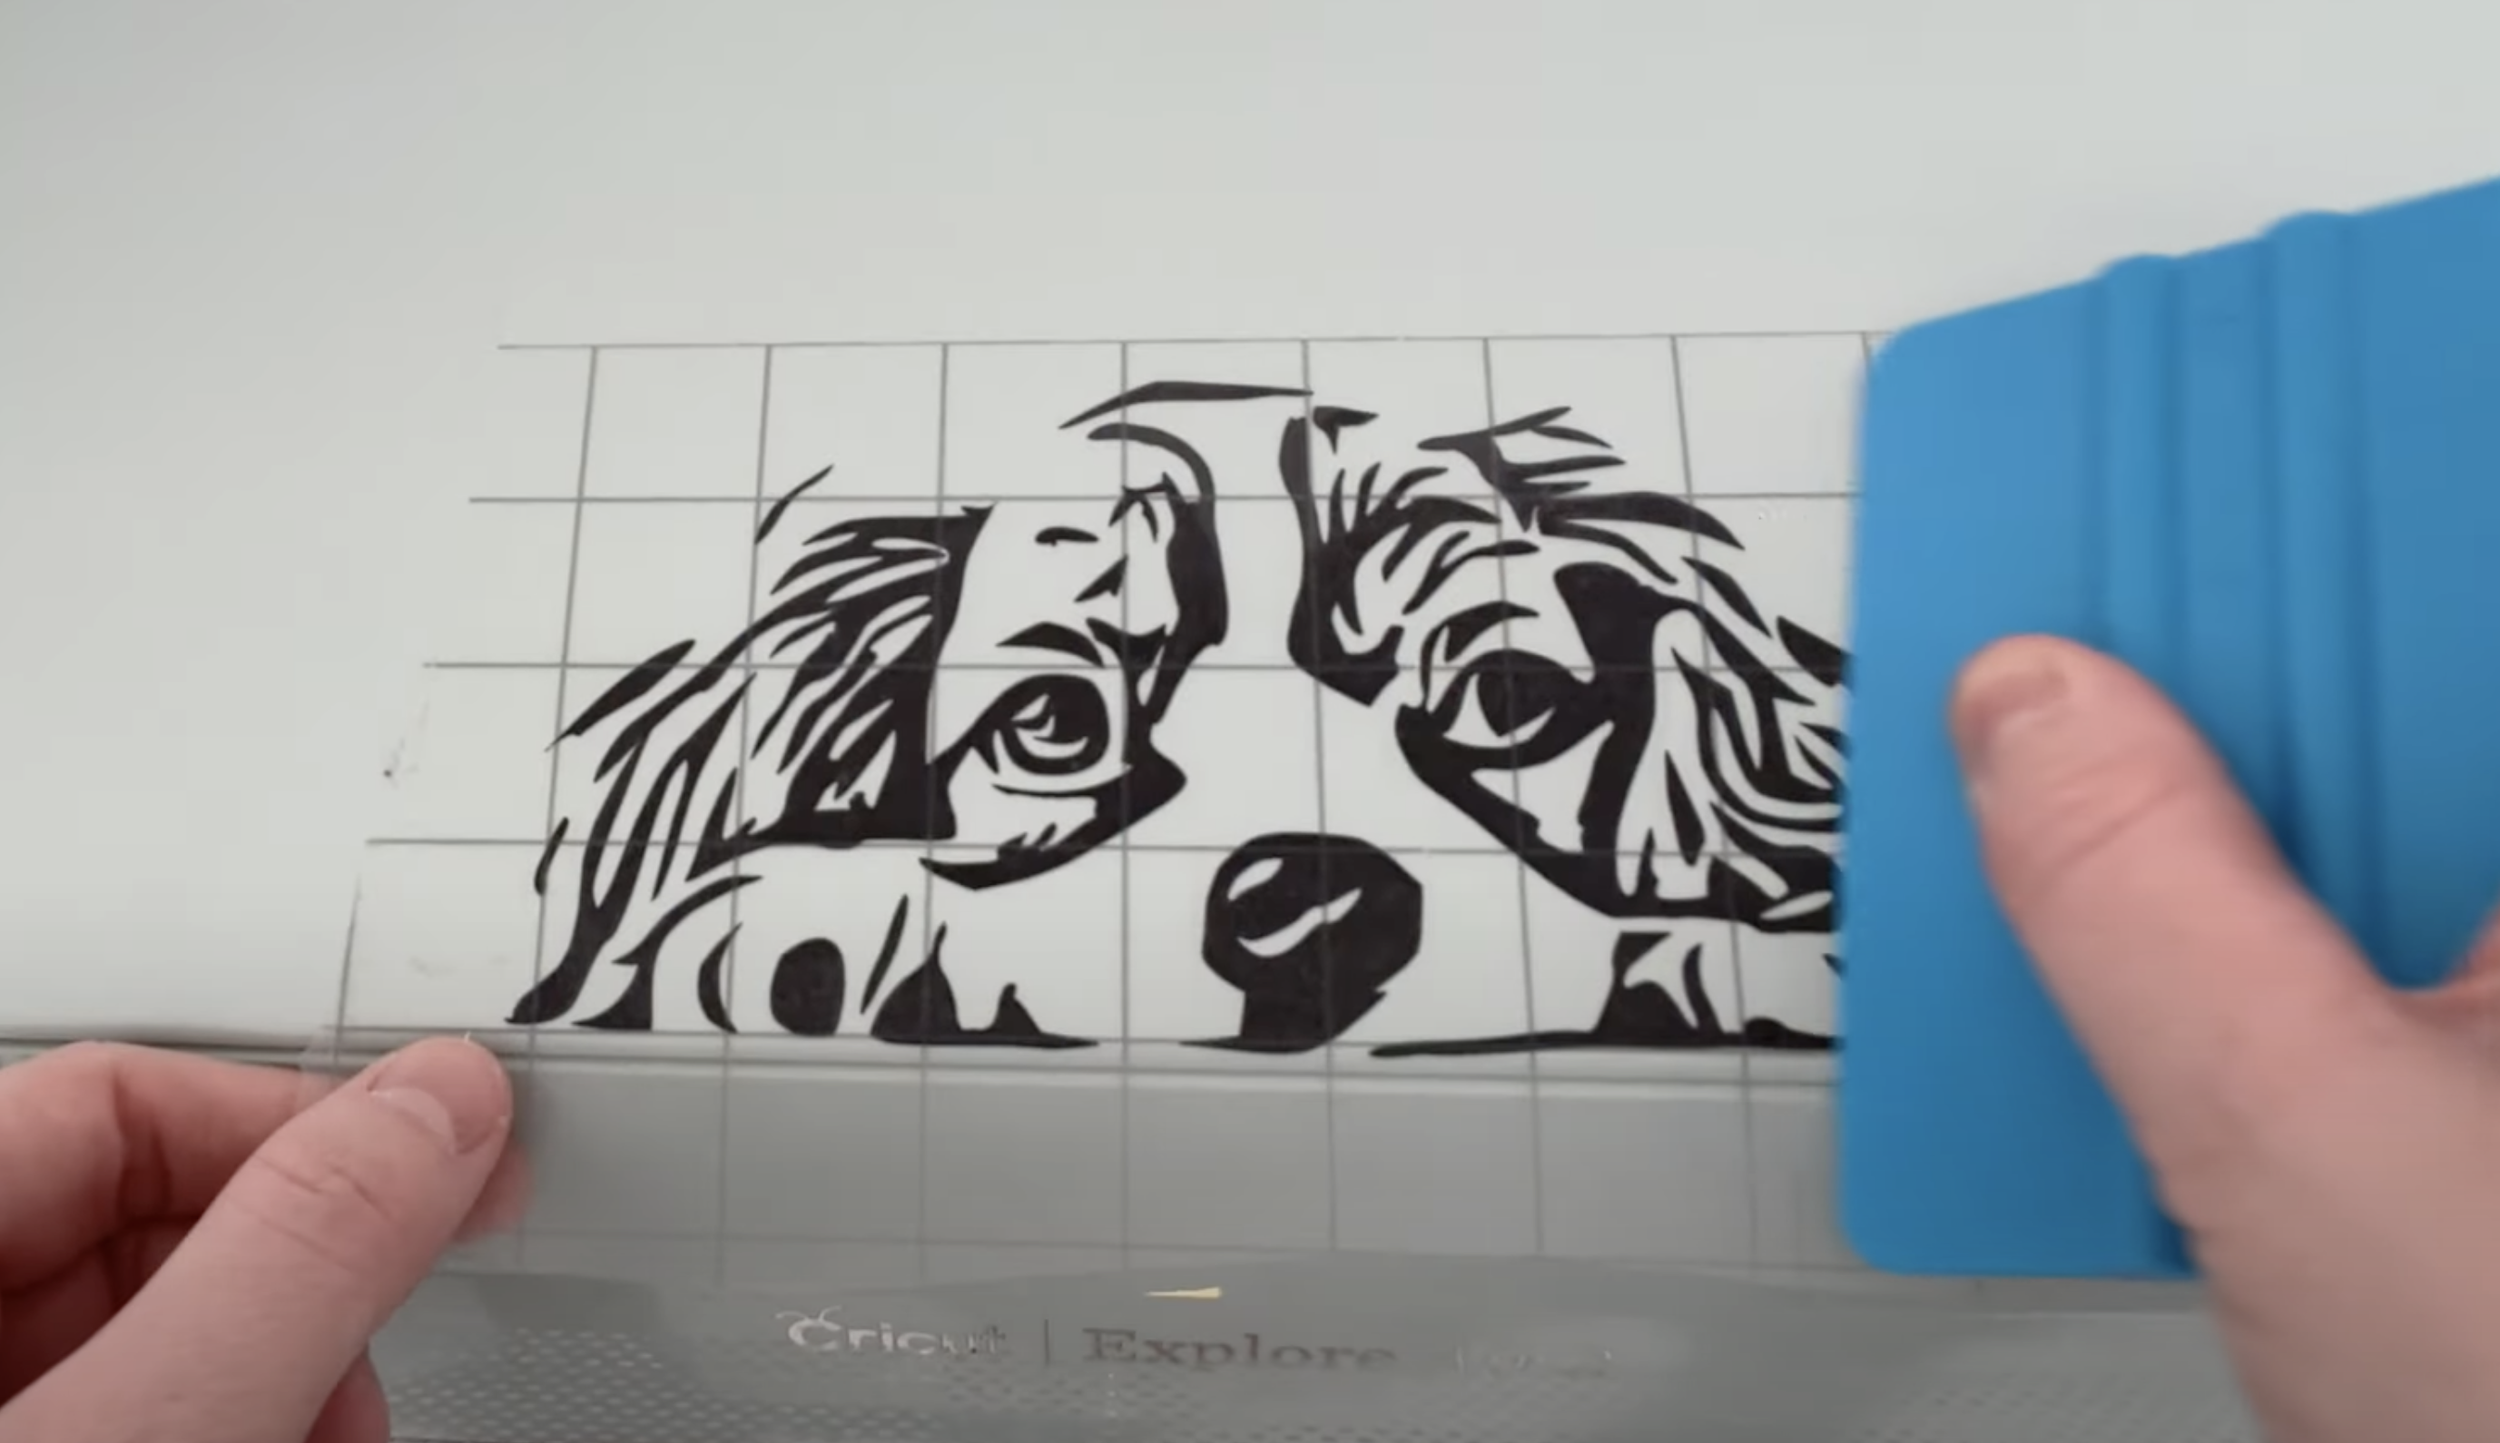
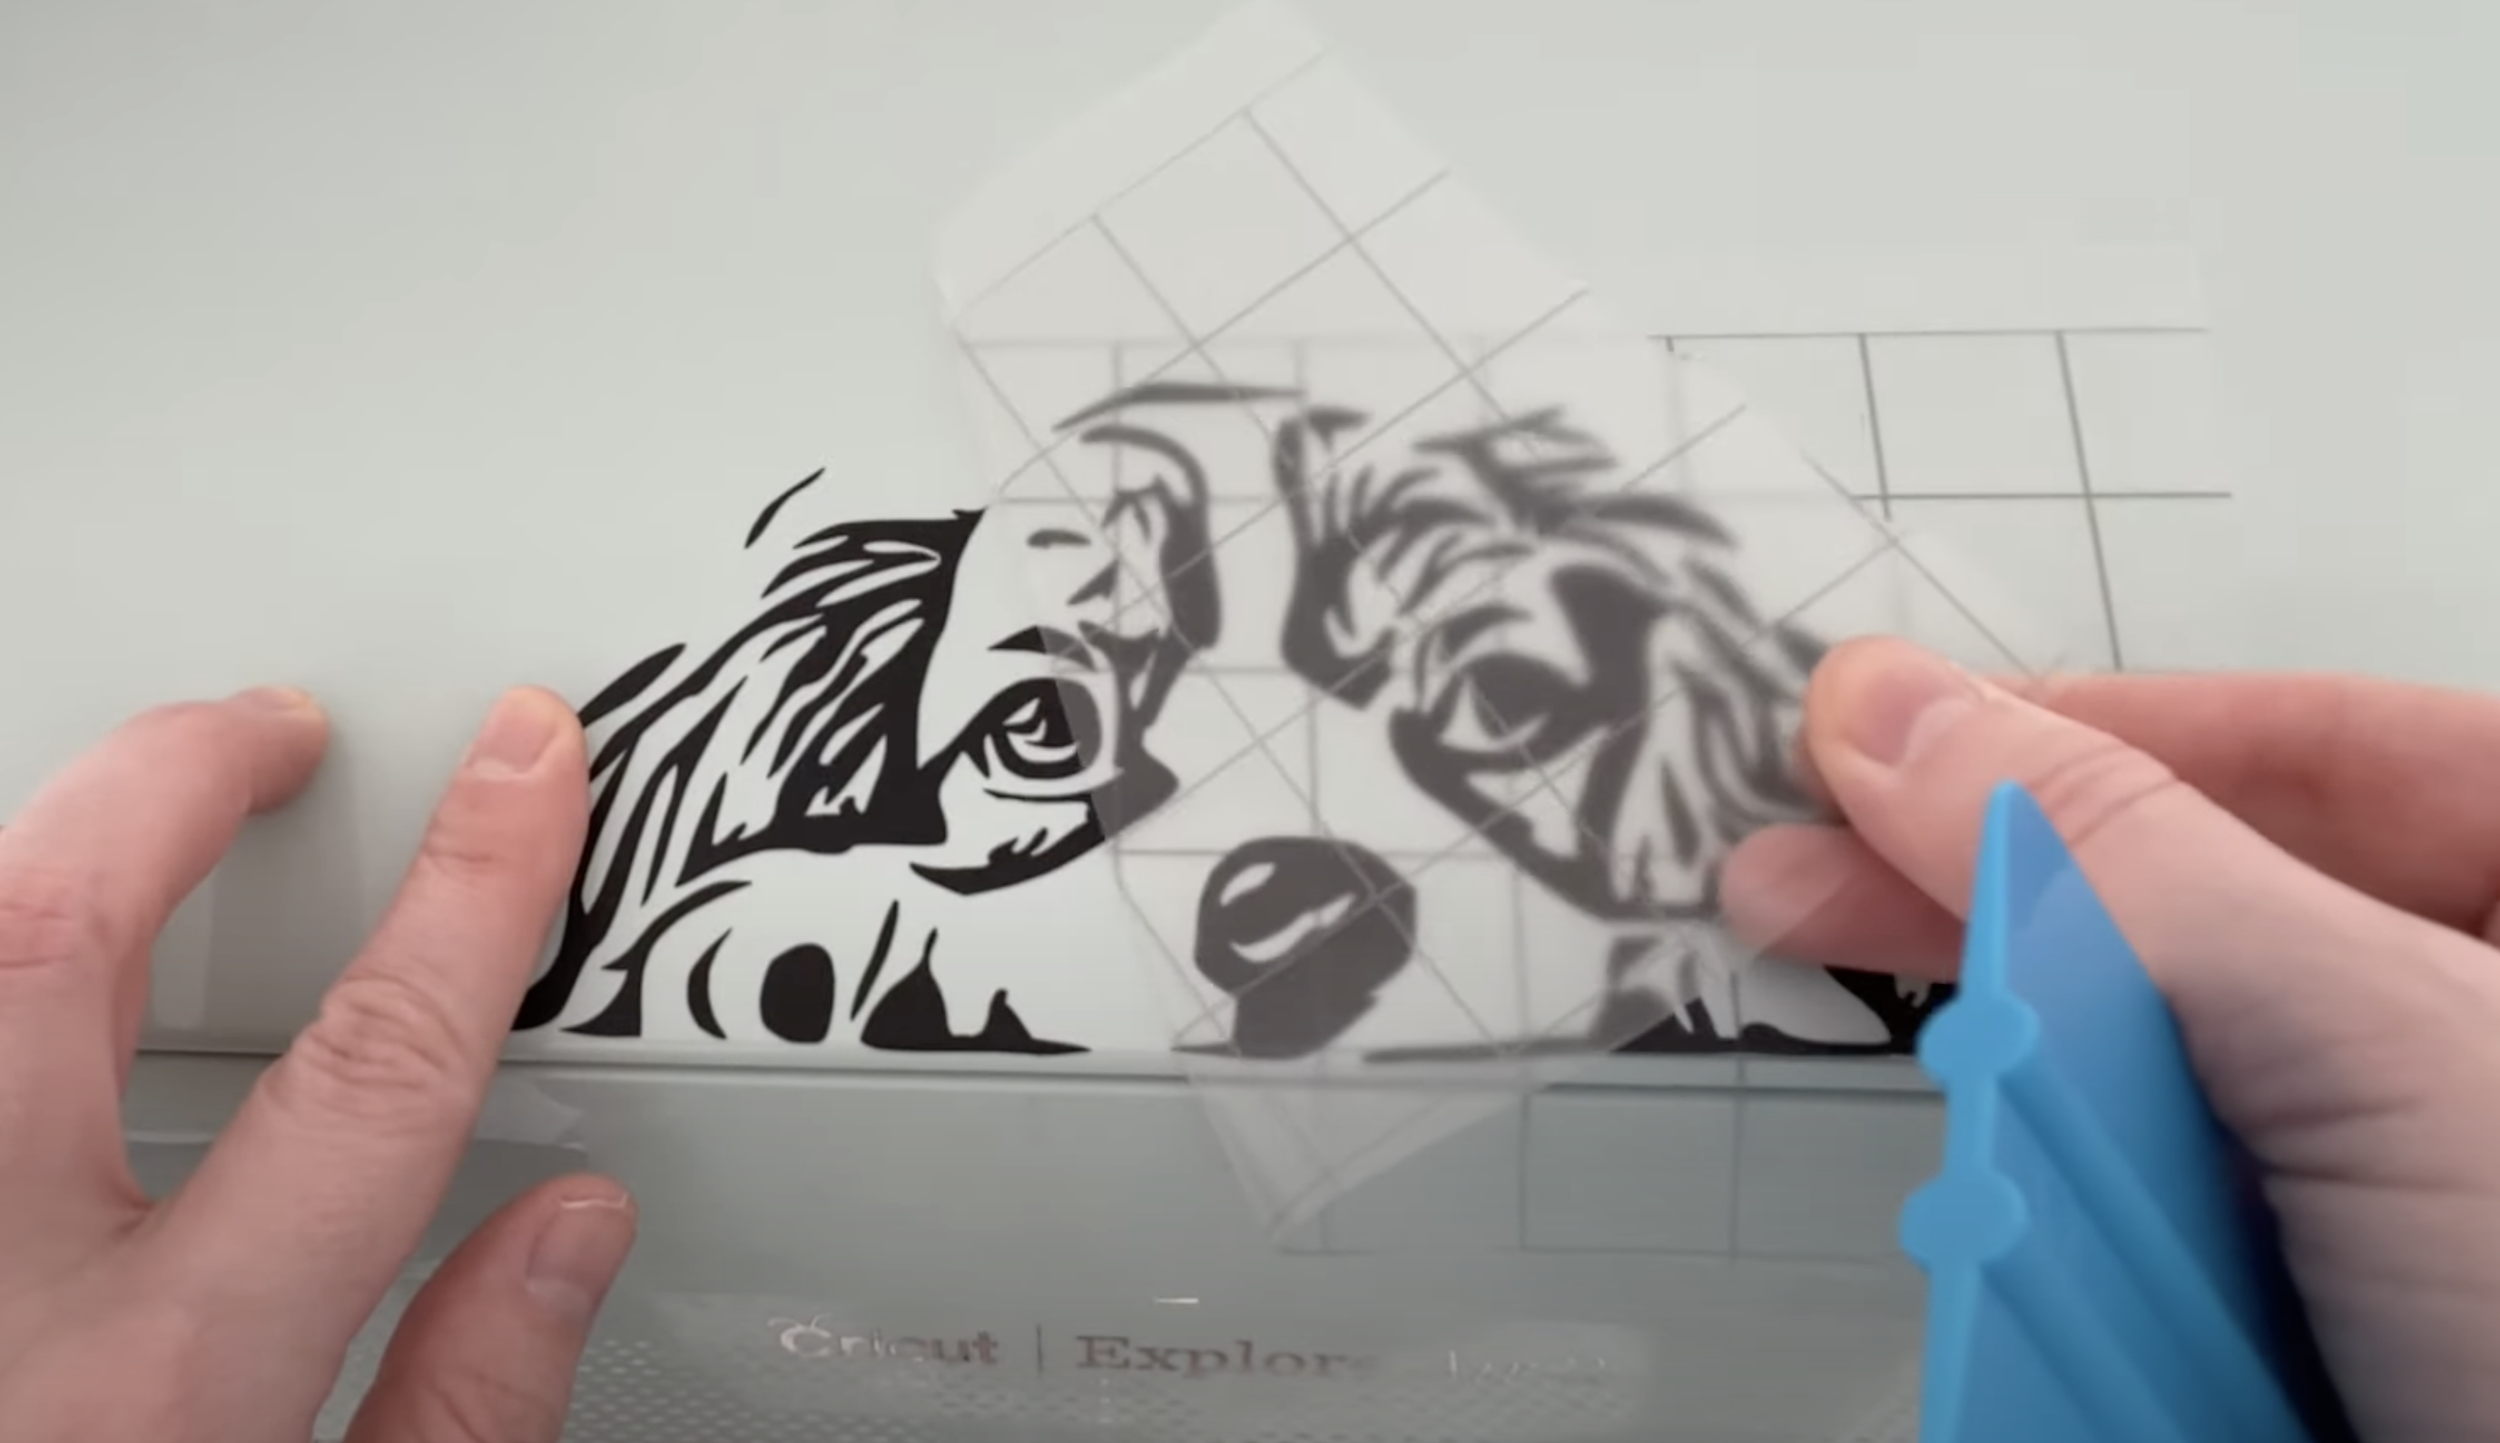
Make sure to burnish it down, then take off the transfer tape, and then you’ll be left with the finished product!

You can see the original photo in it and you can tell what it is. It’s super cute and worked really well so I’m really pleased with that. And it's a cute little addition to my Cricut machine!
I hope you found that helpful!
Do let me know in the comments what you're going to be using it for, or if you have any other similar sites that you like to use for this type of thing.
Please remember to like follow and subscribe for more videos like this in future!