

How To Use Cricut Design Space On An iPad
PLUS How To Add New Fonts To Your iPad
Welcome back to Vinyl Decal School, thanks for joining me.
I'm going to do a really simple walkthrough of how to set up Cricut design space on your iPad so you can cut a vinyl decal on your Cricut. I have done a similar video in the past but that was using Procreate and Design Space on my iPad to cut something, so I thought I'd just do this as a more simplified version for anyone who is a complete beginner and just needs to know the basics.
Watch the video here….
The below content contains affiliate links and we may earn a commission if you shop through them, however, this won't cost you anything, it just helps us to keep the site running for free. For more information on affiliate links, see the disclosure here.
Or have a read…

This is my iPad which is a 7th Generation. I also have an Apple pencil but you don't necessarily need that unless you want to draw your own designs.
You may need to check the specifications on the Cricut website just to make sure your software is up to date, but as long as you can get the Cricut Design App then you should be able to use it with your Cricut machine.
1. Download the Cricut Design App
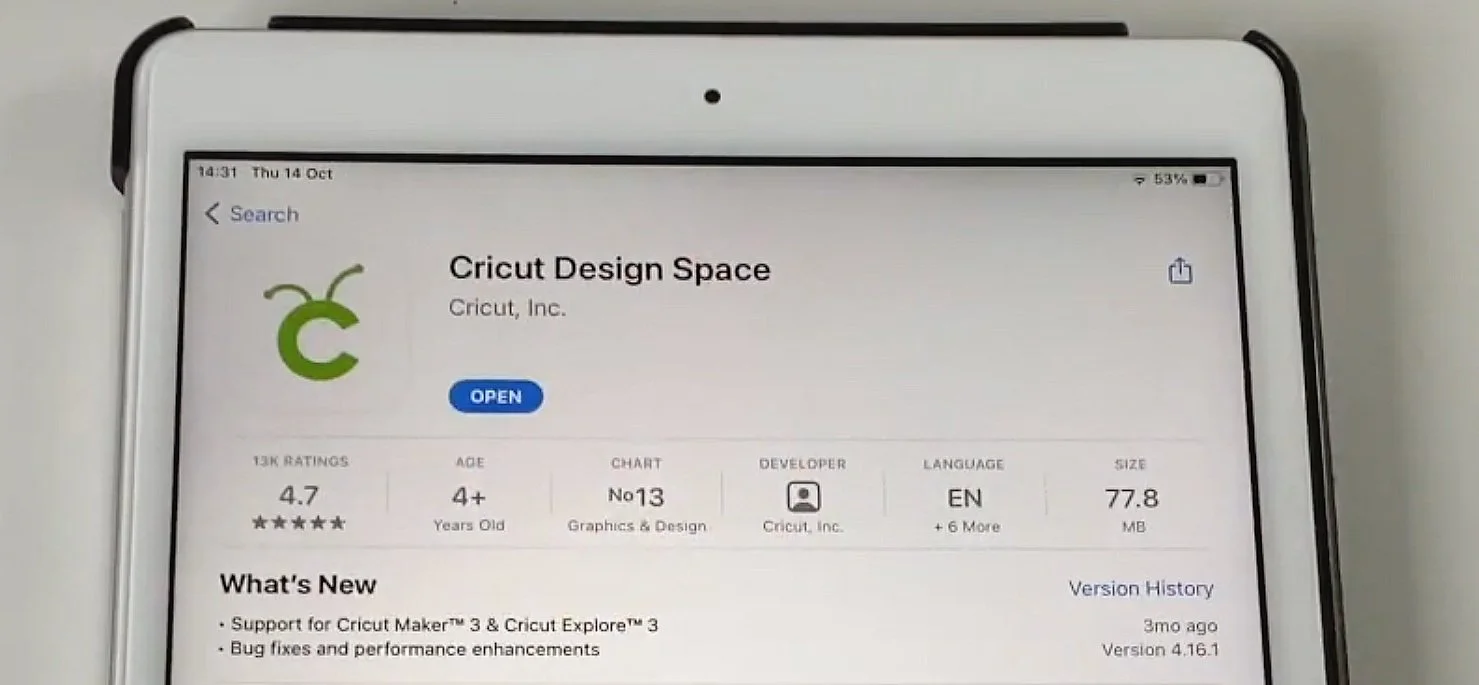
The first thing to do is to get the app on your iPad so go to the app store and type in Cricut. There are a few different apps that will come up but it's the Cricut Design Space official app that you're looking for at the top.
You might also want to get the Cricut Joy one if you've got a Joy. I'm not really sure how that differs but might be worth checking out as well.
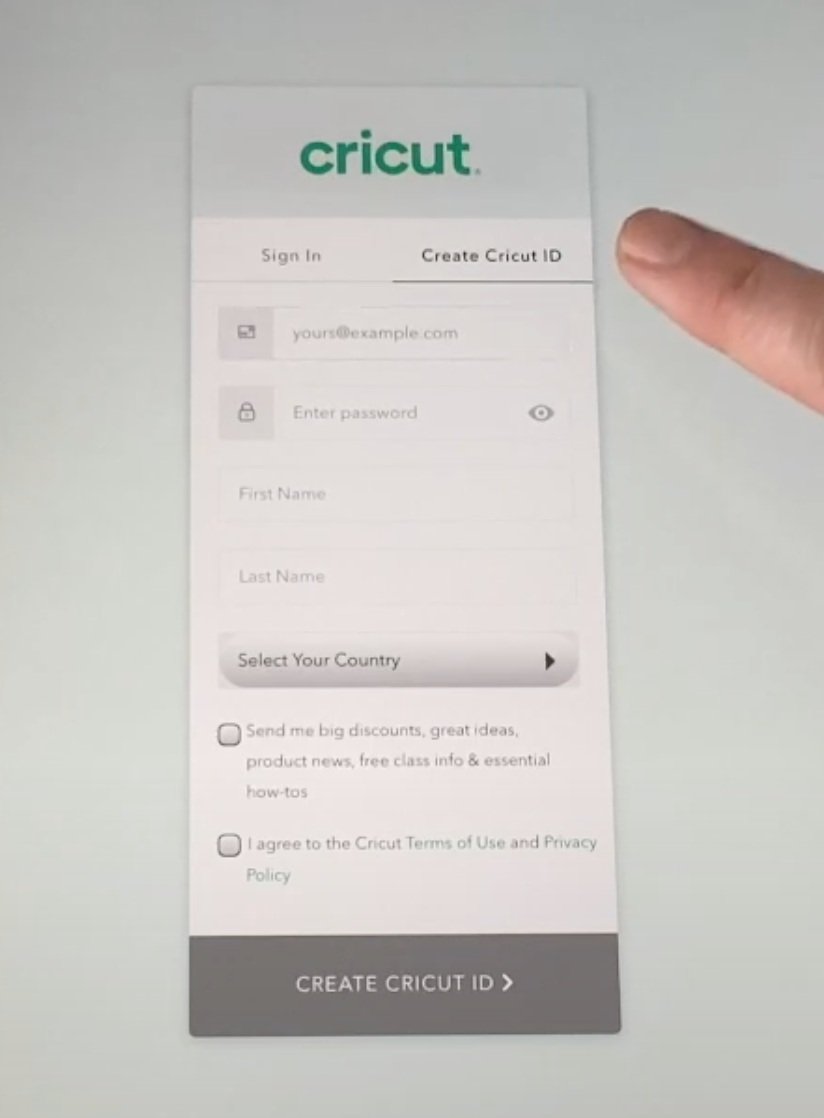
Open it up and then you will be asked to either do a machine set up or sign in. If you already have your machine that's the first thing you want to do. Sign in or create a new Circut ID if you don’t have an existing account.
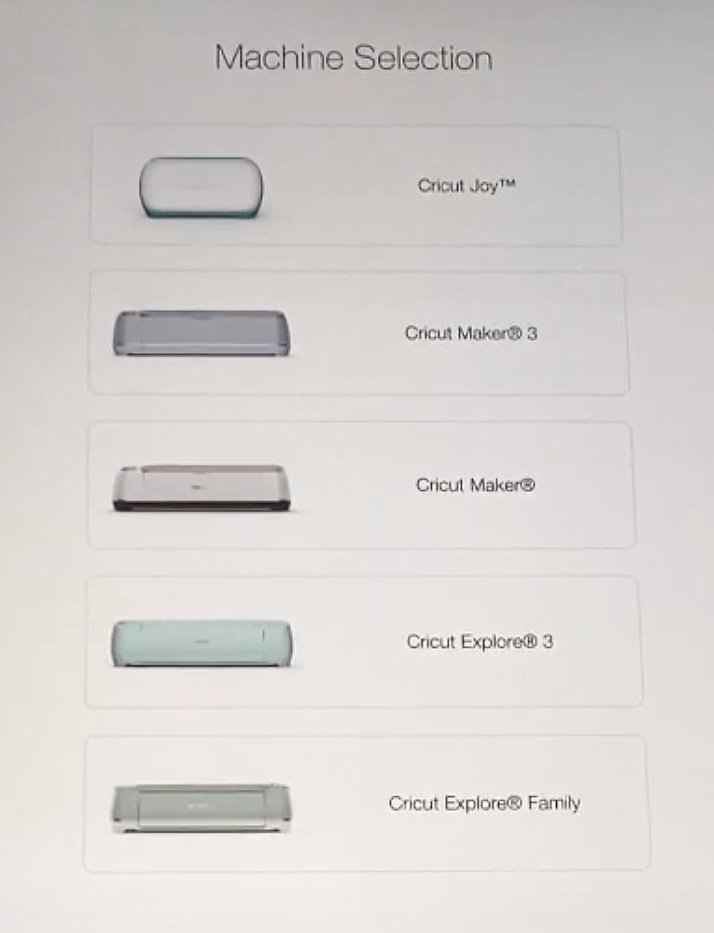
The choice of machines will come up so just choose the one you have. Mine is Cricut Explore 2 which is found in Cricut Explore family at the bottom.
2. Connect via Bluetooth (and Find Your Way Around the App)
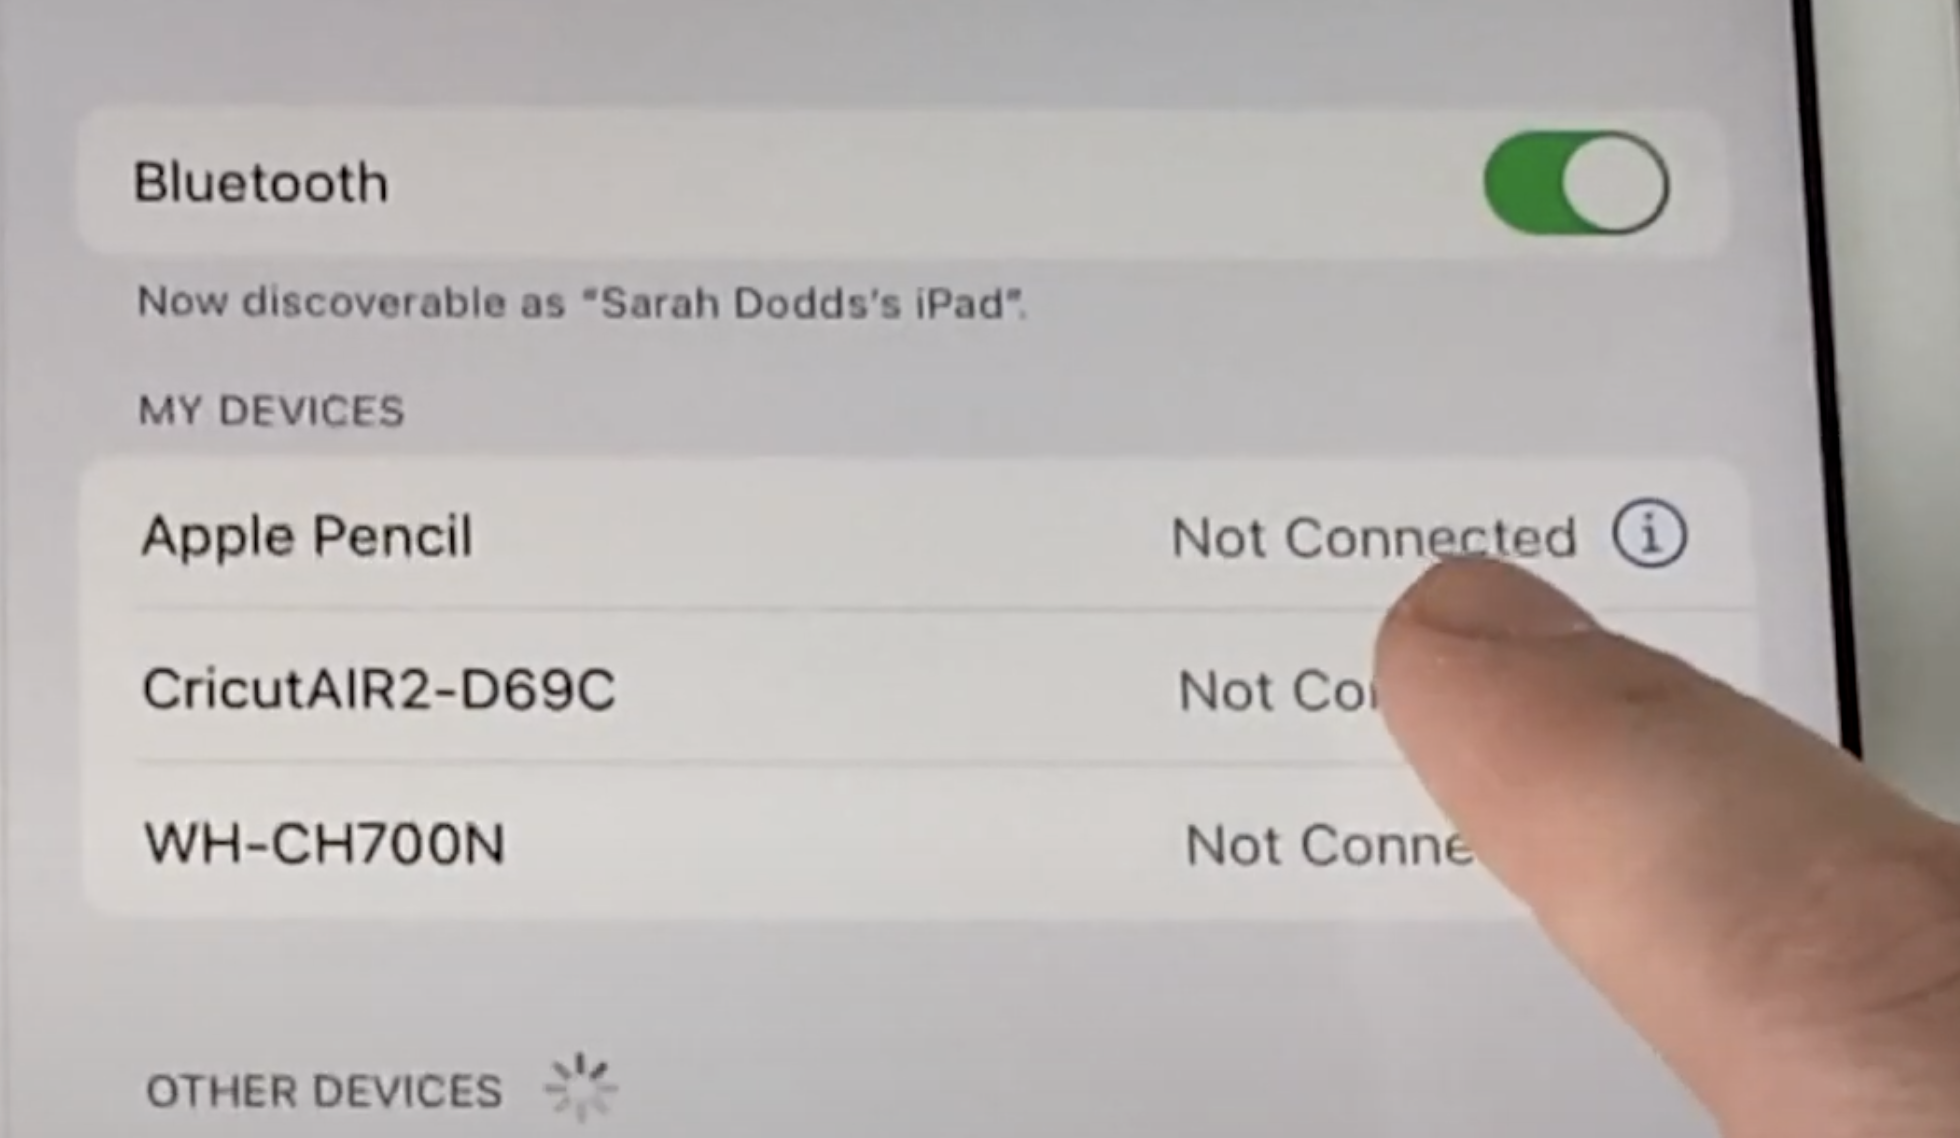
The next thing you need to do is connect it via Bluetooth. It should hopefully come up in your Bluetooth settings. When you click on connect, you might be asked for a PIN, in which case you just enter the PIN that it says on the screen. It will update your machine and then you should then be able to get in.

There you can get Cricut access which is a paid monthly subscription and you get lots of designs included but you don't have to do that.
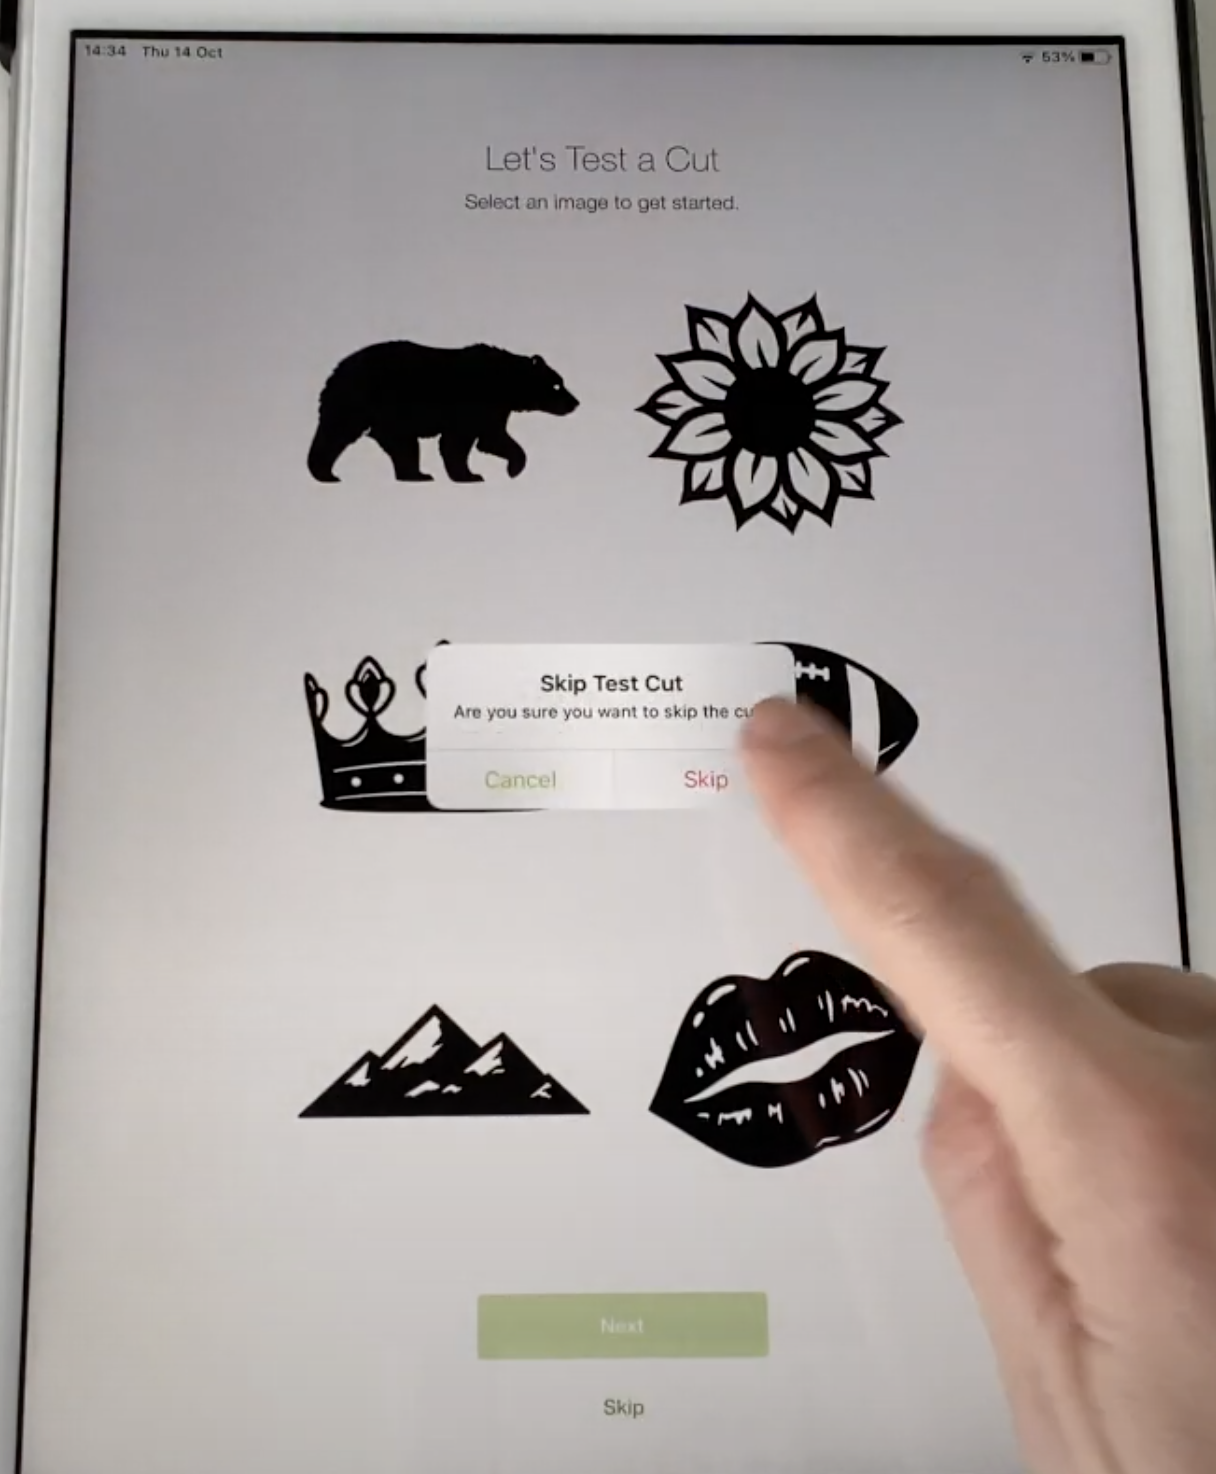
It will also lead you to this Test Cut screen. You can skip that or if you want to try it out they are quite easy.
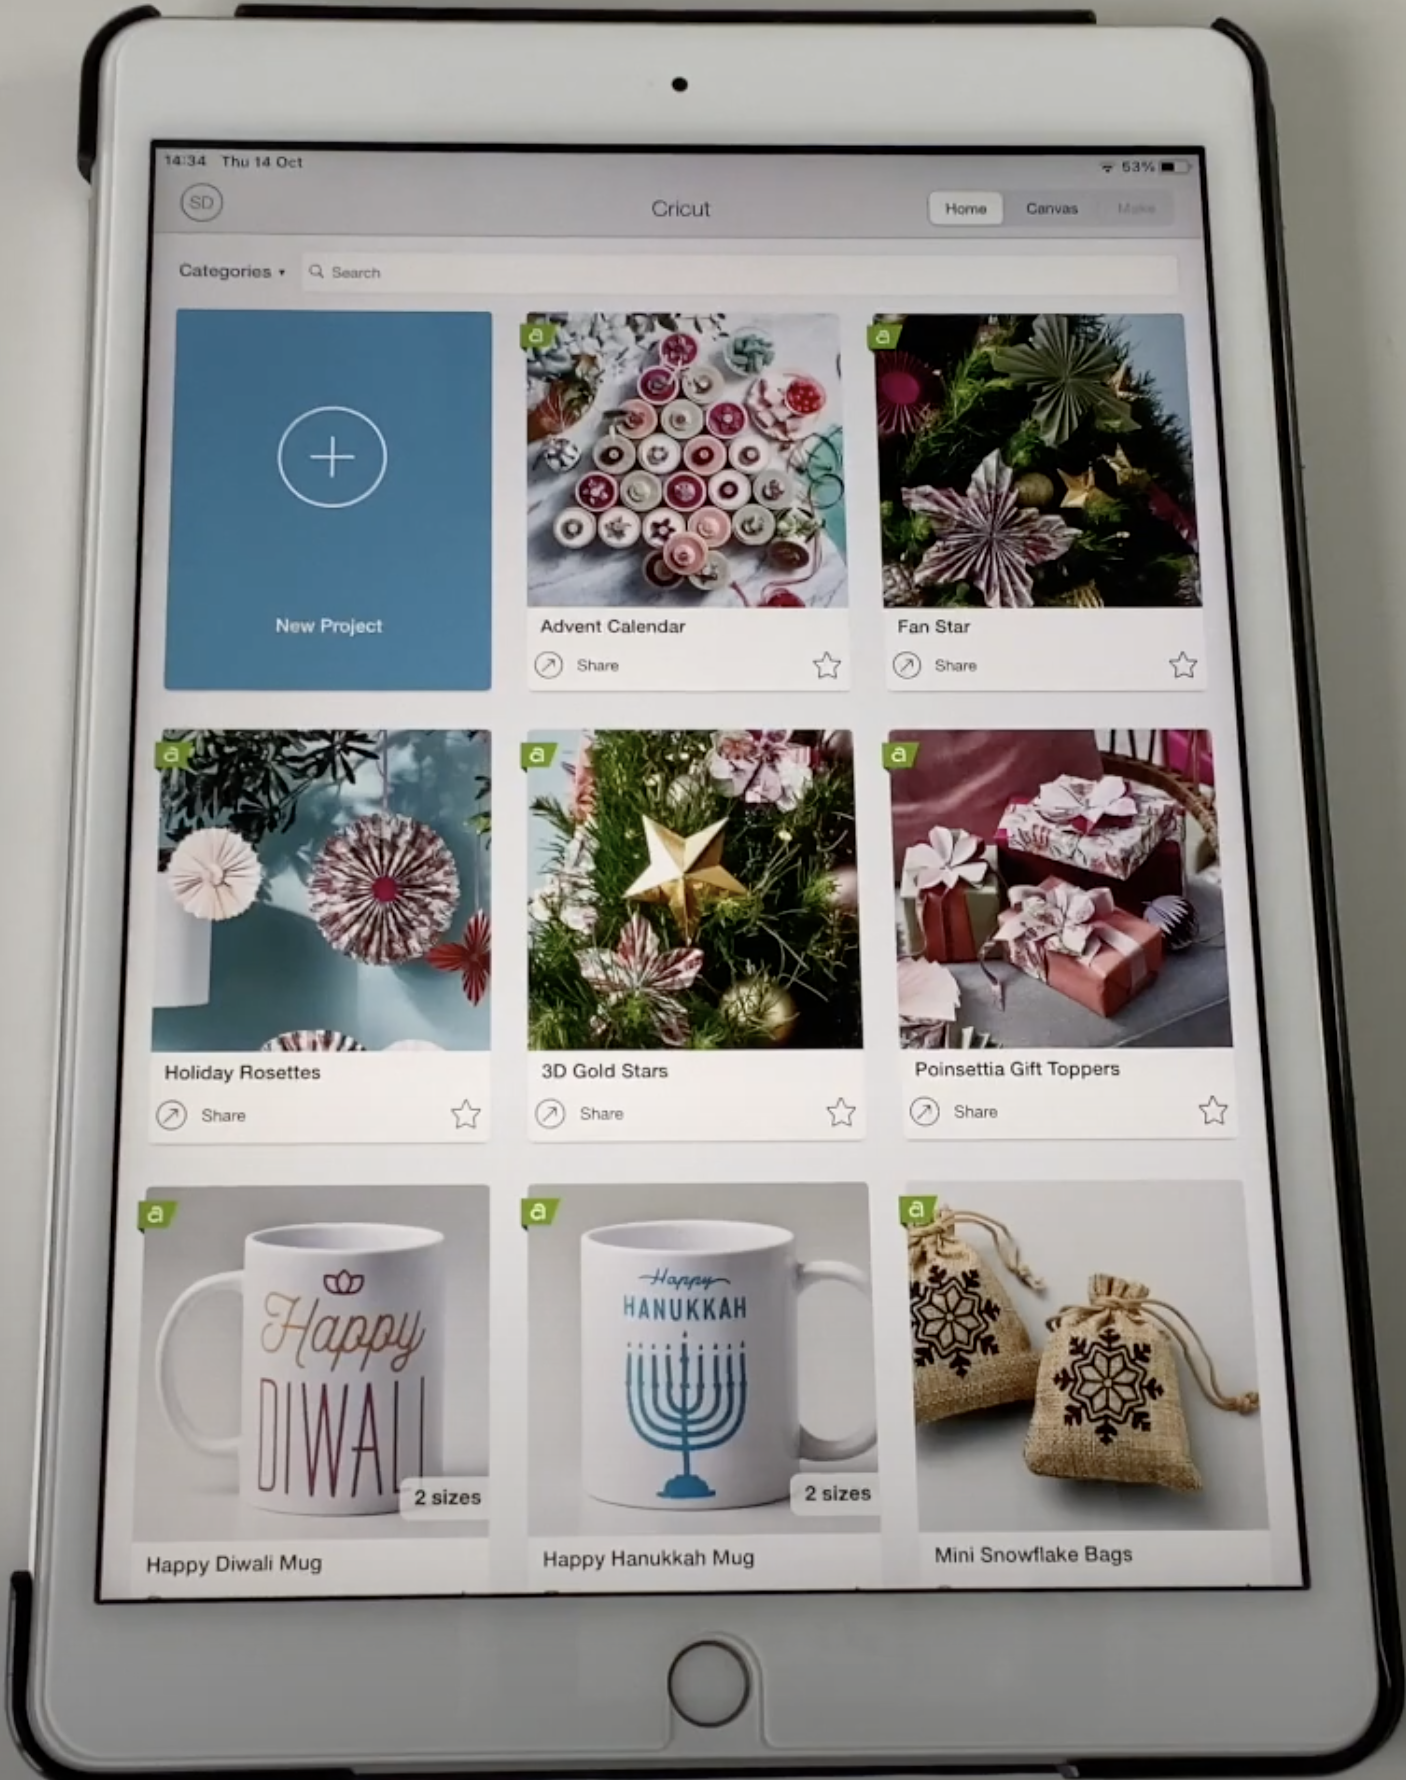
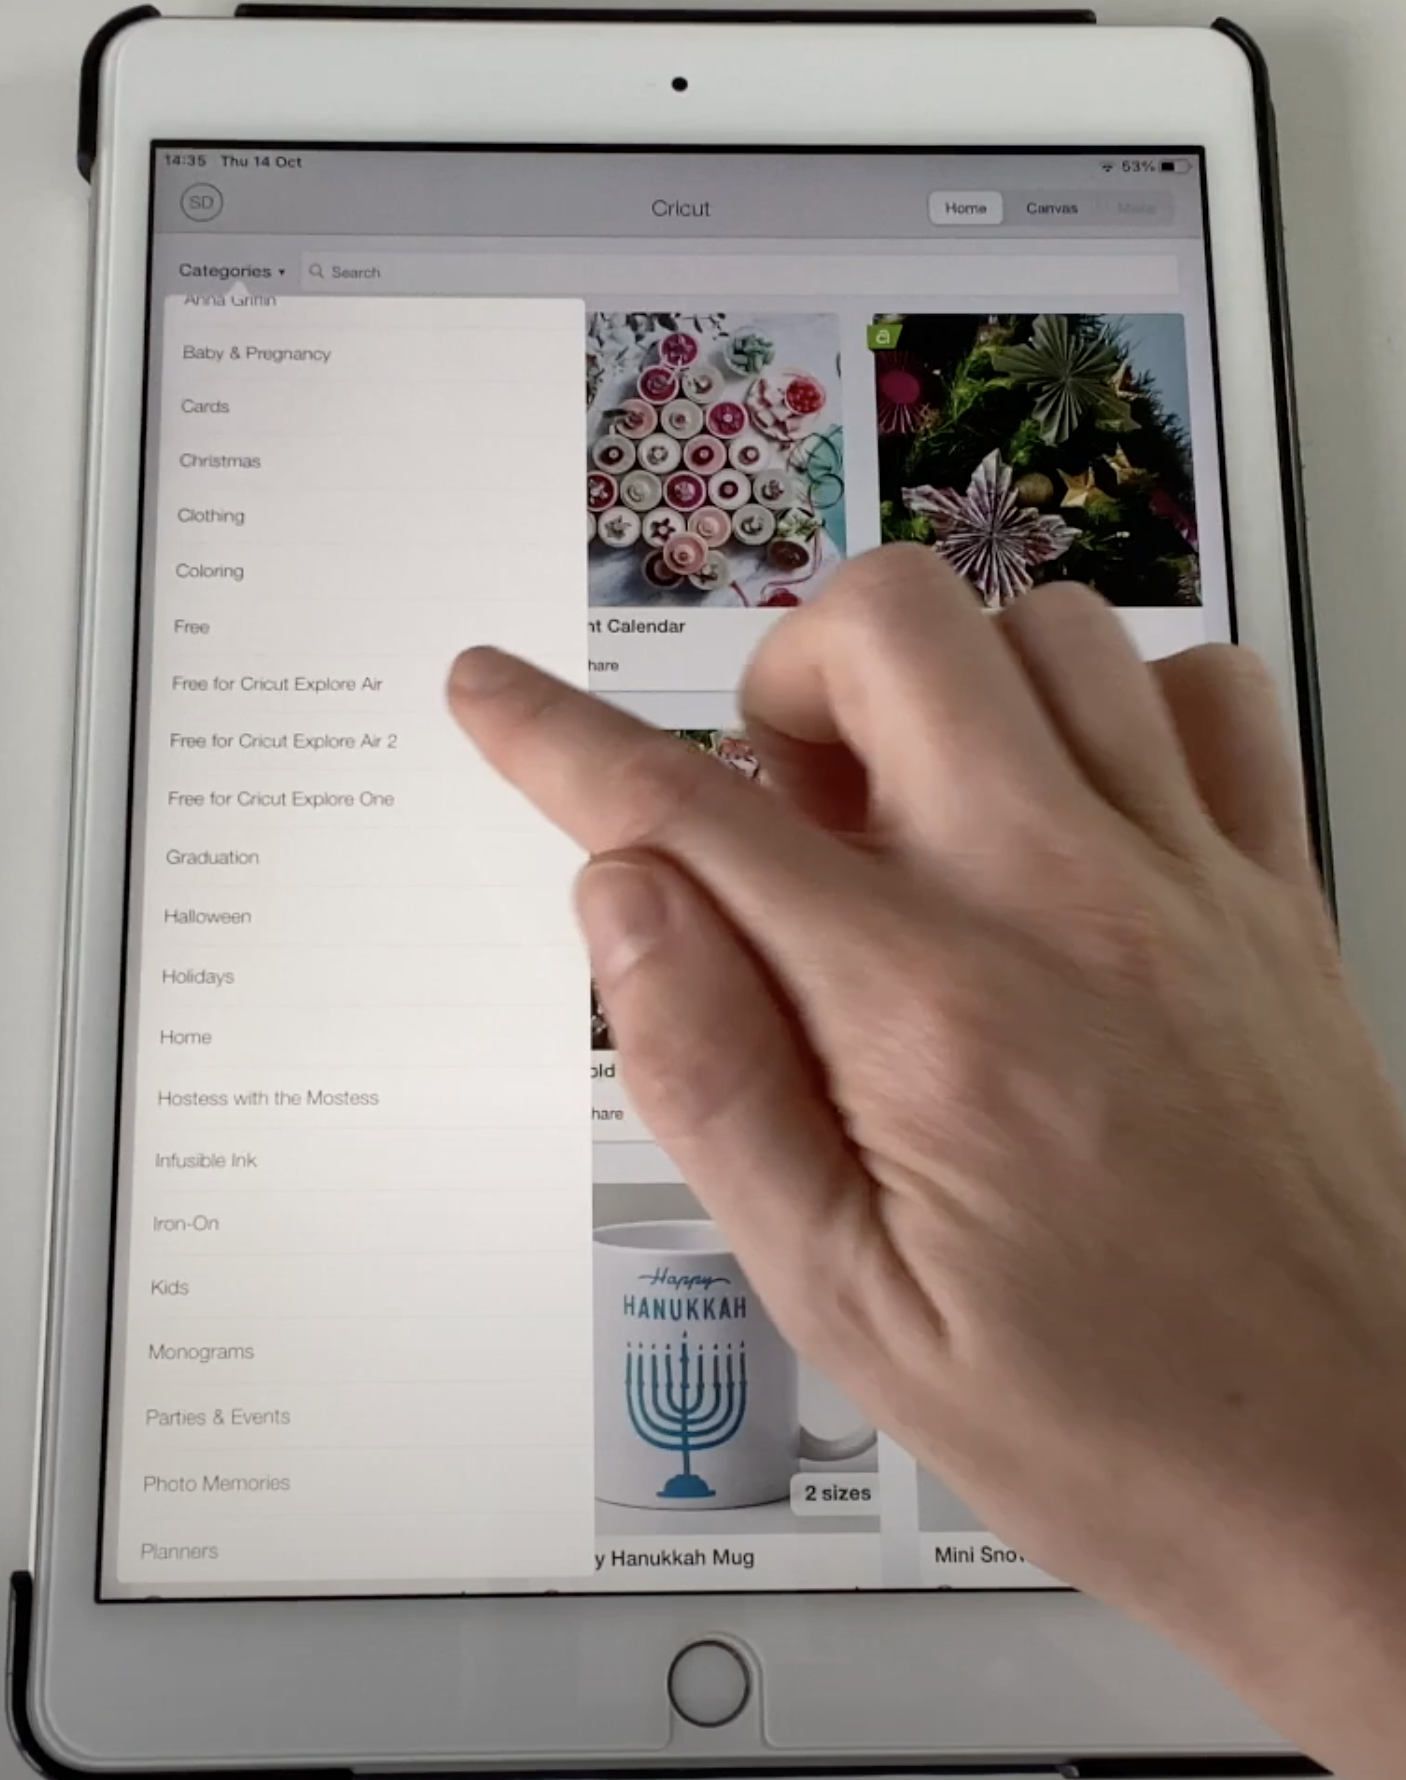
If you do get Cricut access you will get all of these designs to play around with. Some of them are for personal use only so it depends on what you want to do, but there are free projects and also free ones for Cricut Explore 2 if you search in the menu.
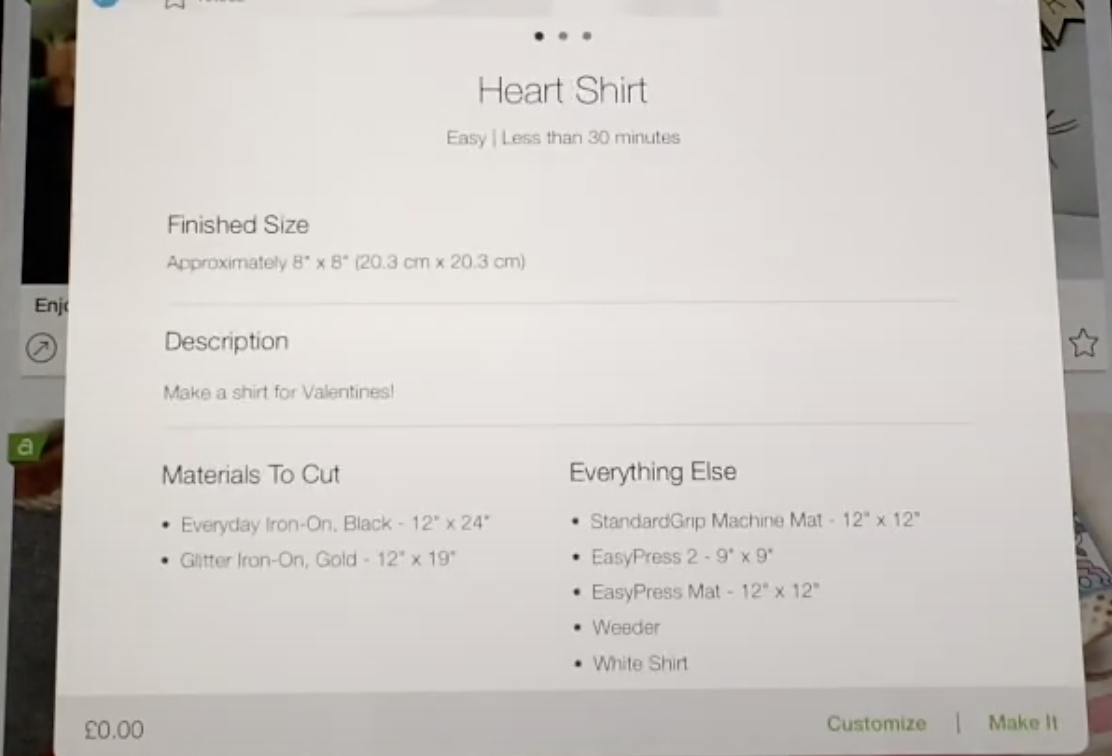
If you click on one any of them they should show a zero amount and you just make the design as soon as you want to work on it.
3. Choosing Fonts
We are going to start from scratch, so if you go to Canvas (on the top right of the screen), I'm just going to start with some wording.
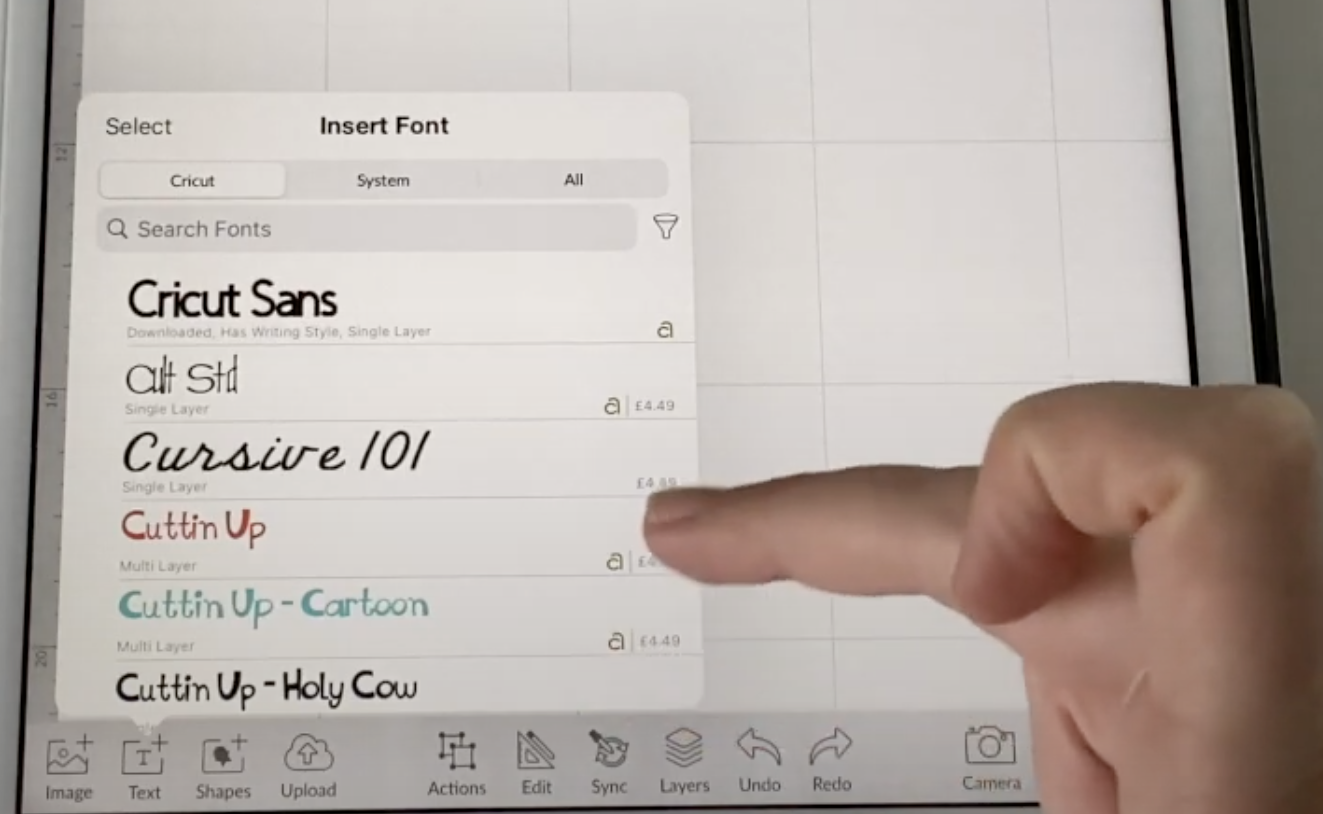
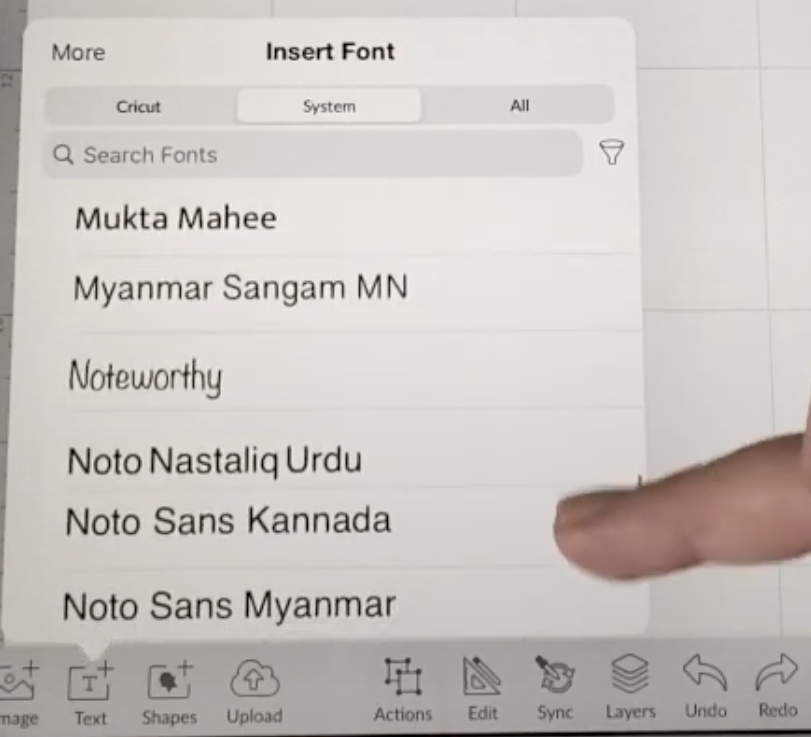
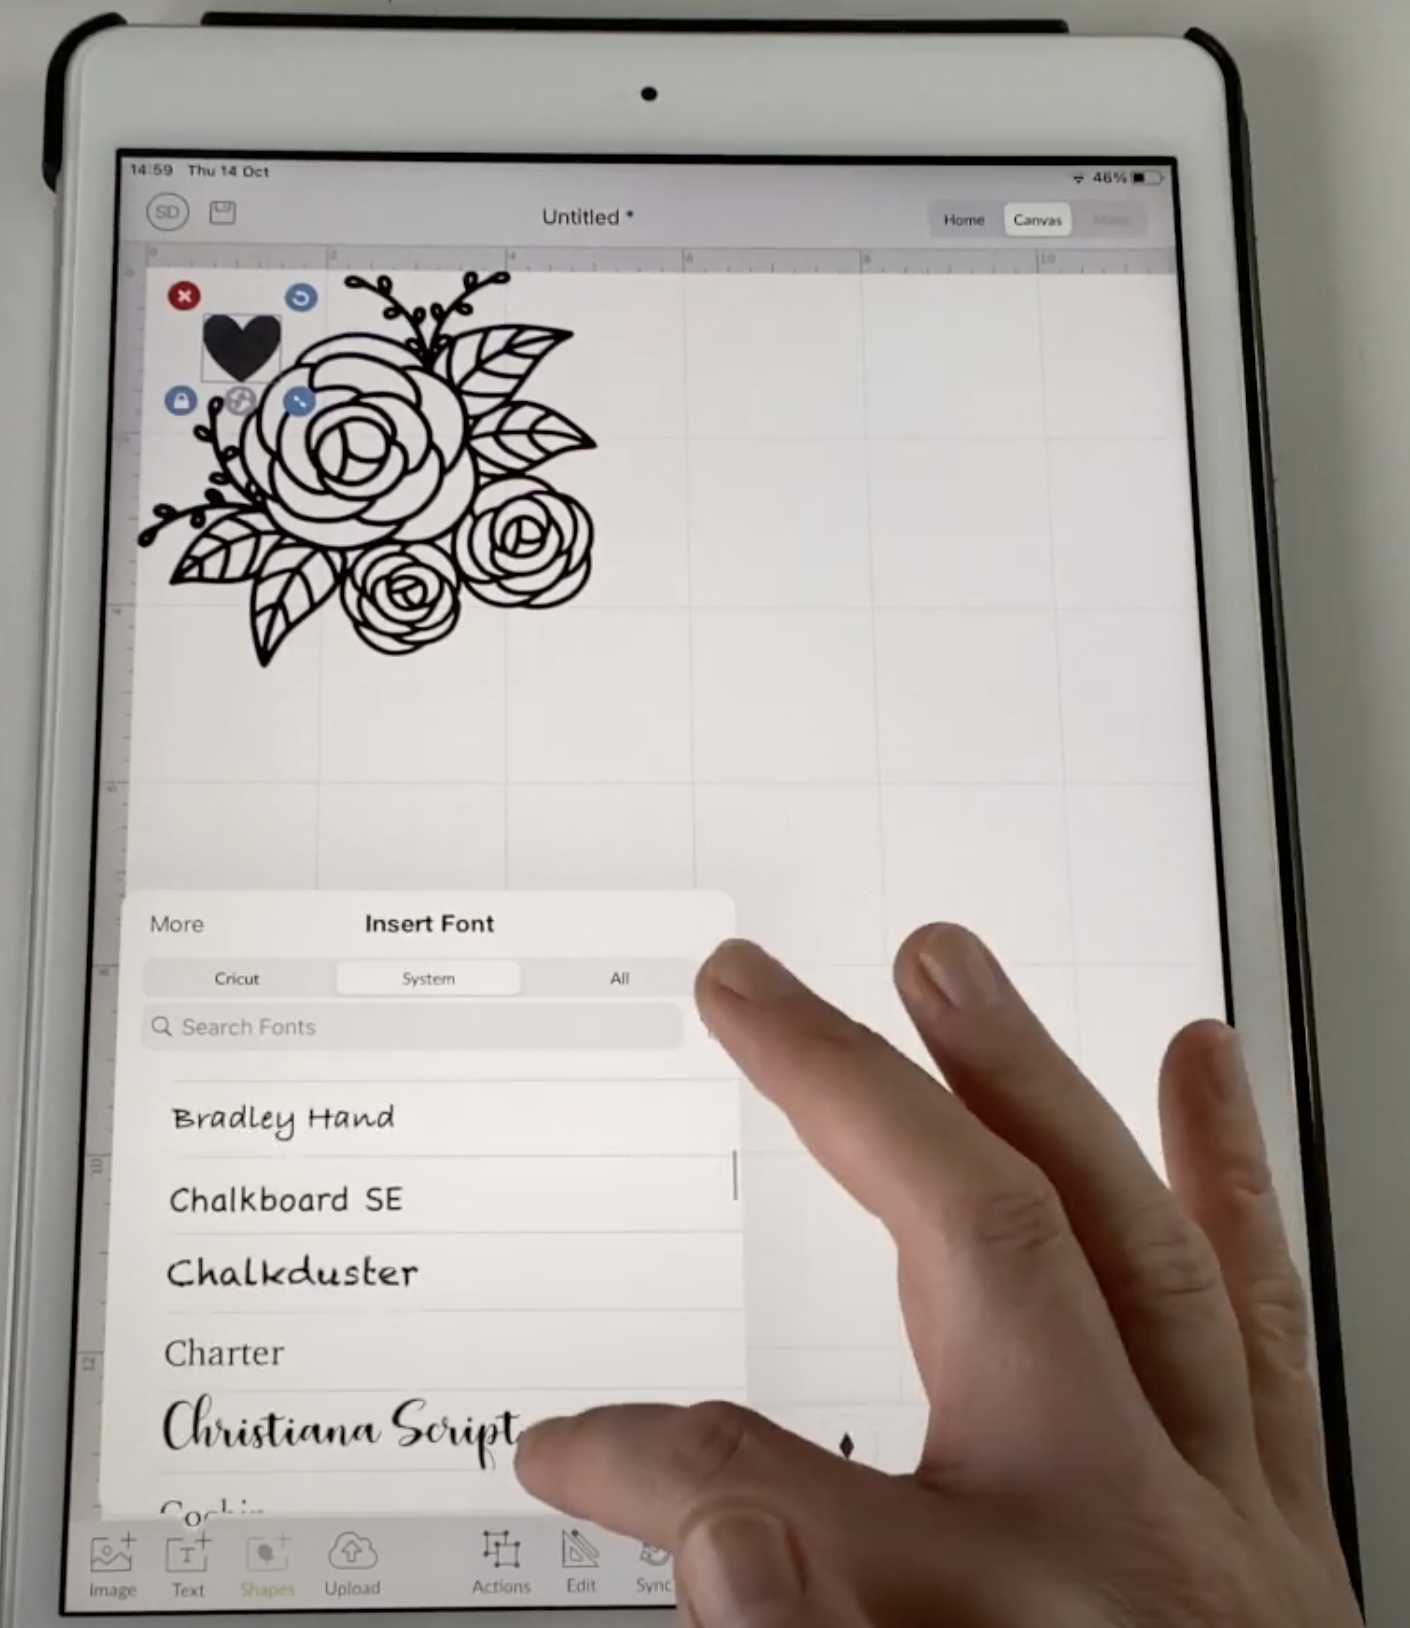
I use the text box in the bottom left. Again, a lot of these fonts are only accessible on Cricut subscription but there are system fonts that should already be on your iPad. I find a lot of them are quite boring, so it probably is better to add some of your own unless you're paying for quick access.
To do that you need to get a separate app because fonts don't work on an iPad. I use iFont but there are a few different ones you might want to look into. They do have some featured fonts but I couldn't quite figure out how to get those straight on, so I just went to Font Bundles instead because that's the site I use a lot.
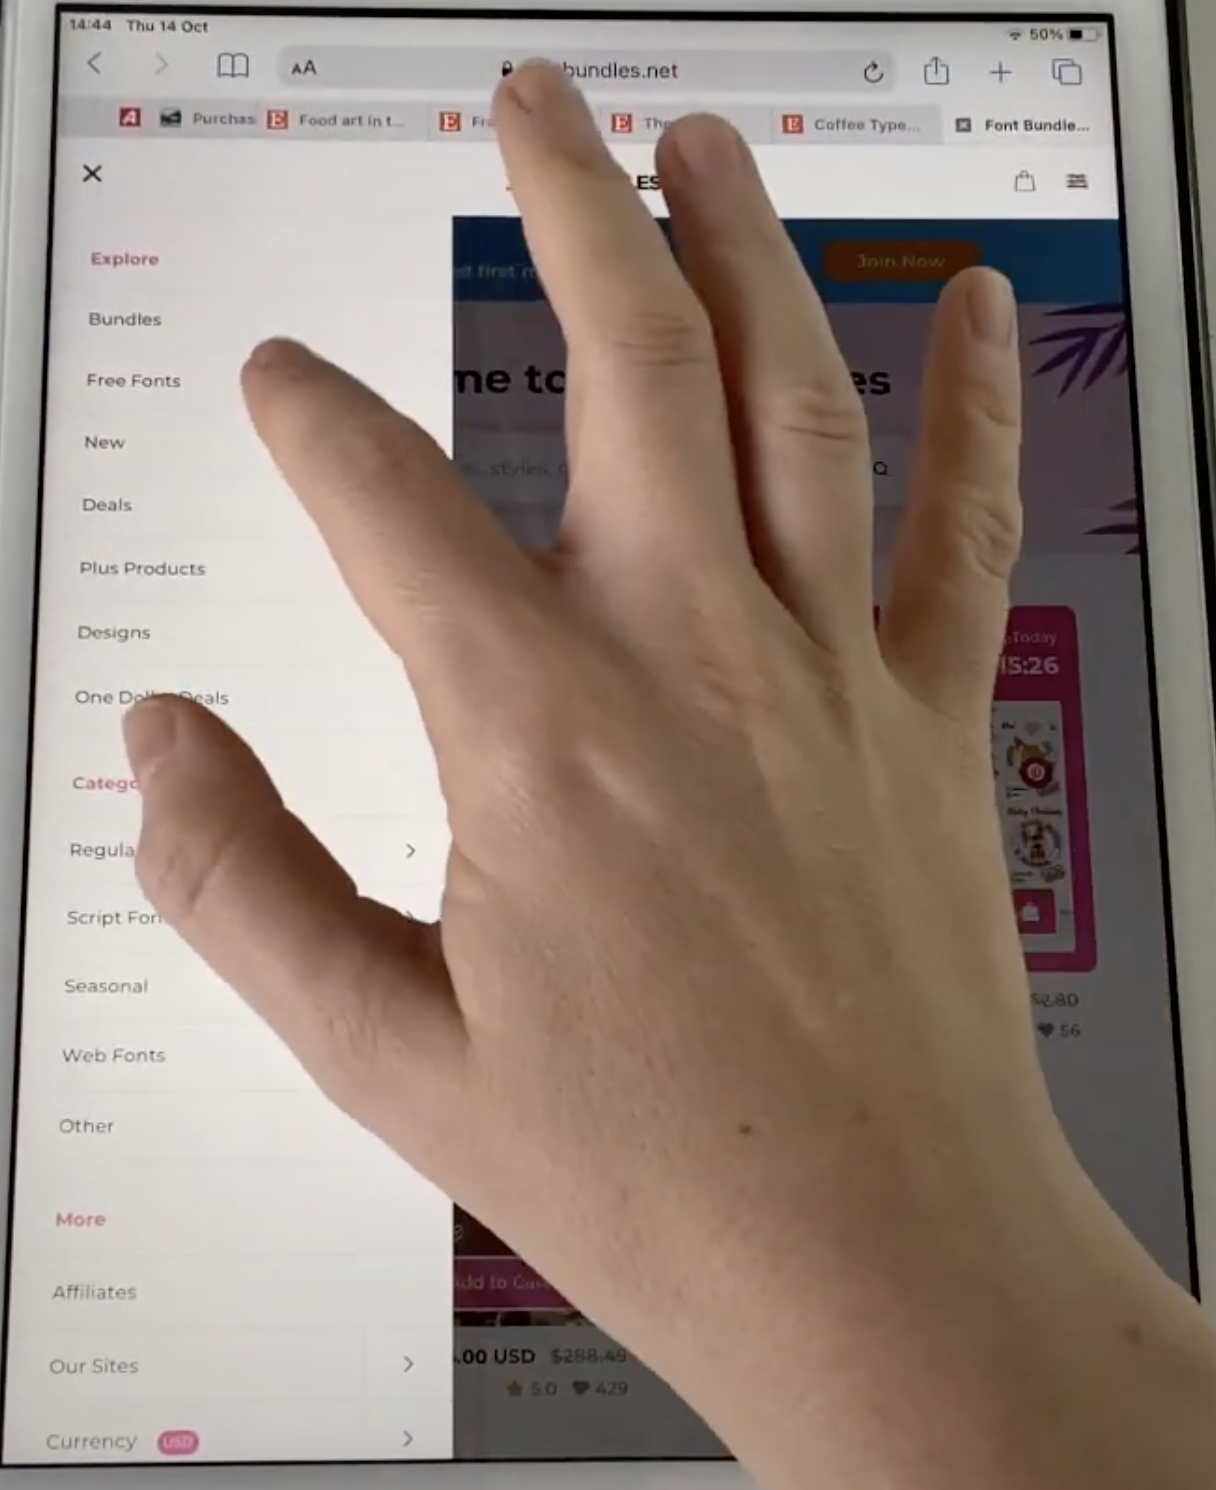
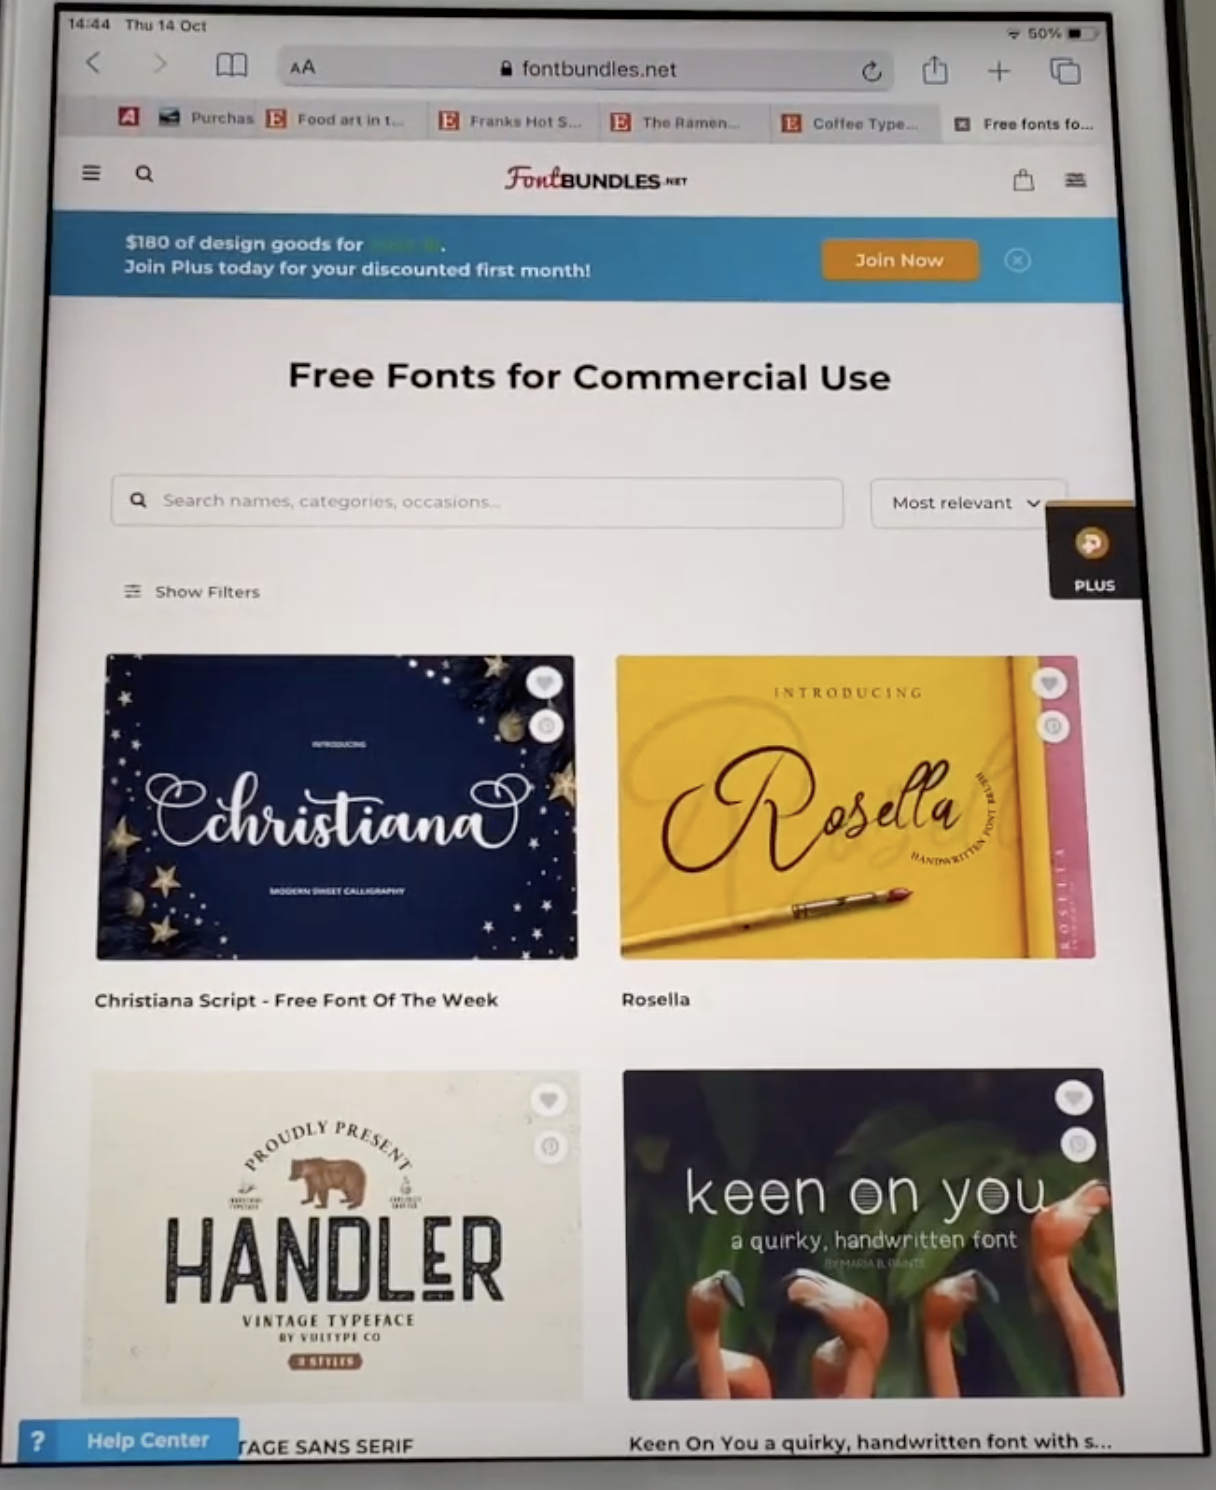
I got one of the free fonts and downloaded it straight onto my iPad.
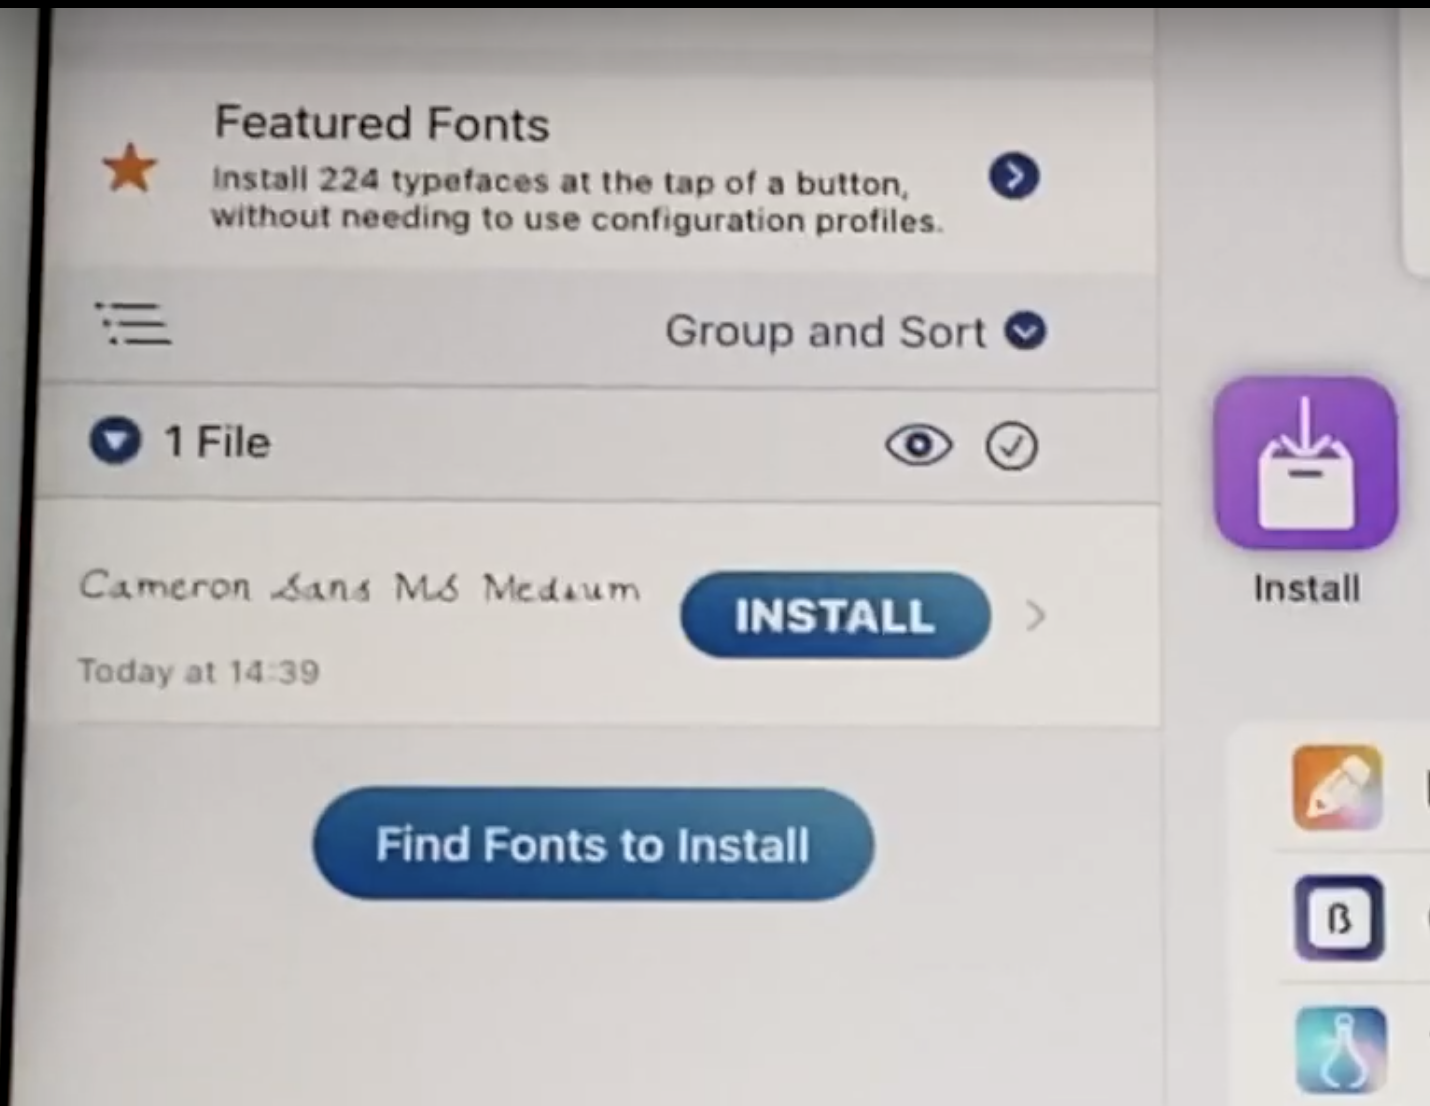
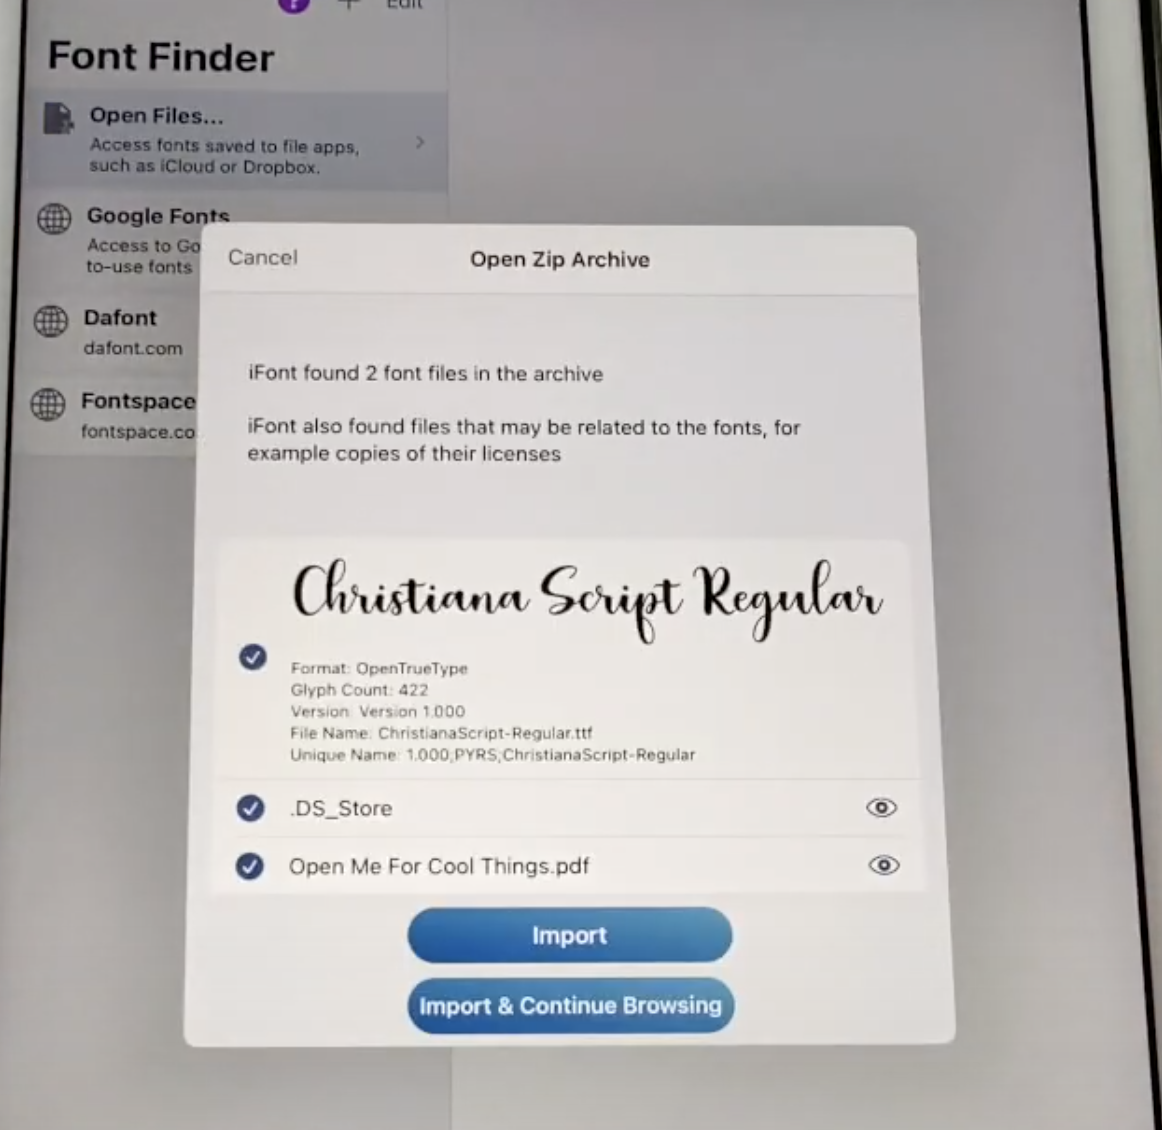
Go to ‘Find Fonts to Install’, downloaded the font, open the zip file and then just import the font and install.
You have to do it via your settings and it does give you some instructions to follow. You can also get them straight from the Font and Fun space as well, you don't need to go in a separate Safari browser. However, with these just be aware a lot of them are personal use only.
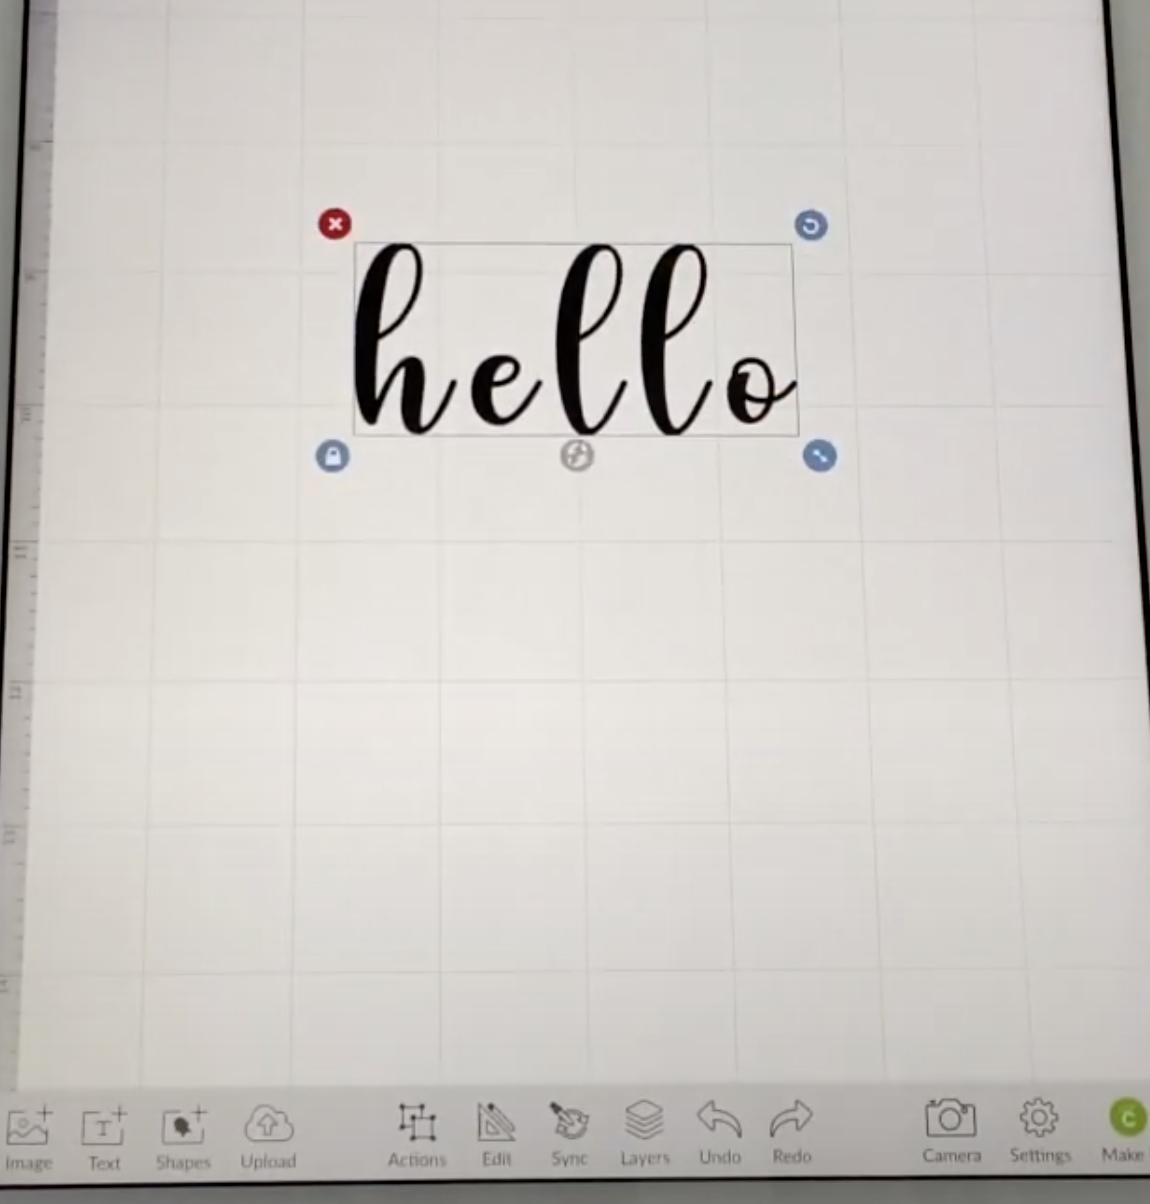

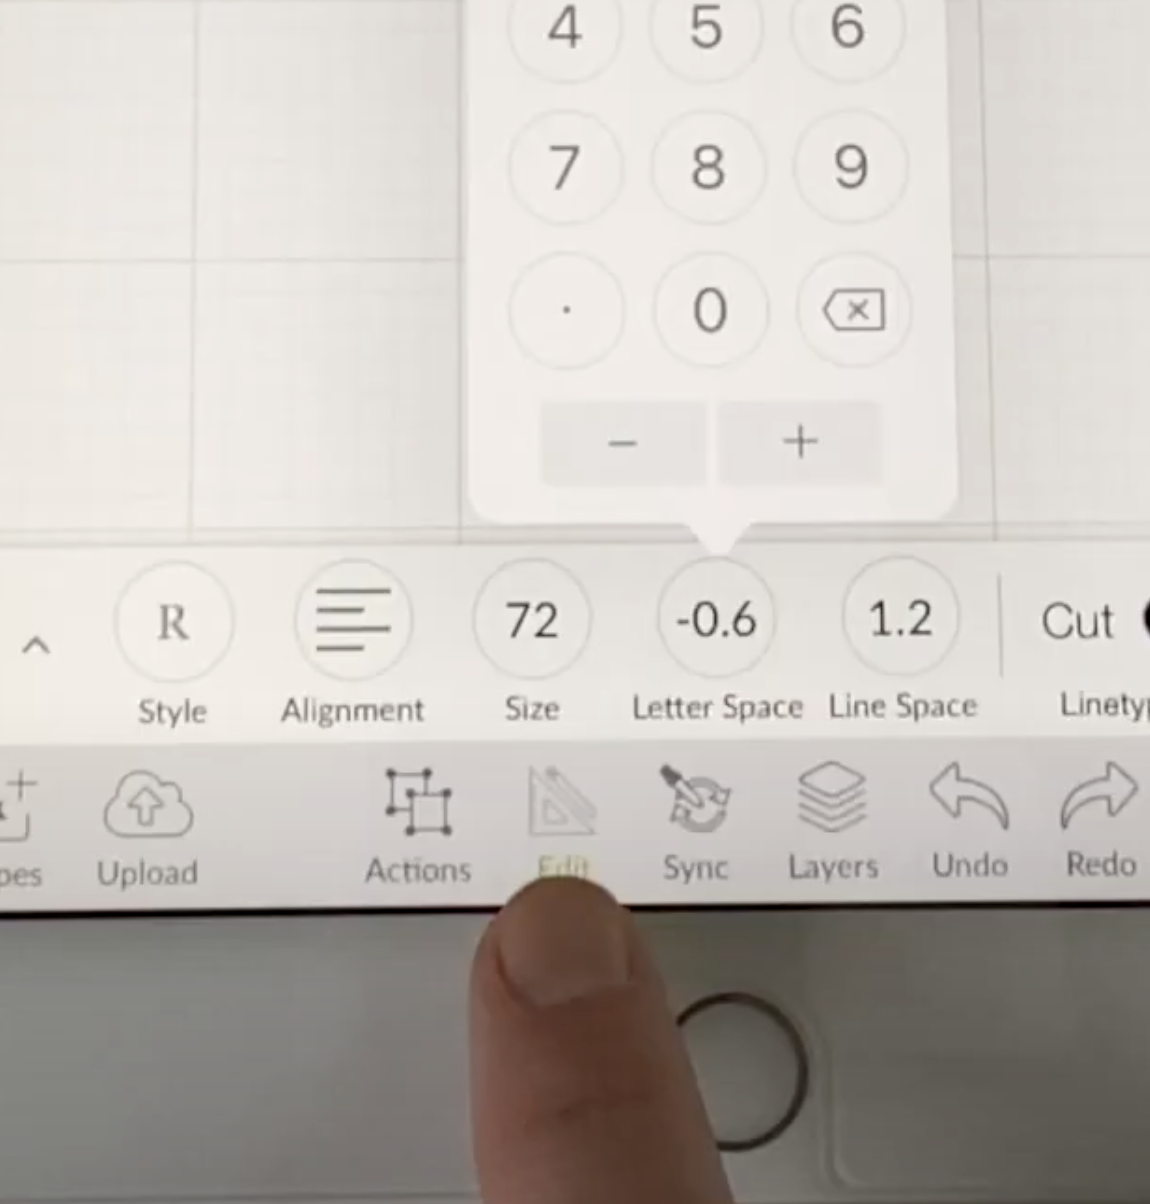
Once that is uploaded in your settings it should be available on Design Space, my font is Christiana Script. If you type something and you don't really want those spaces in between [the letters] you will find the Letter Space edit box at the bottom of the screen.
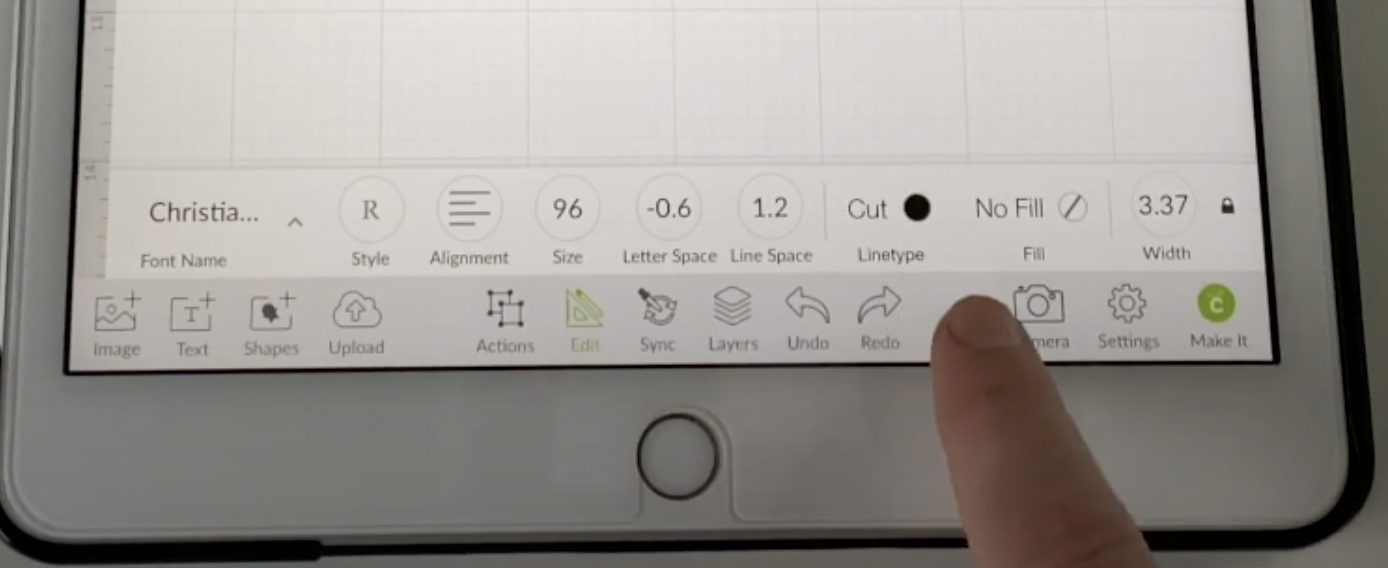
You can also change fonts from here, and the alignment, the size, and the colour. Have a play around with other things you can change.

4. Choosing and Editing Images
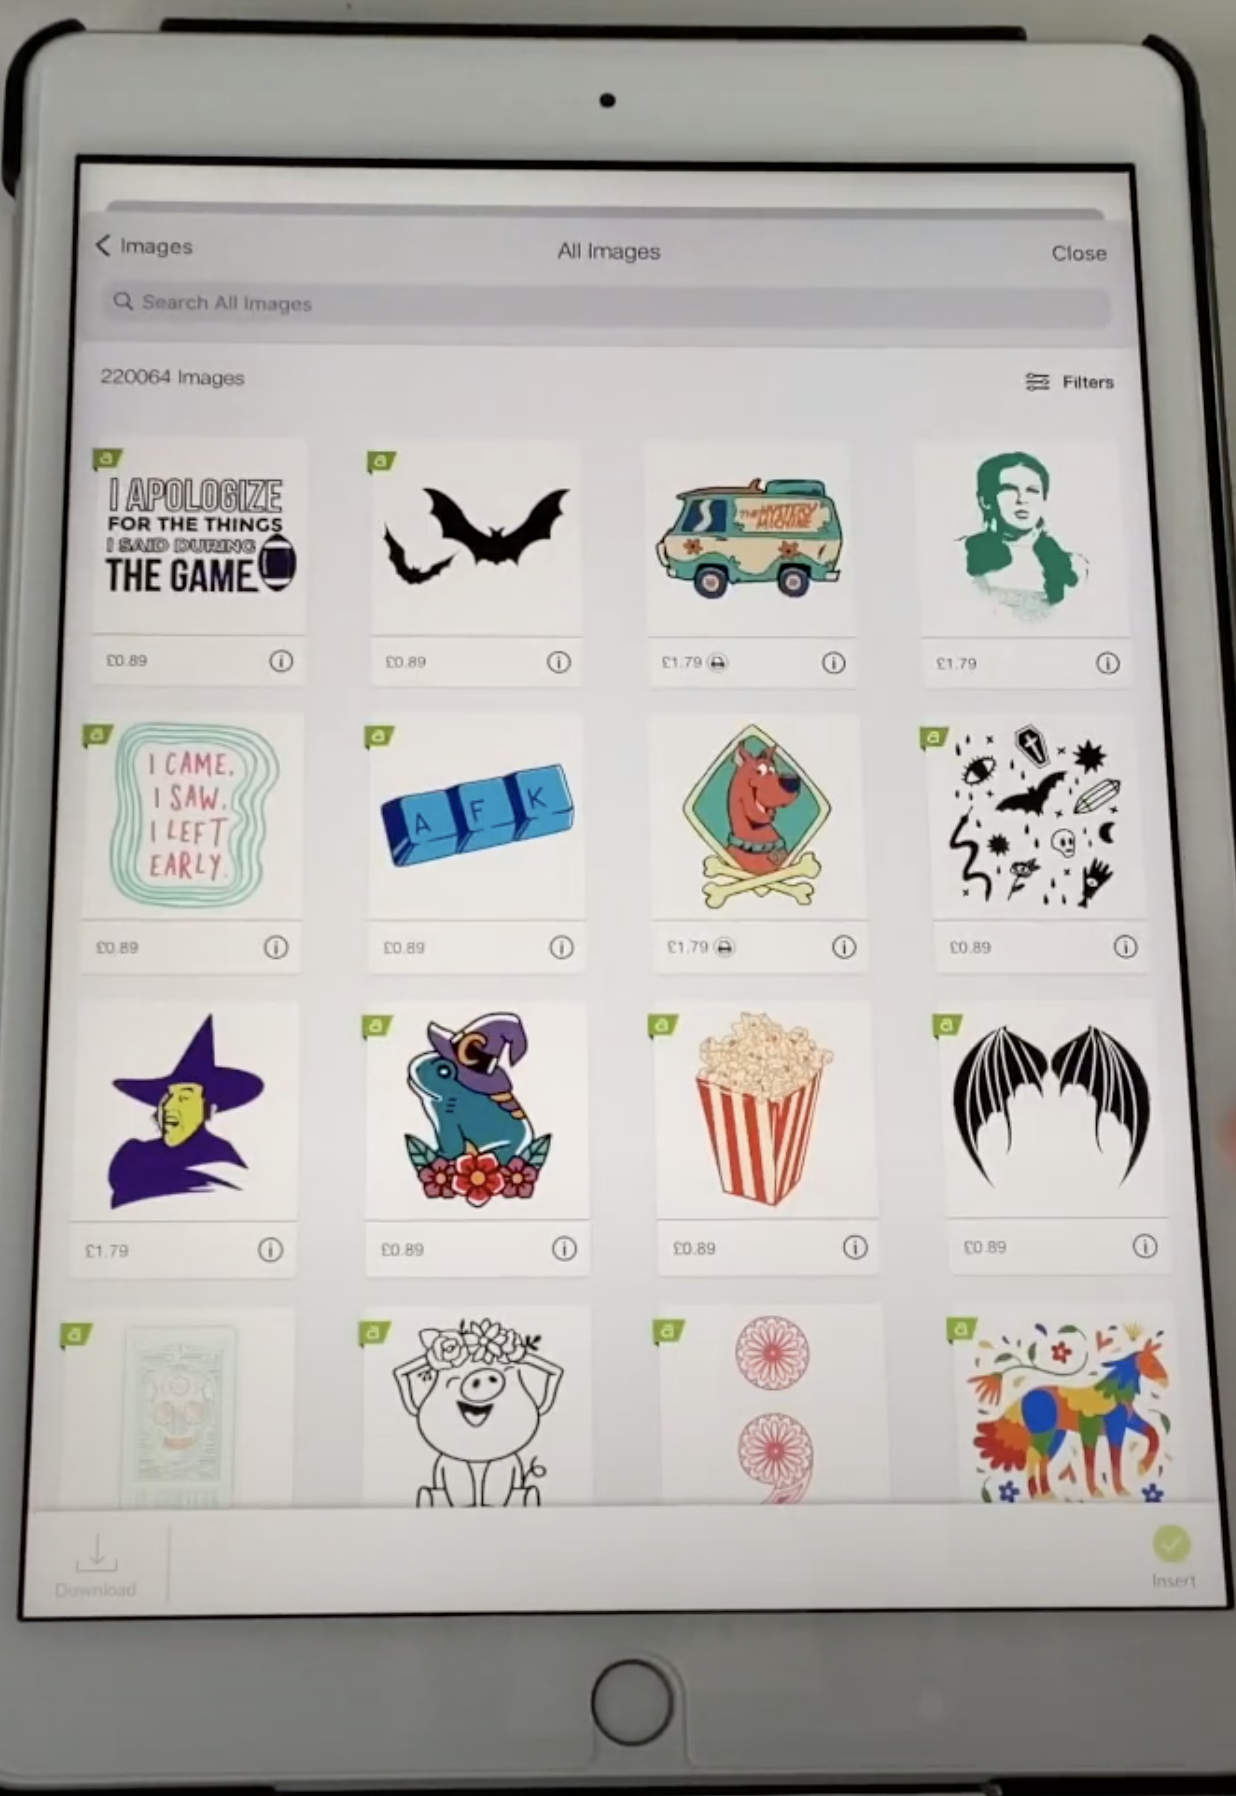
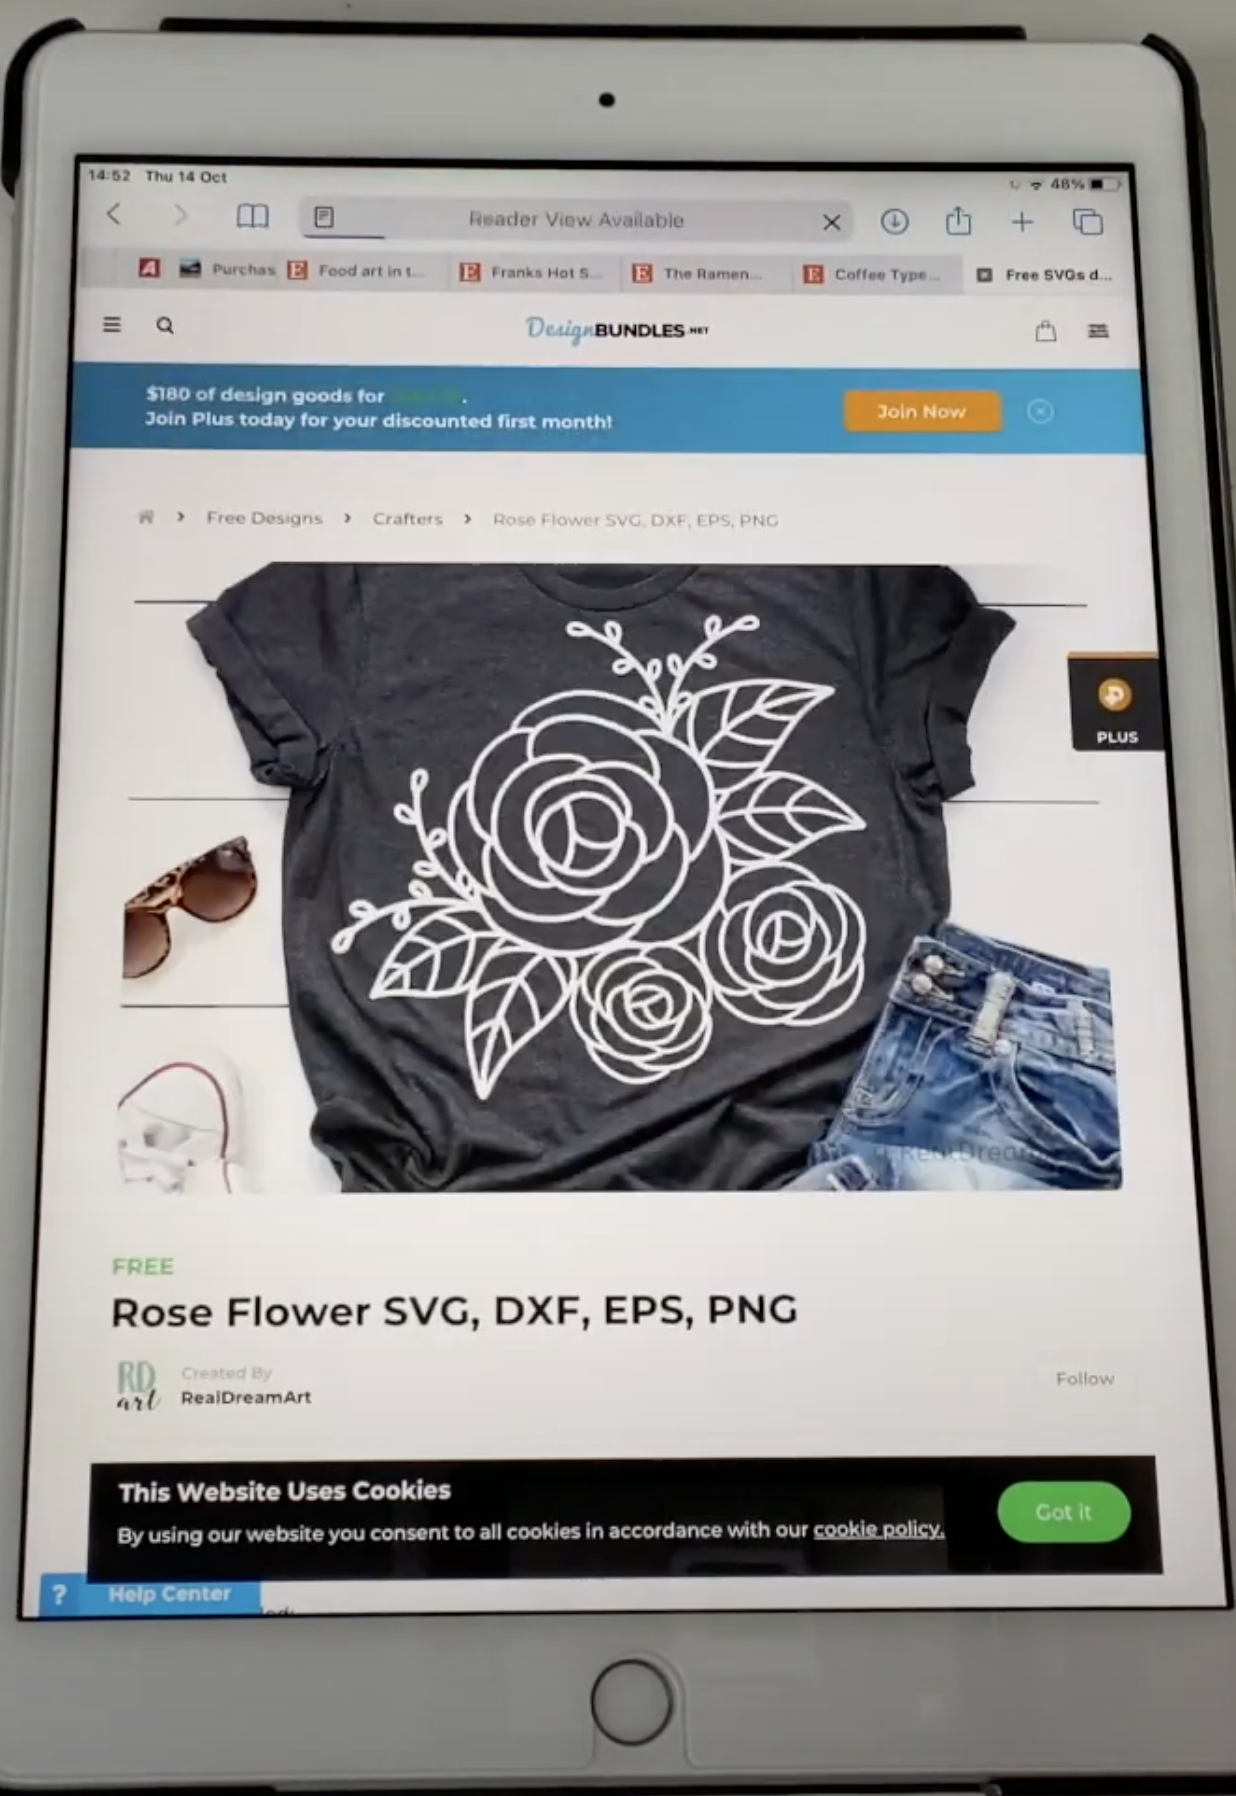
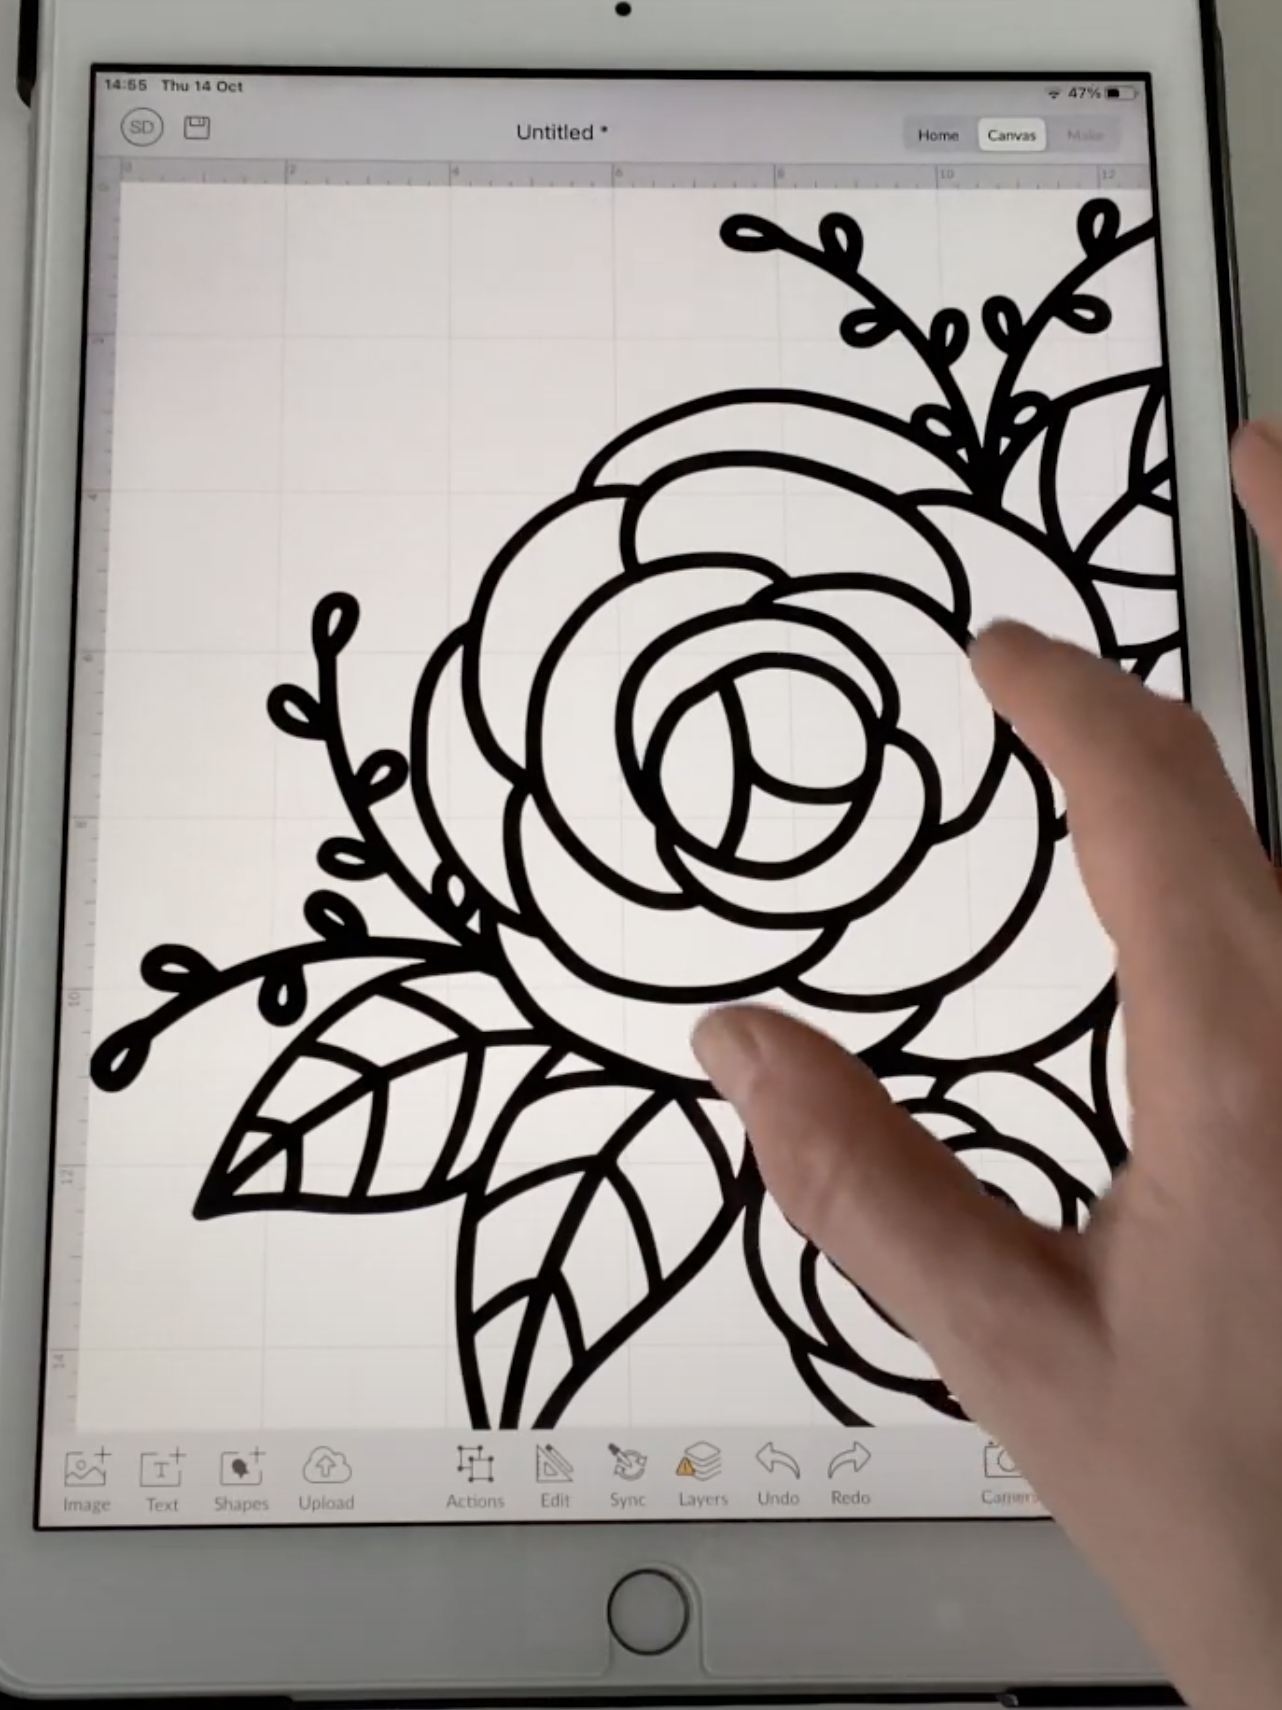
You might also want to pull in some images. Again Cricut has lots available and some of them are free. I'm just going to go to Design Bundles this time and see if I can get a free PNG from there.
You don't need a separate app for the one I chose, thankfully, but you do need to make sure it is unzipped and you should be able to find it in your downloads folder.

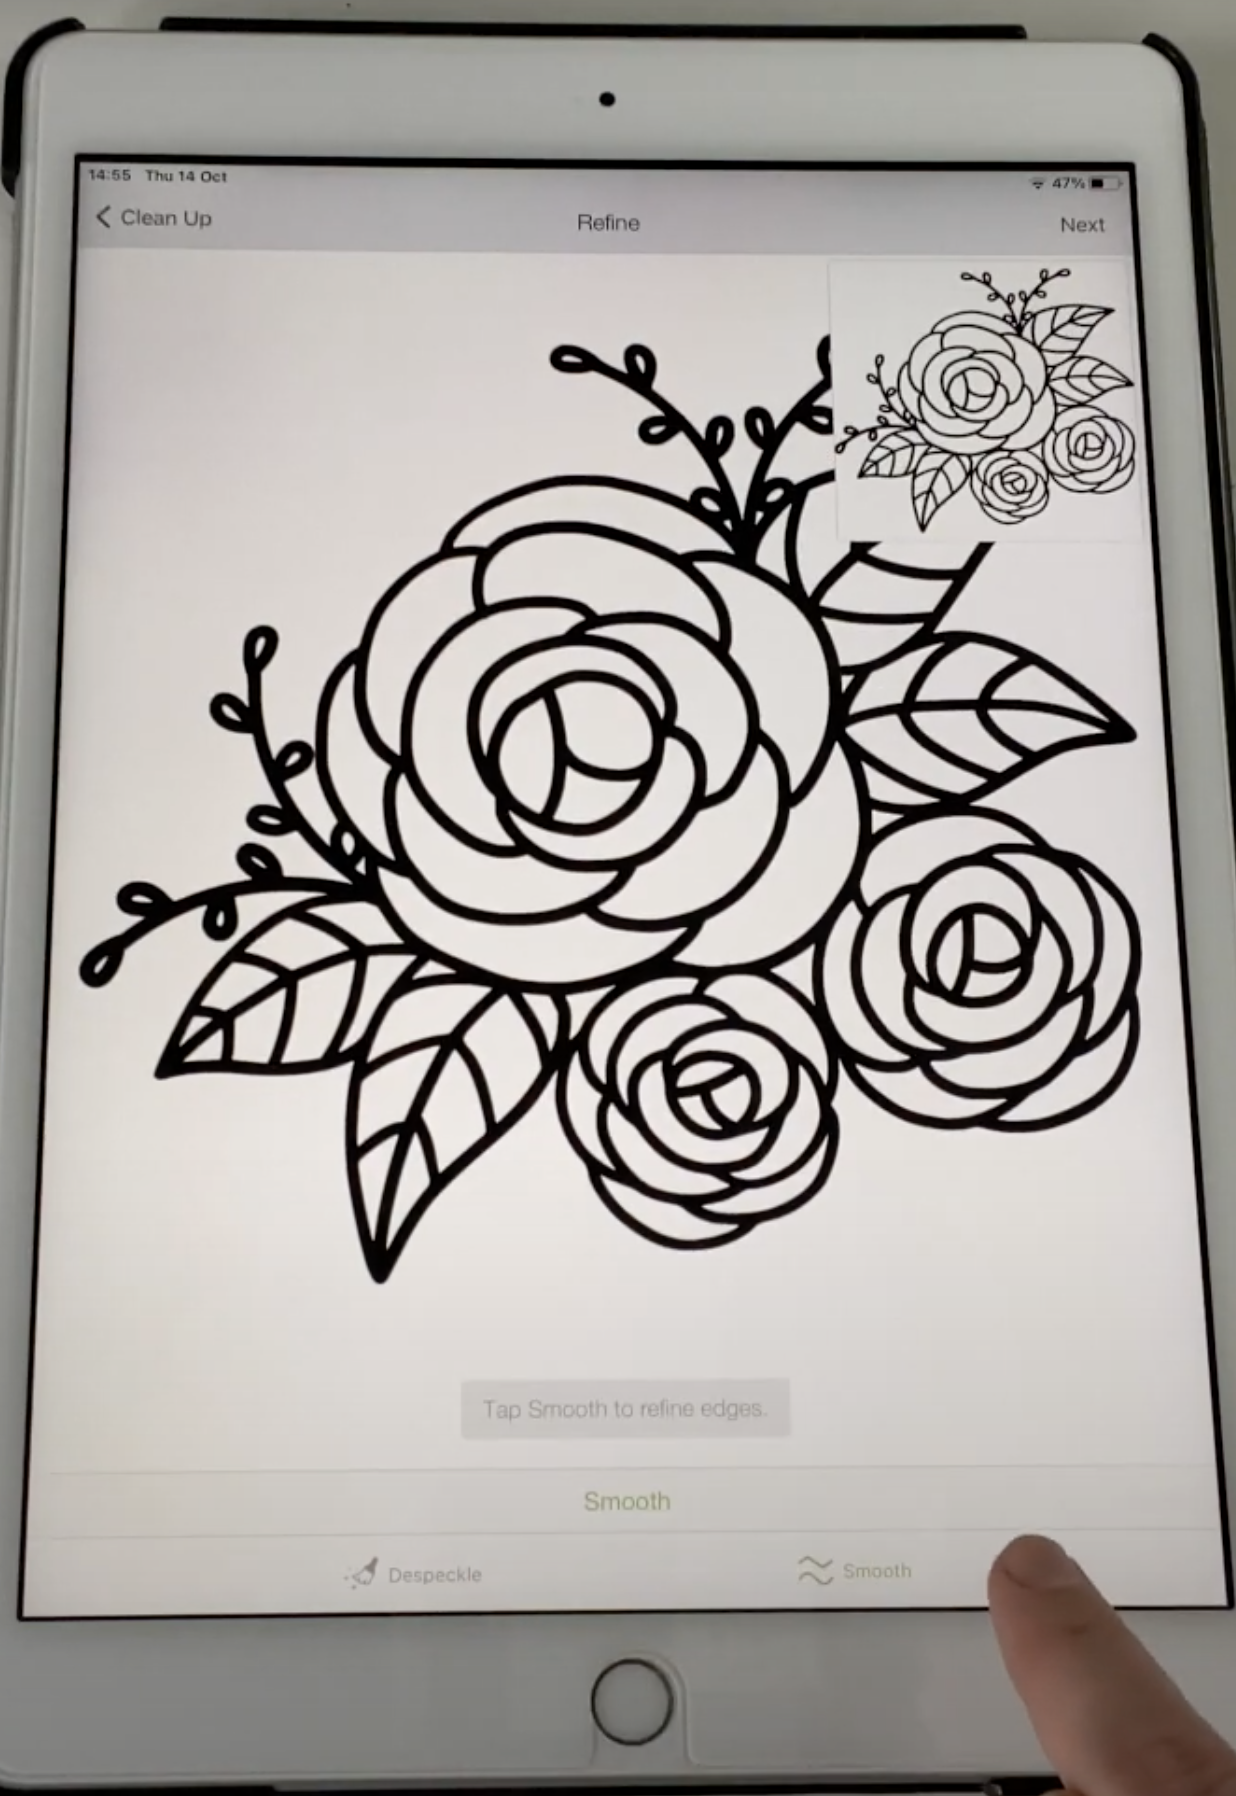
There are different options - can kind of erase bits of it, remove sections or crop it if you want it smaller. And if it's more hand drawn you might want to smooth it out by selecting that option on the bottom
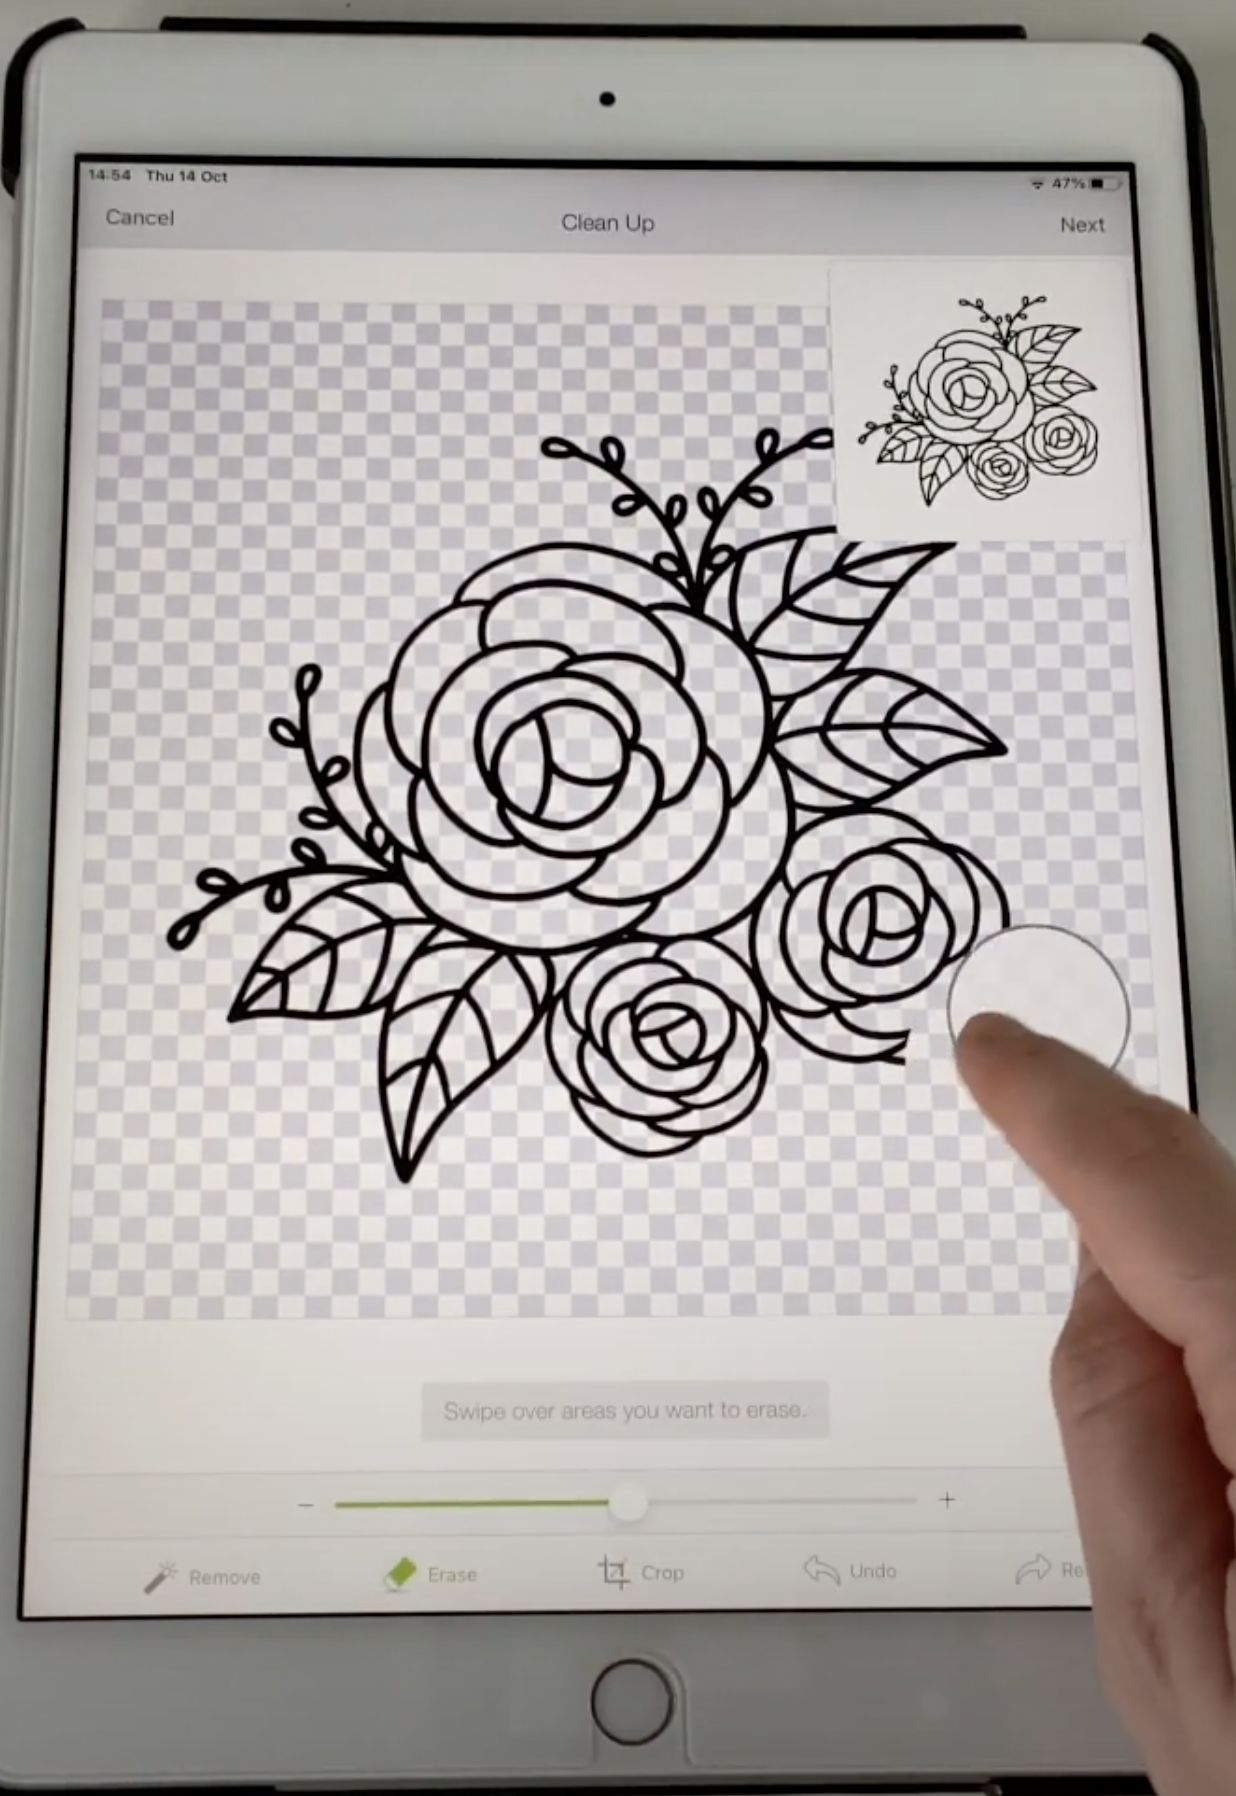
Then you either Cut or Print Then Cut. Because we're using vinyl that will be Cut, but if you're going to do a sticker or something like that you would choose Print Then Cut.
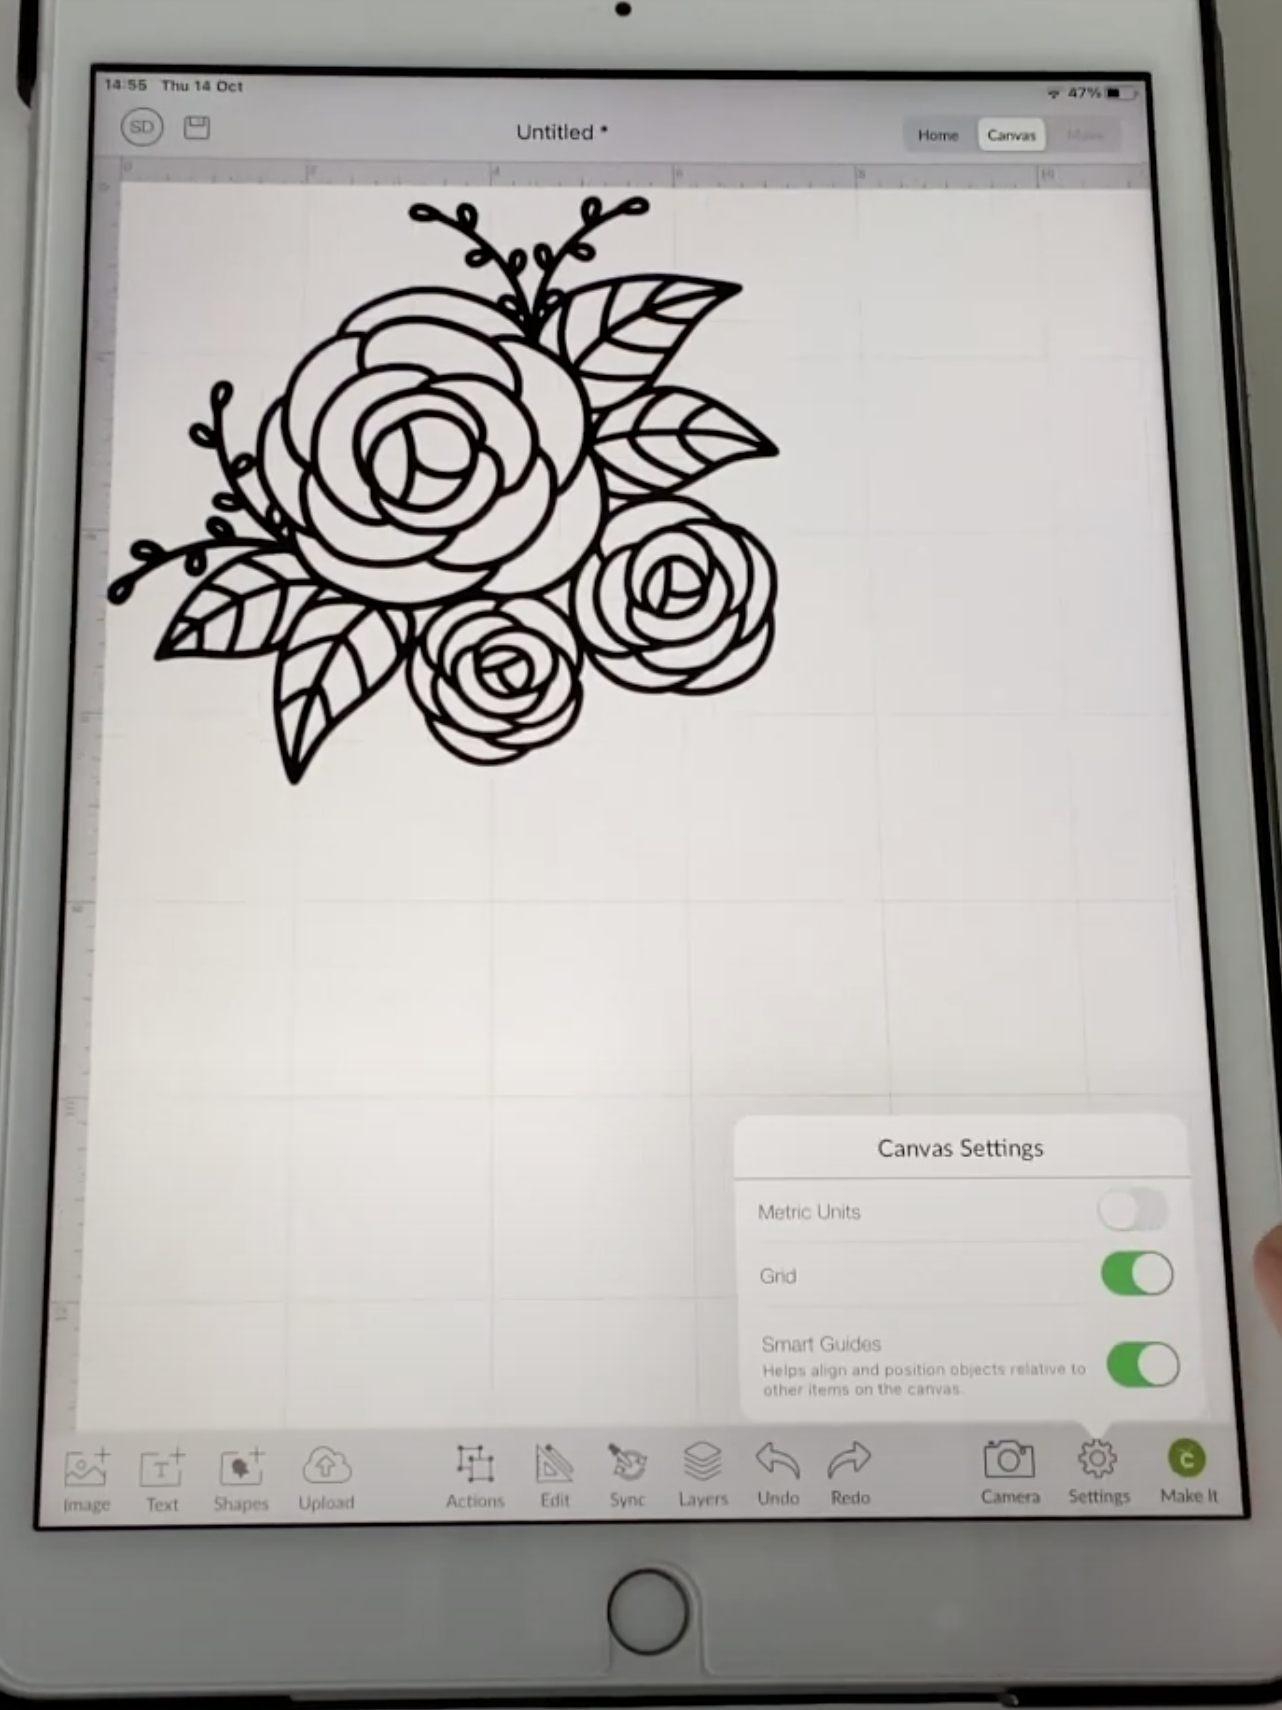

Click ‘Upload’ on the bottom section to add, then you can resize it how you need. If you want to change the top from inches to centimeters you change the numeric units you can turn the grid off. There are also lots of shapes you can add in that bottom section which are quite handy for adding to your designs.
5. Adding to Your Design
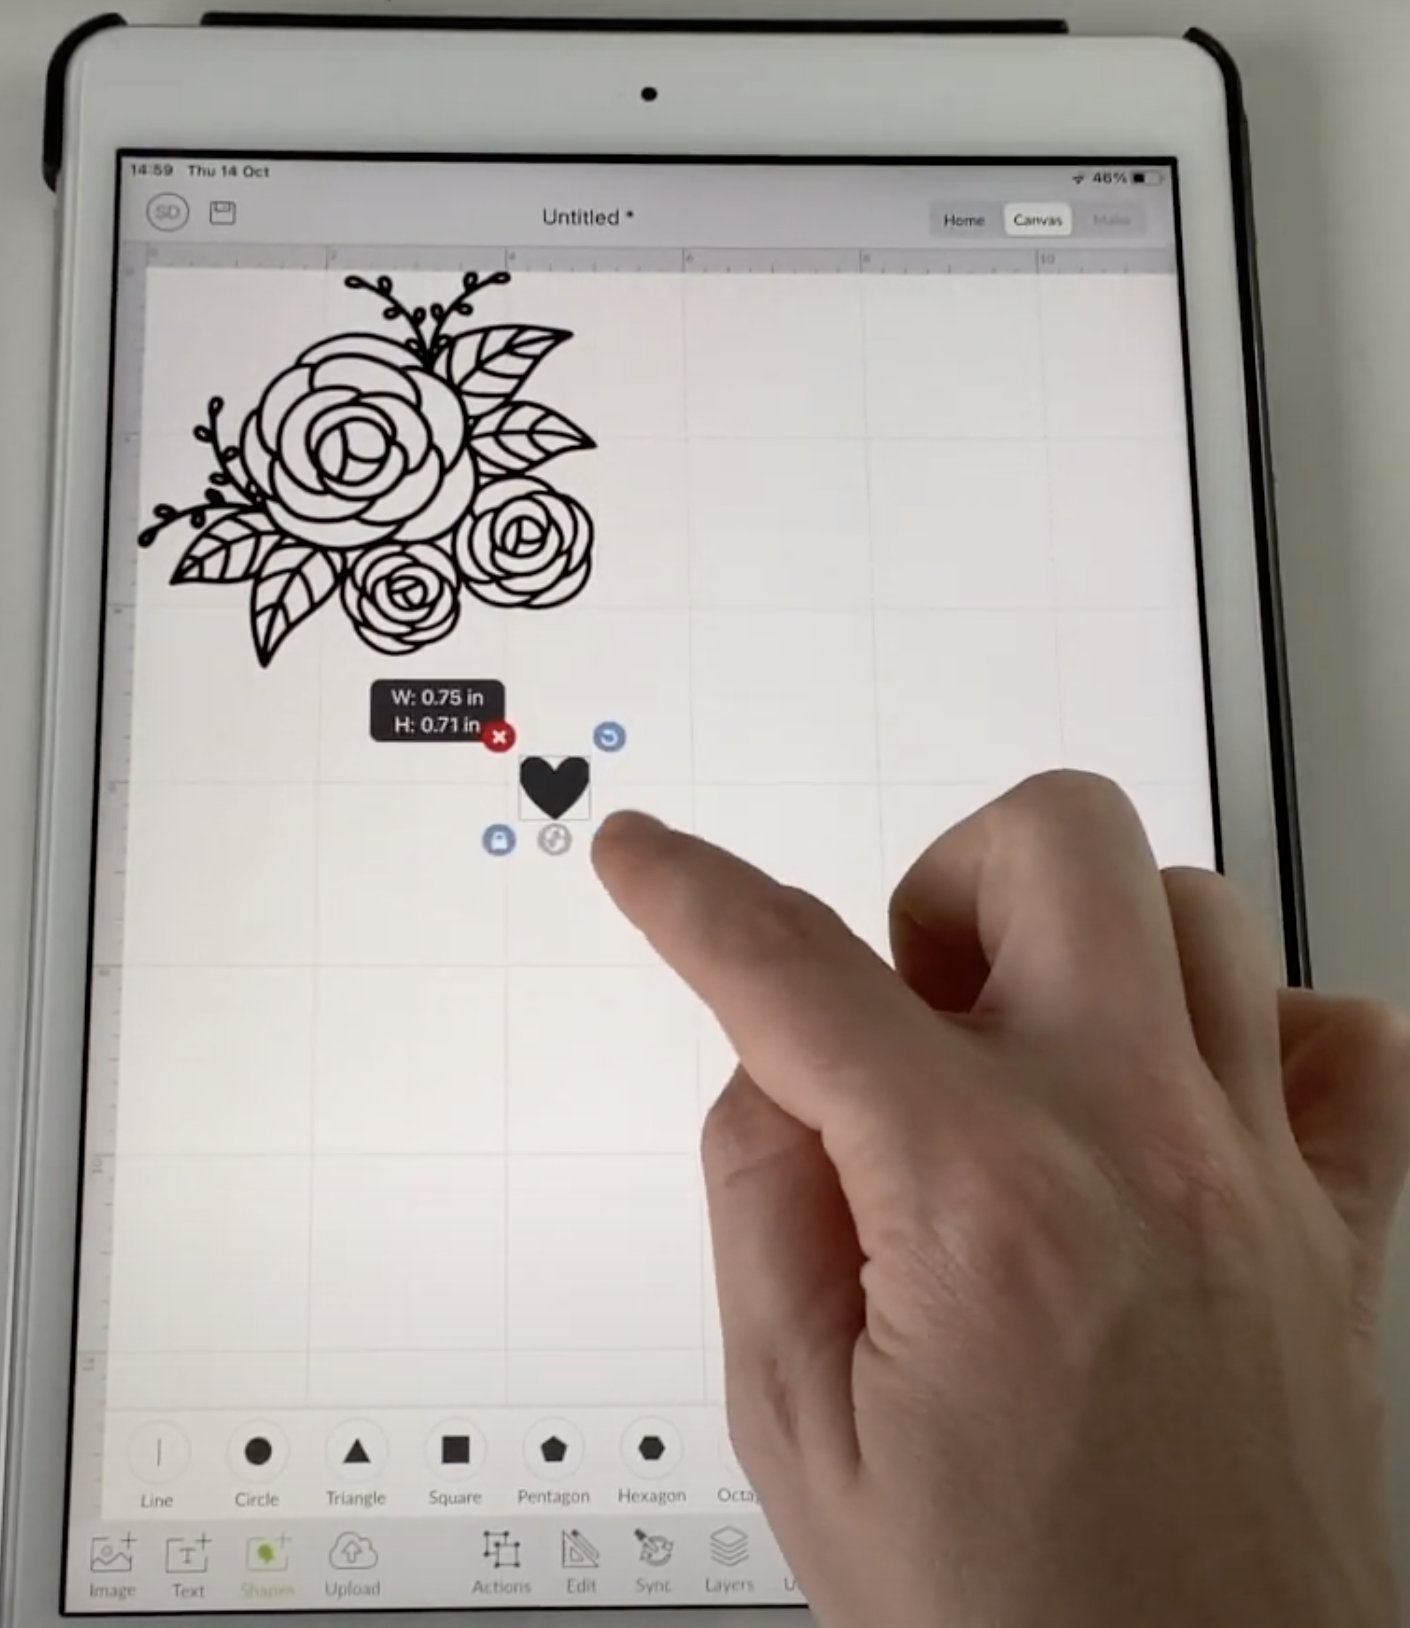
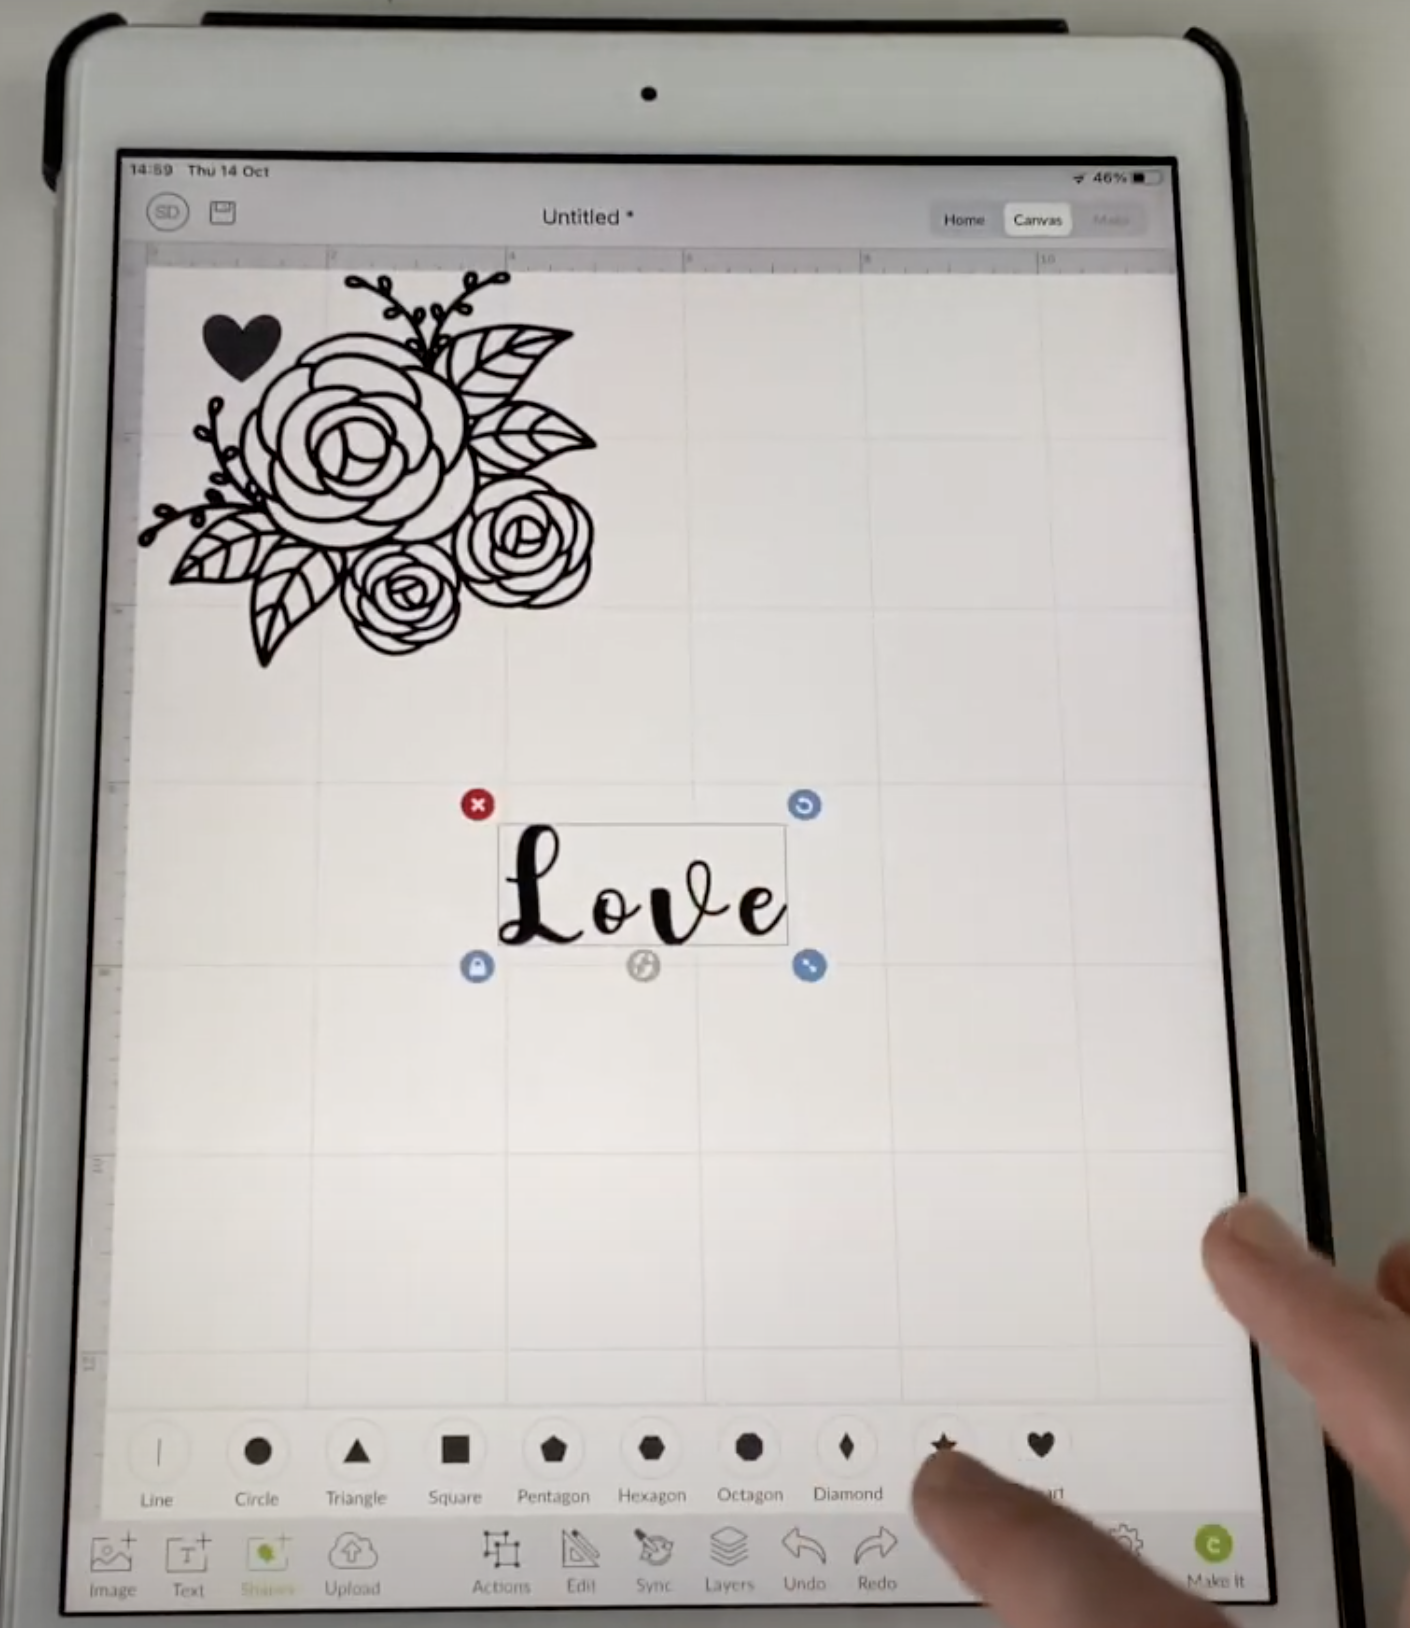
I added a shape to my design and also a word using the new font.

Make sure those spaces have gone from in between using the spacing button on the menu below.
5. Get Your Design Ready for Cutting
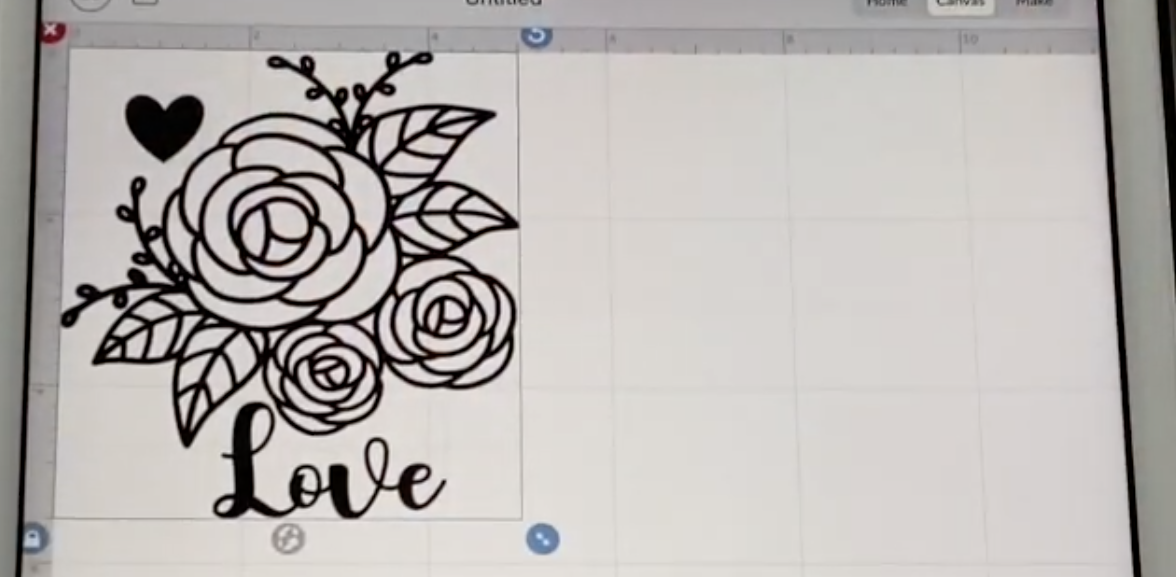
This is just a quick design but I'm going to go ahead and make it.

You see that the design elements are separated out.
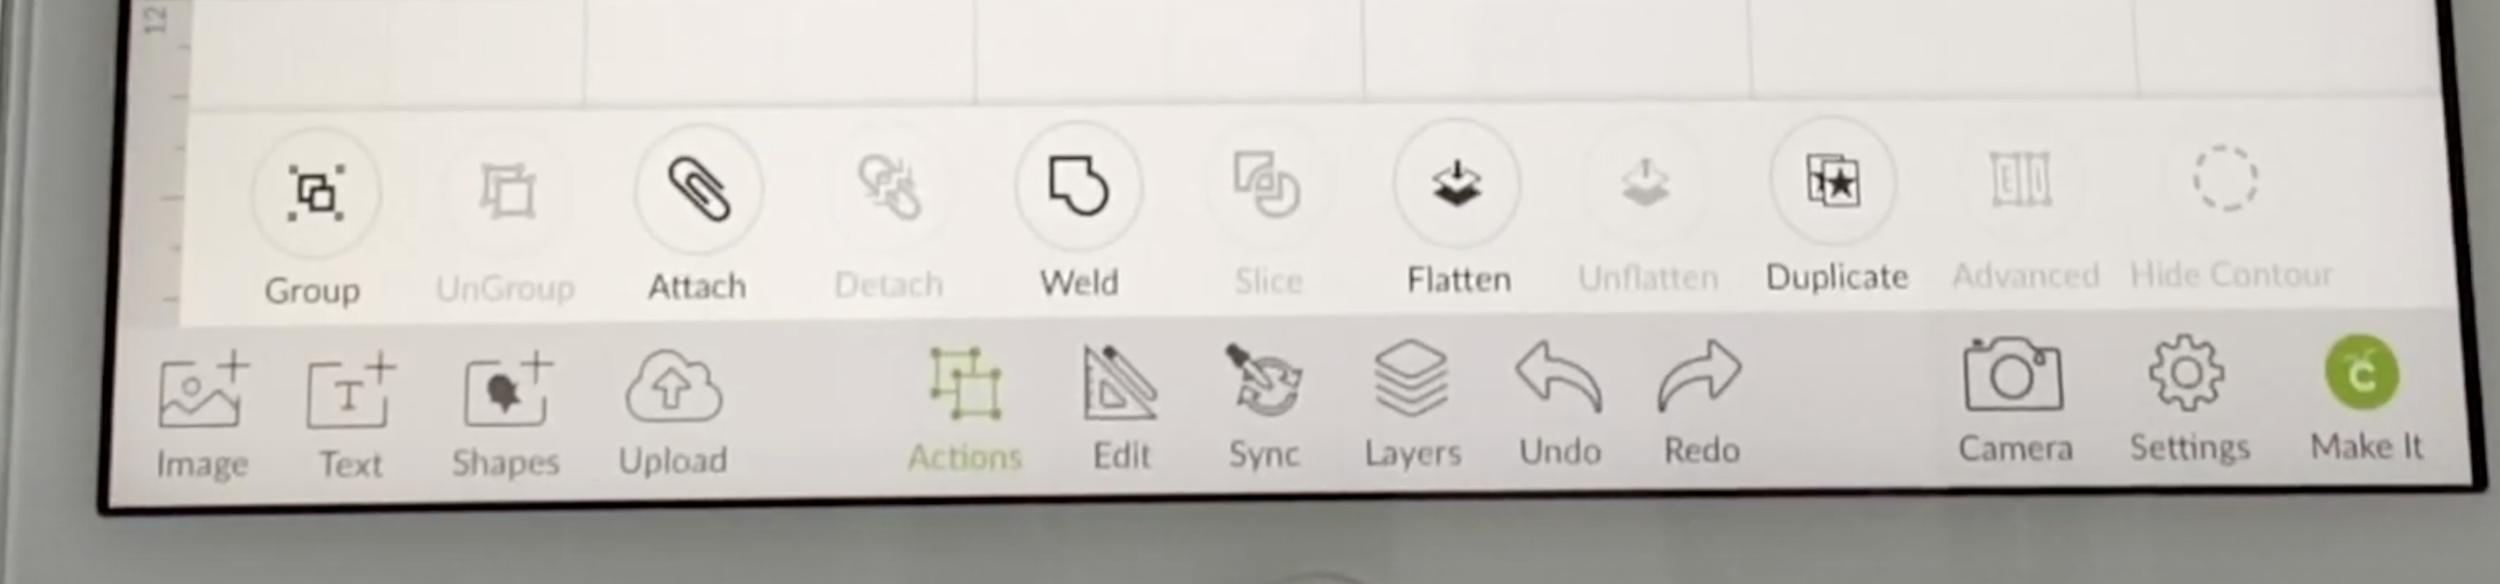
To fix that you need to Select All, go to Actions on the bottom bar and then you can either Attach them which is more of a temporary attachment, or you can Weld them which sticks them together permanently.

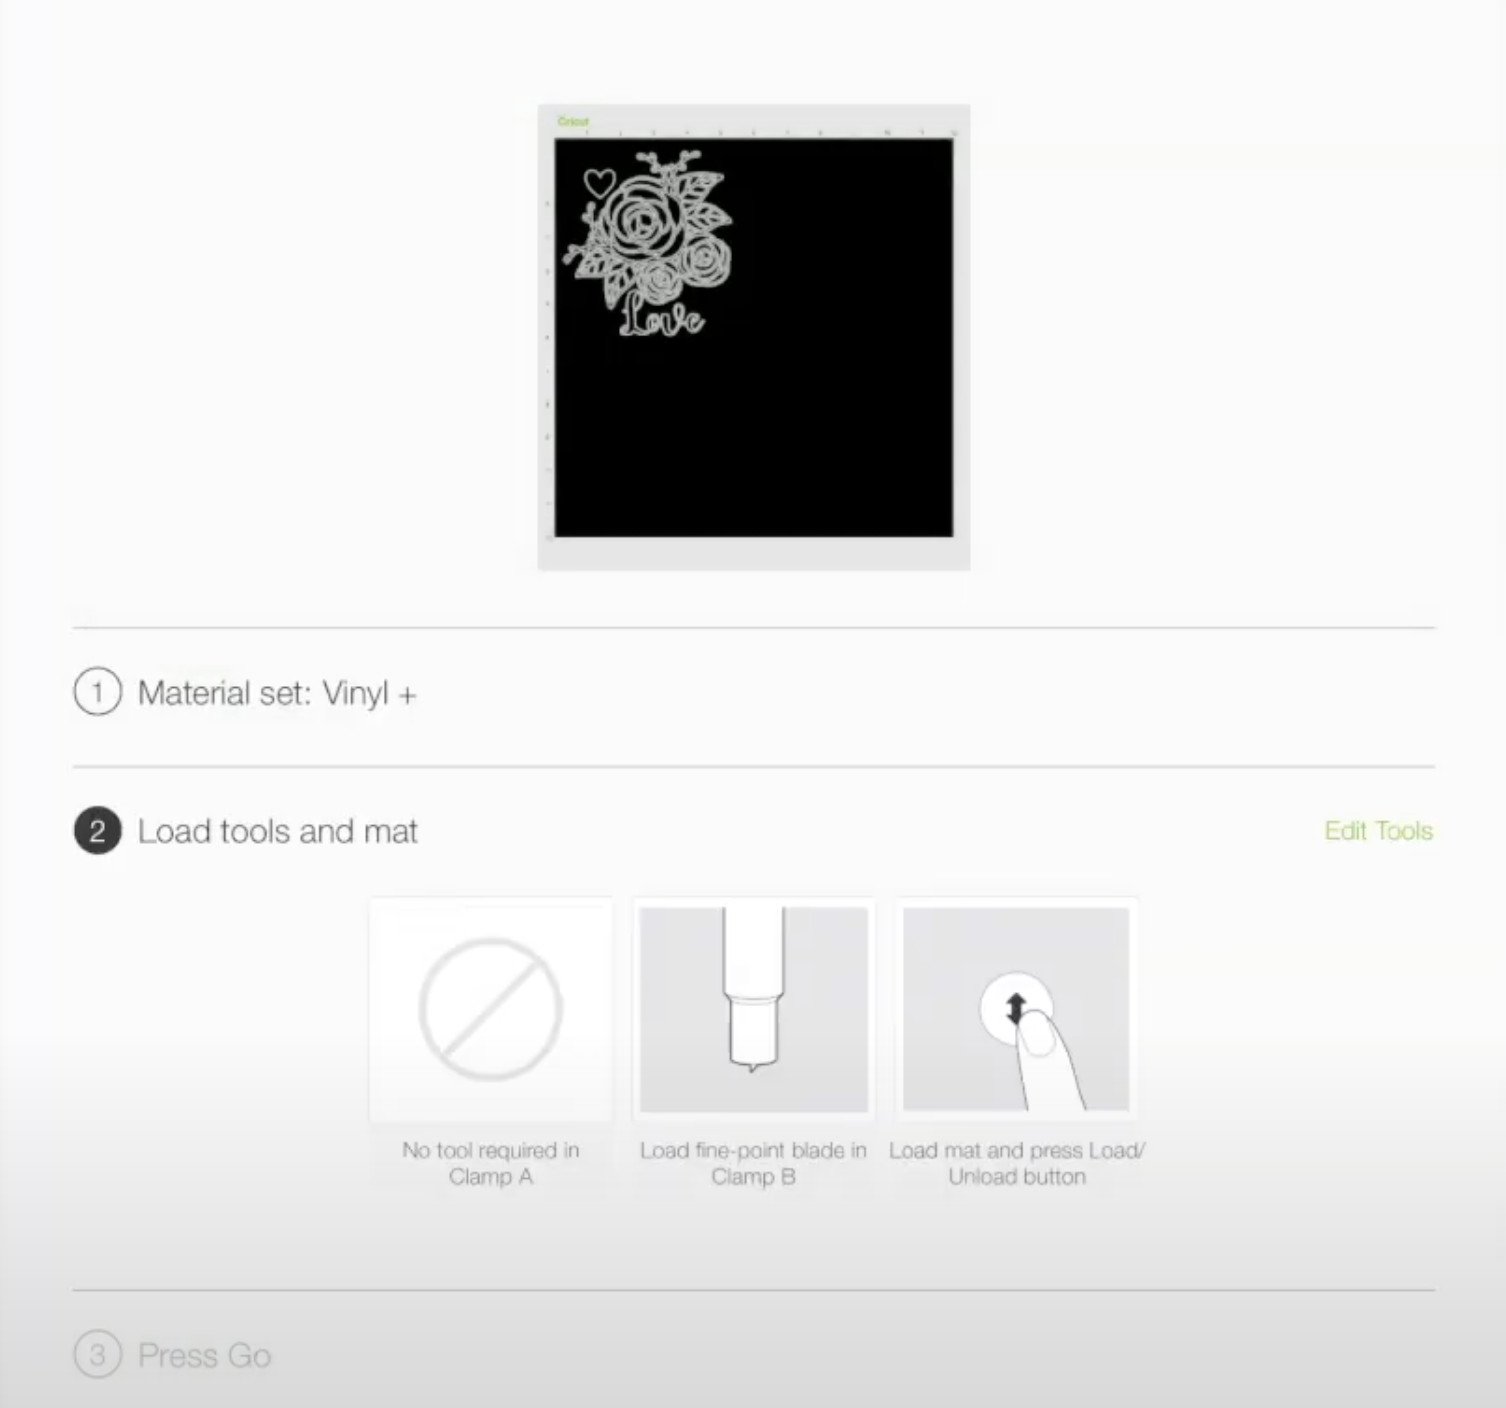
Click make and it will show the size it will be on your mat.
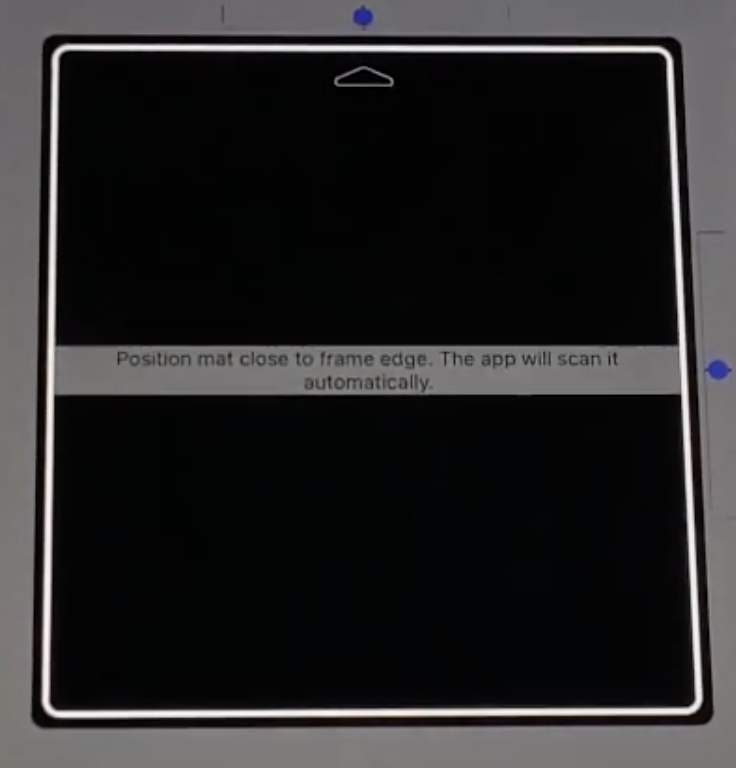
You can use the Snap Map feature. I tried to use it, although it actually works better if you're using different colours, or you've got a few different designs you want to lay out.
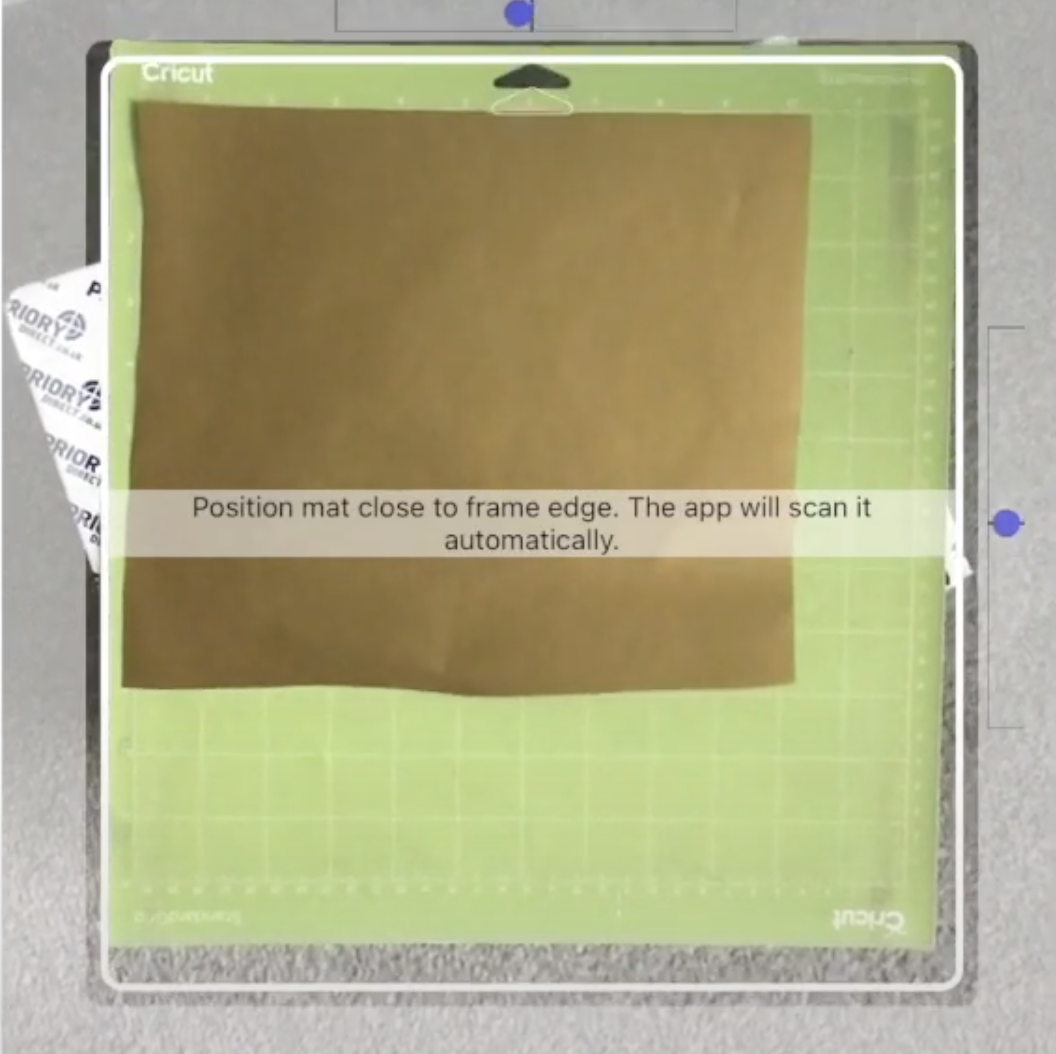
I didn't really need it for this design, it was only necessary for me to make sure that my vinyl was bigger than six by six.
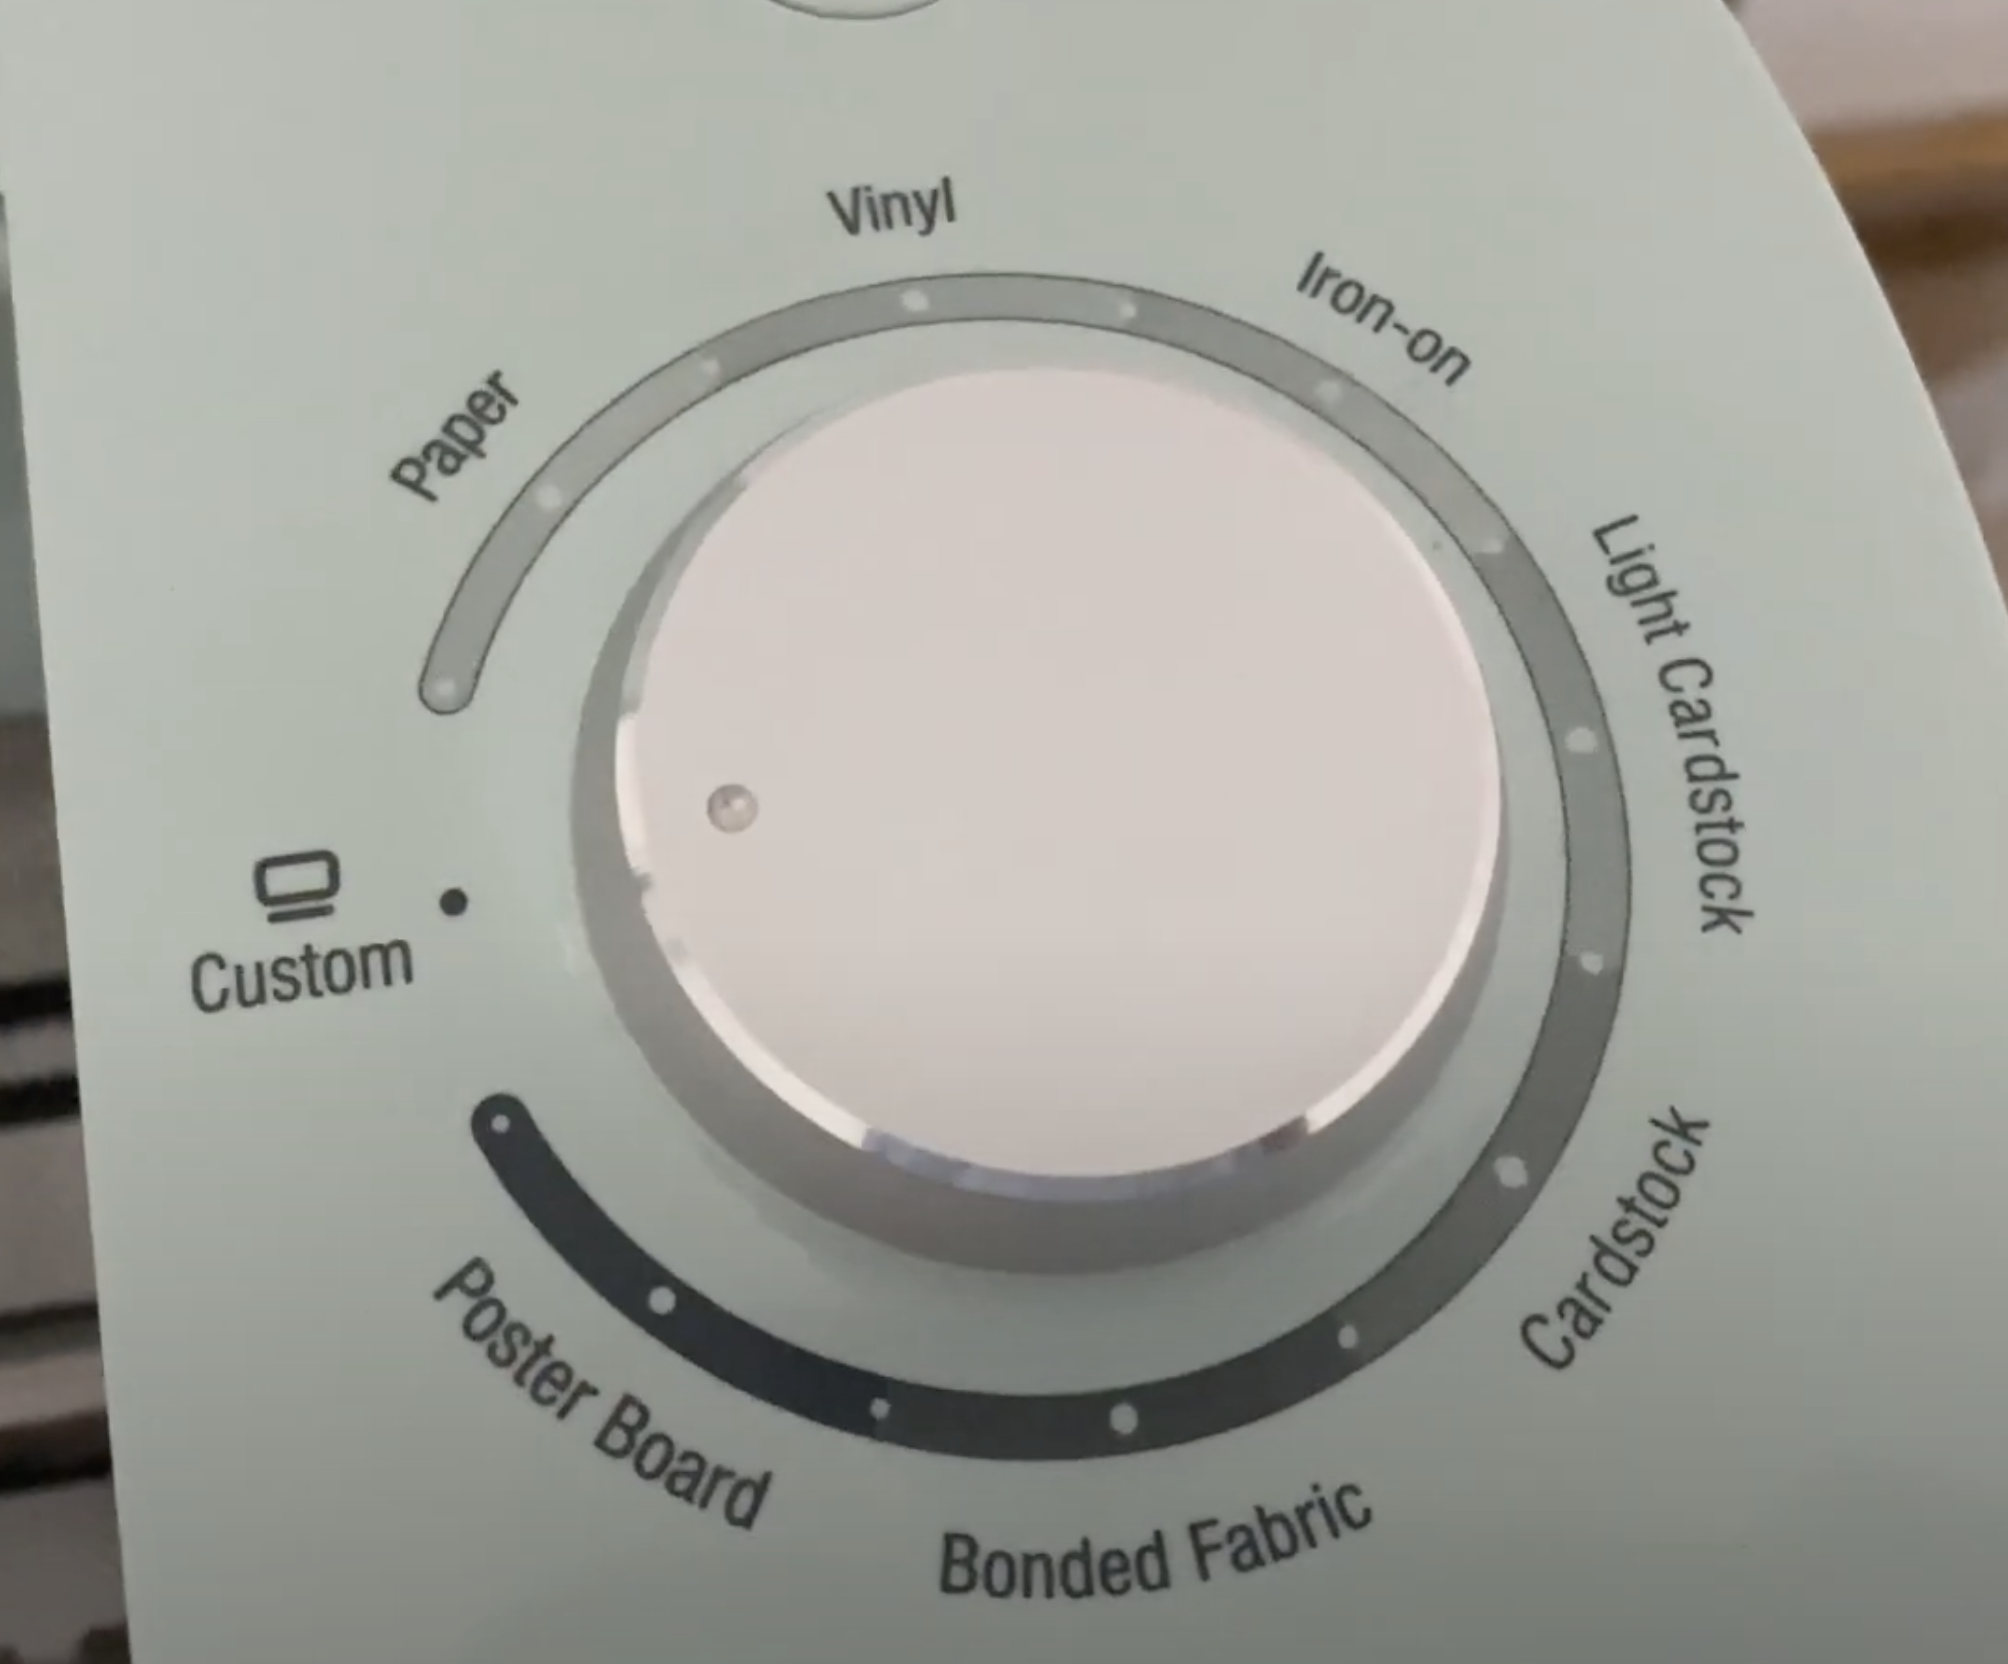
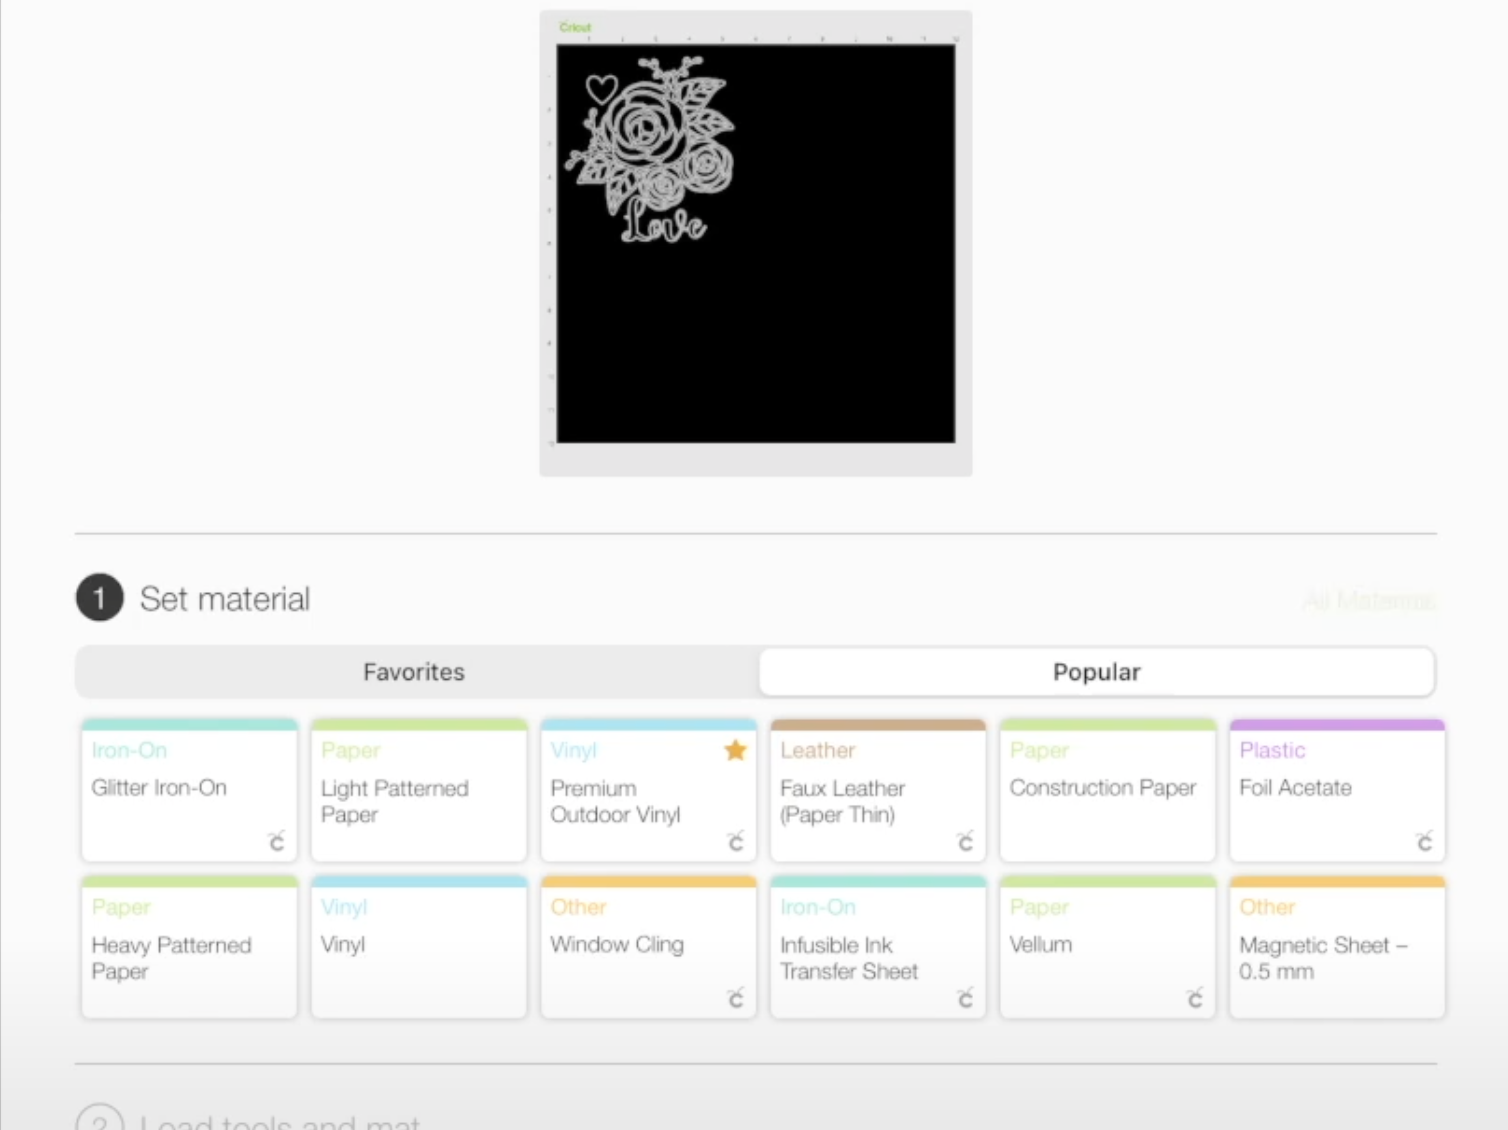
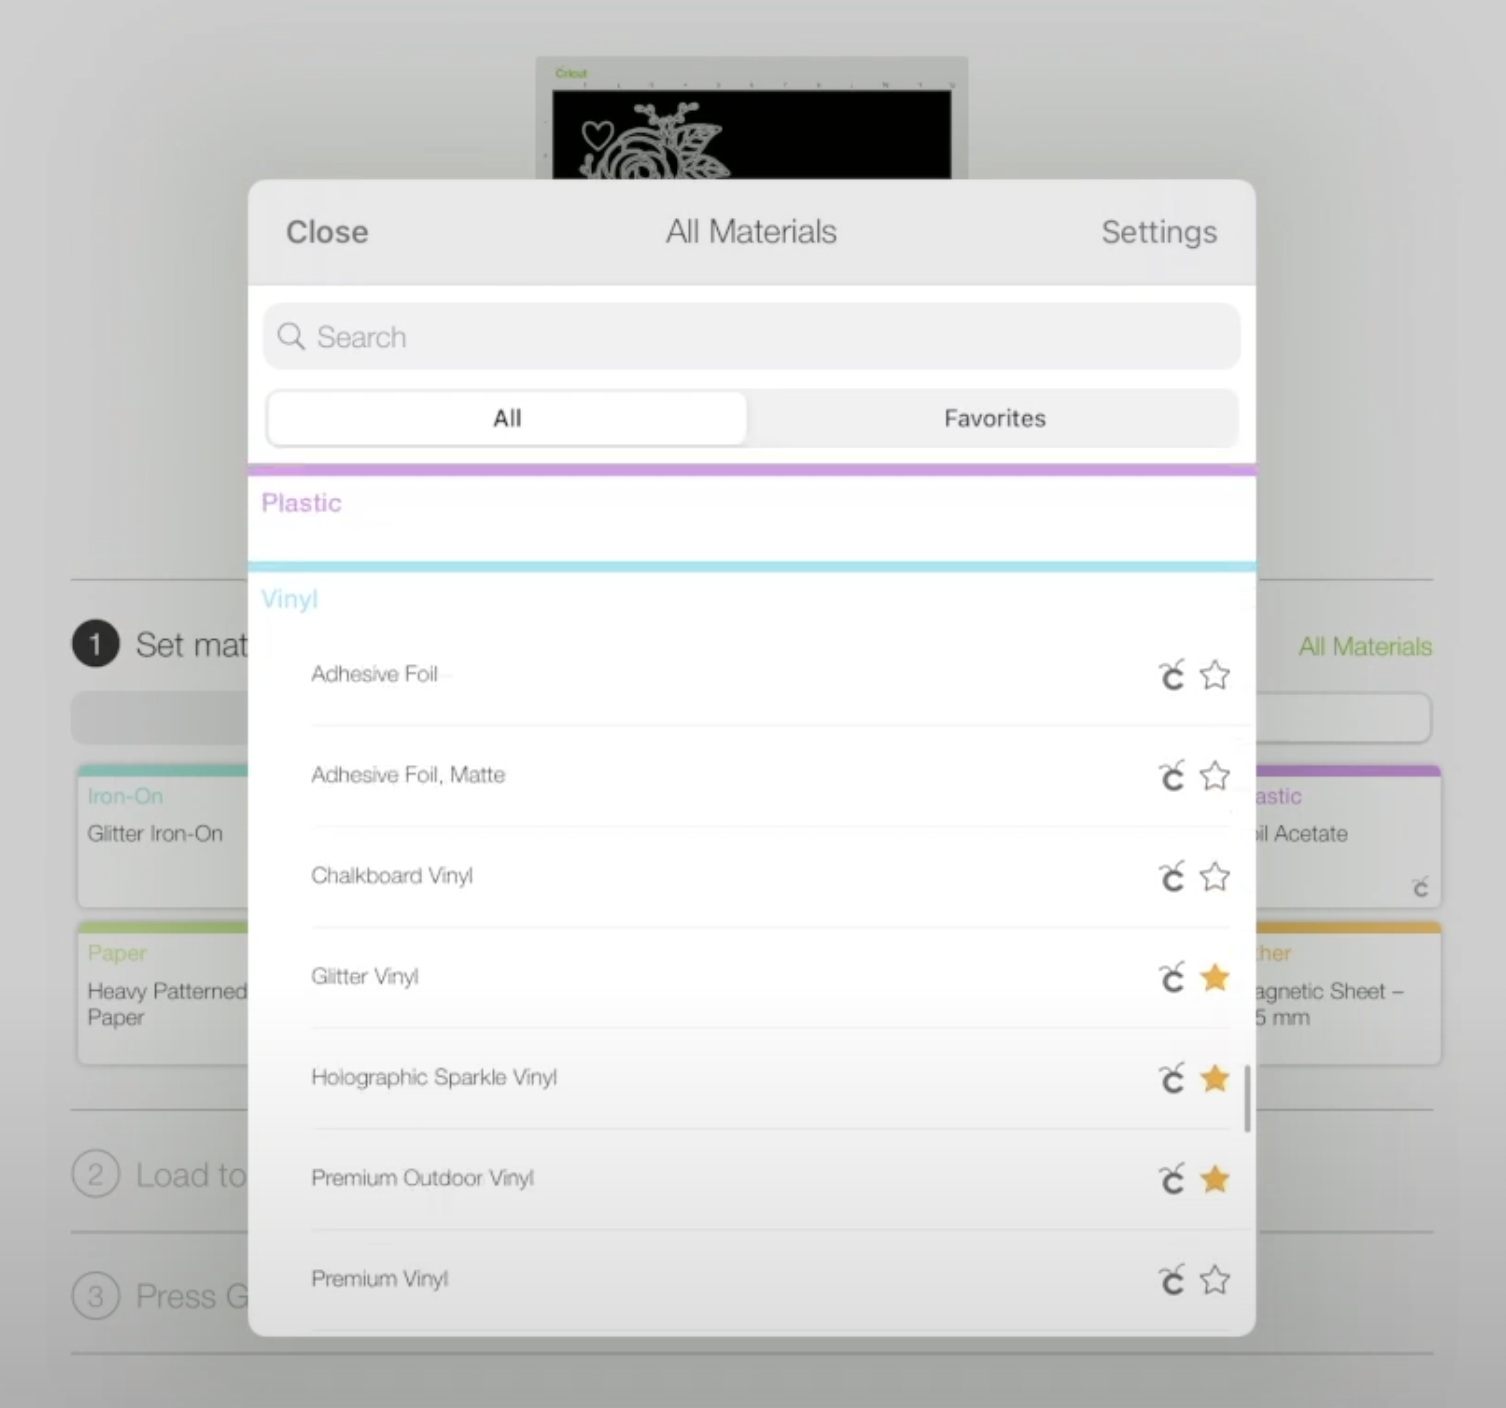
Make sure you select the right setting on your machine. I usually choose Vinyl plus but if you want to do custom there are a ton of different materials to choose from. When you choose Custom a lot options pop up. There's a big list, so depending on what you're using there's loads of different vinyl options as well if you have a speciality vinyl.
I used using matte permanent vinyl so Vinyl Plus works fine for that. It may take a little bit of testing though depending on what material you're using.
6. Ready to Cut!
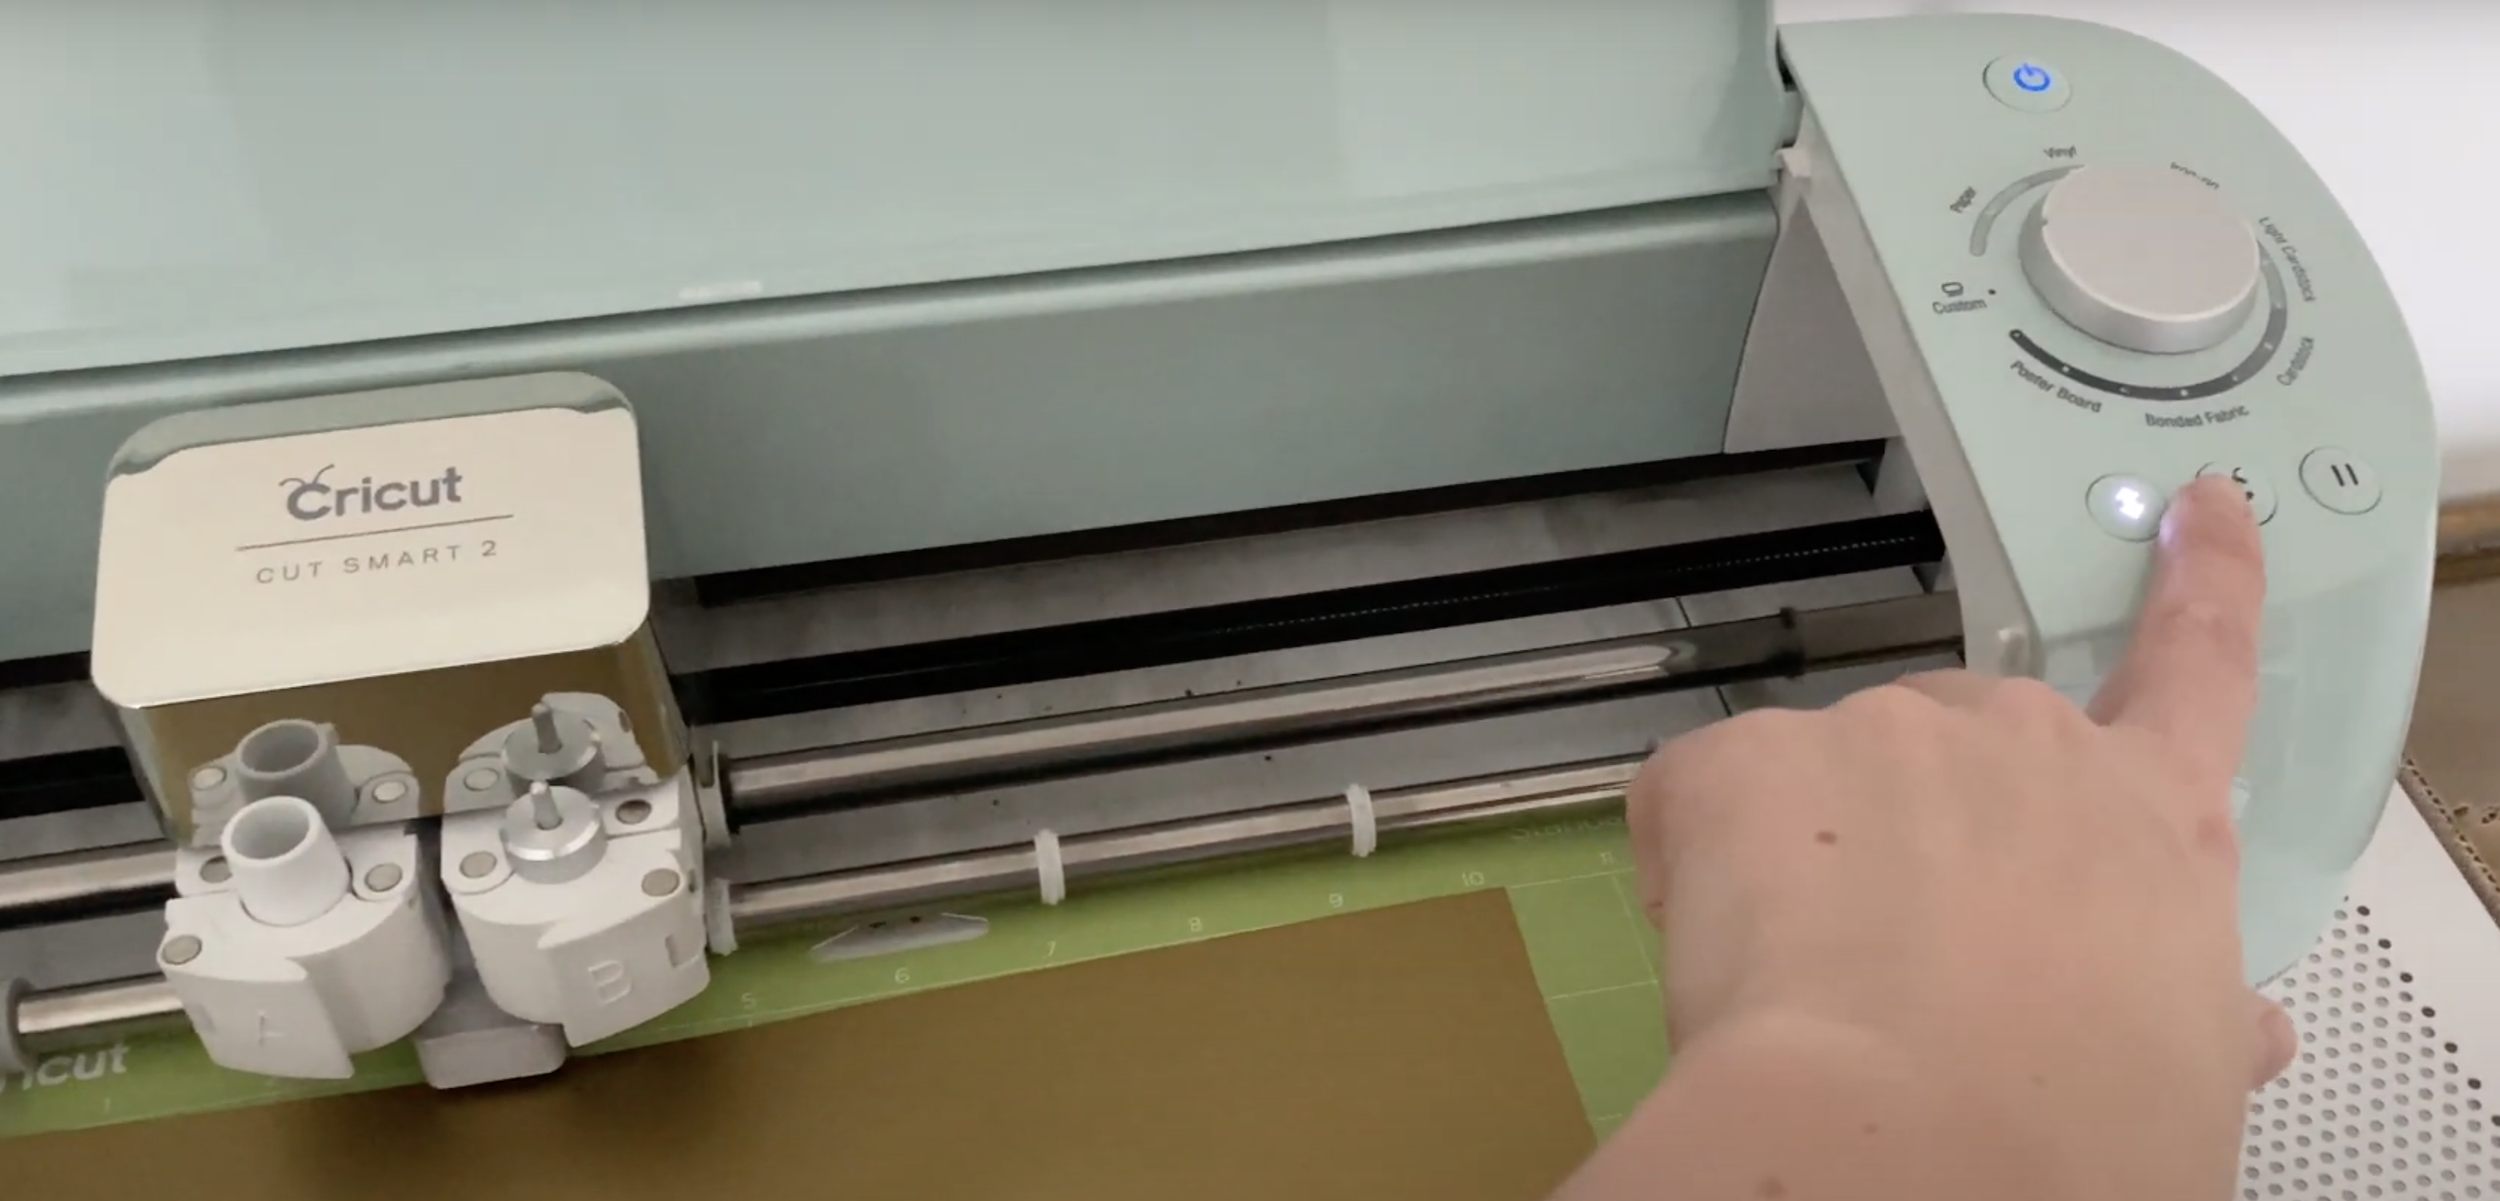
Pop your design into the machine. Click the ‘C’ when it starts flashing and it will start cutting.

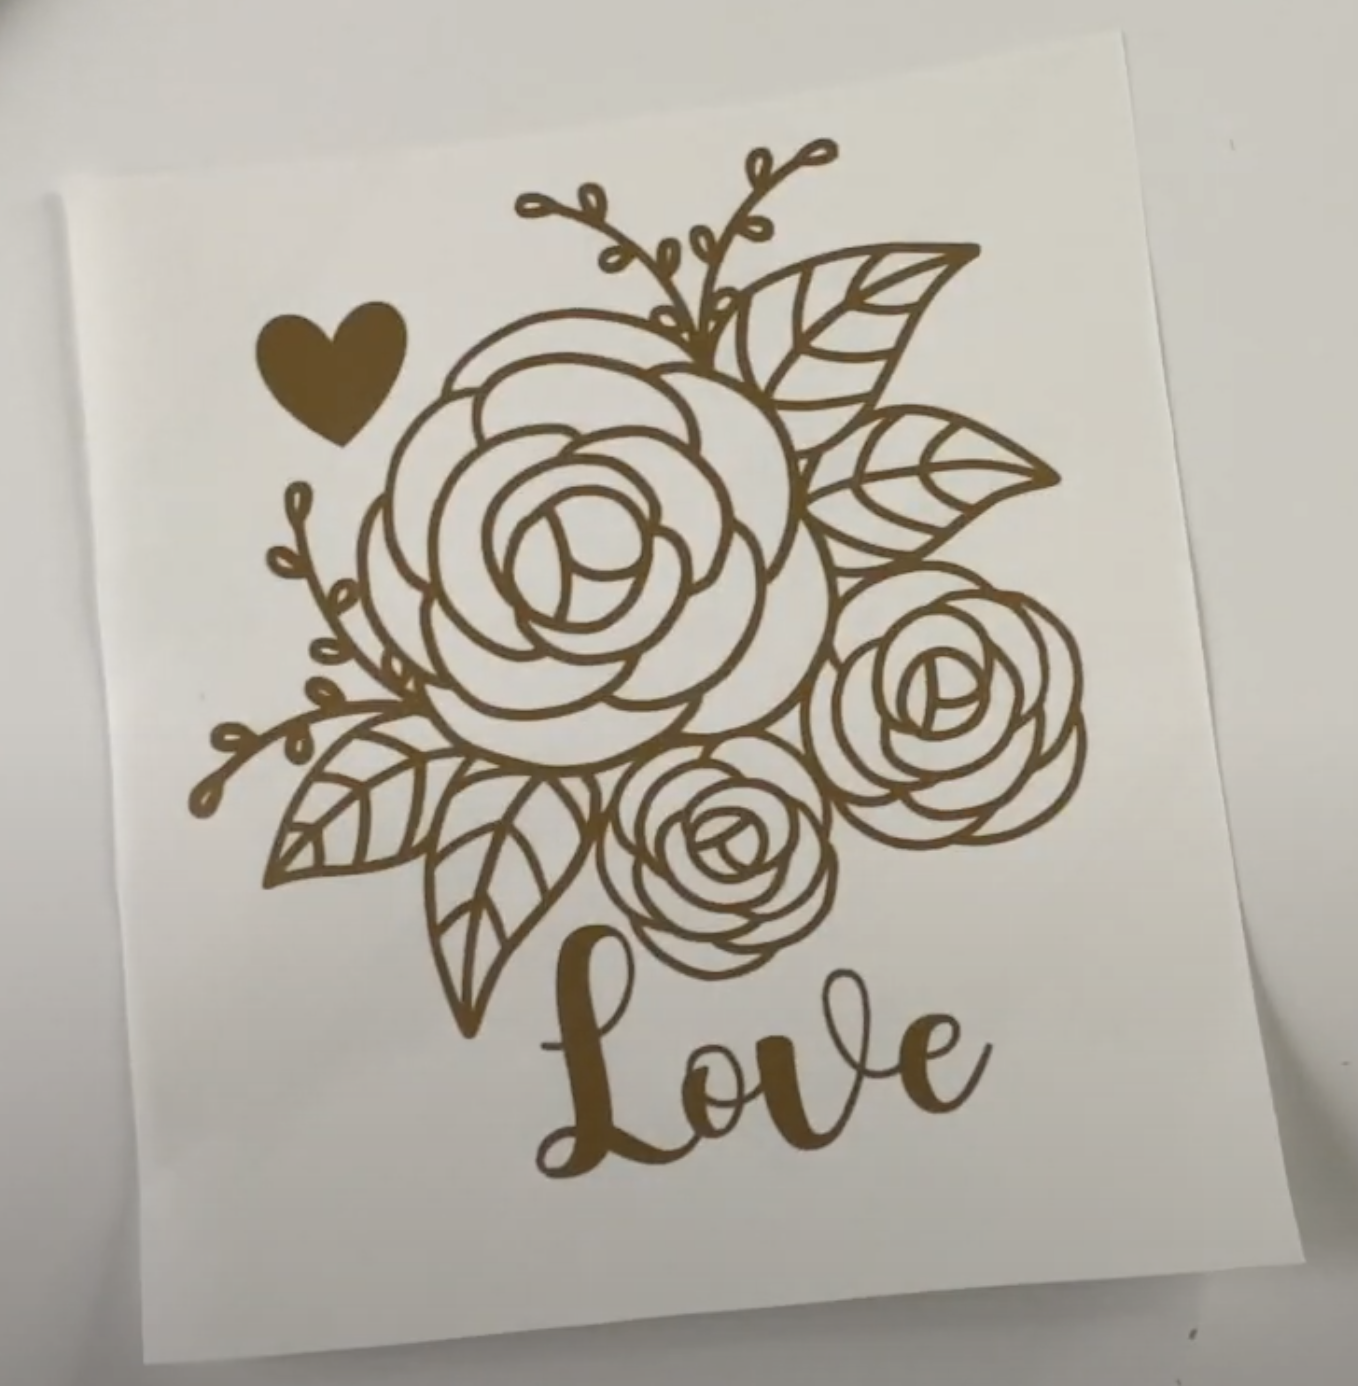
Peel it off your mat once it's done. You may need to peel the mat away from the vinyl if it's really sticky. Cut away any excess then weed and make sure all the little bits in the middle have been taken care of.
There it’s done!

Remember to save any scrap vinyl and if you want to save your design, click the top left button and either save to the cloud or your iPad.
I hope you found that helpful.
For lots more tutorials on how to make apply and sell vinyl decals as well as lots of other small business tips please do check out the rest of my channel and
Remember to follow and subscribe for more videos like this in future.