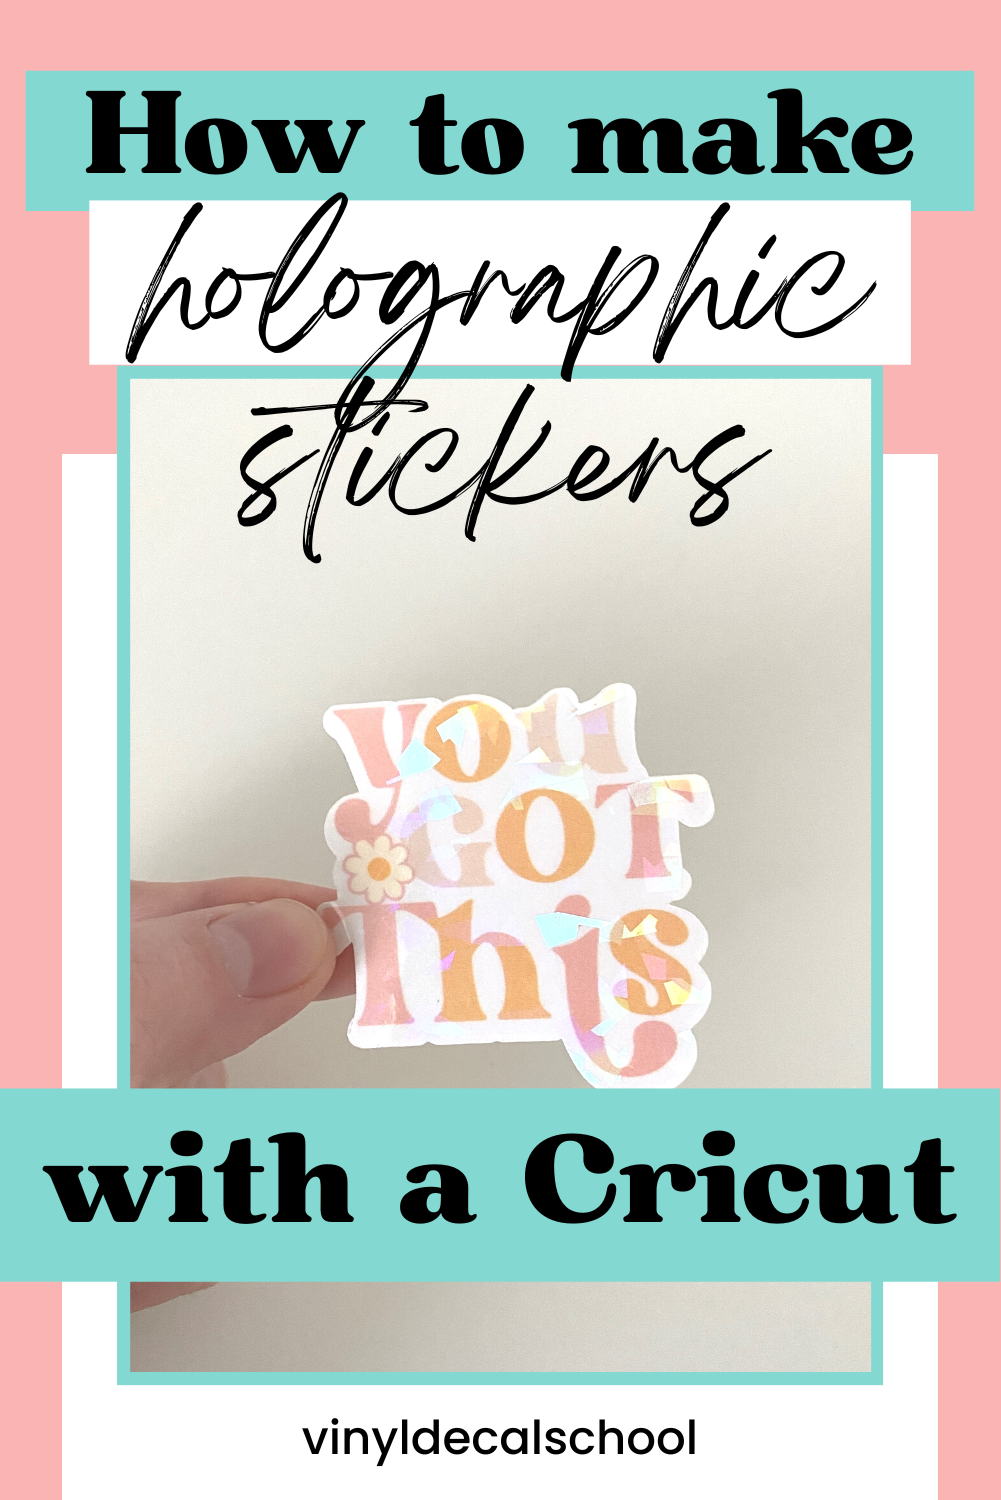
How To Make Holographic Stickers With A Cricut
I was sorting through my many drawers of craft materials, and I came across this wonderful stuff…

…and so I thought I would make a quick tutorial on how to make holographic stickers with it, just for you!
You can either watch the video…
The below content contains affiliate links and we may earn a commission if you shop through them, however this won't cost you anything, it just helps us to keep the site running for free. For more information on affiliate links, see the disclosure here.
Or read the written instructions below…
What you need:
Holographic sticker vinyl (I’m using this cracked ice style)
Matte white sticker paper (My preferred brand is now this one from HTVRont)
Ready-made sticker designs (like this set from Design Bundles) or design your own
Cricut mat (I am using my green one, however light grip is usually better for paper projects)
Print Your Sticker Sheet
Step 1:
Assuming you want to make multiple designs at the same time, create a square in Design Space as a template to tell you where to place your designs. If your holographic overlay is A5 size like mine, you can use that as the template which is 5.8 x 8.3 inches. However, if you’re printing at full size as big as you can on a Cricut, then 6.75 x 9.25 inches is the maximum size you can go.
Step 2:
Then either create your sticker designs or upload your pre-made ones to your canvas (make sure to select print then cut) and add them on top of your template. Double check it definitely says print and cut and then continue to upload each design.
Once you've added them all like this you can then resize them and move them so that they all fit within the box.

Extra tip:
If you want to make sure you're using all of the available space, select the rectangle and the stickers and then click align. You can then align the stickers to the top of the rectangle and ensure there's definitely no space around the outside.
If you want to make a sticker sheet to sell then you will want to bear in mind that you’ll need to leave a little bit of space in between each design in order to make them easy to peel away.
Step 3:
Once that's done, hide the template square, select all and then attach so that they all stay in the same place when you click make. You should then be taken to this screen, which will show you which material size is selected on the left hand side.
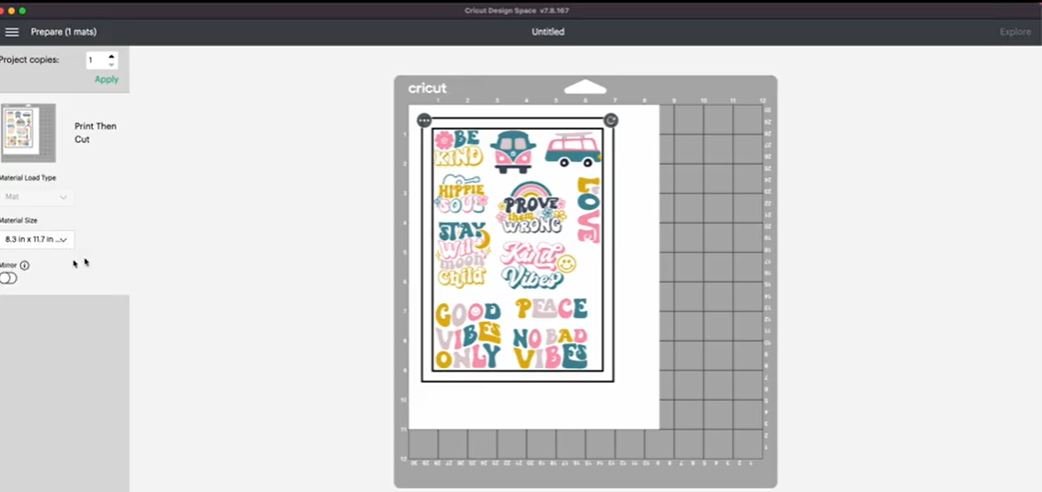
Here you can select your paper size (I’m using A4 here in the UK but if you're in the US or elsewhere that uses U.S. letters then you will just keep it on the US letter selection). This is how it will look when it’s printed out.
Step 4:
Once you’re happy click send to printer, and you can then add or take off bleed. I don't mind having a white border around the stickers so I'm going to take the bleed off.
Selecting ‘use system dialog’ gives you a few more options when it comes to print. If you have that selected when you click print it will come up with a box behind Design Space, which should look something like this:

This gives you a few additional options for quality and paper type, and I always recommend selecting best quality so that your stickers come out looking vibrant.
Just remember if you have a printer that feeds in and then kind of folds back on itself, you need to put your sticker paper upside down!

Add The Holographic Overlay
Step 1:
Once your stickers are printed, it’s time to add the holographic vinyl sheet over the top. Be quite careful with how you apply it, especially if yours is the exact same size edge to edge like mine.
Make sure it covers all of the designs, and make sure that when you're doing this you're not sticking any of the holographic vinyl over the top of the black lines because that can affect how the Cricut reads them when it comes to cut.
Go slowly, and don't stick anything down until you're definitely ready to go :)
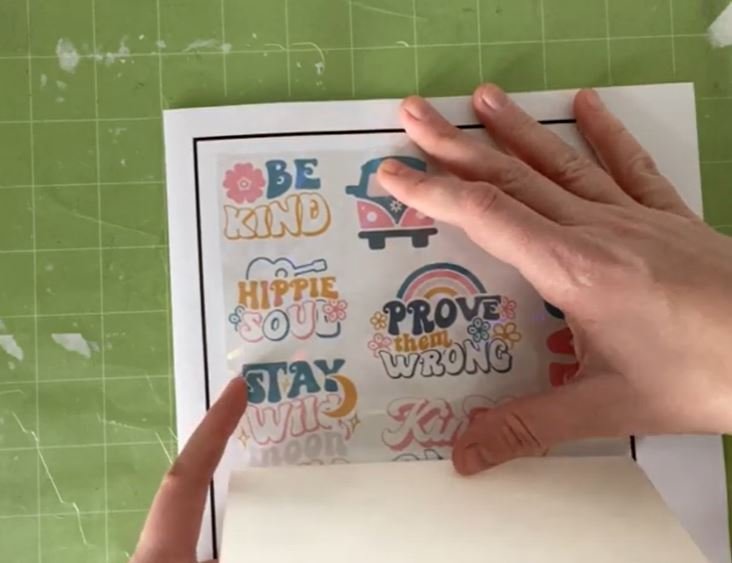
Ensure sure it's lined up at the top and then start to peel the backing away.
It’s helpful to do a little bit first and then peel the backing off as you go, continually making sure it's in the right place, so take your time.
Step 2:
Use a squeegee to make sure it's completely flat, pushing that down as you go.
It should be just covering all of the designs but still leaving a good gap between that and the black line.
Use the squeegee to push out any air bubbles and make sure it's completely flat.

Step 3:
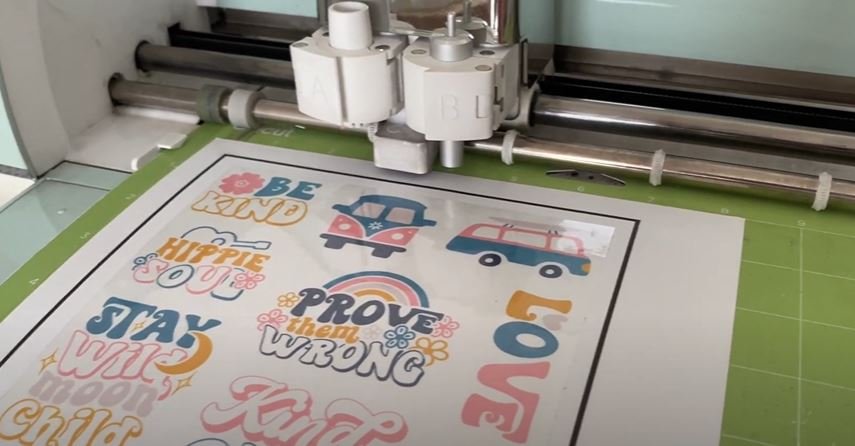
Add the design to your Cricut mat. You’ll want this to be as straight as possible because this might affect how the Cricut cuts it. Try and get it square to those lines on the left and the top and then press down firmly.
Make sure it's all completely stuck to the mat. With paper you would usually use the blue mat, but I only have green mats so I tend to just try and use the ones that are least sticky.
Cutting
Step 1:
Choose your cut setting. For this design I am creating individual stickers, and I want it to cut through all of the layers, so I have selected the Medium Cardstock setting.
If you want to create a sheet where you can just peel the stickers off as and when you want however, you need to do what is called a kiss cut, which cuts through just the top layer, not the whole thing. It can depend on the sticker paper you are using, but I would usually use the Light Cardstock setting for this. However I would recommend testing out some different settings in order to get this right as it can depend on the brand of material you use.
Step 2:
Then add your mat to your machine and press your Cricut button once it’s in place.
It will start scanning the black lines first to try and figure out where on the mat everything is.
Step 3:
Once that’s done that it will cut around your designs.
This is the moment of truth as to whether it's in the right place or not!

Step 4:
You can then literally just peel the excess away and take them off your mat.
This is the easiest way to do it if you want to give these to customers in packages, or you just want them for yourself to stick on things.
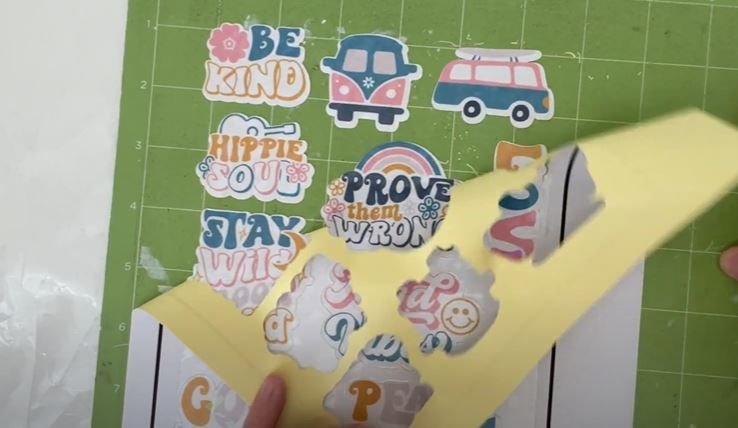
Then as you can see the backing just peels straight off the holographic vinyl and sticks really well to the sticker paper (great if you don’t want to worry about that coming undone for customers.)
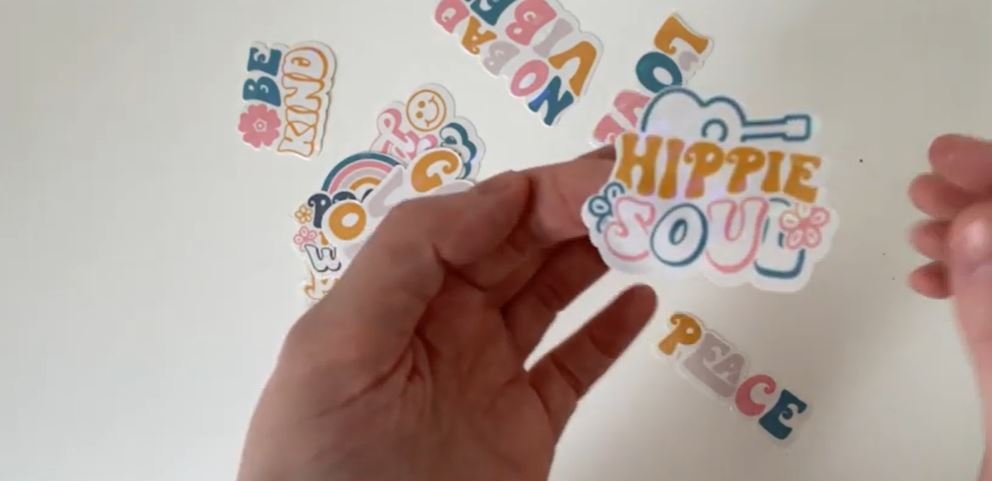
The holographic vinyl really shines in the sun too, you just have to move it a little bit and it looks really cool!
Adjustments
As you can see above my stickers didn’t quite cut perfectly, so if the same happened to you, you might need to calibrate your machine.
Go into Design Space settings -> machine calibration and follow the instructions, and it will walk you through how to calibrate your machine. Sometimes you have to play about with placement on the machine which can be a bit temperamental, but you should hopefully get there in the end.

I hope you found this tutorial helpful - please let me know in the comments.
And if you've got any questions feel free to reach out.