

10 Vinyl Hacks You Probably Didn’t Know
If you are a Cricut beginner, a decal newbie or even if you have been crafting for a long time, there are so many hacks out there that can make creating Vinyl Decals even easier.
So these are just a few Vinyl tips and tricks that you may not know!
Either watch the video…
The below content contains affiliate links and we may earn a commission if you shop through them, however this won't cost you anything, it just helps us to keep the site running for free. For more information on affiliate links, see the disclosure here.
Or read below…
Reverse Weeding
Reverse weeding is perfect for small, intricate designs! You add your transfer tape over your design before you weed it, and then you remove the backing paper and outside of the design from there, like the below…

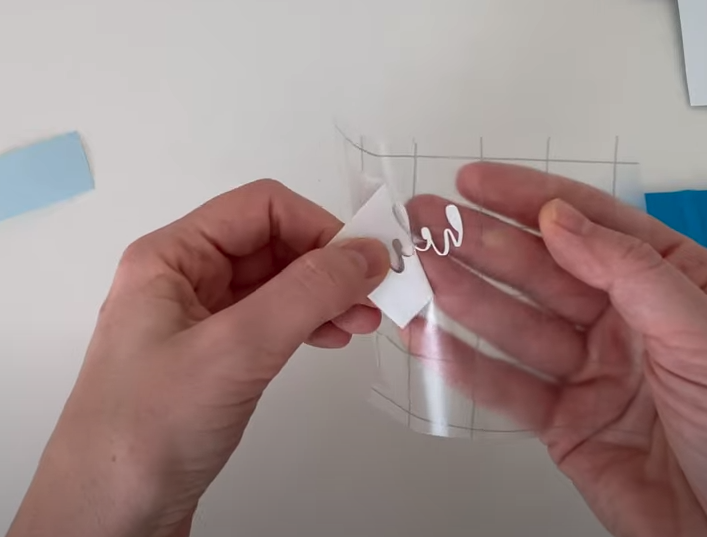

and that will hold the small design in place so it doesn’t move! You may want to weed the in-betweens of the letters before you stick the transfer tape on however as that bit can be a little bit fiddly.
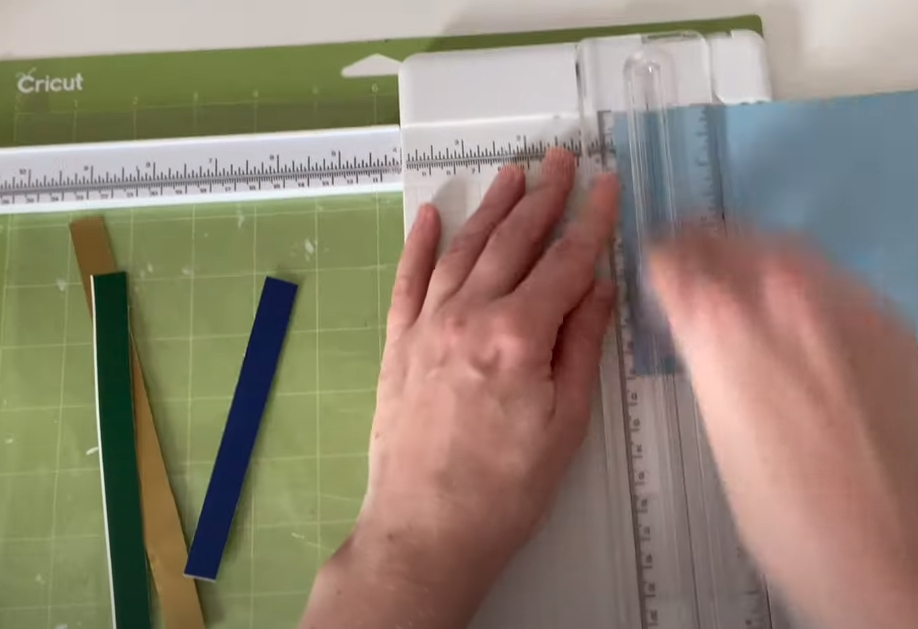
2. Make A Multi-Coloured Decal Using Vinyl Scraps
The next hack is using vinyl scraps to make a multi-coloured decal! So if you've got lots of scraps and you don't quite know what to do with them, you can cut lots of little strips out of them that are all roughly the same size. Do lots of different colours and then arrange them on your mat making sure there are no gaps in between. Then when you cut out your design and you'll have a multi-colored decal.


3. Weed On Your Mat
So that brings me on to the next tip, which is weeding on the mat. This is especially good for designs like this where you want to hold on to the backing paper and you don't want it to move. The mat essentially does that for you and then you can use your transfer tape to take that design off once it’s weeded.


4. Cut Separate Designs/Colours On The Same Mat
Then the next one is very similar; it is to cut separate designs and colours at the same time if you're trying to save time. Just make sure you've got a little bit of room between each design, that they're all the same color in Design Space and then select all and click attach…

then when you go to make them they will be on the mat like this…

and you just need to figure out what size you need each of your vinyl bits to be.

This is a lot easier if you have the app though, then you have the snap mat feature to help you.
5. Use a lint roller
Did you know lint rollers are so useful when it comes to making decals? So you can use them to collect scraps when you’re weeding… they stay perfectly still and are super sticky so it makes it so easy to collect all of those in between bits!

But you can also actually use a lint roller to apply decals too by rolling it across the design, and then again across where you want to apply it. Just be aware of what you’re applying to - it is obviously very sticky so you don’t want to ruin the surface you’re adding it to.

It isn’t a super accurate way of applying either, so do only use it on things that don’t need to be precise.

6. Sharpen Your Cricut Blade On Tin Foil
The next one is using tin foil to sharpen and clean your Cricut blade. Just ball it up and press the blade in to it a few times and it will make it sharper.

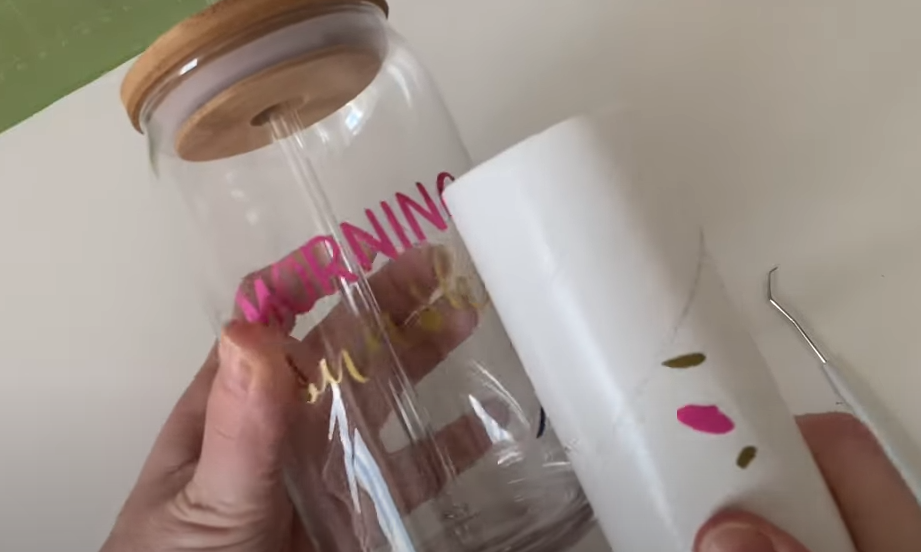
7. Use Water As A Level
If you need to get a decal straight on a glass or something clear like the below, fill it with water halfway and then use that water line to make sure your decal is straight.
It doesn't look particularly straight in the below as the picture is wonky, but it's very helpful for making sure you've got the right level.

8. Use Dishwasher Safe Mod-Podge
If you're sick of hand washing your vinyl cups and tumblers, you can actually get dishwasher-safe Mod Podge that you can add over the top of your designs and it means you can put them through the dishwasher and they should be fine. Just double-check what you're putting it on is suitable first obviously.

9. Re-Use Transfer Tape
A great way to save money with craft supplies is to reuse your transfer tape. You can get transfer tape like the below with paper backing on so you can just stick it back on over and over until it loses its stick.

Or you can just stick it back on your roll and then come back to it when you need it, or find a place in your craft room that is suitable to stick it to instead.
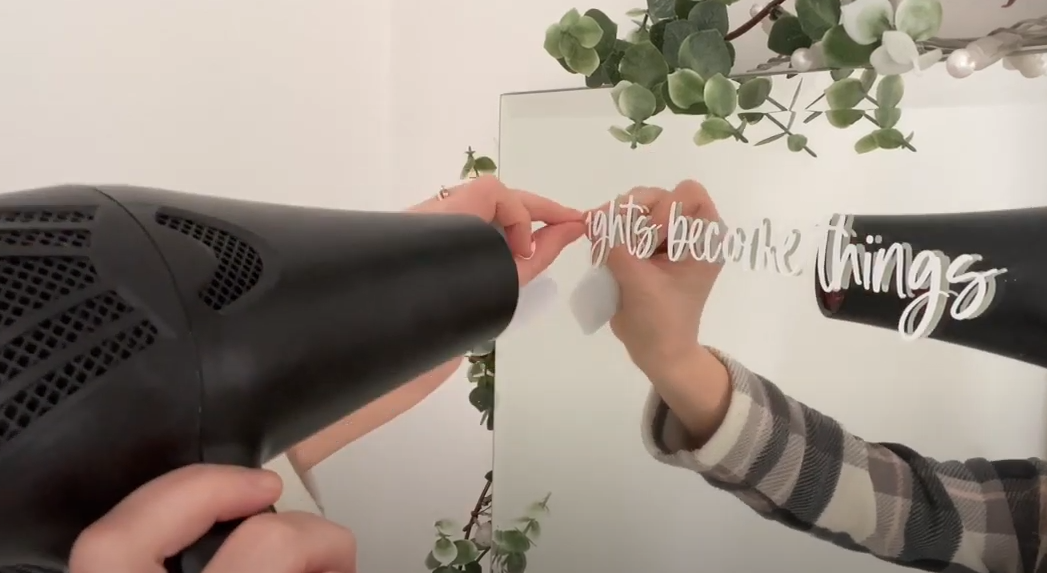
10. Use A Hairdryer
And then the last tip is to use a hairdryer to warm up the glue on your vinyl. This can be to help remove it from things, but also to apply it to things as well - it is especially good for uneven surfaces and will help you bend and push the vinyl into them. Just be careful not to blow it too hot or use it on a surface that it could potentially damage.
And those are just a few tips and tricks! I hope there were some new ones in there for you - let me know in the comments if you have any other great hacks that you would recommend as well.