

HOW TO: Quickly Create a Vinyl Stencil
Here is a super quick tutorial just showing you how to create a stencil out of vinyl on Design Space.
Continue reading below or watch the video ….
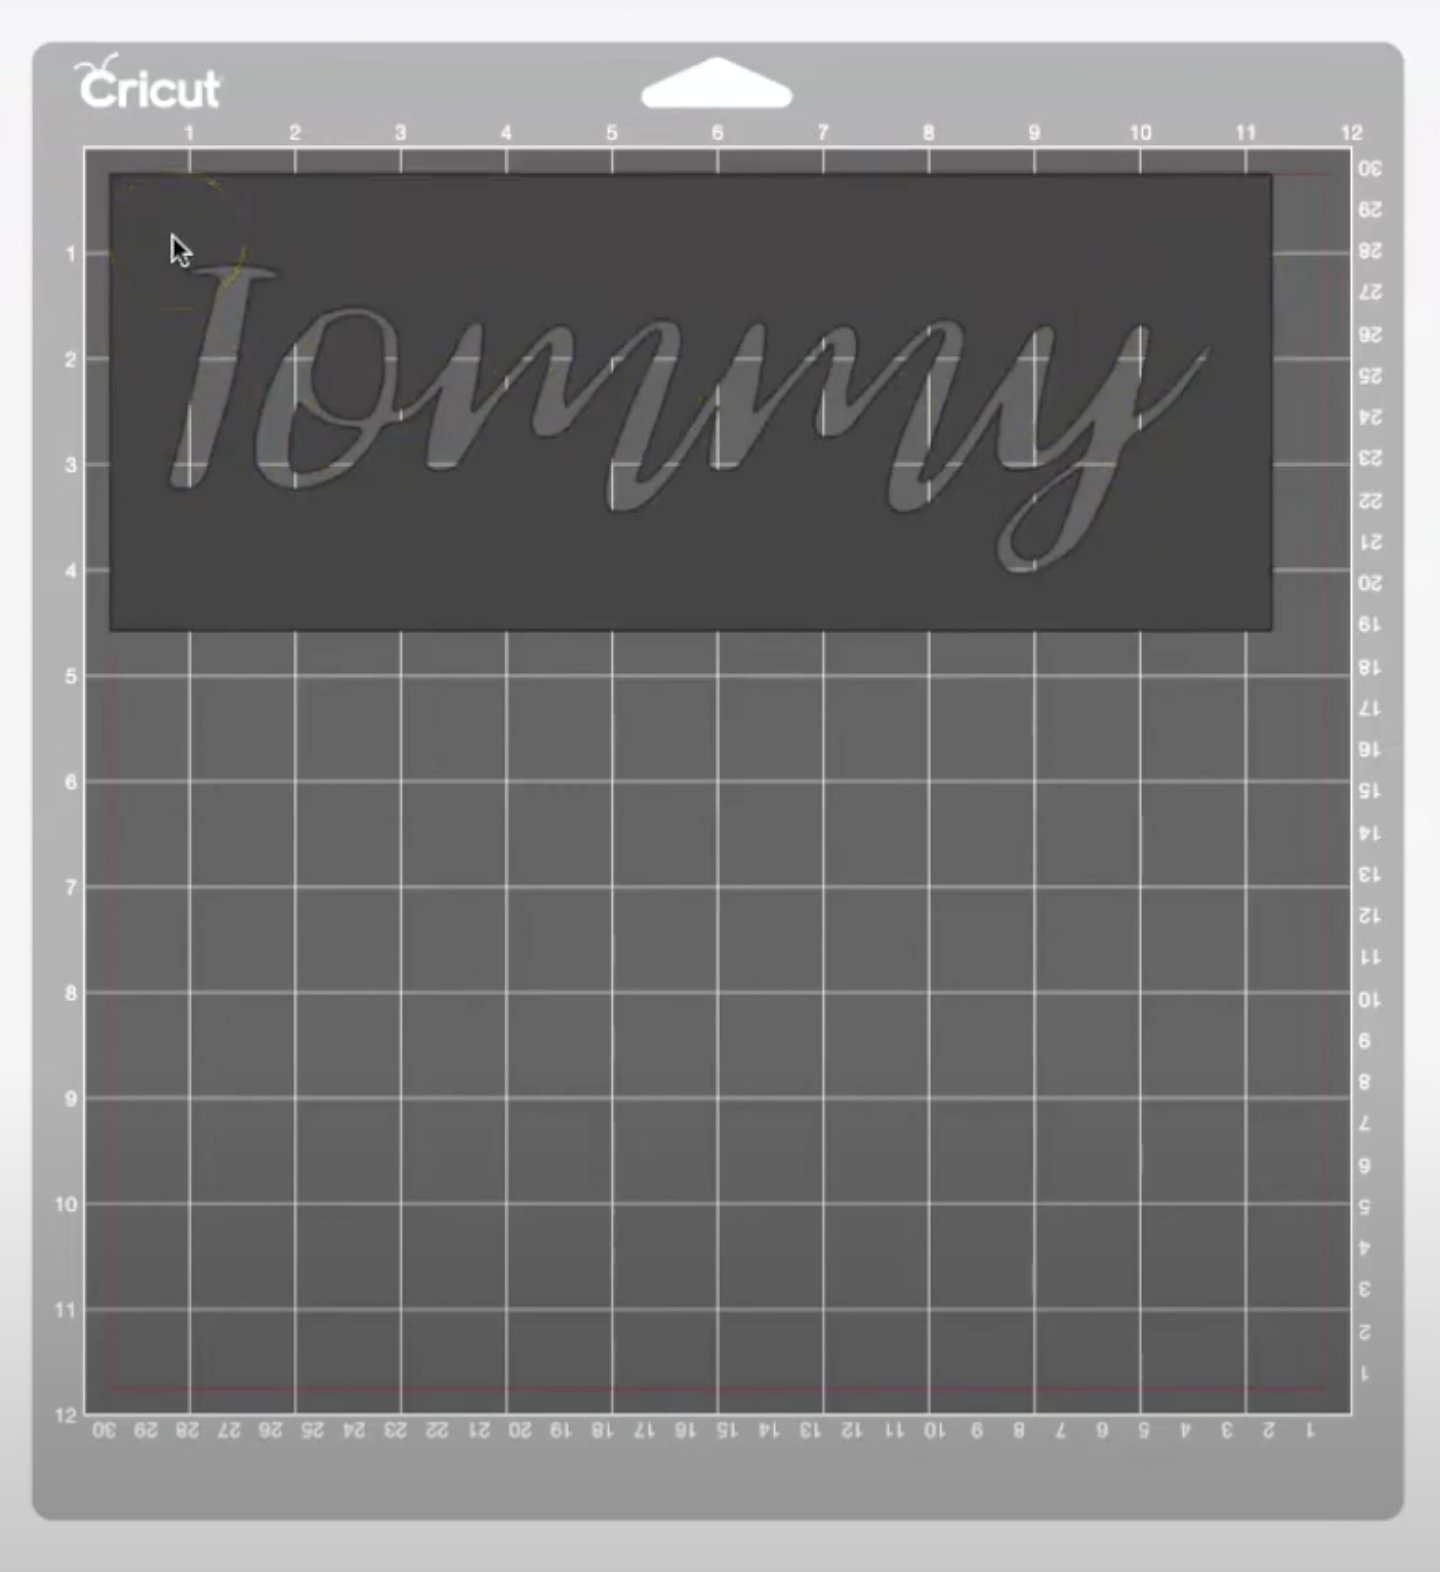
Upload the file you want to use as your stencil, add a square from of the ‘Shapes’ sidebar and extend it into a rectangle to cover your design with a little extra space around the edges. You will need to unlock the square to be able to extend it (click on the small lock icon on the bottom left of the square).
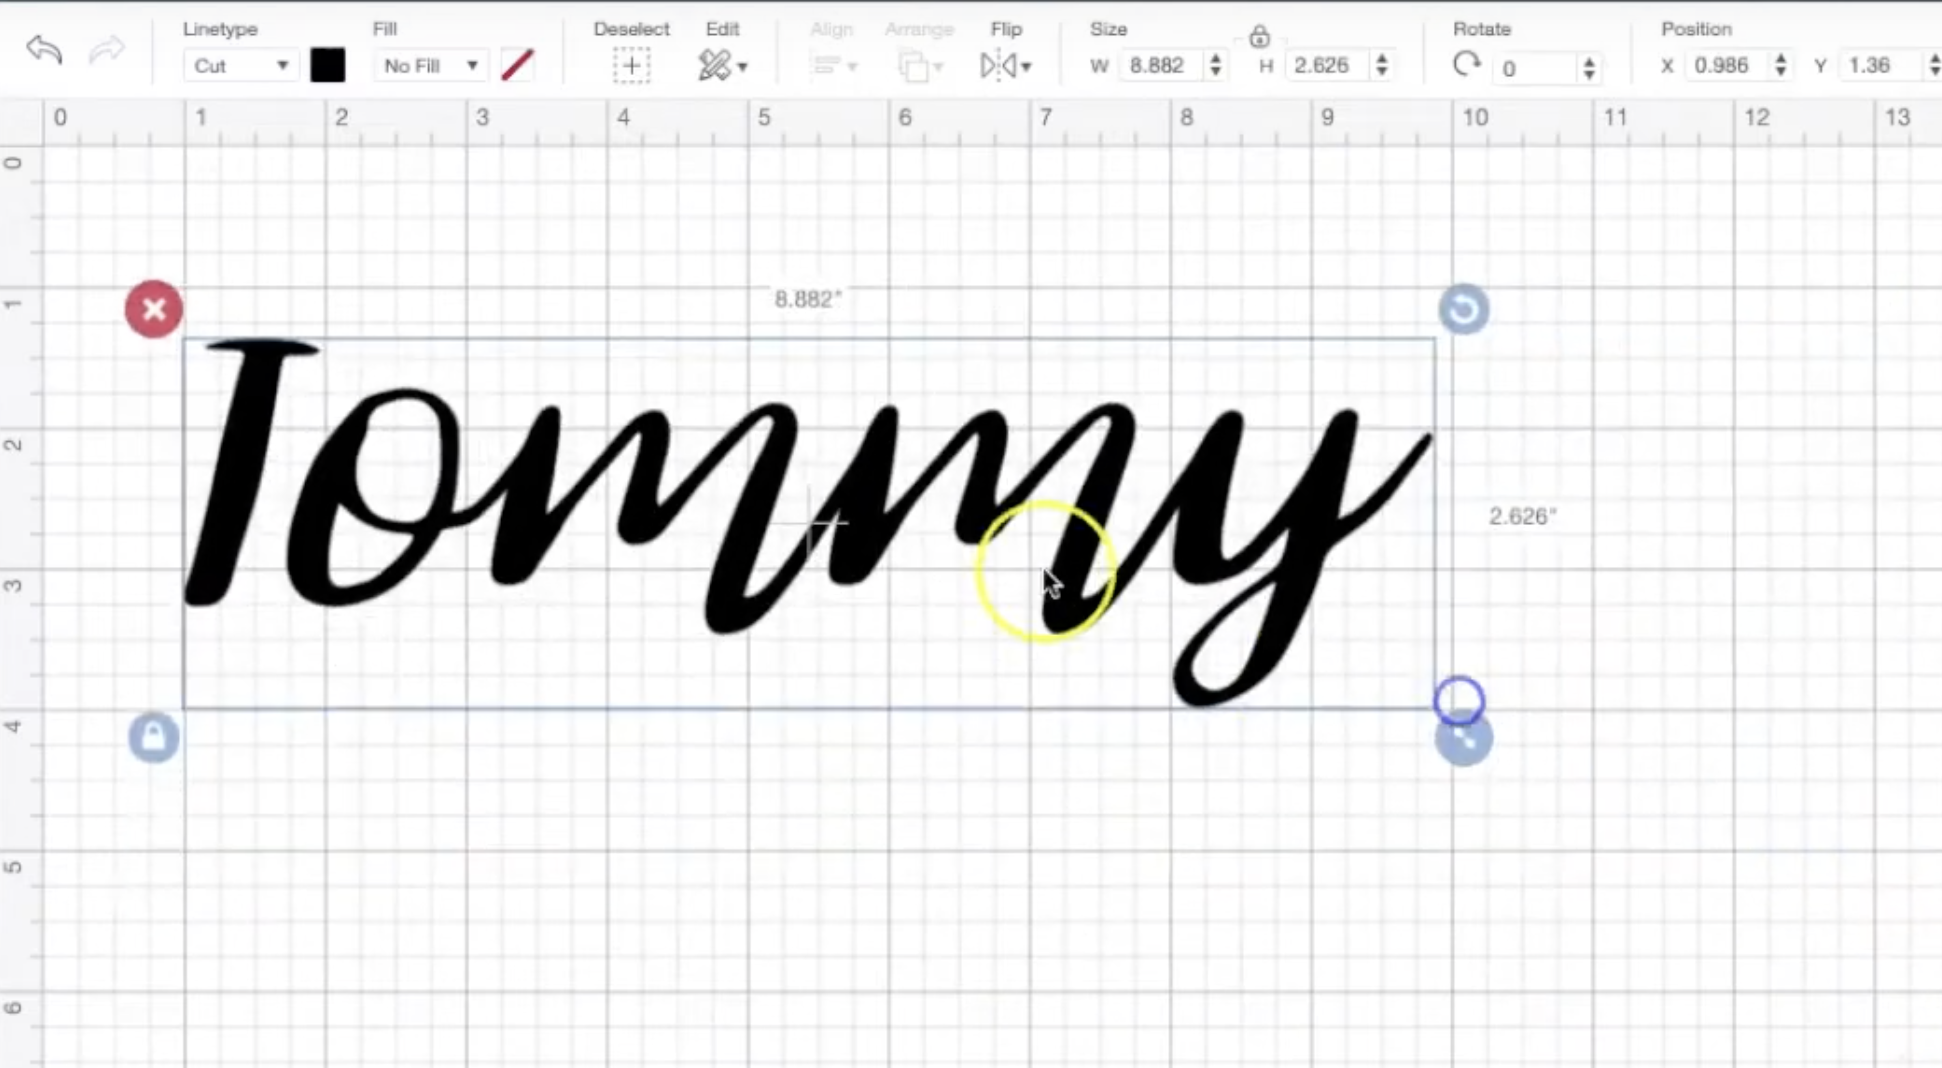
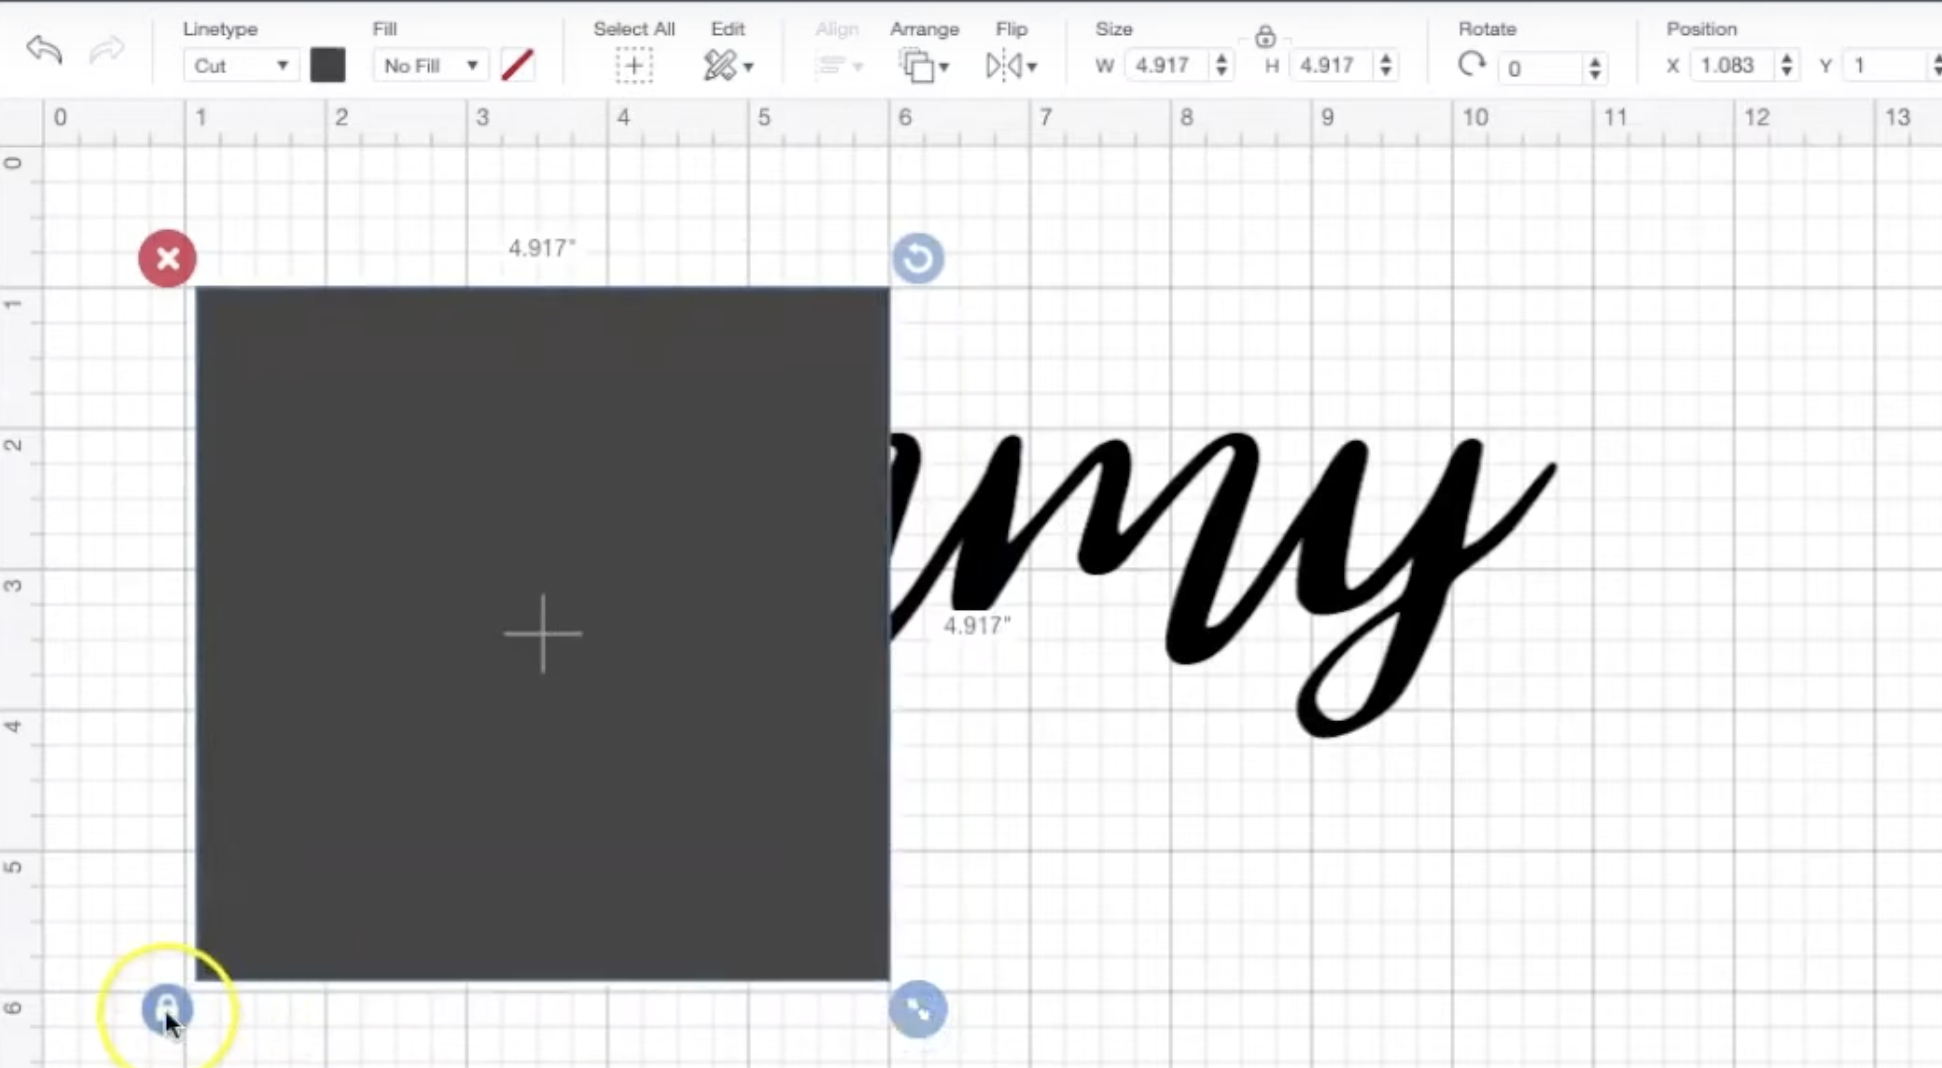
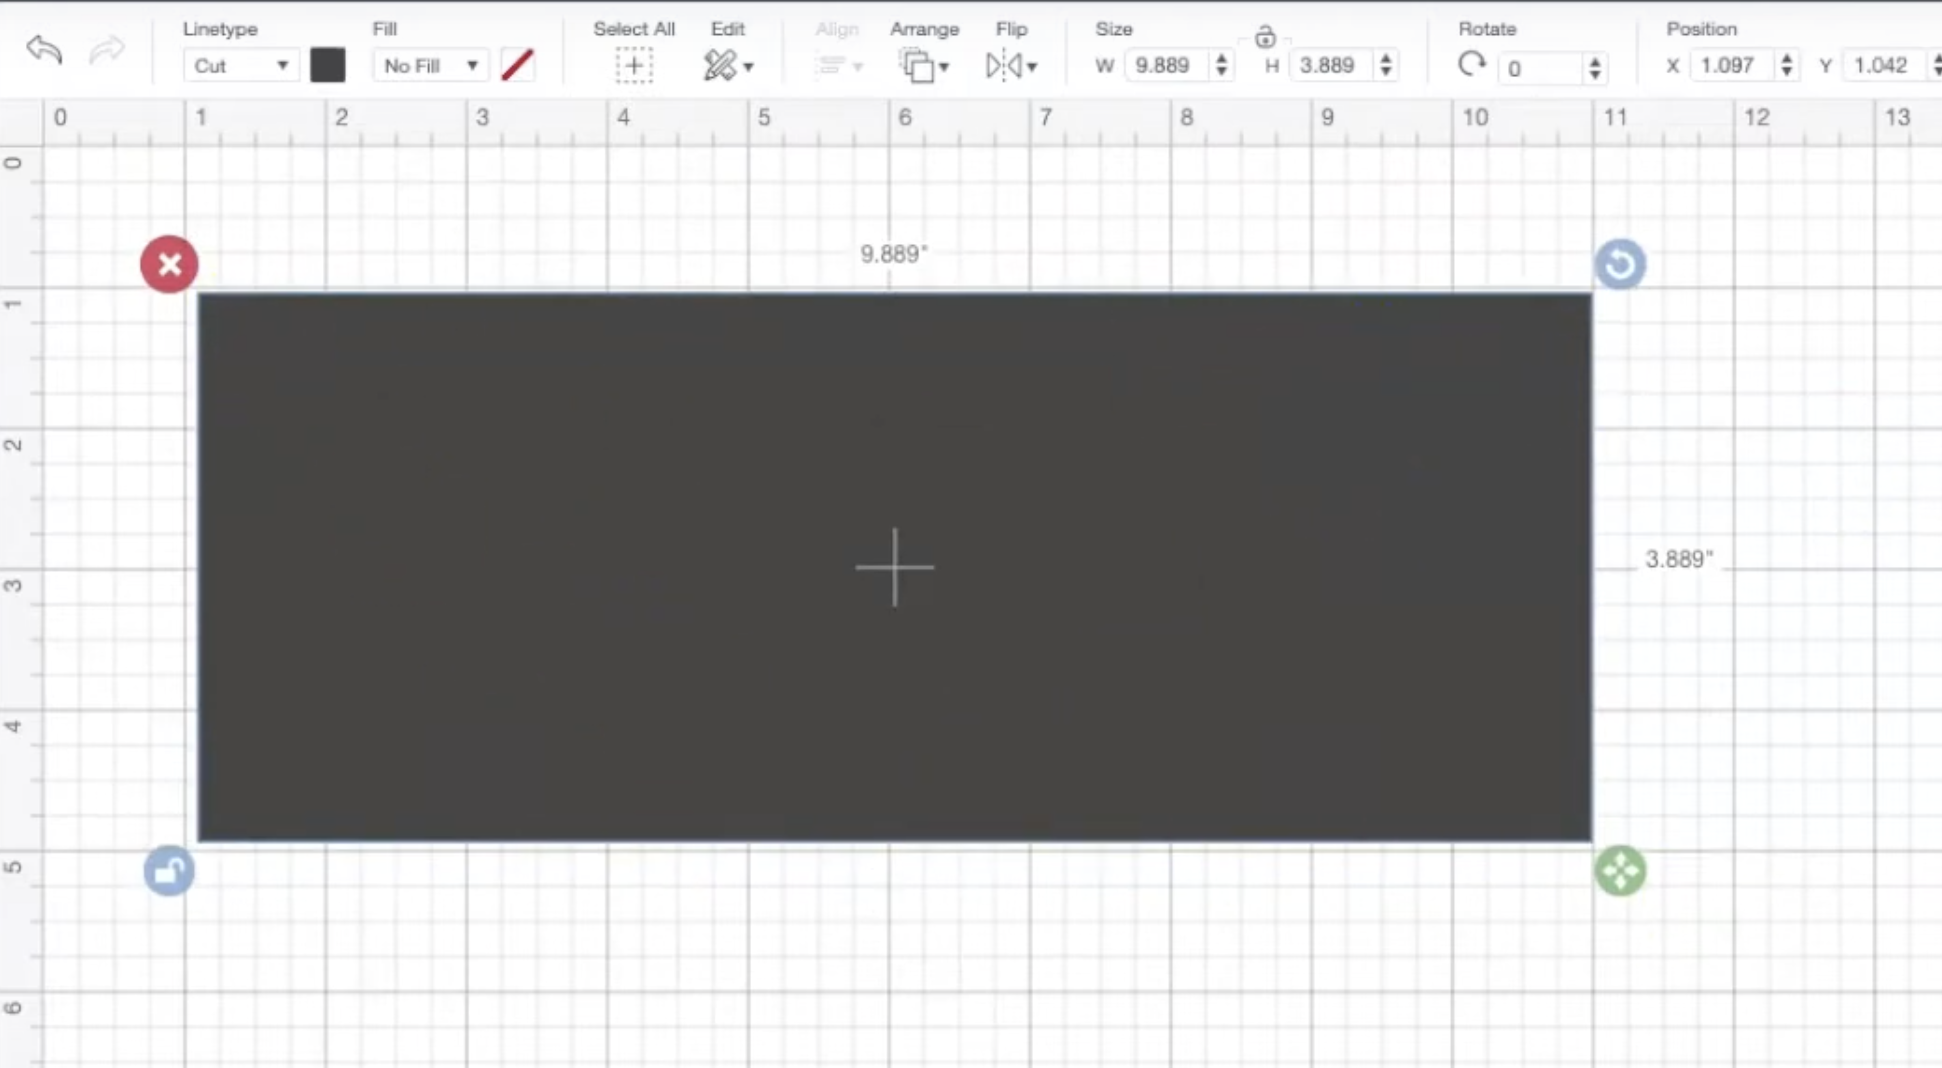
In order to check the amount of space you have around the edges, drag the square (from the right hand bar) and move your stencil accordingly by dragging the rectangle where it needs to be.


If you will be painting in between the letters you will need to make sure there is enough of an edge that the paint's not going to go from the stencil onto the item you're pinning it onto.

Select both the stencil and rectangular box with a big box.

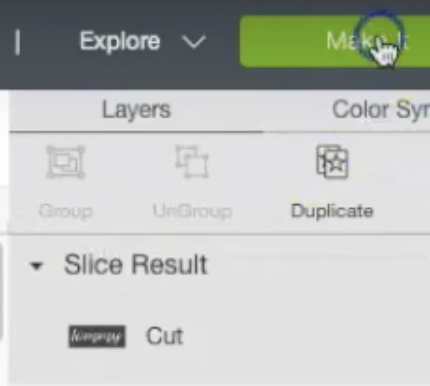
Press the ‘Slice’ button on the botttom right had bar which will slice the design out of the box.
All you need to do now is delete your original design and the sliced section, and resize it to the size you need.

Click the green ‘Make it’ button, add the vinyl as you would and then it will cut out the box and the in between section.
Now your design is ready to can paint or do whatever you want to use it for .
I hope you liked that, please subscribe to my YouTube channel for more tutorials like this.