

5 Vinyl Decal Mistakes You May Be Making
If you have just got a new Cricut or Cameo machine and you’re still figuring it out, or even if you have had one for a while but you feel like you can’t quite get vinyl decals right, then this post is for you! In it I go over 5 mistakes you may be making and how you can avoid them.
Either watch the video…
The below content contains affiliate links and we may earn a commission if you shop through them, however this won't cost you anything, it just helps us to keep the site running for free. For more information on affiliate links, see the disclosure here.
Or take a look below…
Using the wrong setting
When it comes to cut settings, ‘vinyl’ isn’t always going to be the correct choice.
It does make it easier if you’re using Cricut vinyl and a new Cricut machine, as you should just be able to choose the corresponding vinyl from the drop down list if you’re not just using standard vinyl.

But if you have a different machine, an older blade, you have a different brand of vinyl or you’re using any kind of specialty vinyl then it may require a few test cuts.
I’ve had some vinyl in the past which was a nightmare to cut, mostly rose gold vinyl actually, a lot of that stuff is awful to cut for some reason, and I ended up wasting loads of it just trying to find the right setting. So don’t do what I did and try to cut a full design straight away, do a little shape or word in the corner of a piece as a test and make sure it cuts fully and peels off well before making your full design.

2. Using bad quality vinyl or the wrong transfer tape
Speaking of nightmare vinyl, when I first started out, I was using Cricut vinyl and I was having some issues with it sticking smoothly. Also, it was so expensive, especially when I was just learning and doing a lot of practice. So then I switched to Ritrama permanent vinyl and have never looked back, it’s such good quality and I rarely have issues with it. And you can get it for a great price from various suppliers!
I do also occasionally buy Oracal as well though which is great too.

And then once you have your vinyl down, you also need to make sure you have a transfer tape that will lift it from the backing paper - if the tape is too low tack then it may not be sticky enough to do that…
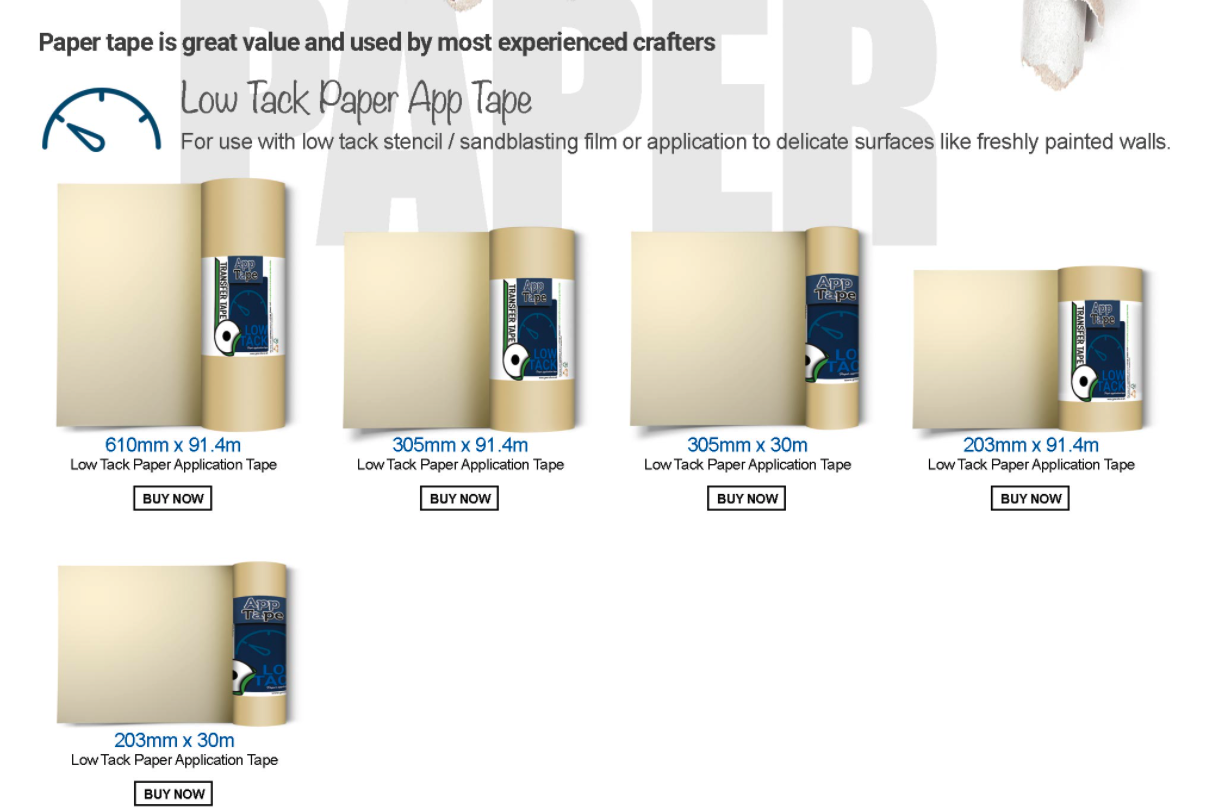
and if it’s too high tack then it may be a nightmare to remove once you apply your decal…

…that’s why I tend to go for a medium tack!

But then again, if you have quite thick vinyl you may want to go with high tack, or if you have a thin or delicate surface then low tack may be the right choice - it is just something you may need to experiment with really.

3. Making designs too thin
I’ve mentioned this before in my How To Find The Best Fonts For Decals post, but when it comes to choosing SVGs and fonts to create vinyl decals with, especially when you want to make them quite small, you really want to be looking for ones that have a decent thickness to them. Anything that is too thin like the font below will just rip and won’t have enough surface area to stick to the item you want to apply it to.

There are lots of fonts out there that are still really elegant but a bit thicker if that is the look you’re going for, check out places like Creative Market or Font Bundles for lots of choices.

And then same goes for SVGs, try not to choose or create pre-made designs that have too many tiny little bits in them, or have sections that are too thin, as you’re just setting yourself up for a headache when you come to weed and apply them.

For a list of some of the best SVG and font suppliers, check out my Members Only area:
4. Trying to weed in the dark
You need good lighting to weed your decals, ideally natural, or a light box, so that you can see what you’re doing!

Without this, or if you’re using overhead lighting which is casting a shadow, it makes it very difficult to see the cut lines and to therefore weed each piece that you need to remove.
That’s why in winter I tend to cut out all of my designs using my machines on an evening and then I will wait to weed them the next morning when I have better lighting. If you aren’t able to do this then just set up a couple of lamps on either side of you to minimize shadows where possible.
5. You’re using adhesive vinyl instead of another material/technique
Although adhesive vinyl is amazing and has so many different uses, it isn’t always the best choice for everything. In some cases, iron-on vinyl would be a lot better, especially when it comes to soft materials…

but also there are a few things you can do with iron on that you might not expect, like add it to mugs and wood. Check out my post for more info…
Then if you want something to be multicolored it might be a better choice to print and cut a sticker for it, rather than layer your vinyl. I have a post on that too if you need it…
Or it may be the case that sublimation or screenprinting or a completely different technique is a better choice for you, depending on what you’re making, how long you want it to last and if you’re selling it as well.
If you’re unsure which one you should use for the thing you’re trying to make, feel free to ask me in the comments, or just have a look on Pinterest or Youtube for your chosen item as there is usually a tutorial for every kind of craft you can think of so I’m sure the answer will come up there.
When you’re first starting out it can be really overwhelming, and get a bit frustrating when things go wrong, but honestly, the more you make things, and just learn one skill at a time, the easier it becomes and the less mistakes you will make.
Hopefully these tips have helped anyway, do let me know if you have any other questions in the comments section!