

Make A DIY Doormat With Me Using Adhesive Vinyl
We desperately need to replace our front doormat as it has seen better days, so I thought why not make my own with a vinyl stencil and some acrylic paint and see how it goes!
Either watch the video here…
The below content contains affiliate links and we may earn a commission if you shop through them, however, this won't cost you anything, it just helps us to keep the site running for free. For more information on affiliate links, see the disclosure here.
Or have a read…
Gather What You Need
I’m making the stencil with HTVRONT vinyl as they have kindly sponsored this post and video.
Do also check out their range on Amazon, they have so many different vinyl products! Just make sure to check the 5% coupon before checkout.


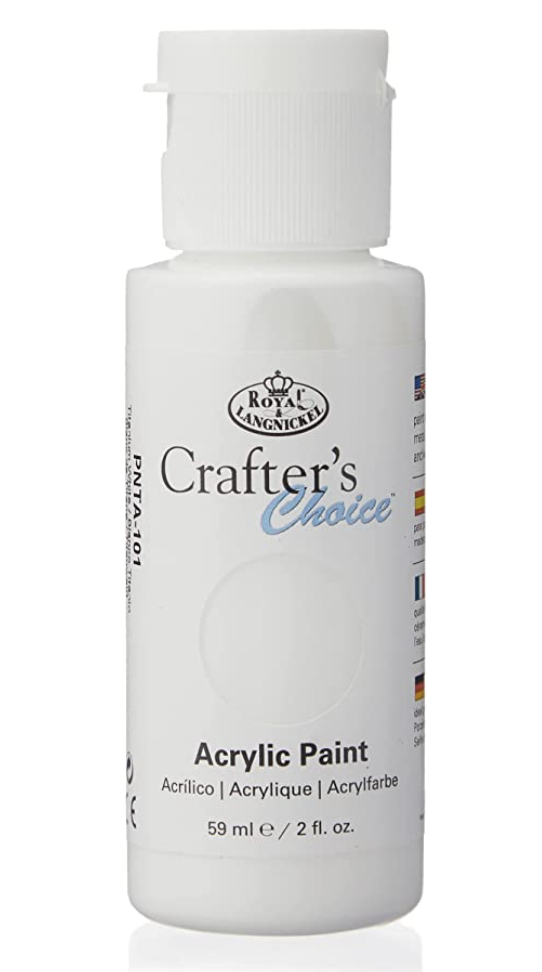
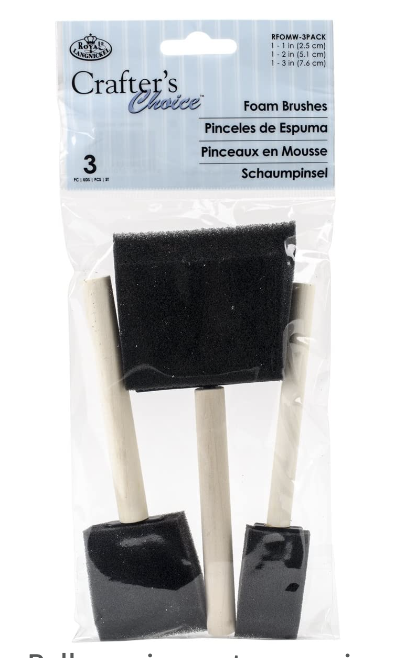
And then I got some acrylic which said in the description that it is suitable for outdoors, on Amazon. And some foam brushes. I am also going to use some masking tape.
Although I’ve seen a lot of people use freezer paper as a stencil for these and a heat press or an iron to stick it to the mat, I decided to use vinyl, because well, it’s vinyl decal school isn’t it!
Choose Your Design
I’ll start by making the stencil design…

You can actually get loads of pre-made designs like this one, called Doormat Design from Design Bundles. There are loads to choose from.
You could also use spray paint if you’re confident your stencil is secure enough.
I am going to make my own for this.

I opened a canvas that is the same size as my mat so I know what size to do my wording.
I wanted quite chunky letters and a really simple design because I've never tried this before, so I want to keep it as simple as possible. It's a little bit boring but it'll be fine for this trial run.
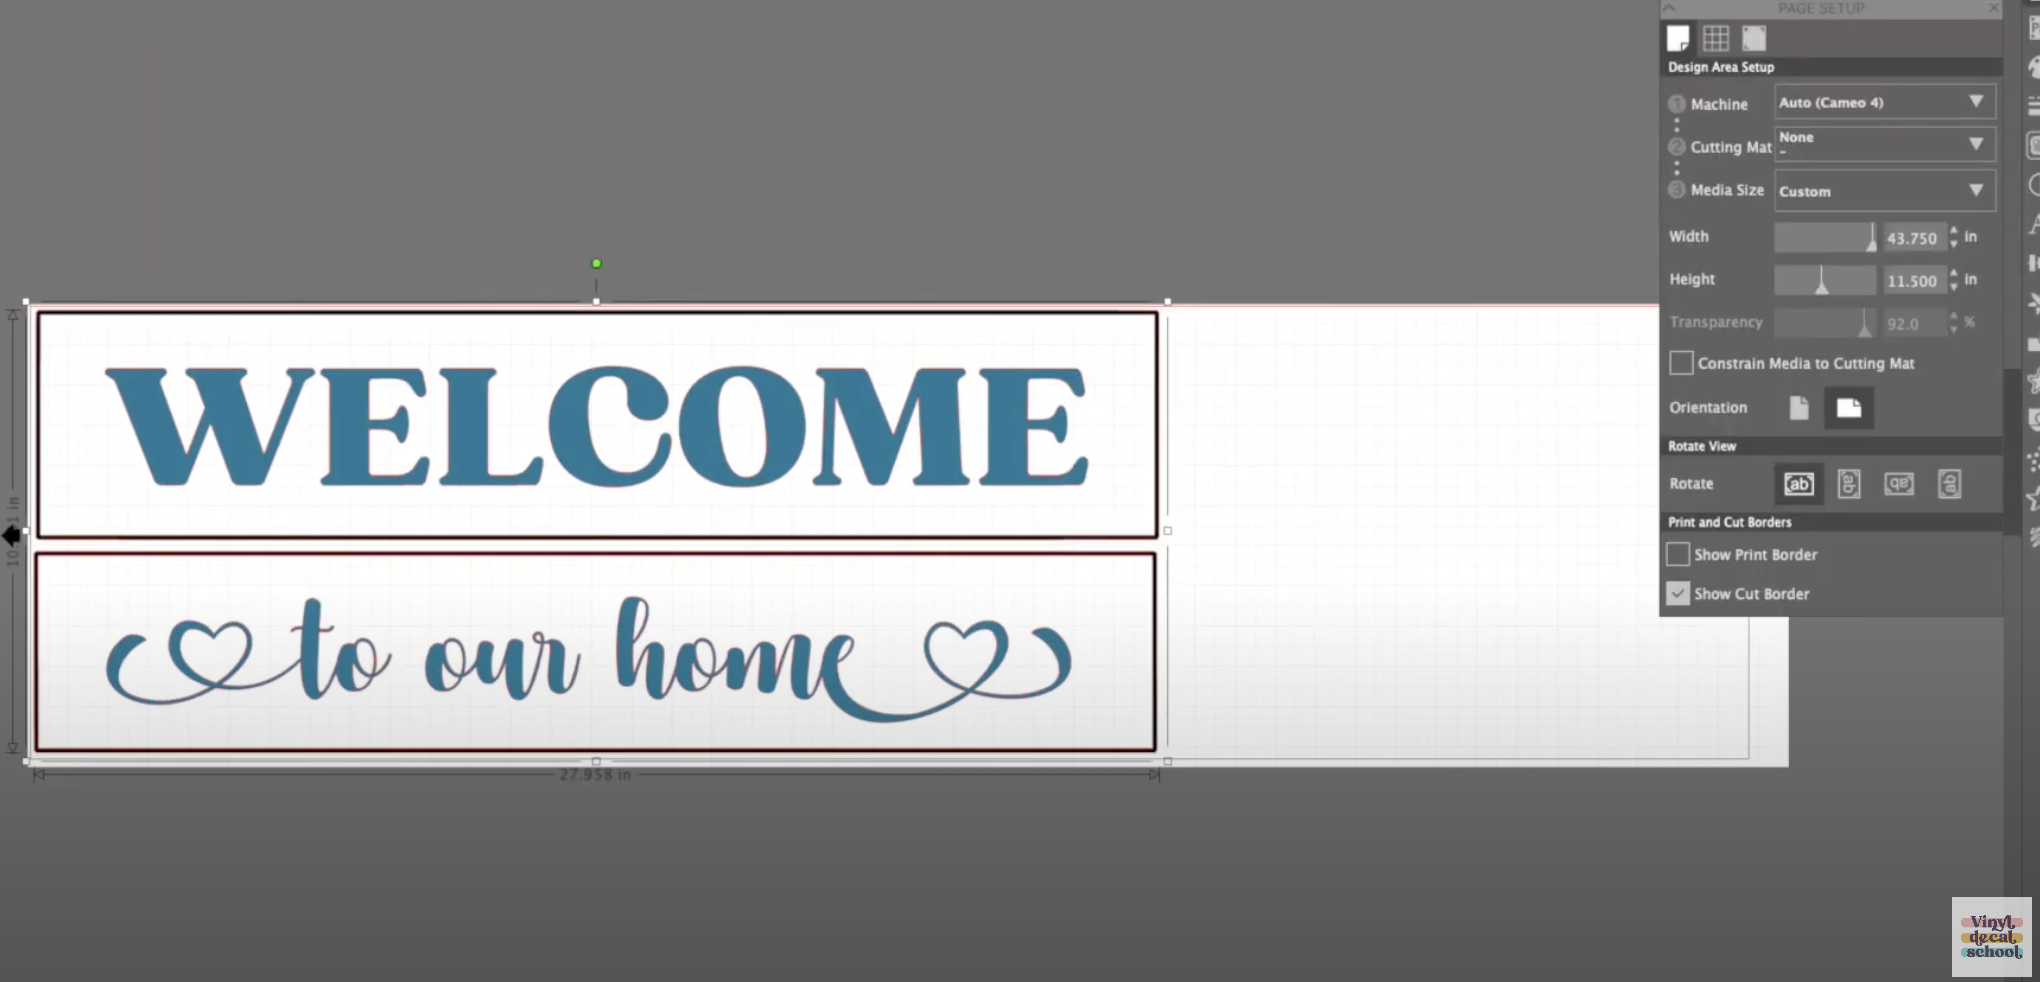
Now I'm putting boxes around both of the bits of wording and putting them into a canvas that is the same size as my silhouette studio one, so that it is easy to pull across.
You can probably do boxes within silhouette studio as well. I'm used to doing them in photoshop so that's why I did that.

Then I sent them to cut.
It does tell you the cut settings on the HD Rerun box which is really helpful.
I did use the Cameo Three ones because I've got a manual blade rather than an auto blade.

I used that to change the settings in Silhouette Studio so that it would cut properly and then added it to my roll feeder.
Prepare Your Stencil
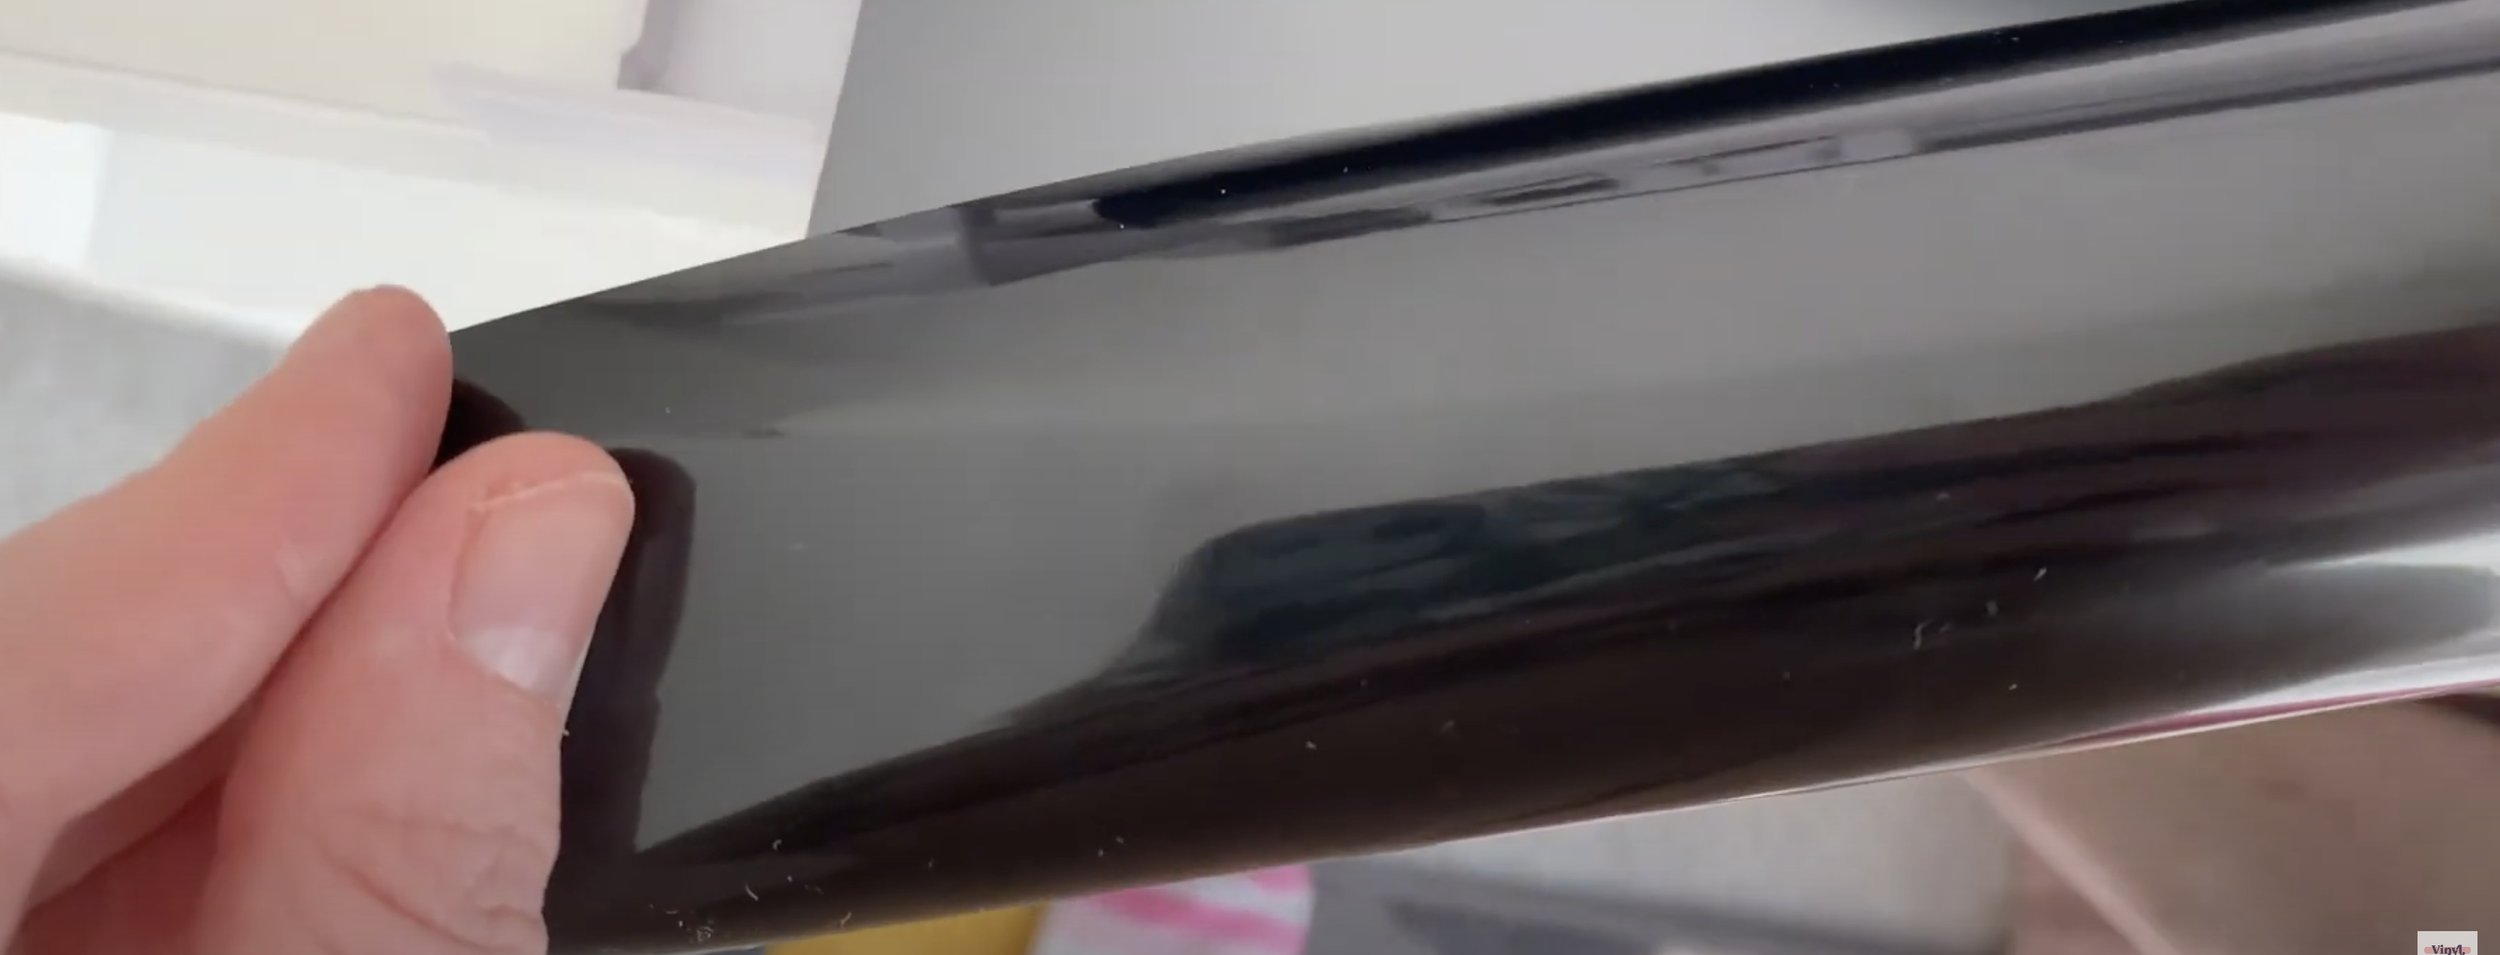
One of the benefits of this vinyl is it has a PET clear backing rather than paper so it doesn't get all stuck to your mat, especially when you've got a new mat. And the paper just shreds on it, so that's quite useful. I was putting it through my roll feeder anyway.
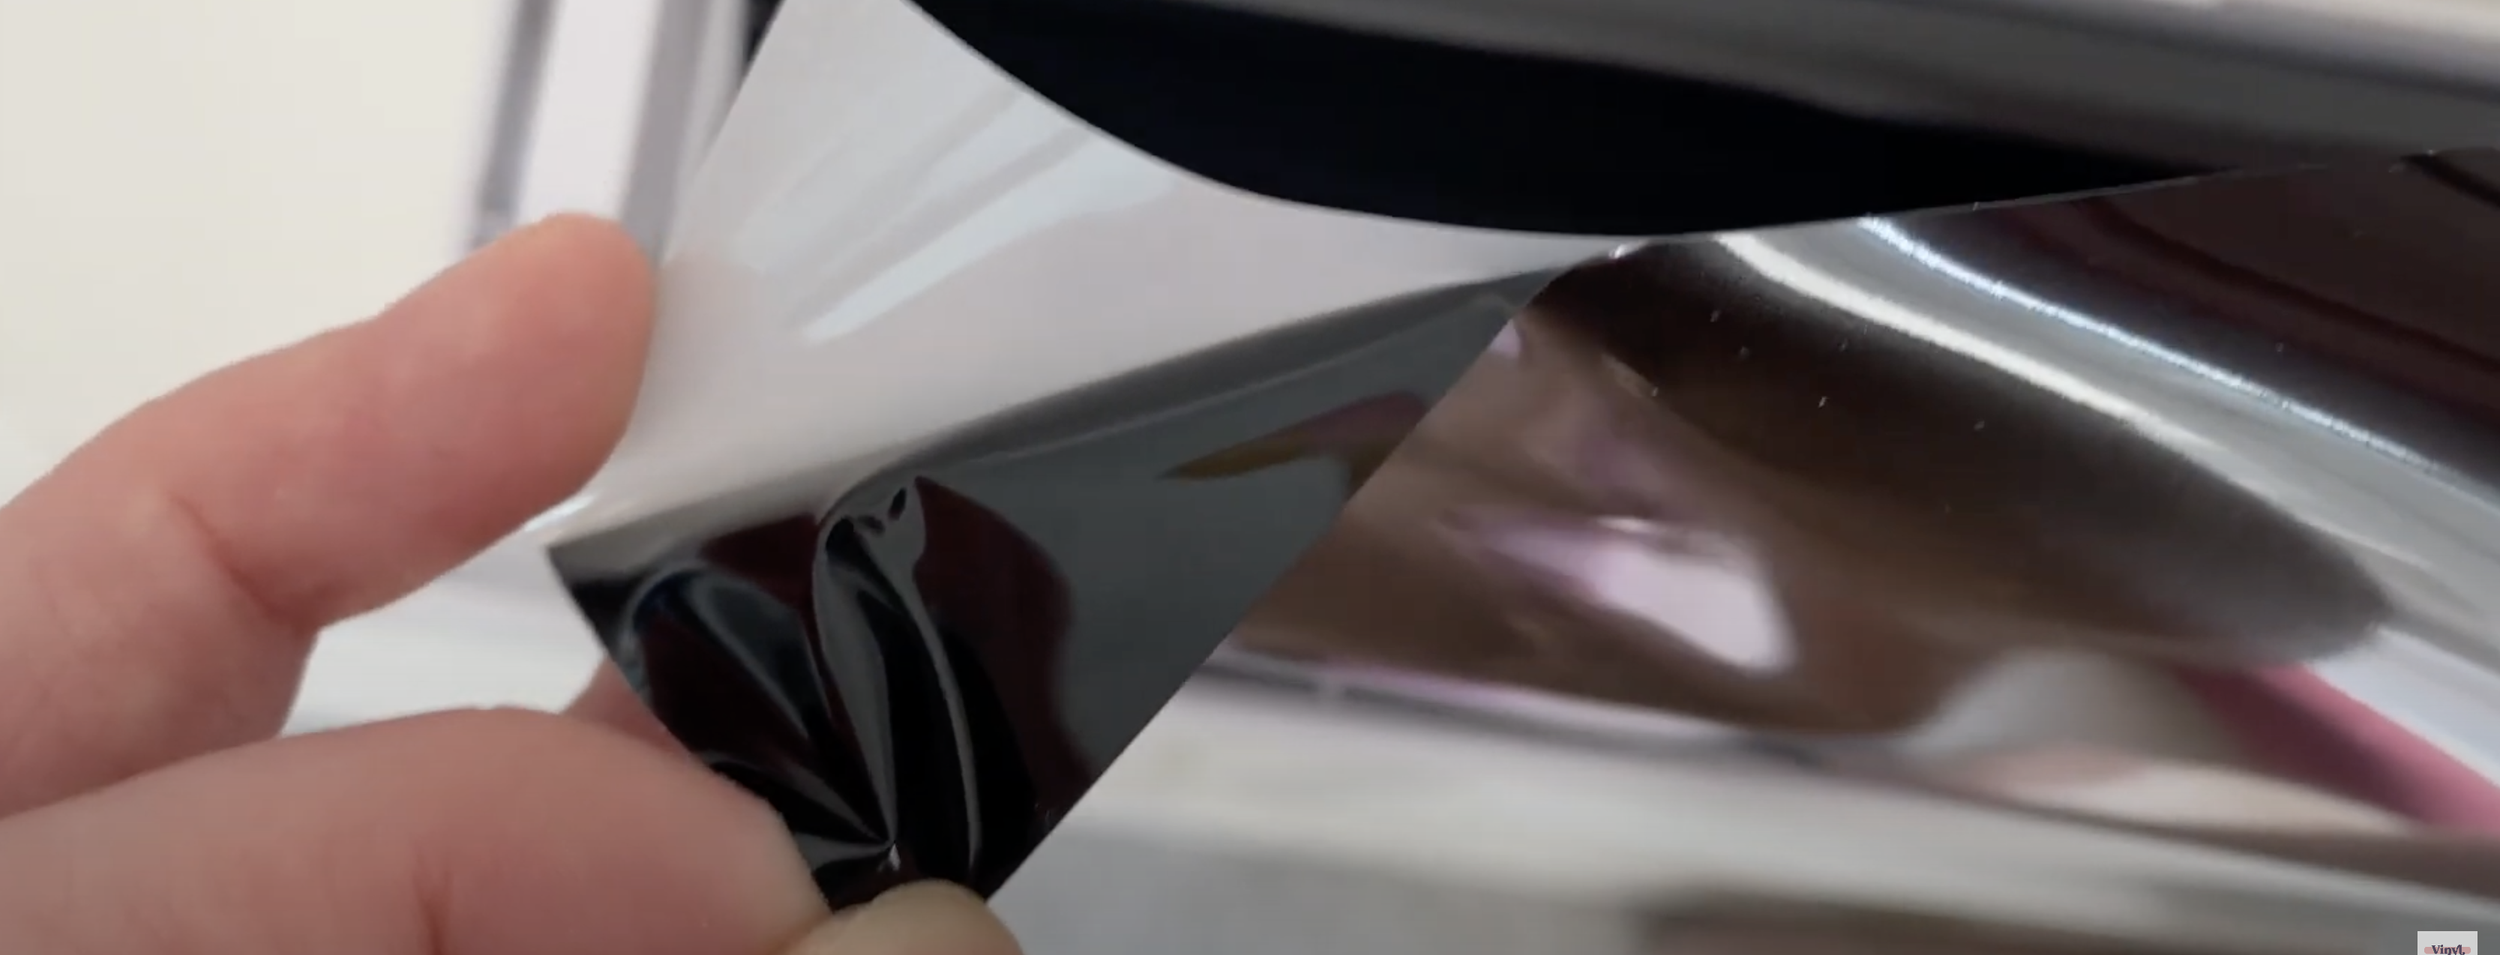
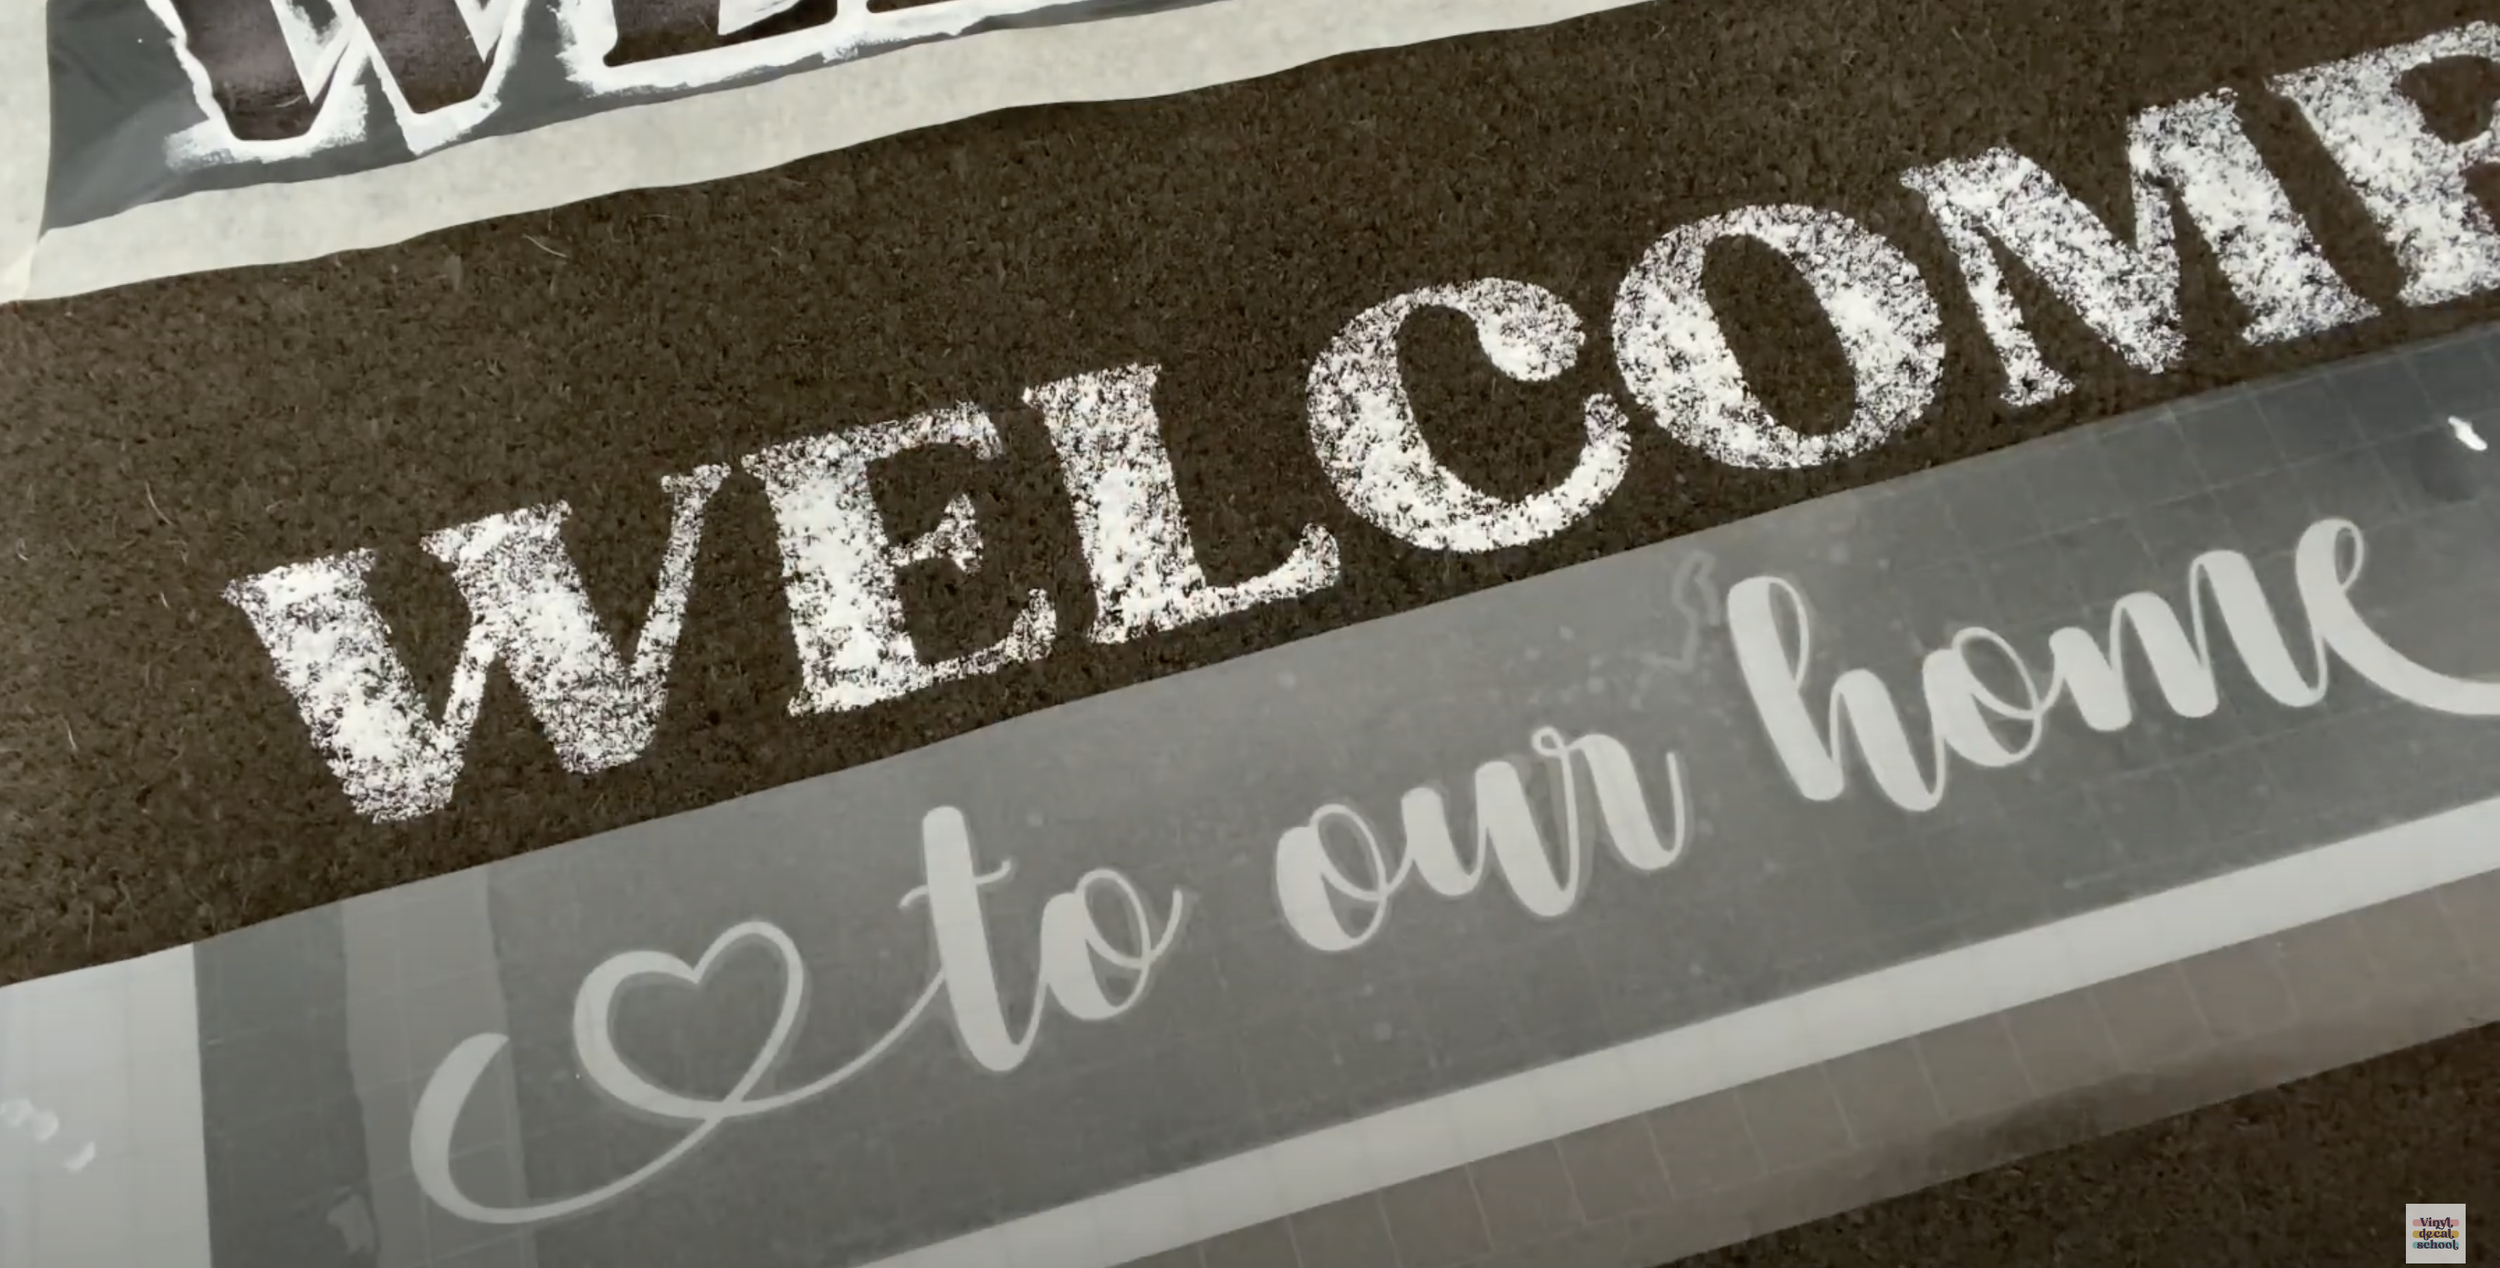
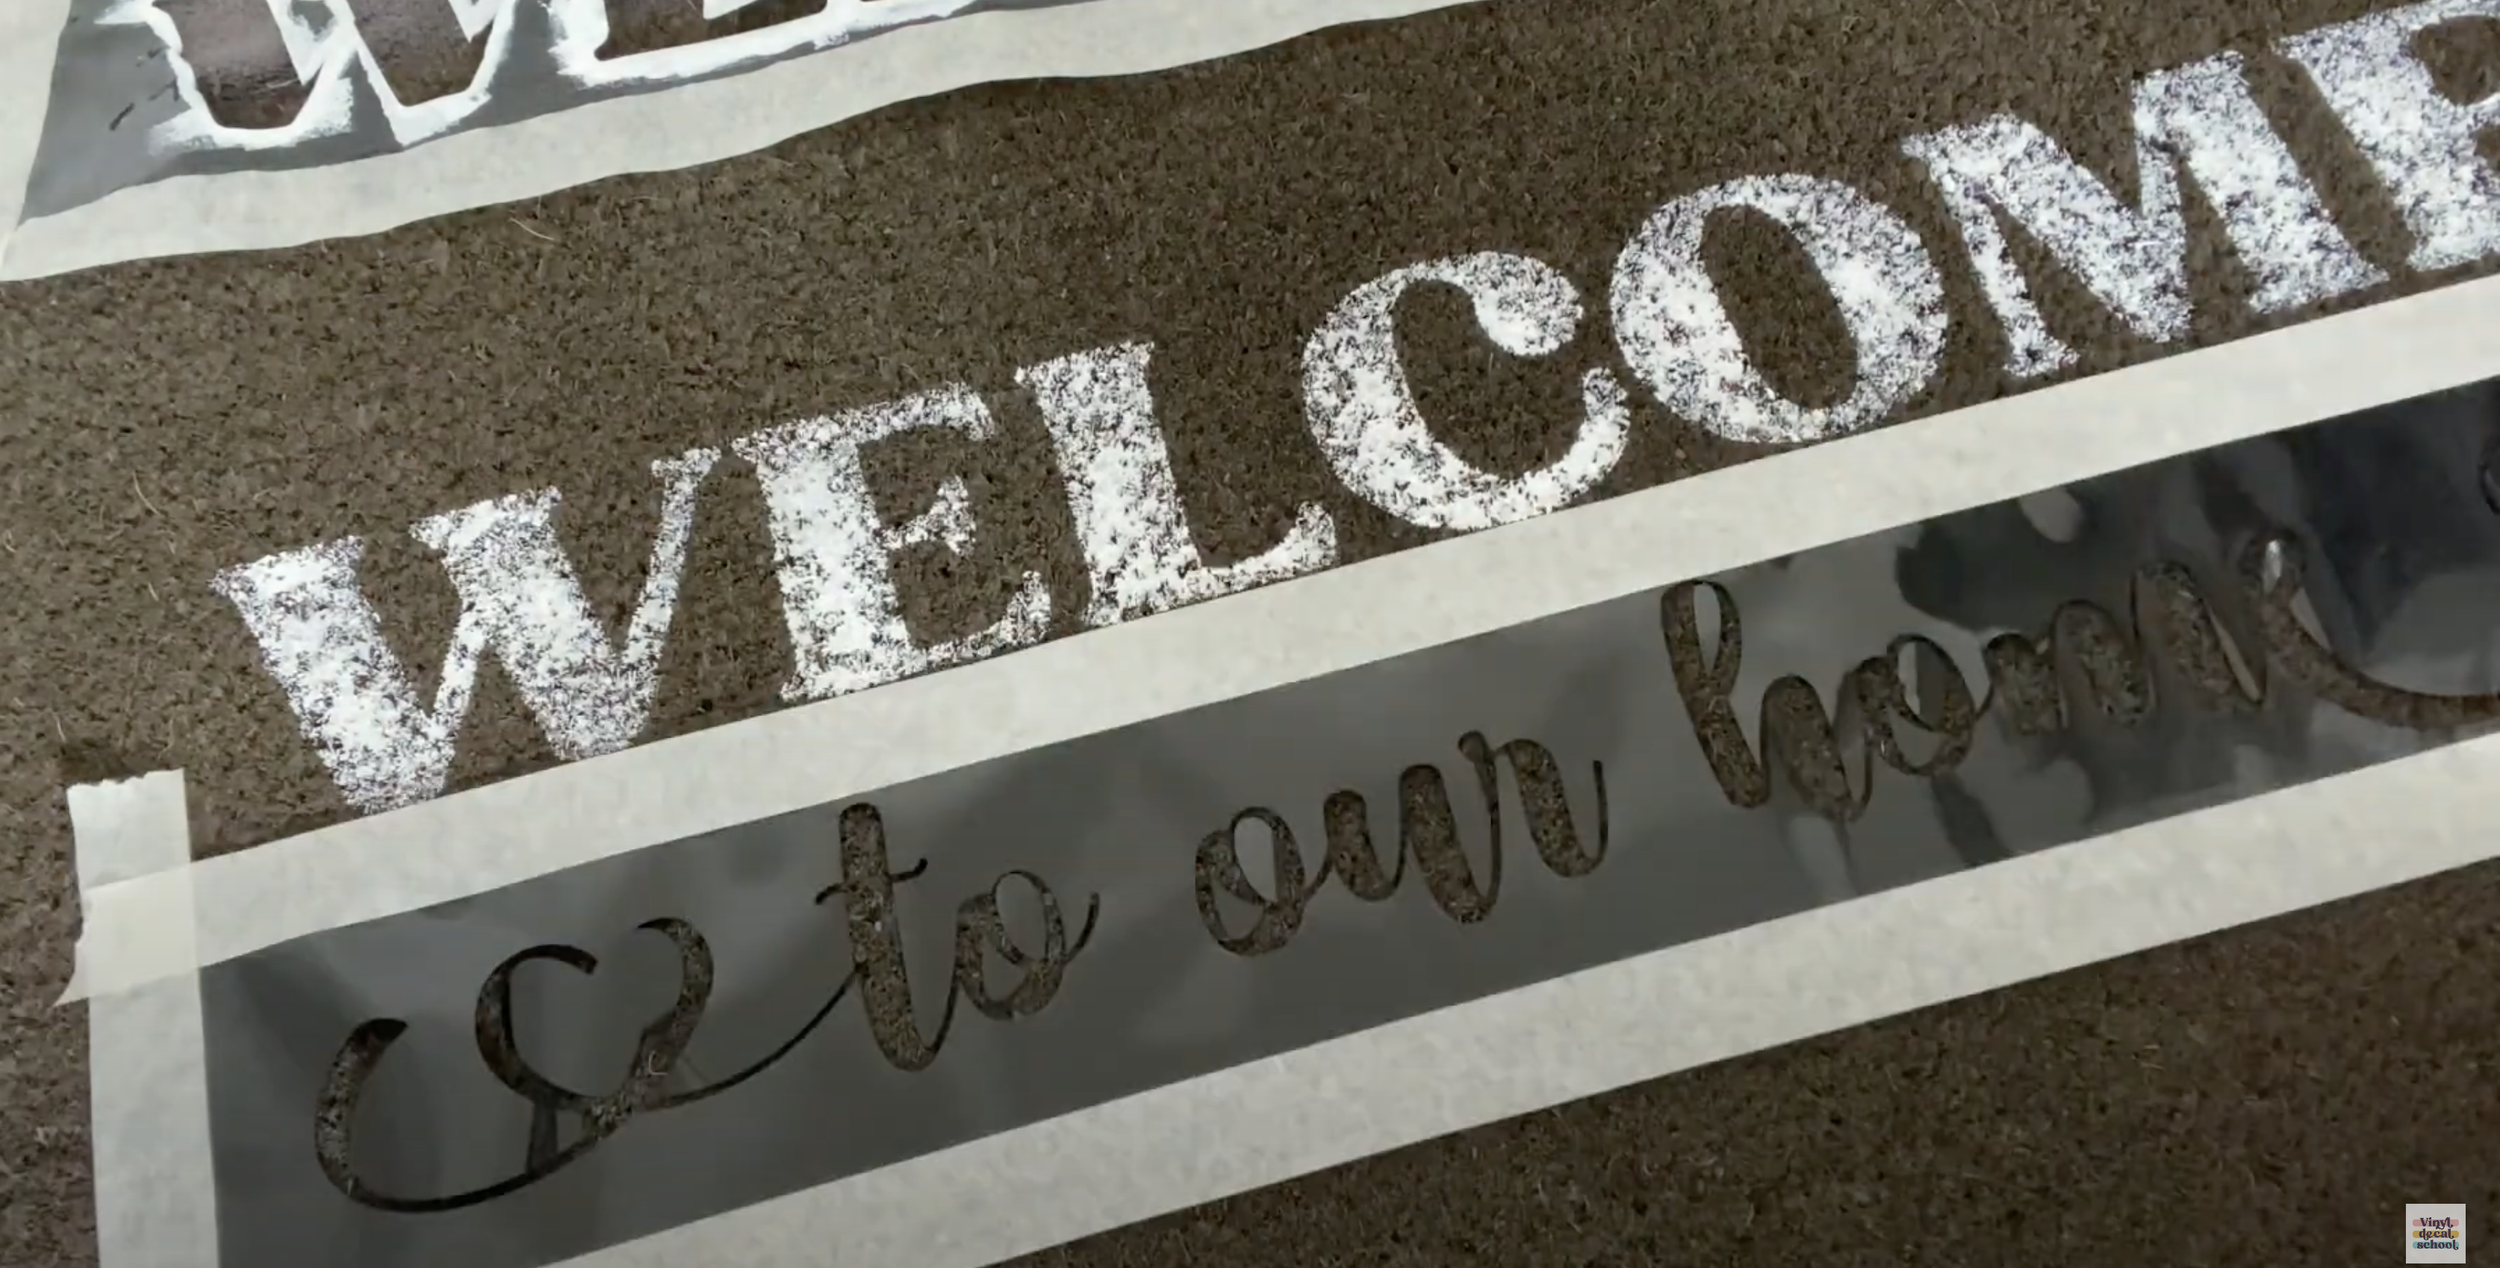
I then weeded the in-betweens of the boxes, so the opposite to usual. This was really easy to weed actually and it came away really easily. I then added some transfer tape over the top to make things easier.
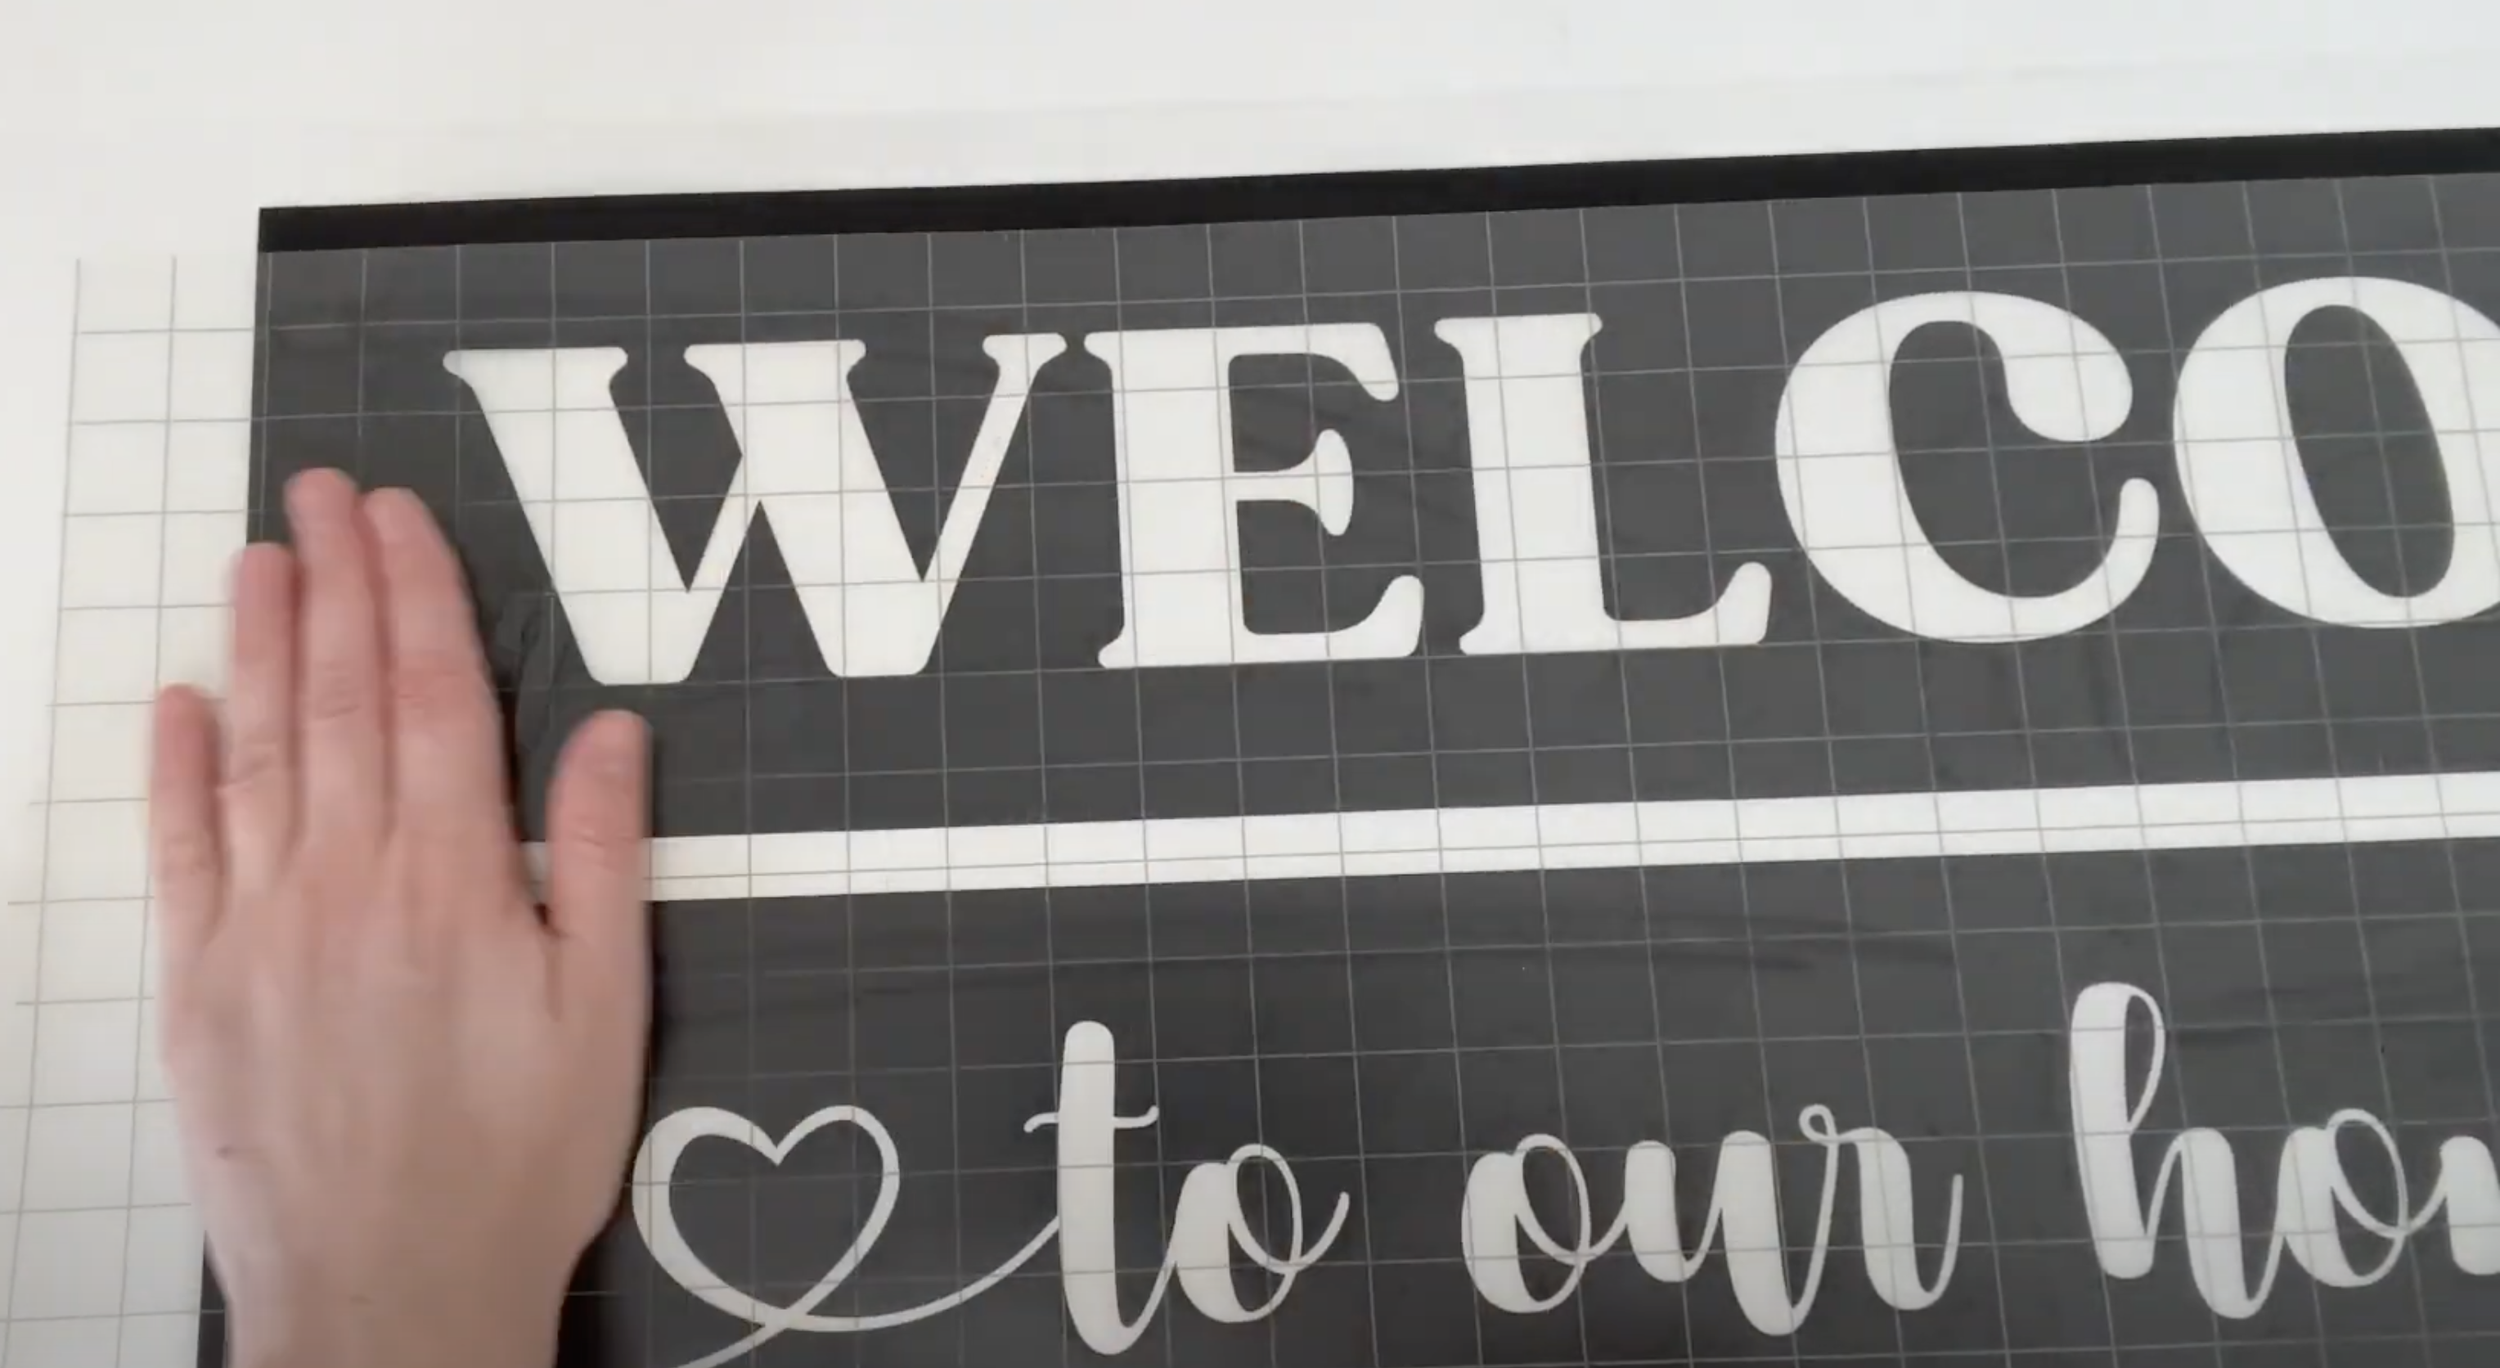
I took the backing off (which came off fairly easily) and placed it to where I wanted it to go. Then I found the centre point, just to make sure I had it centred on the mat.
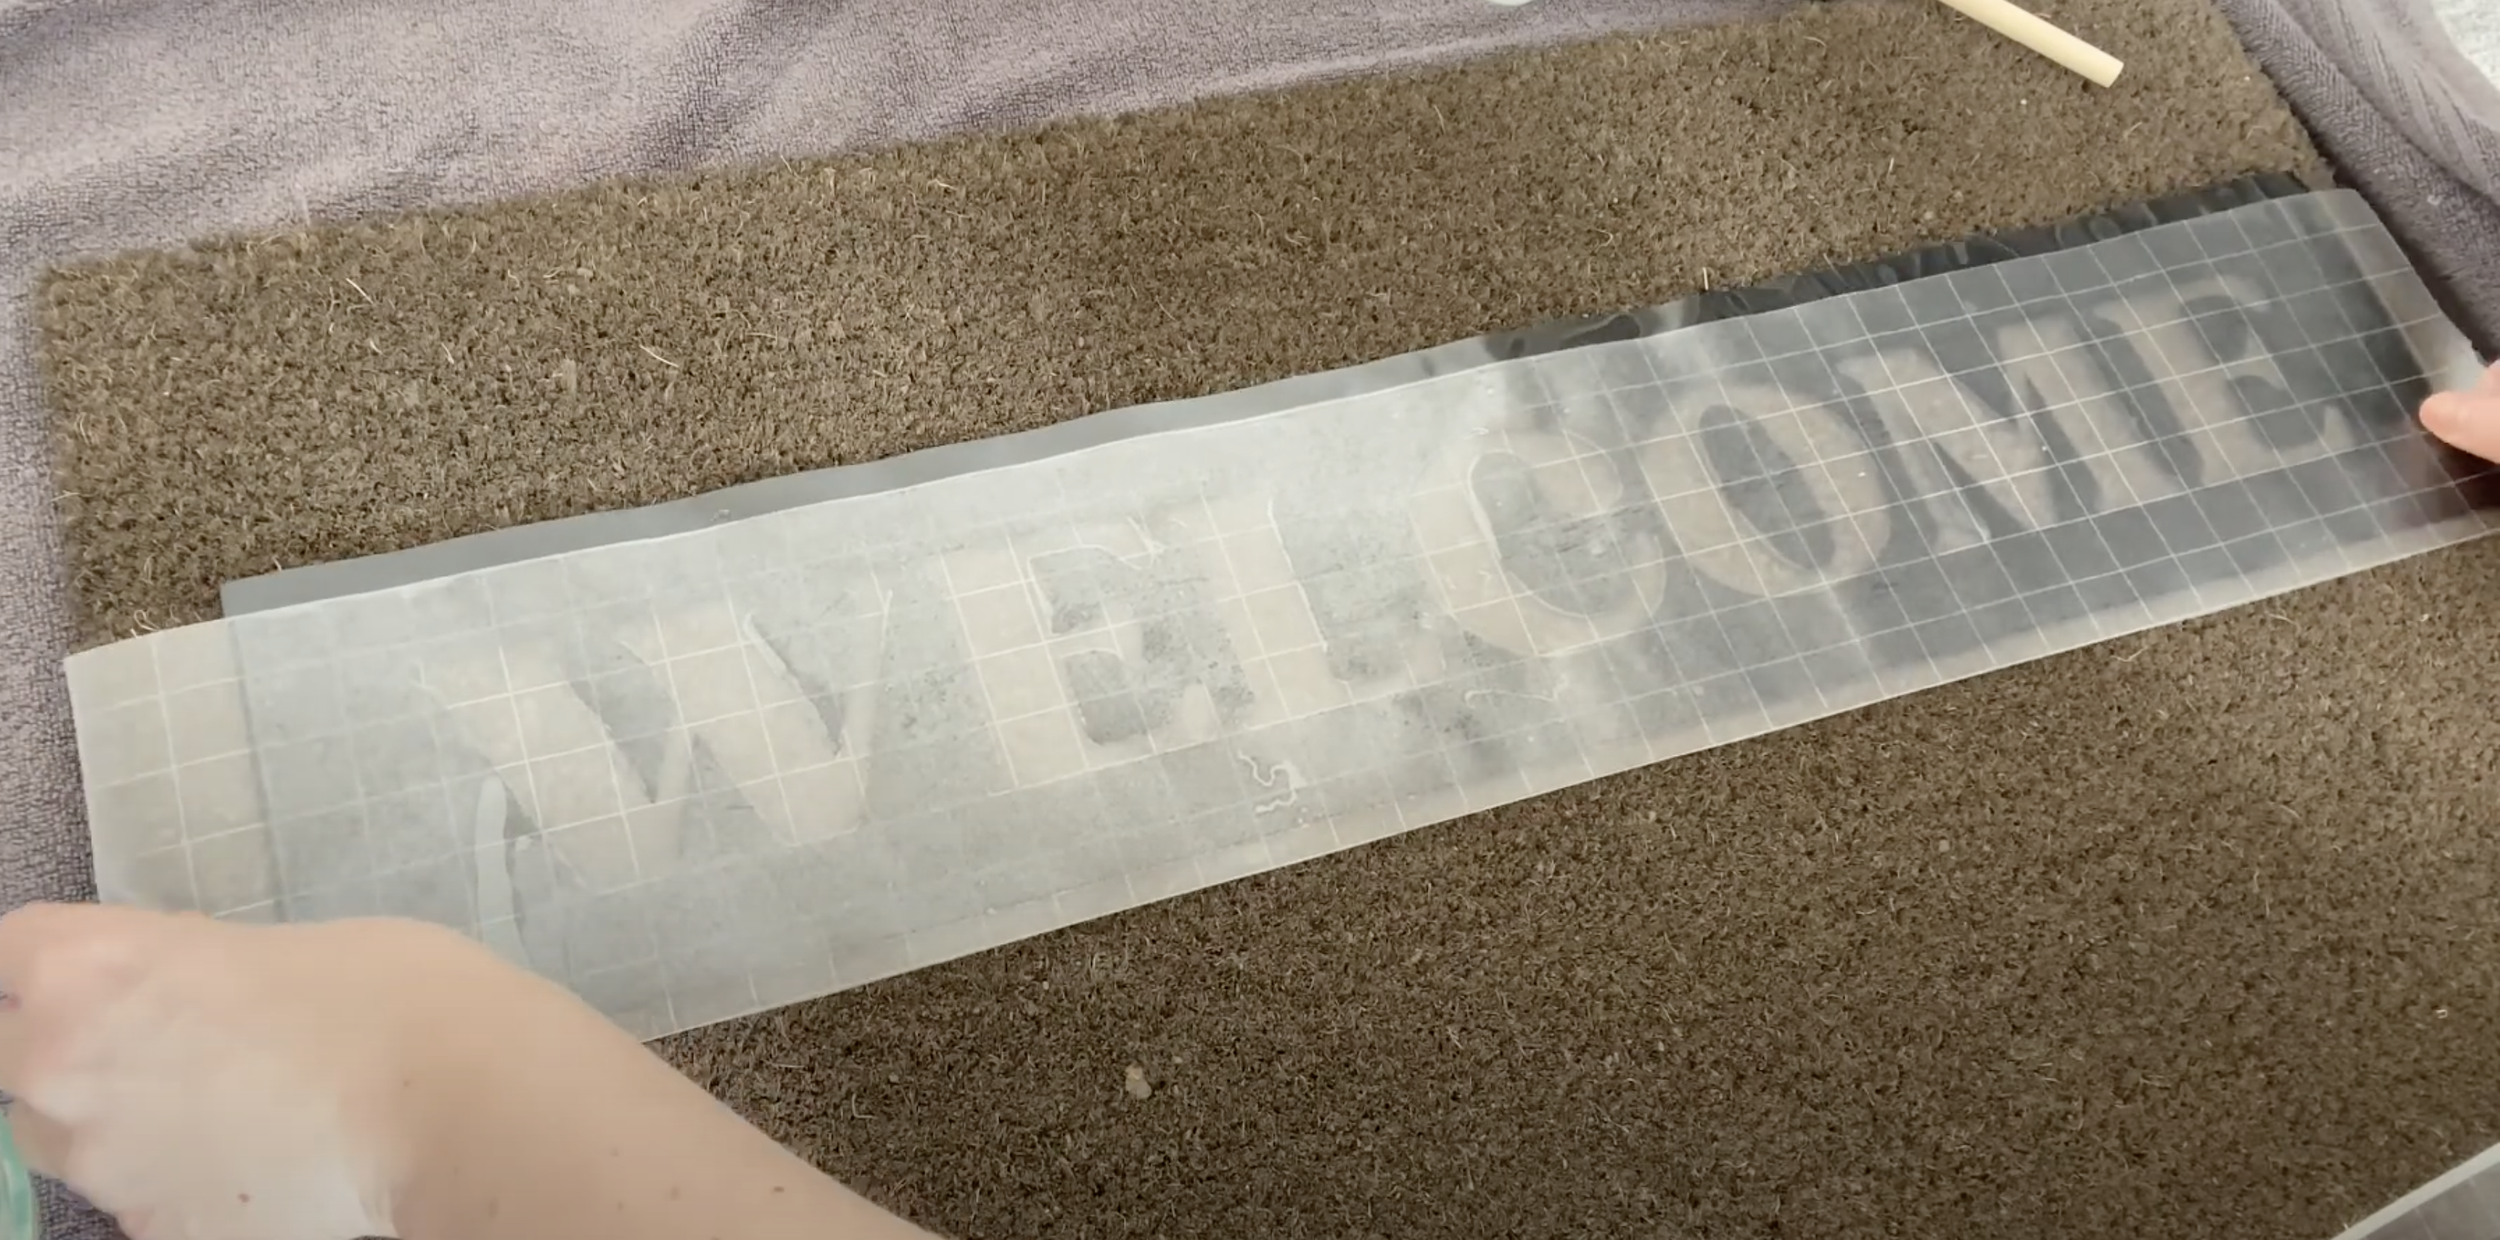


Then I taped across the top to keep that bit in place. It is useful if you keep a bit of the vinyl free of the transfer tape so you can remove it a lot easier without it coming away. This is because it doesn't actually stick to the mat.
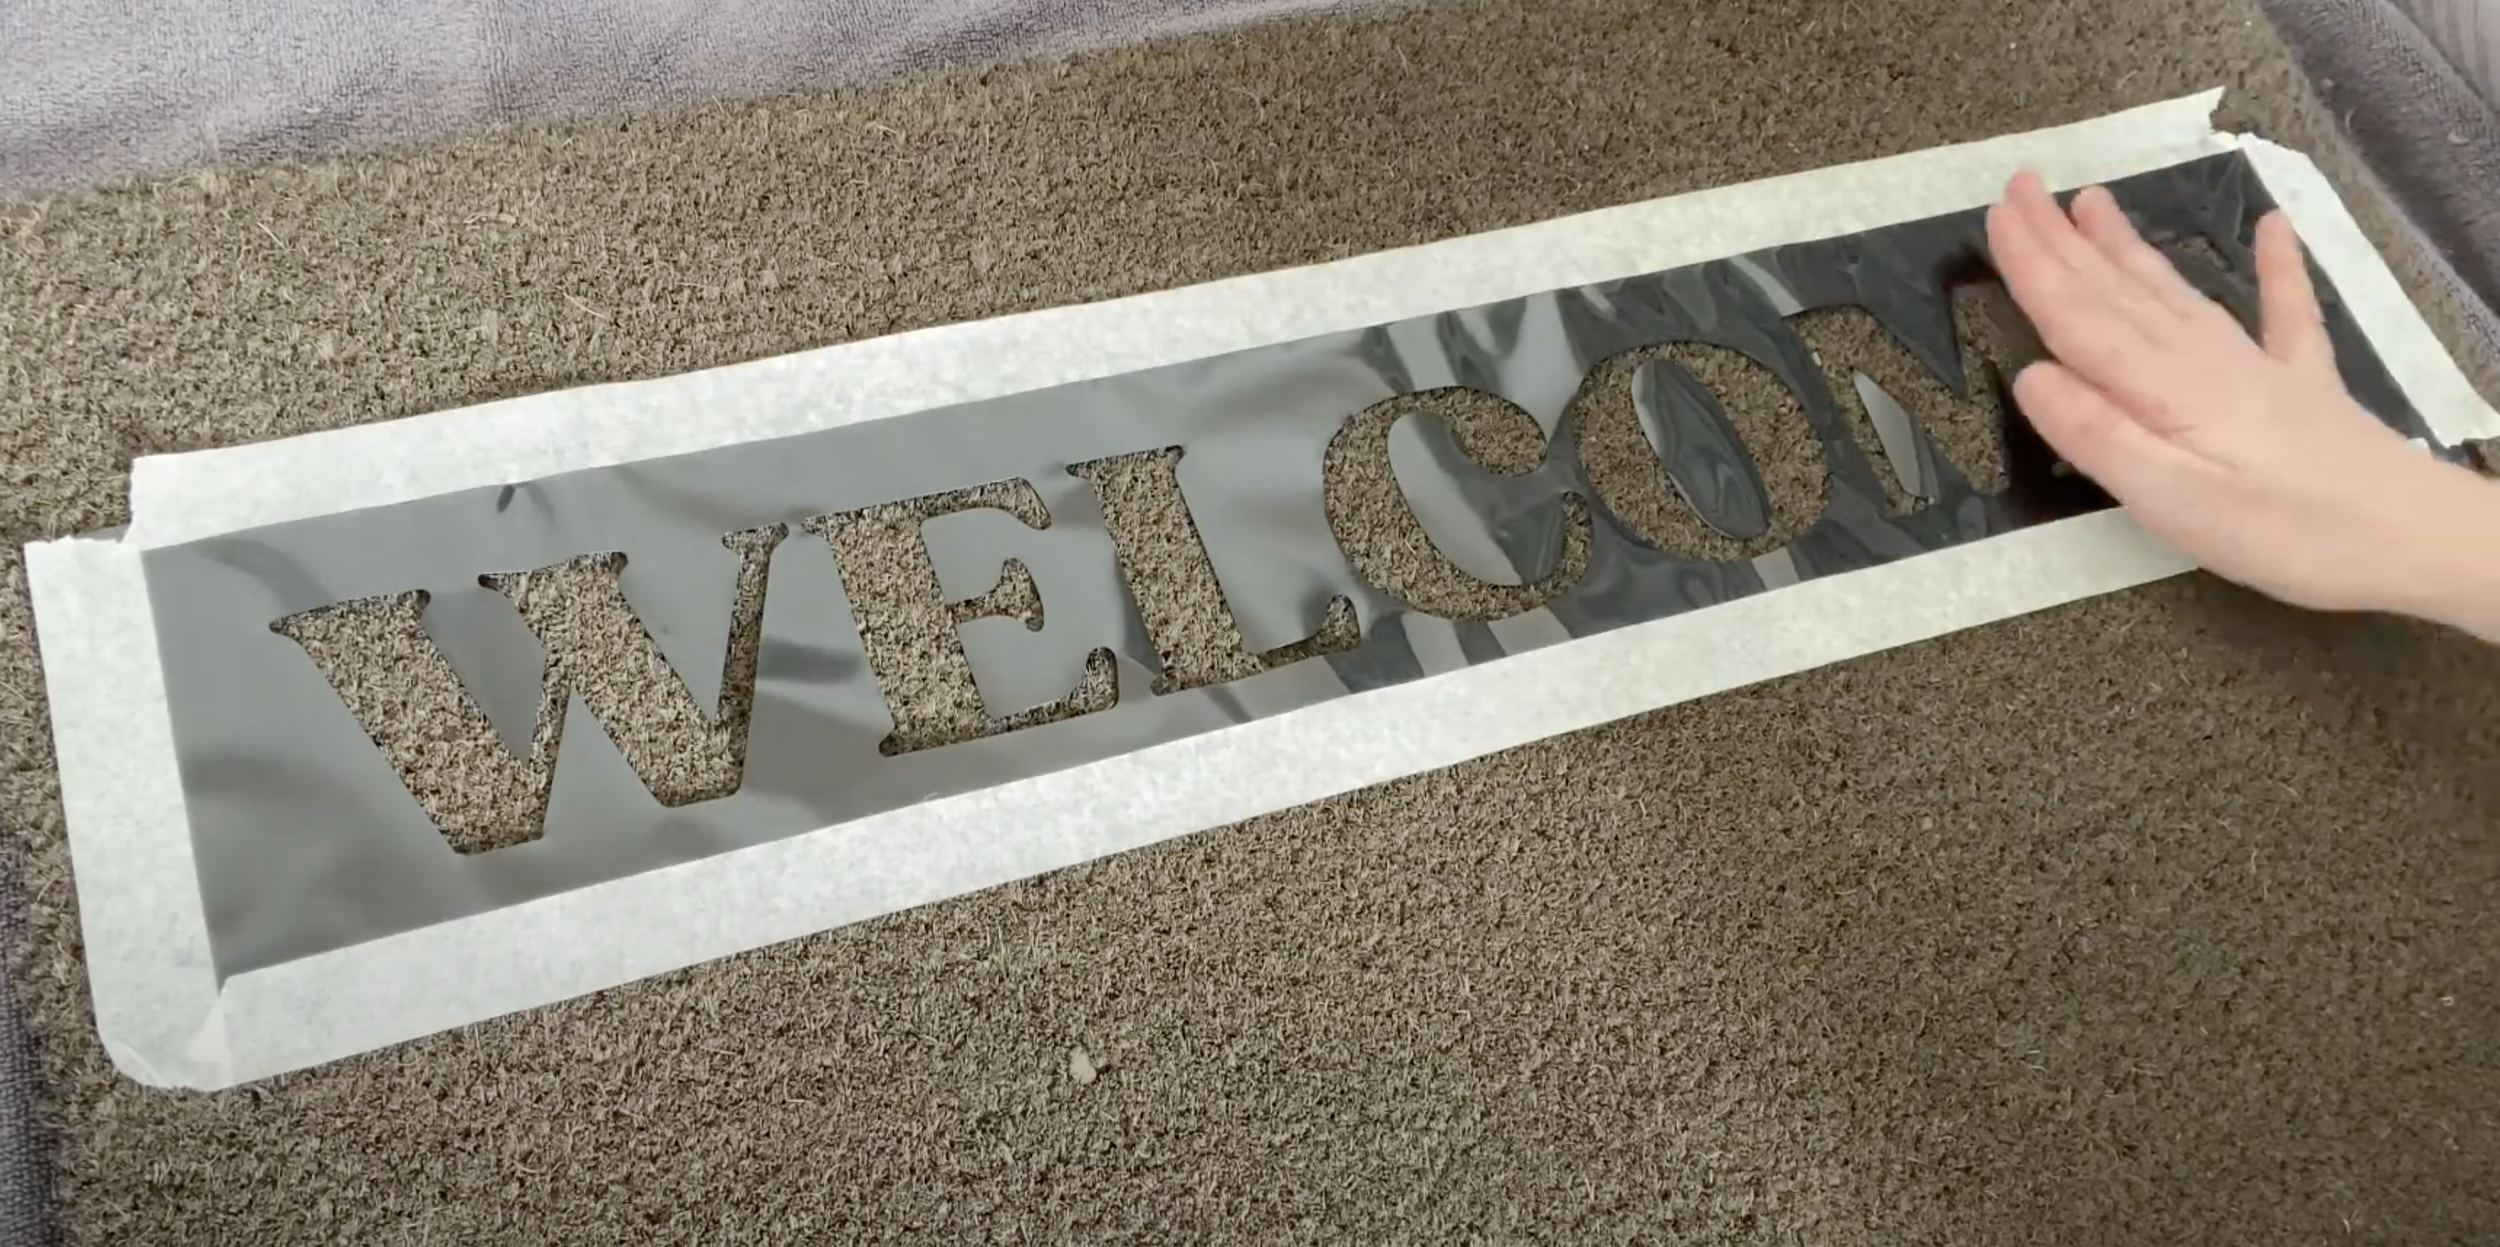
Then I taped down all of the corners.
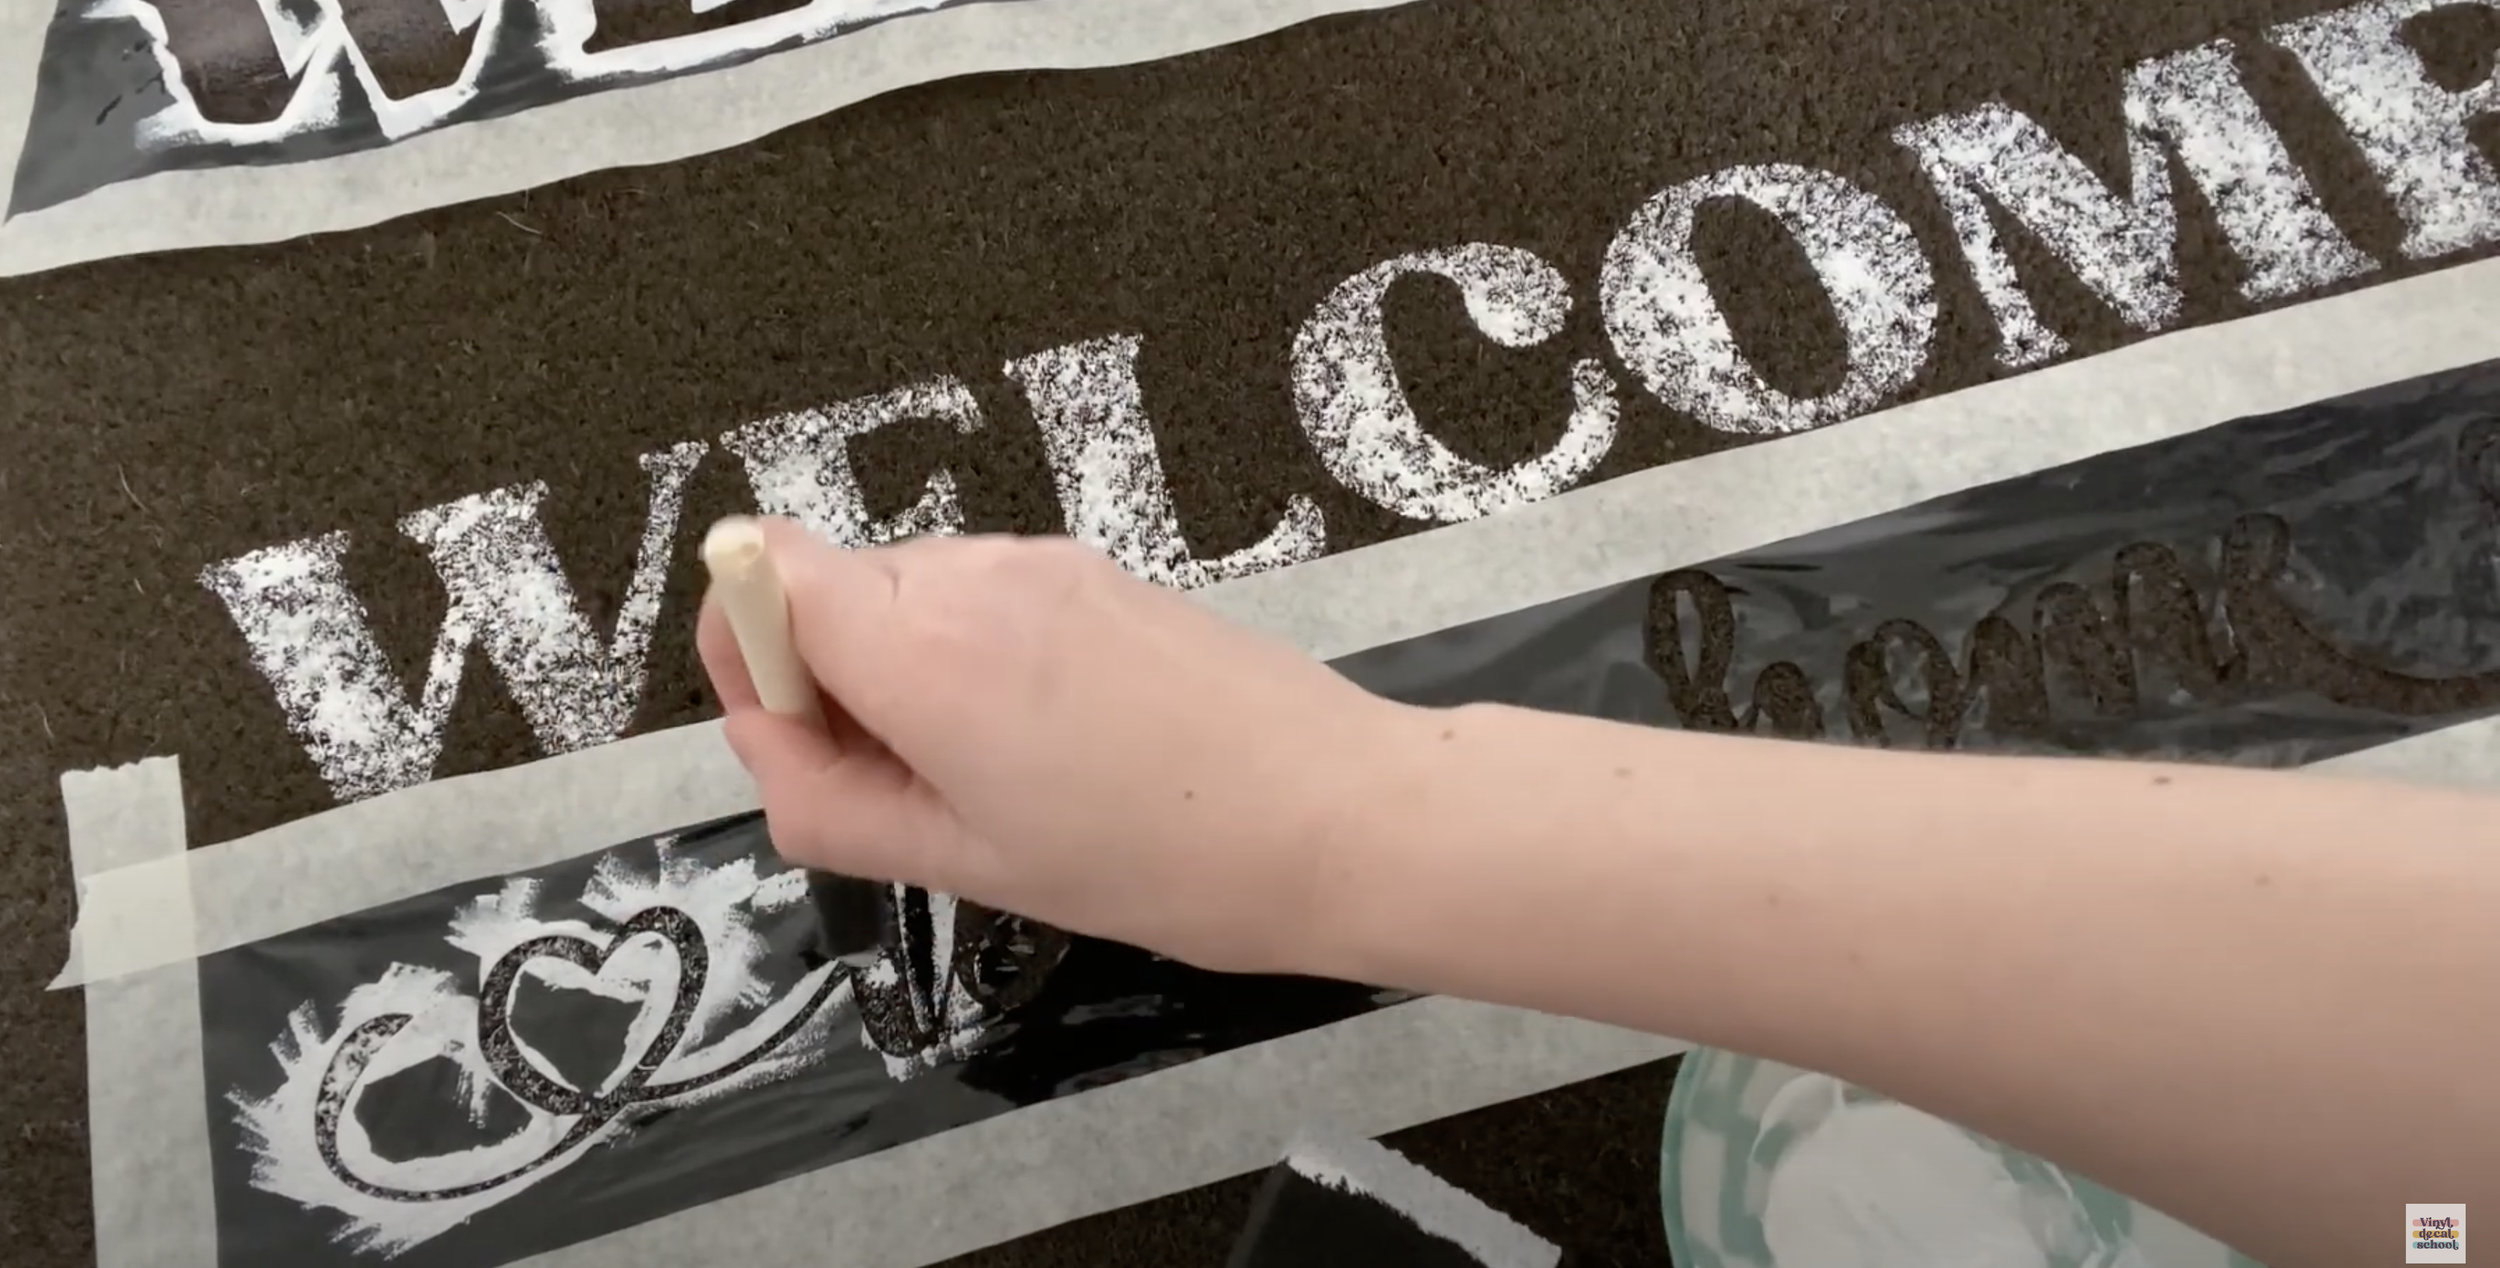
Then I used a hair dryer to help it stick more. This melts the vinyl into the mat but not so much that you can't remove it, although it is a little bit fiddly. I'm using these creepy heatproof gloves that are supposed to be for styling hair, but of course, I'm using them for crafting.
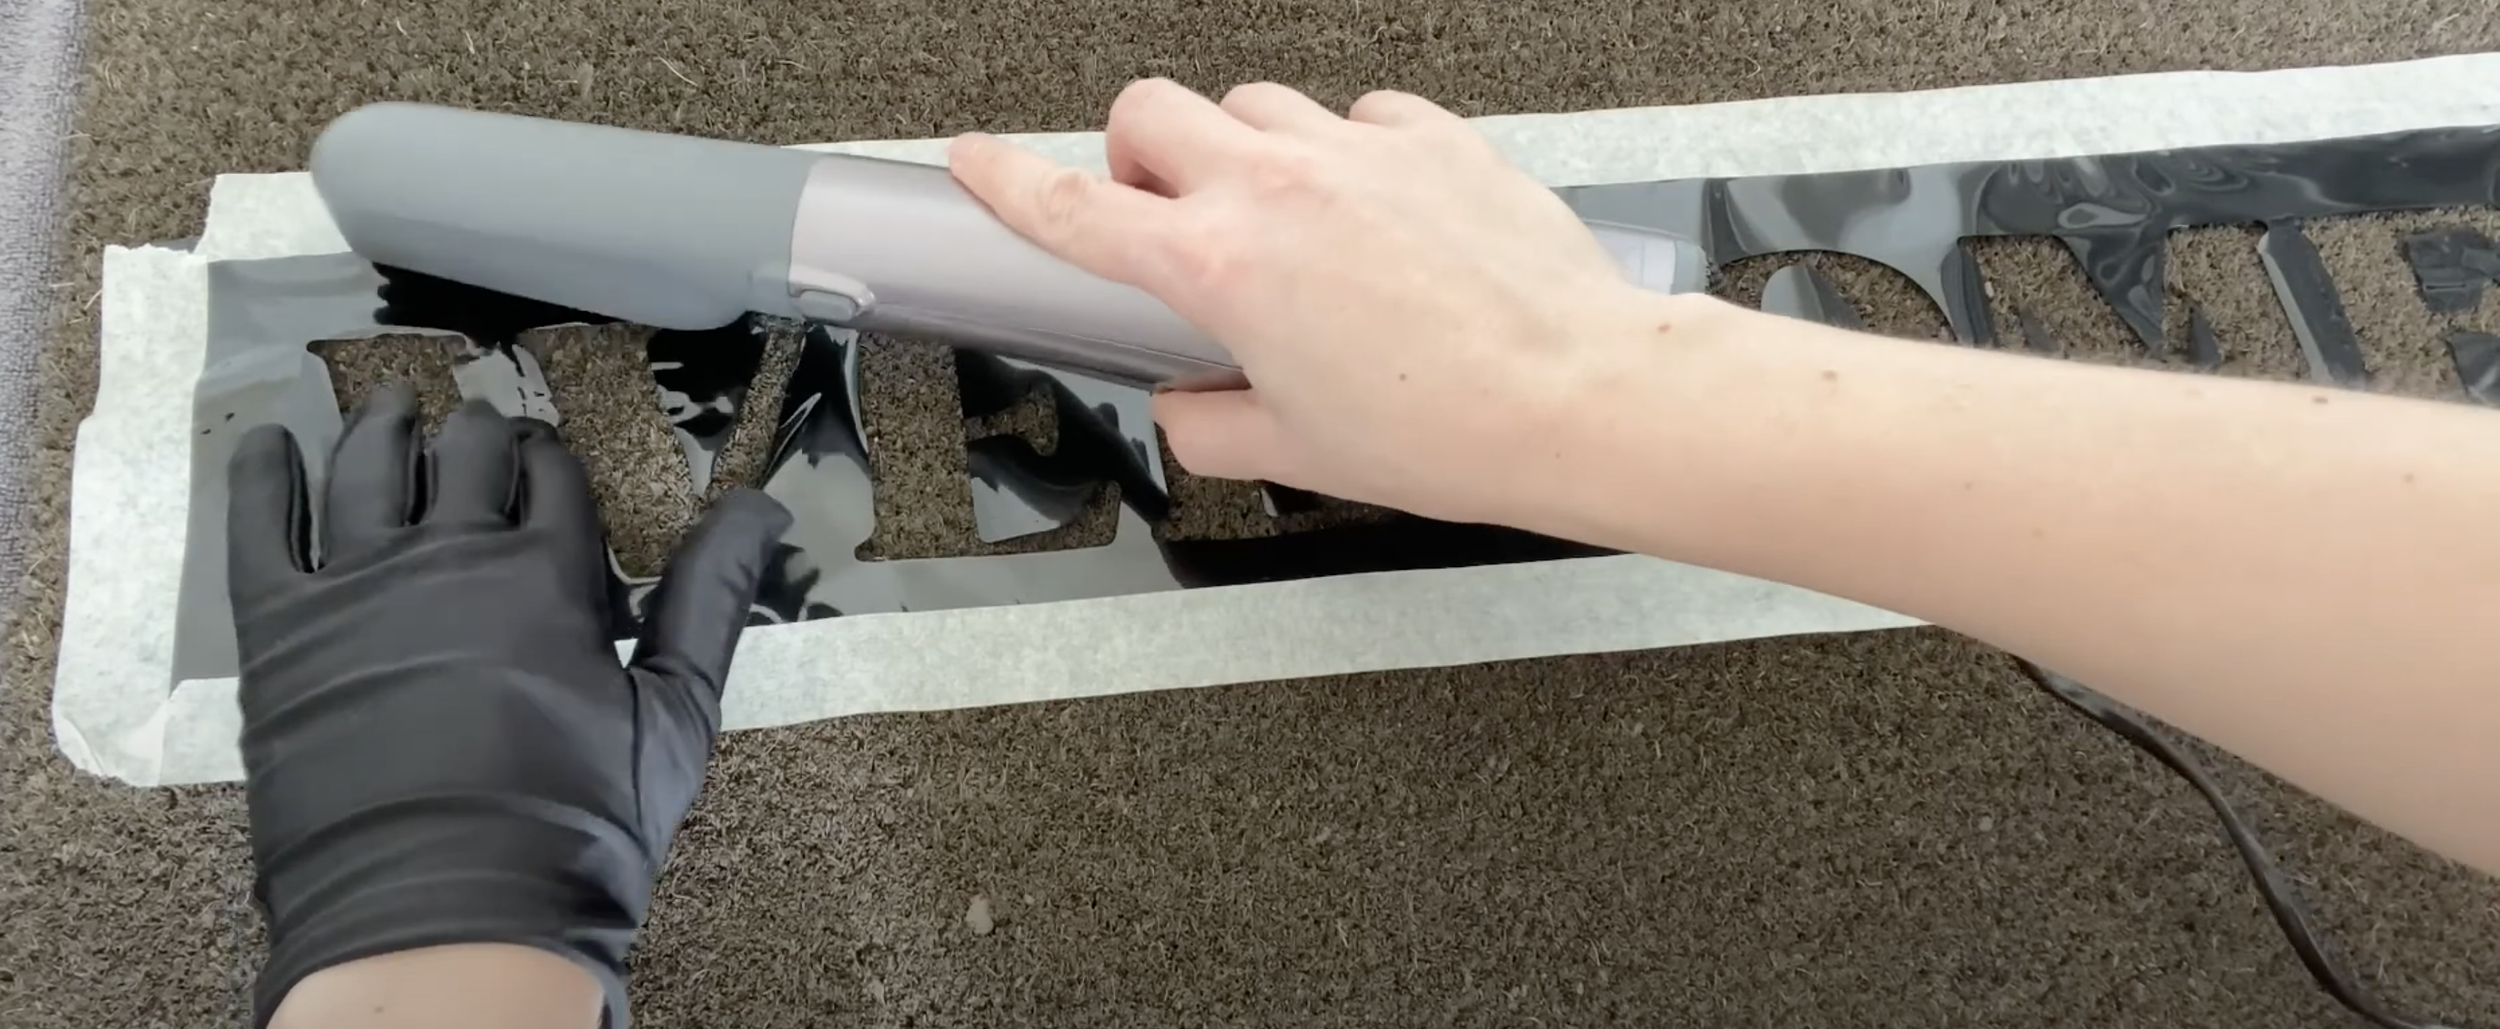
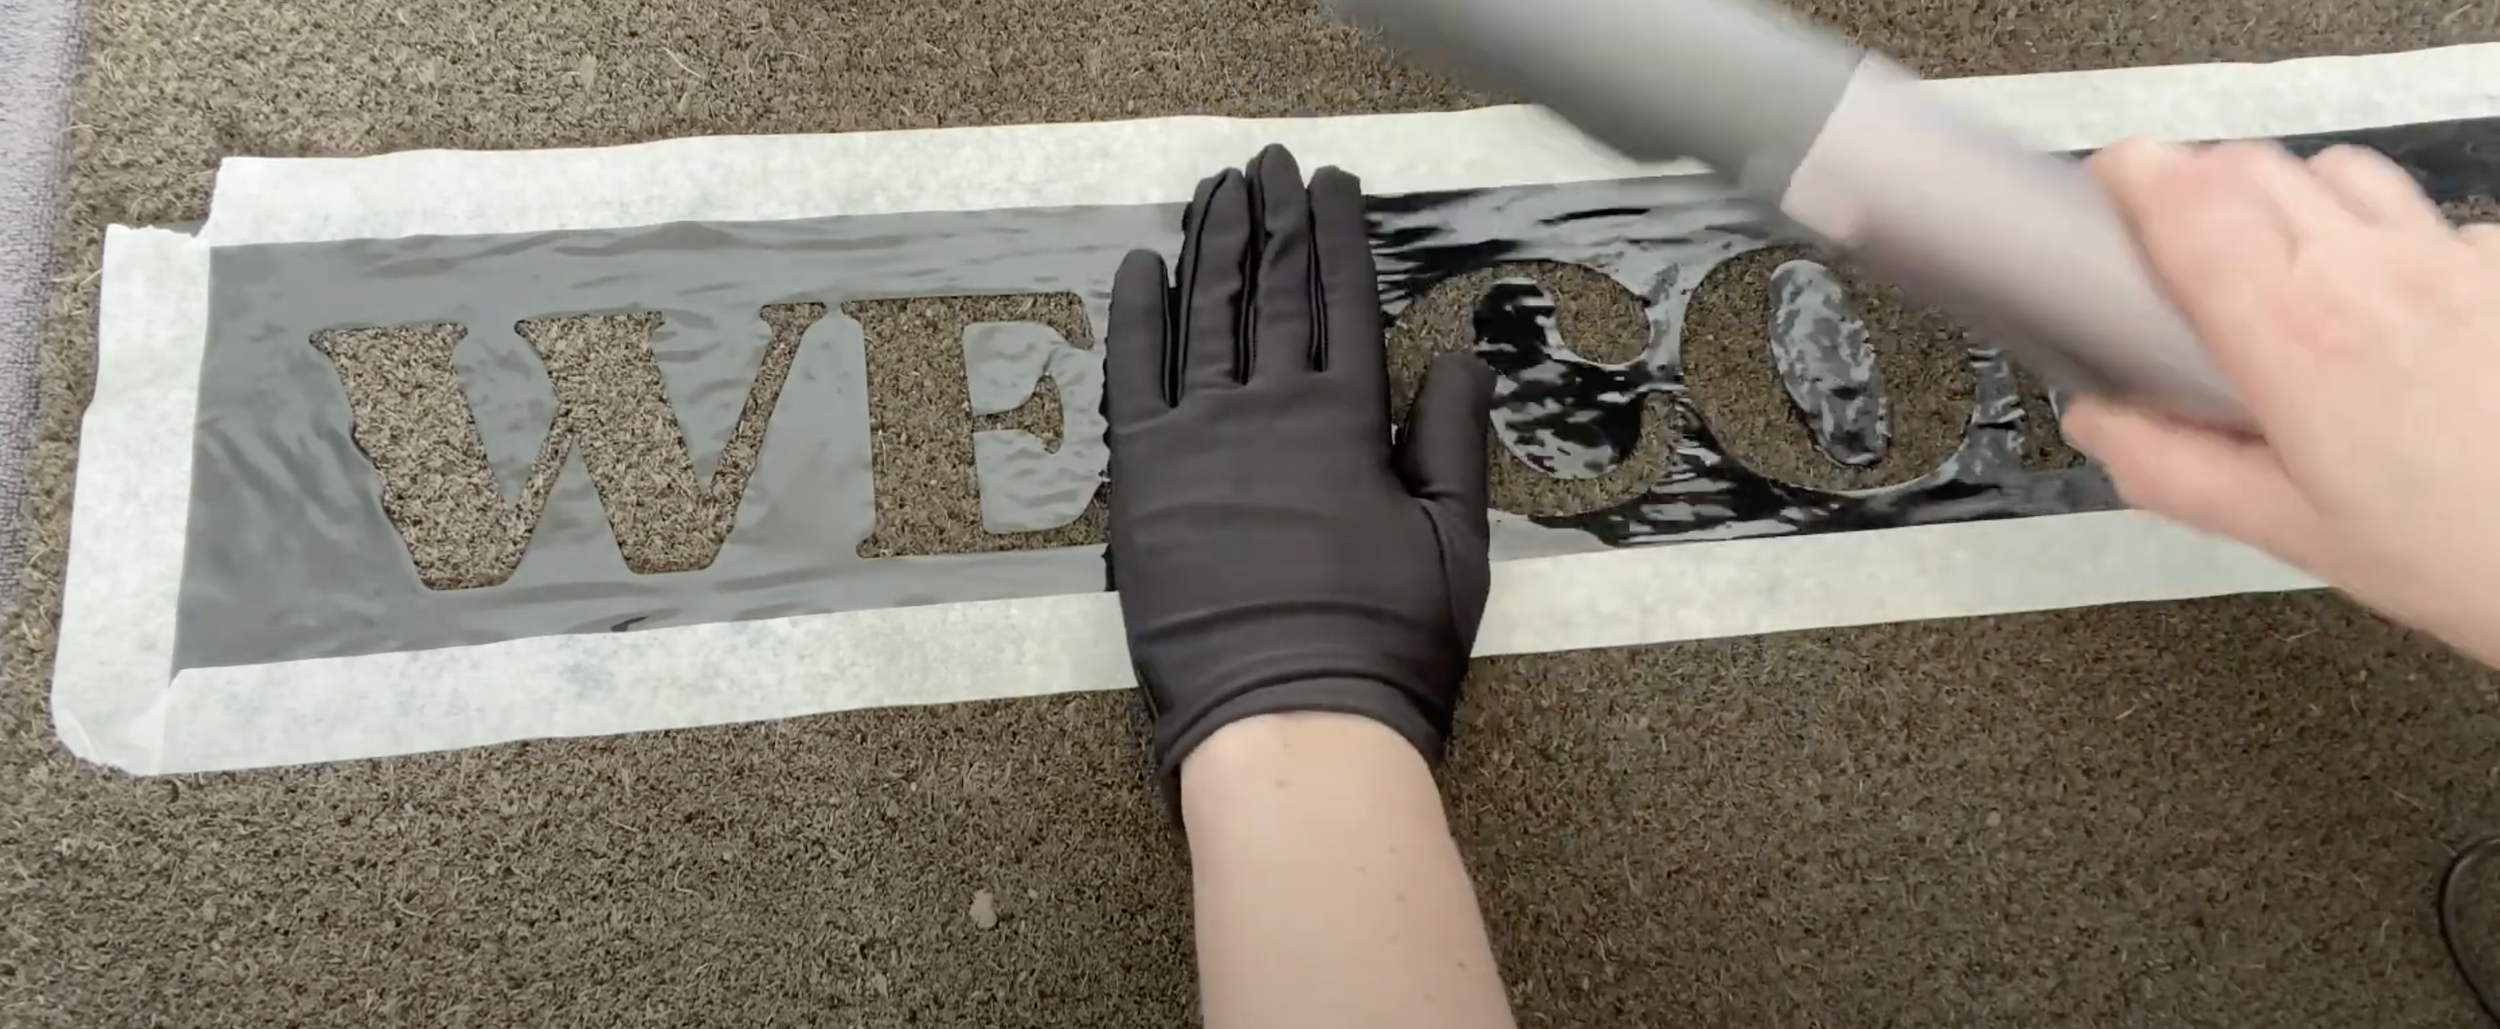
You do need to take them off to push bits back down, so if you can try to push down as you're blowing the air on, obviously be really careful if you don't have gloves as you don't want to burn your hand. Maybe don't put it on a really hot setting, but if you push down as you're blowing it helps to hold everything in place as it melts onto the mat.

Fill in the Gaps!
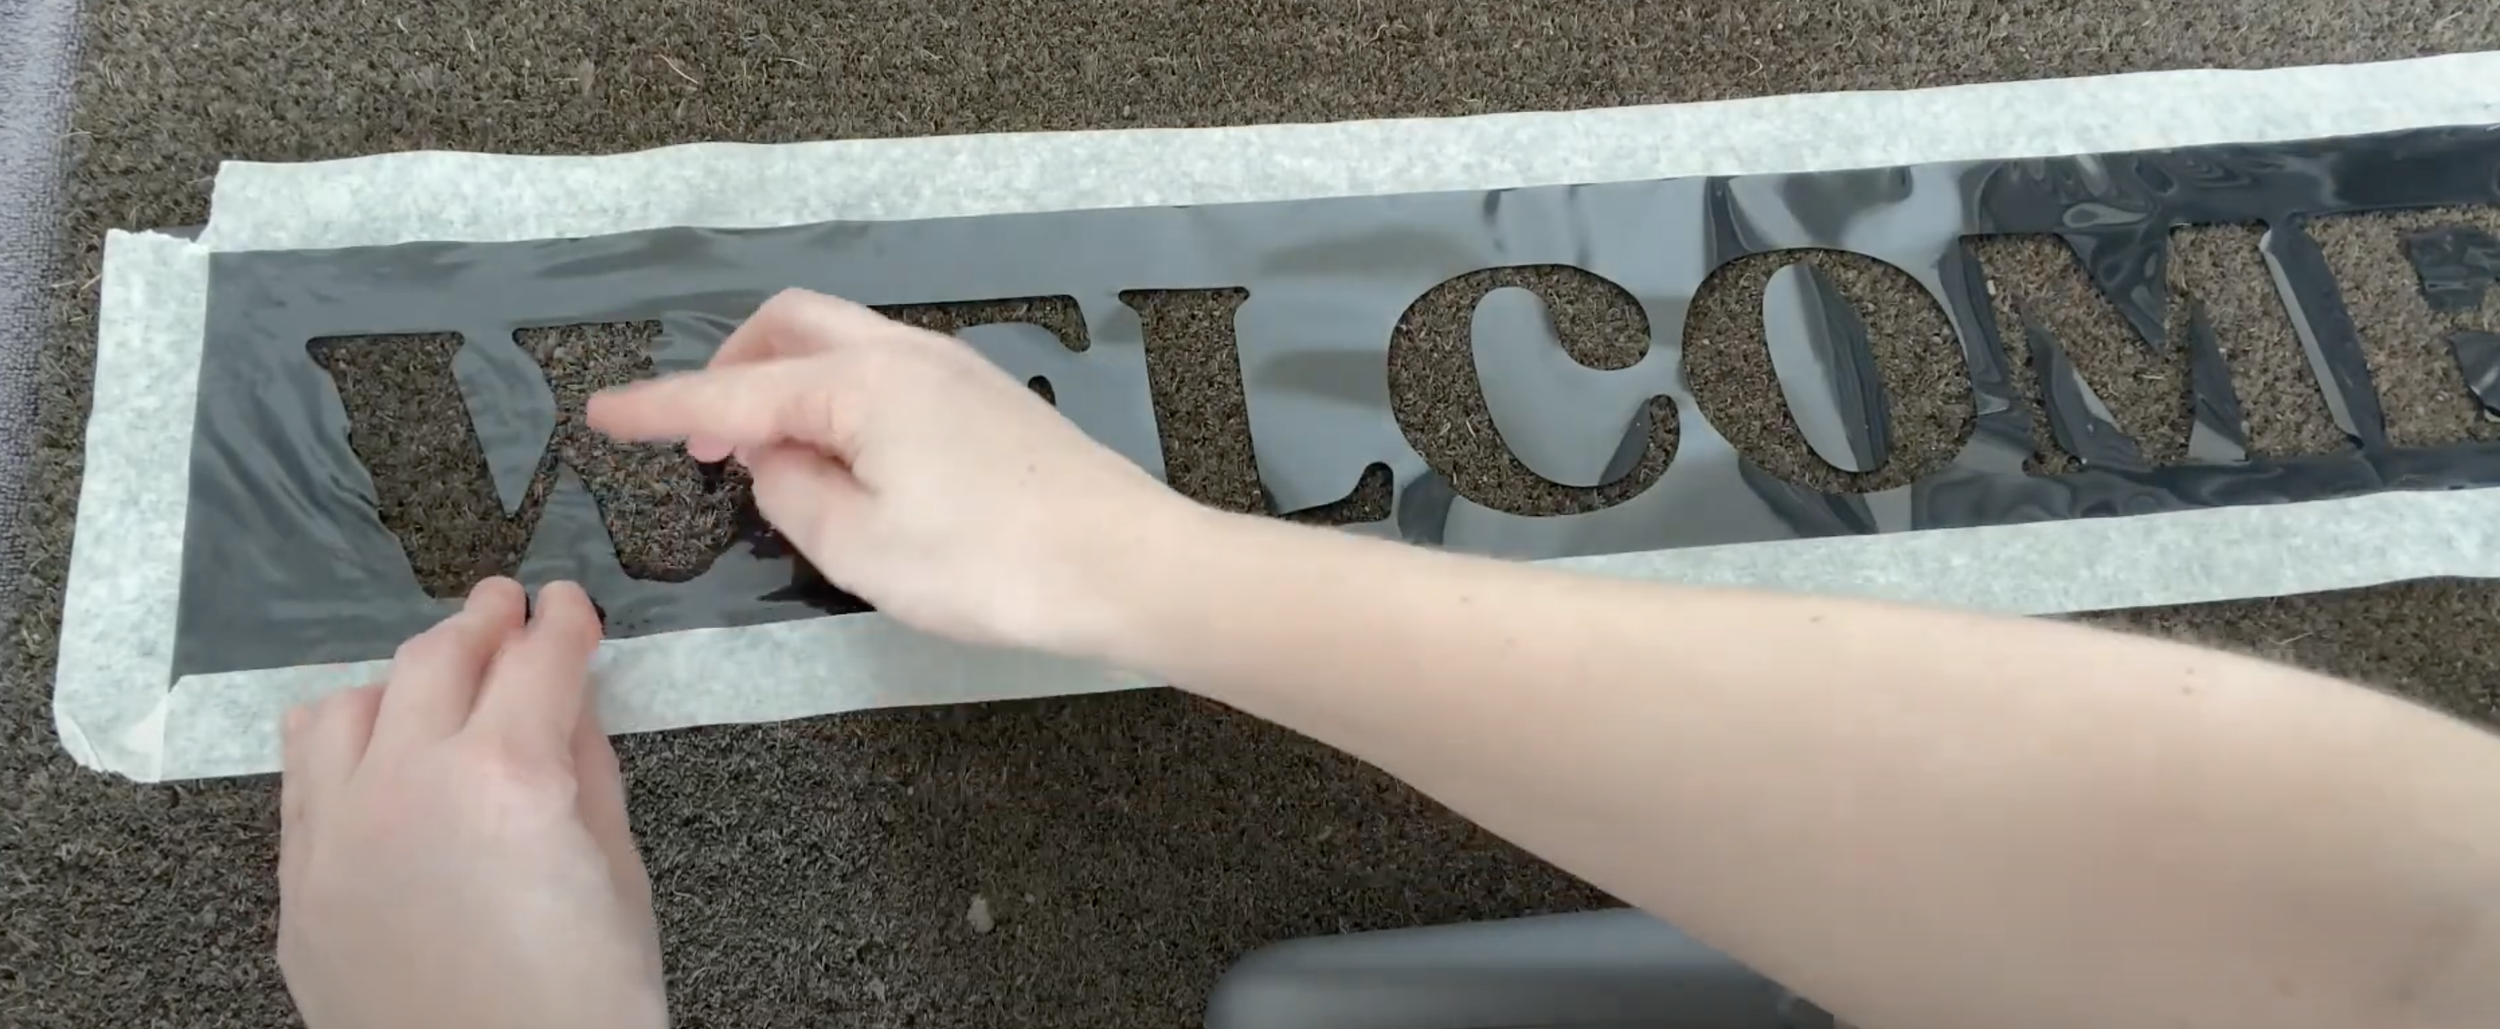
Once you're happy it's stuck down you can start painting.
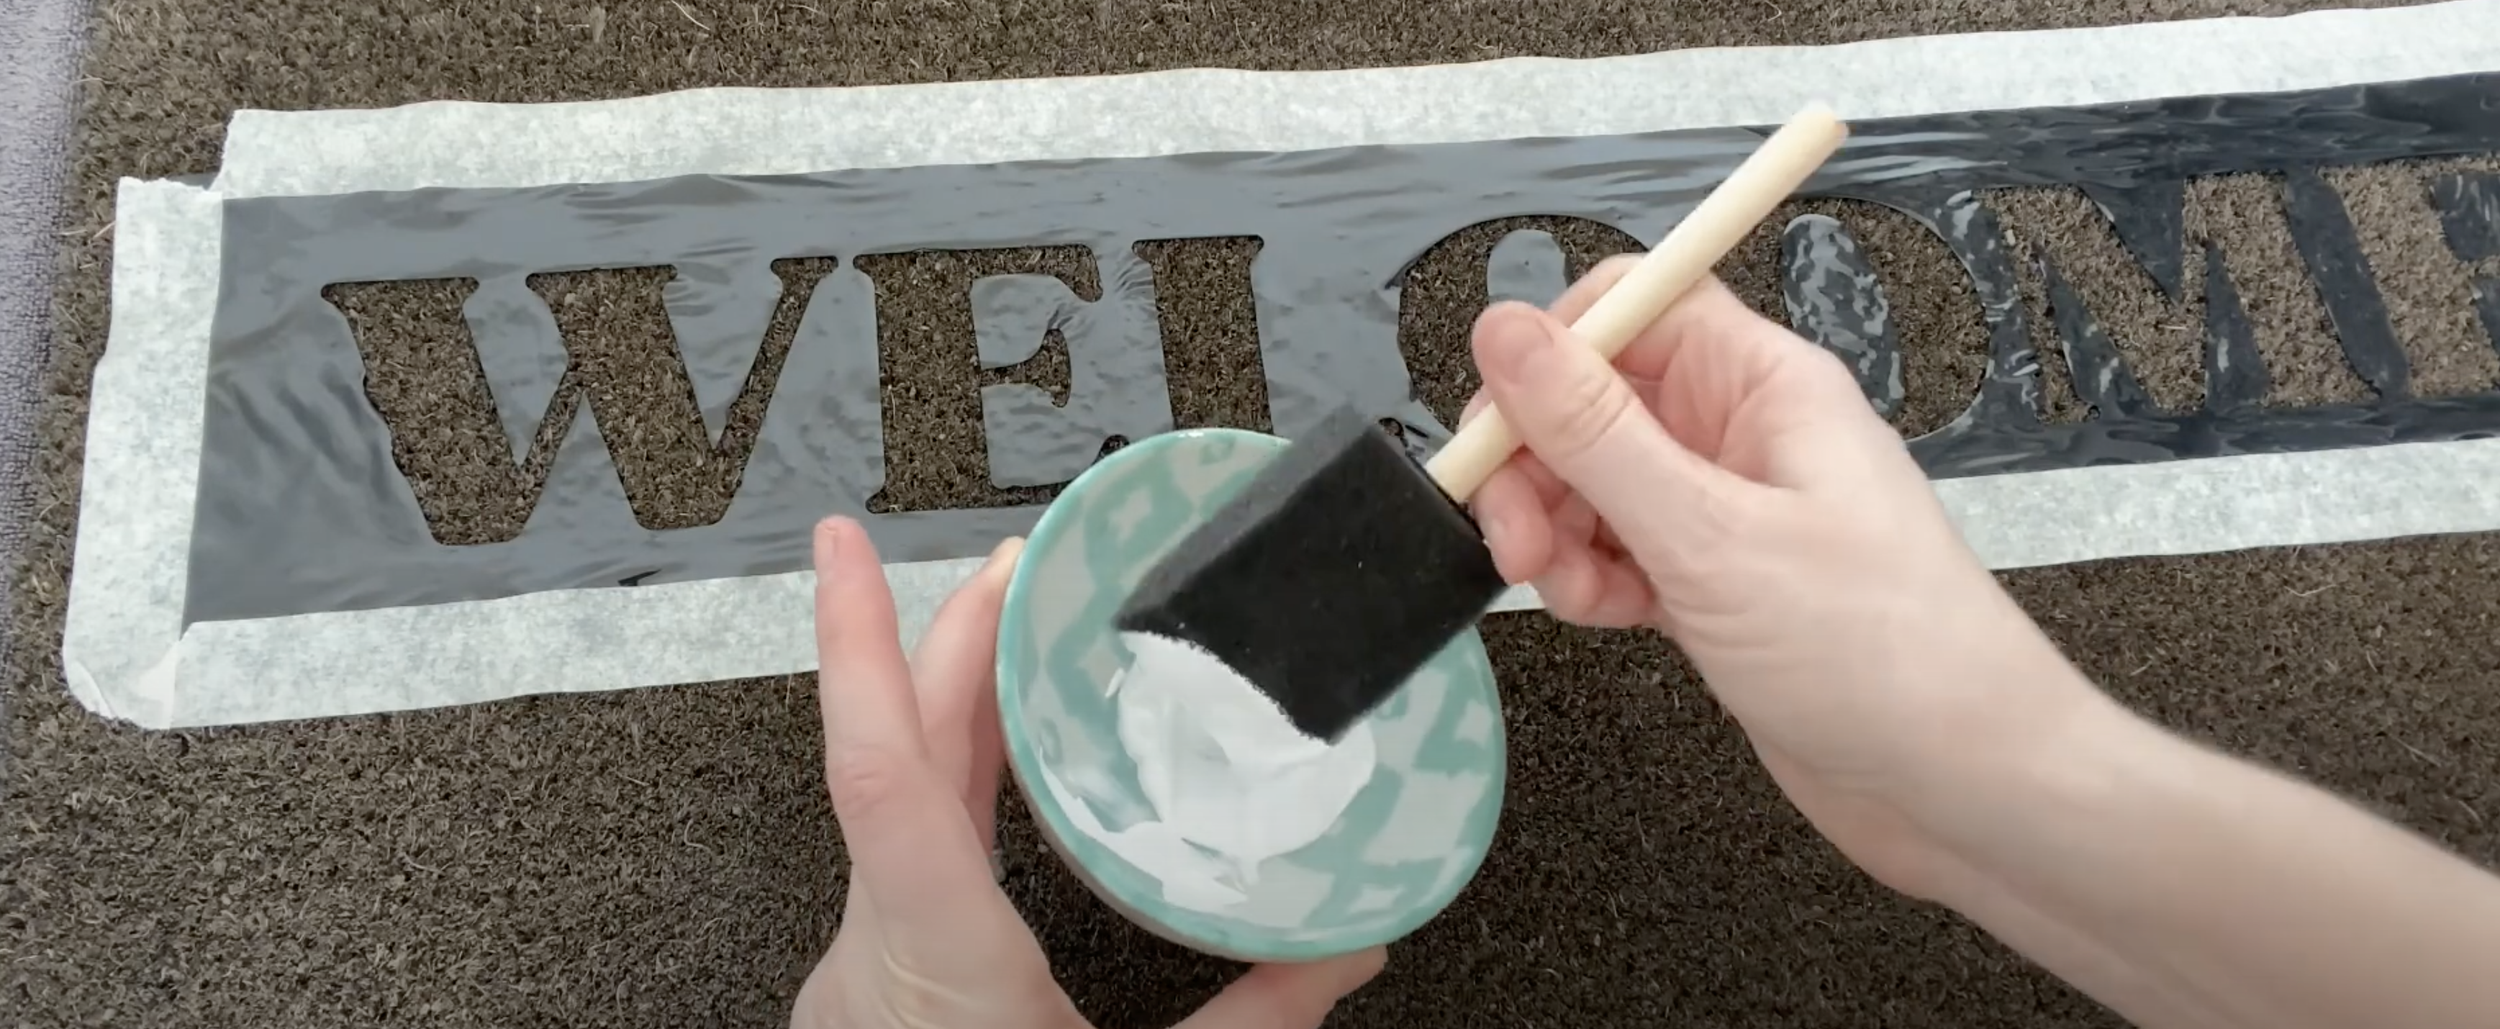
I just added a little bit of paint in a bowl and then I'm going to use the edge of my foam brush to just dab at the mat in between the stencil. You don't want to push it across because you don't want to accidentally push it under the stencil. Just do a lot of kind of up and down dabbing. And obviously, it's helpful that the tape is there as well, so it means you're not going to go over the edge of the stencil. Just dab dab dab!
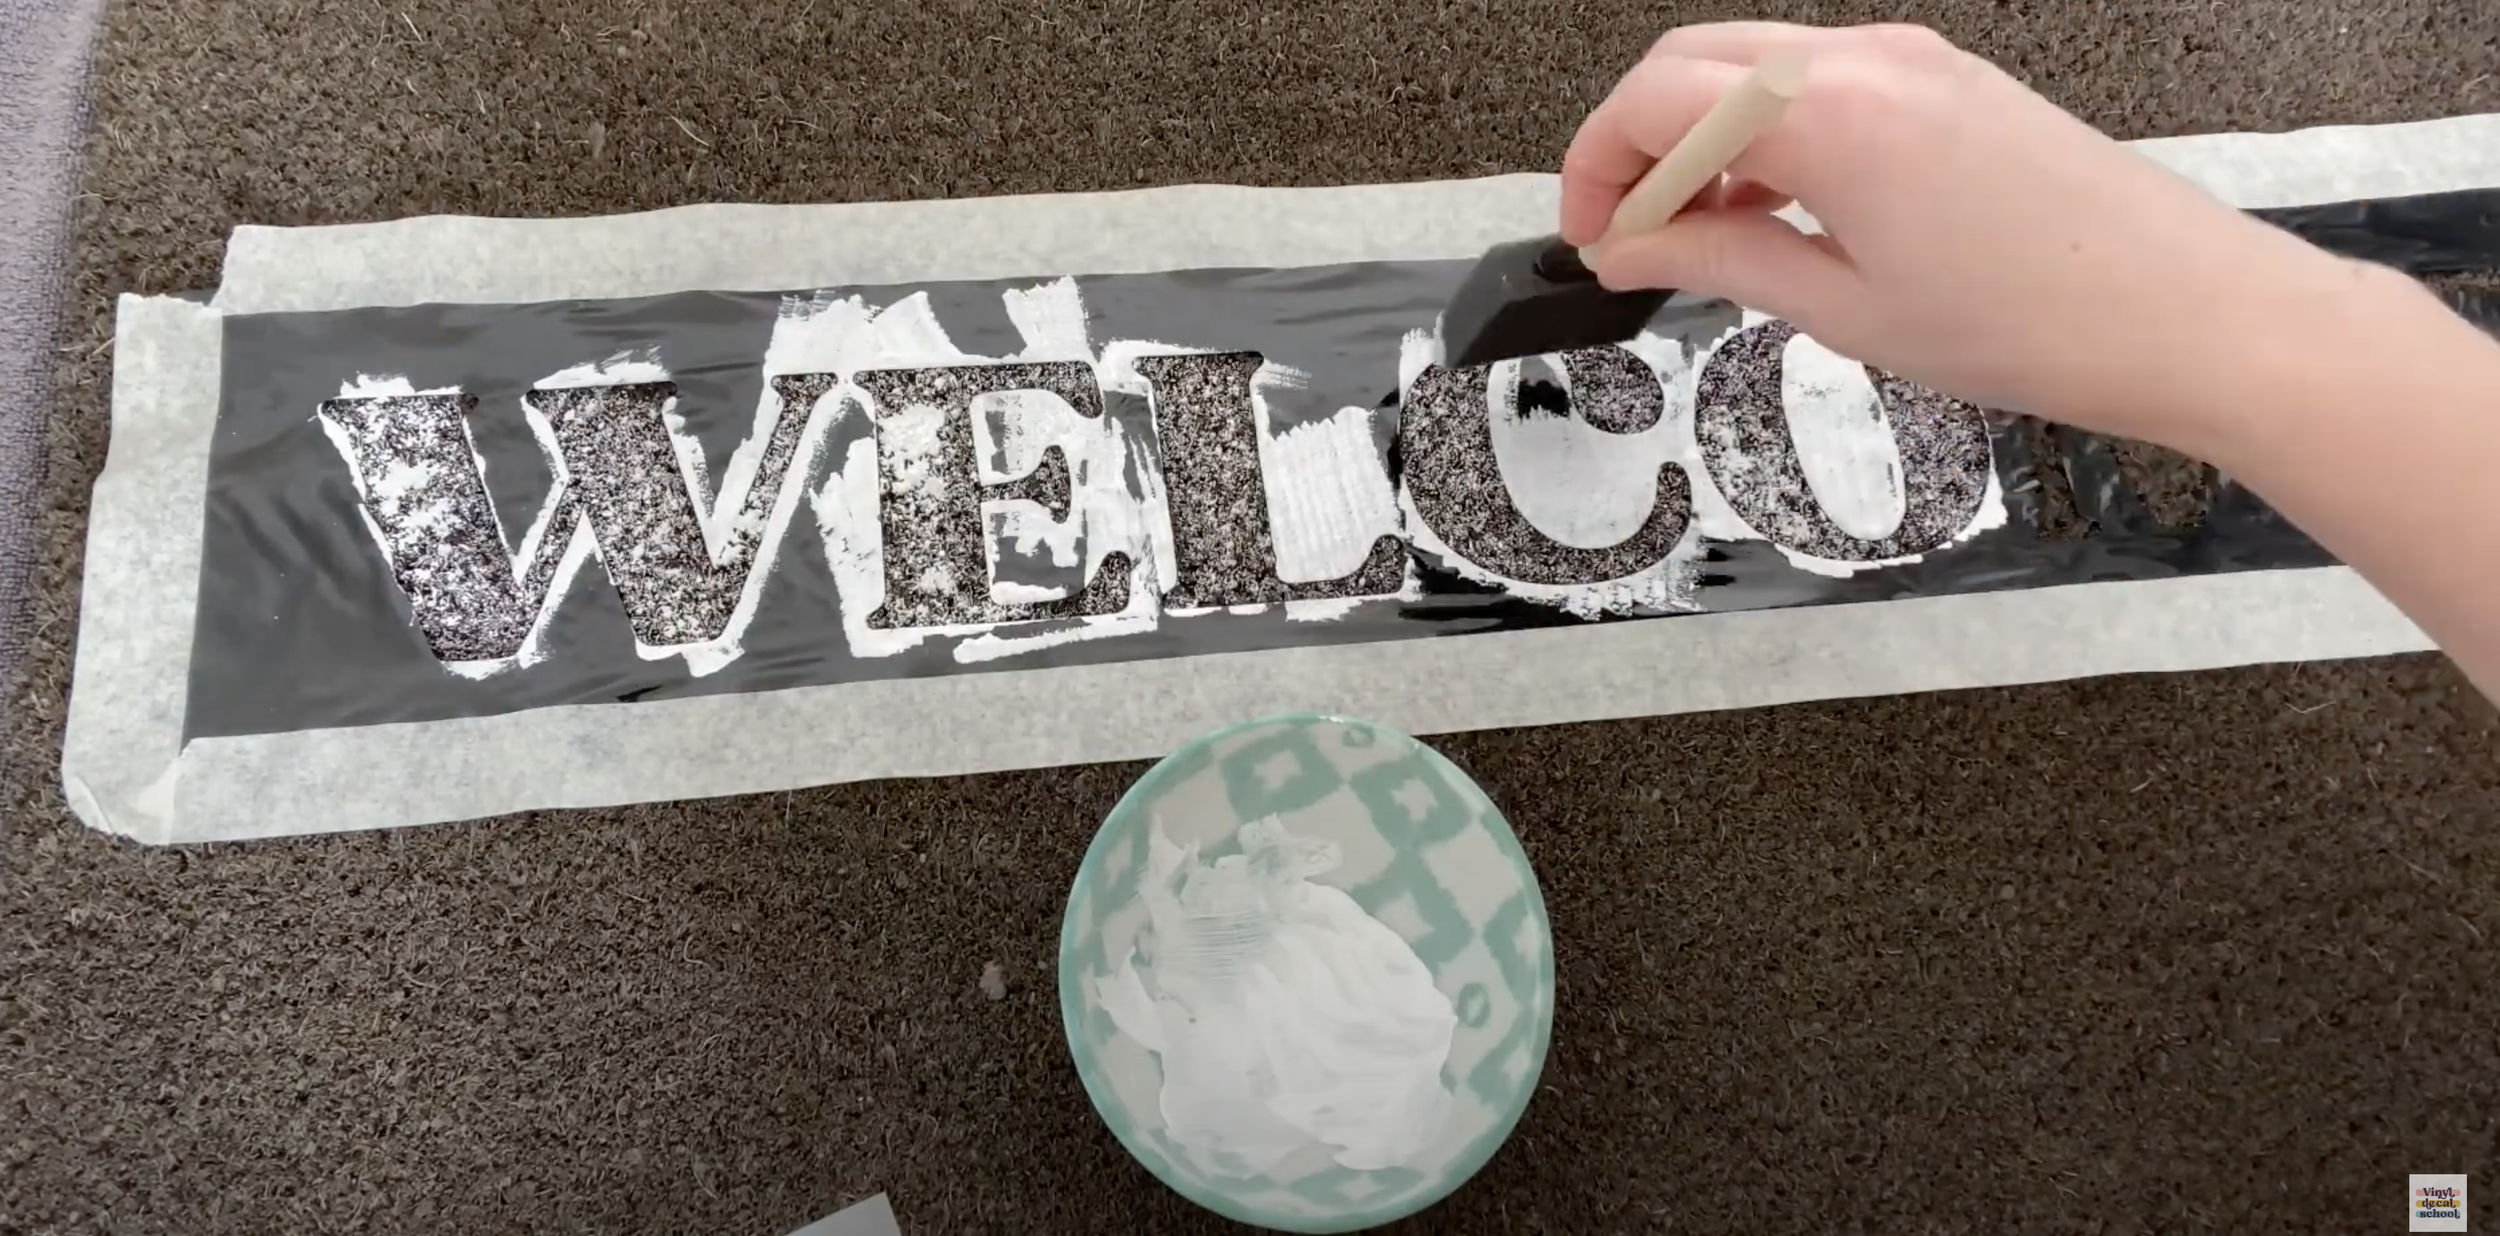
You will need to do a few coats and this might have been my second or third coat. I think I did three or four but I wasn't really leaving them to dry much in the middle.

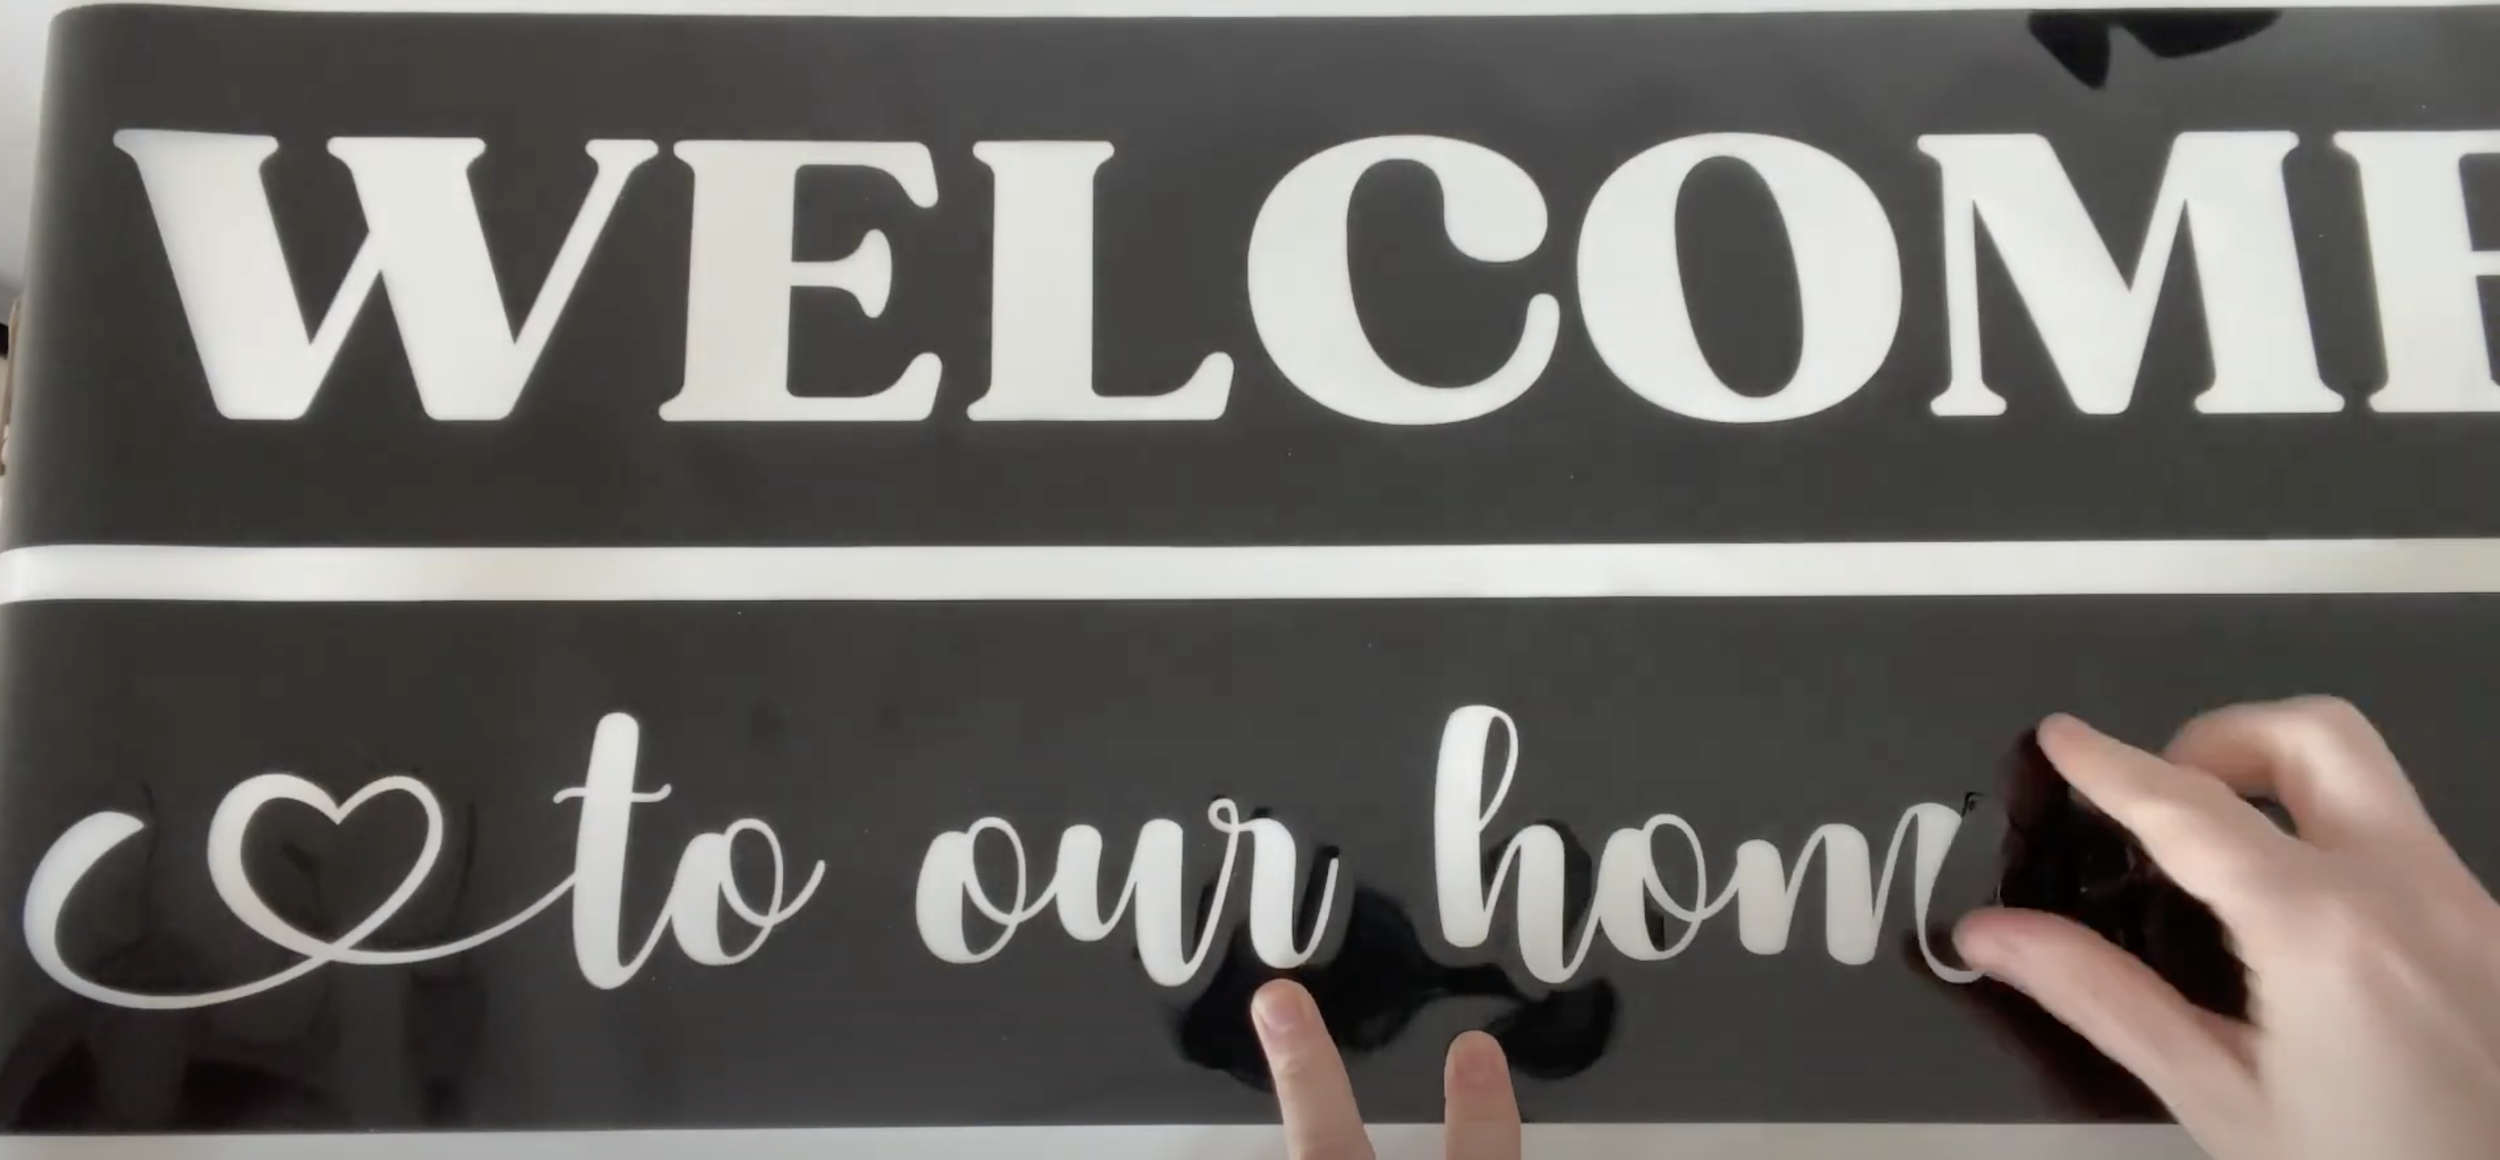
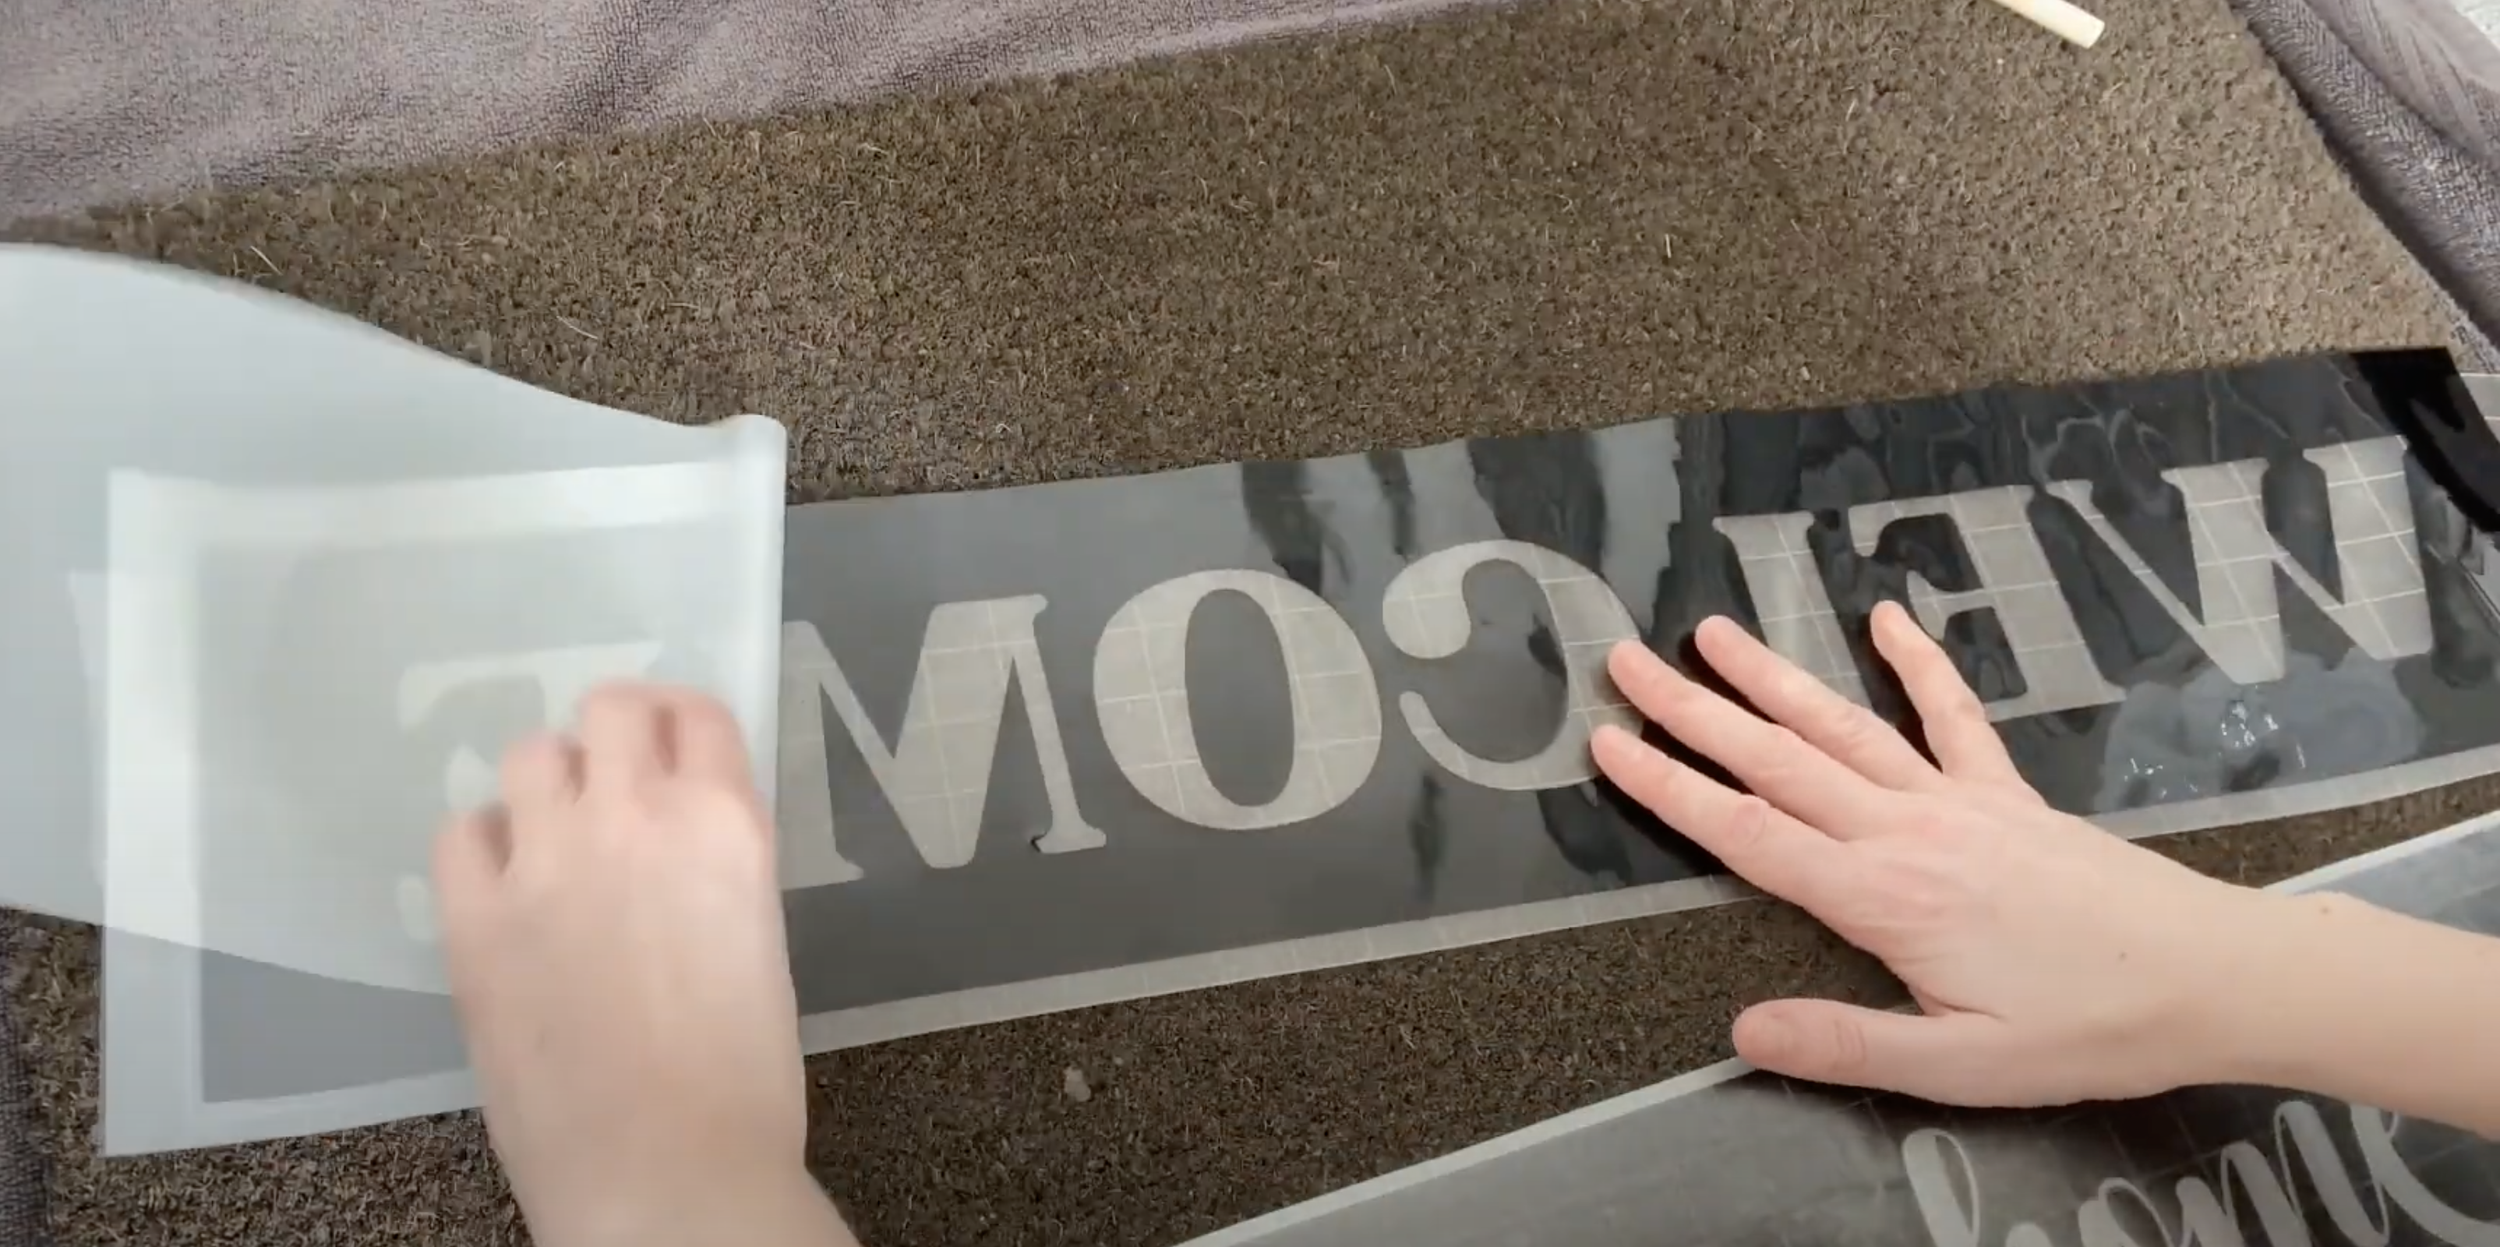
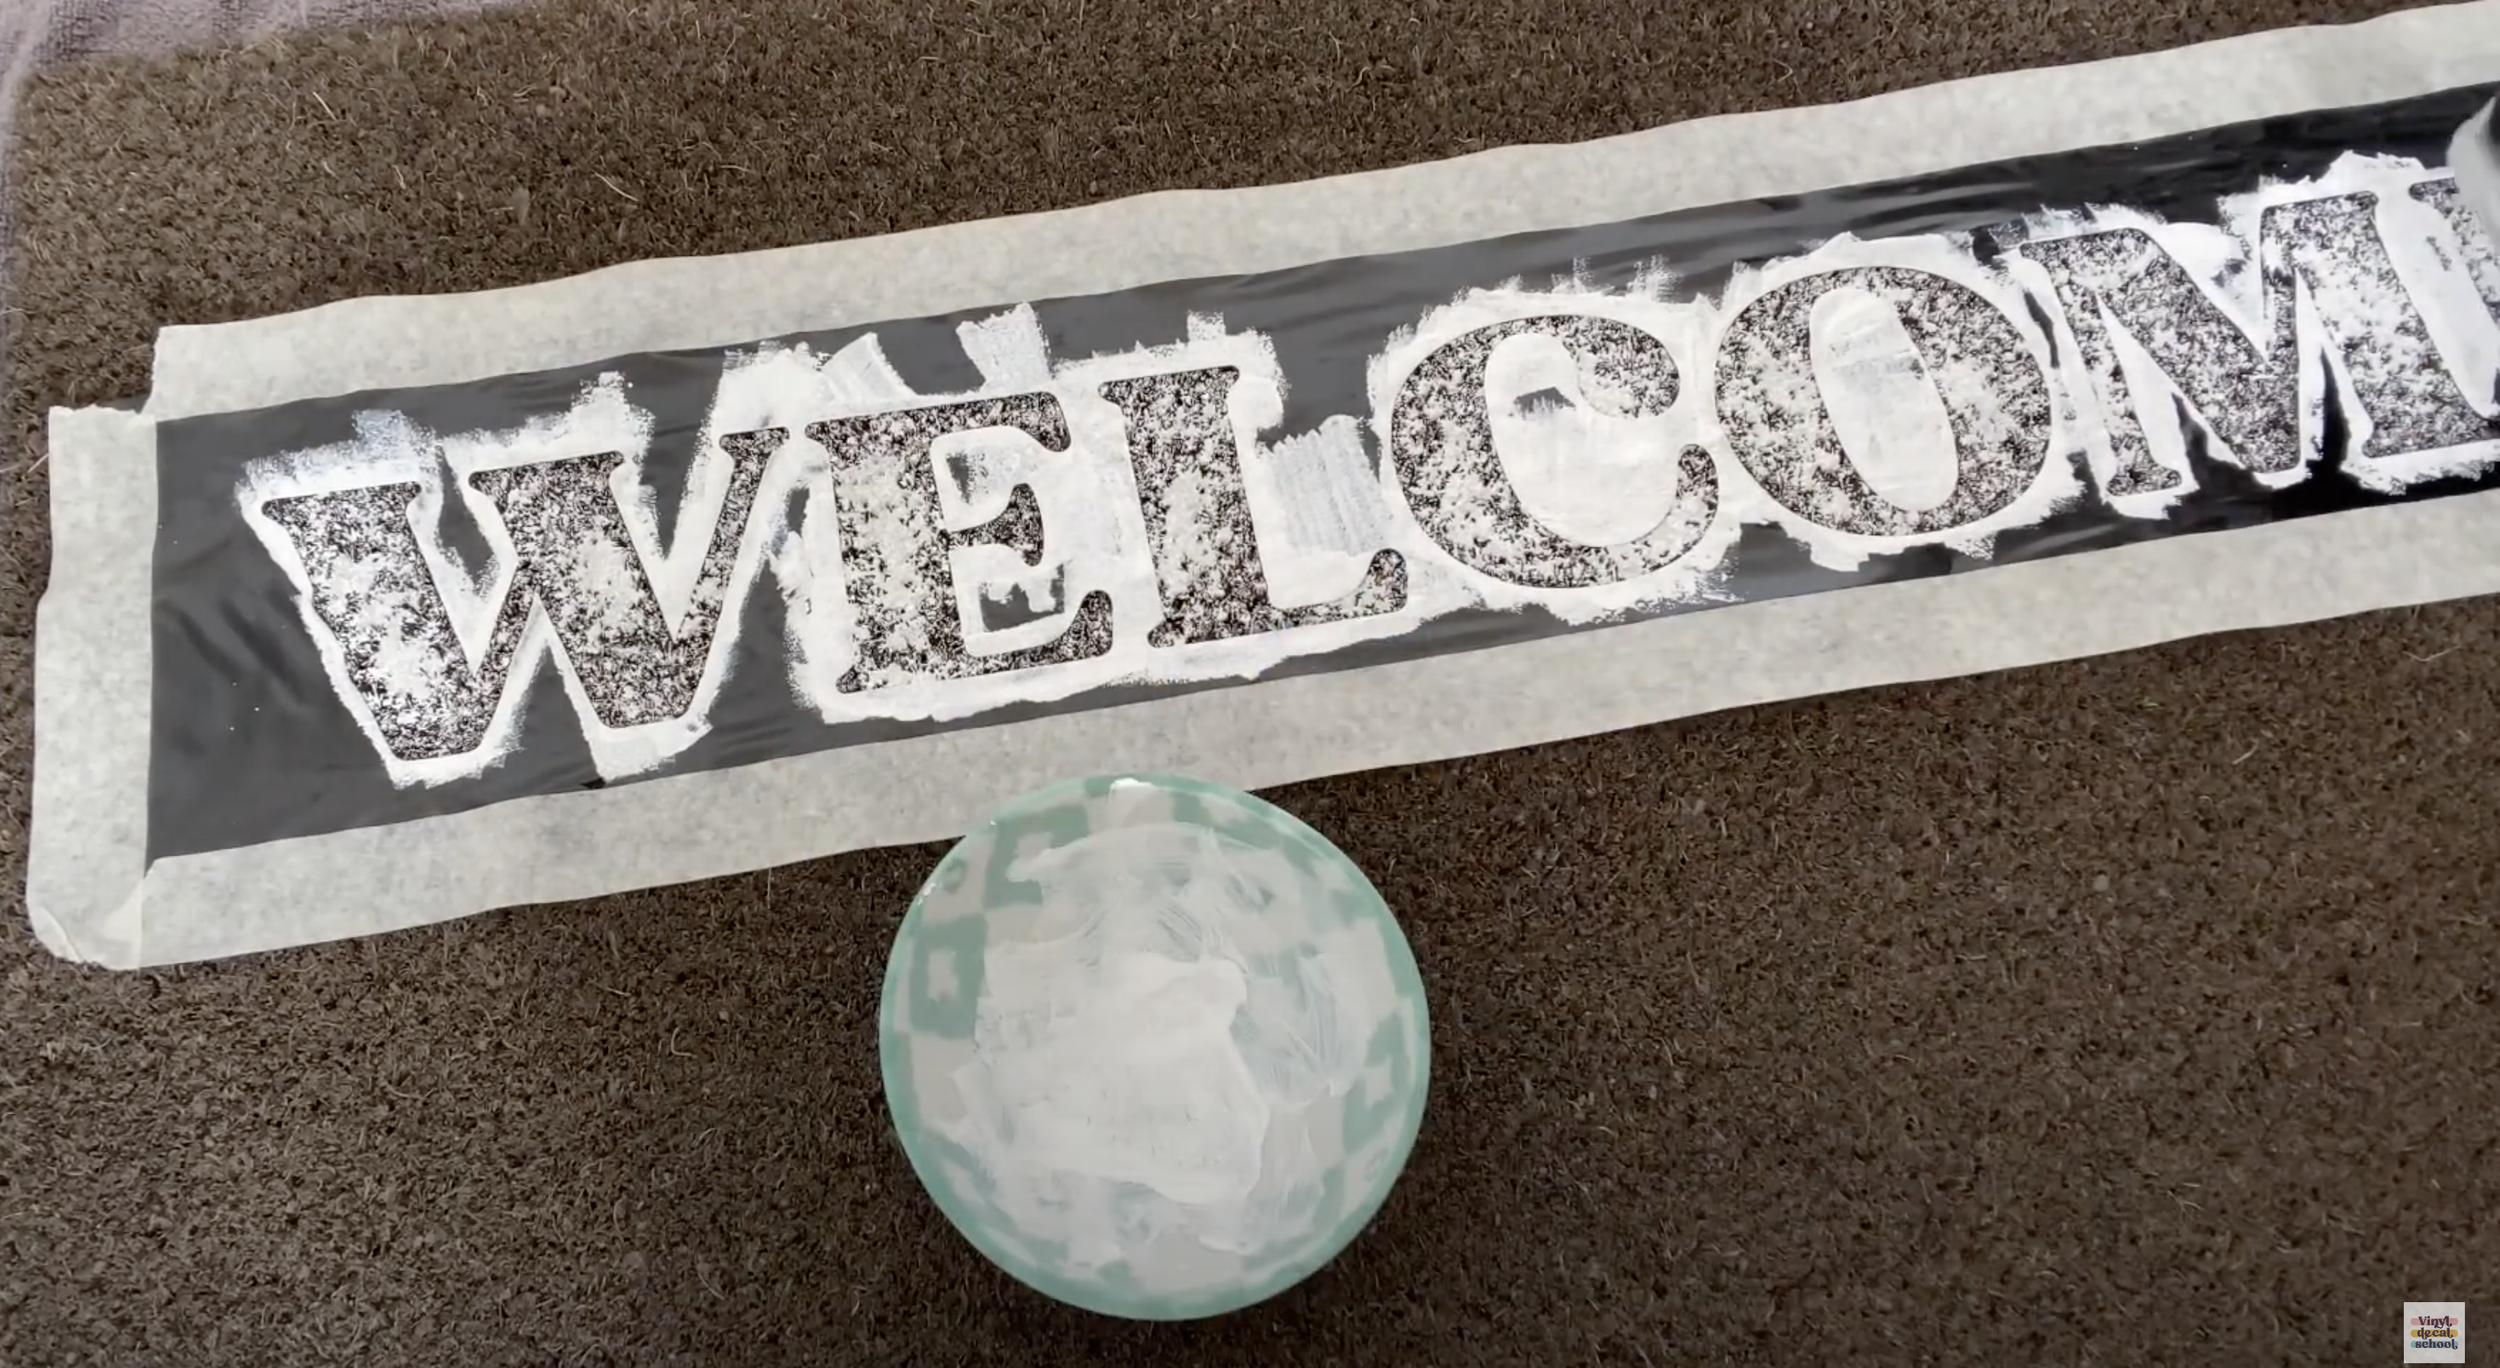
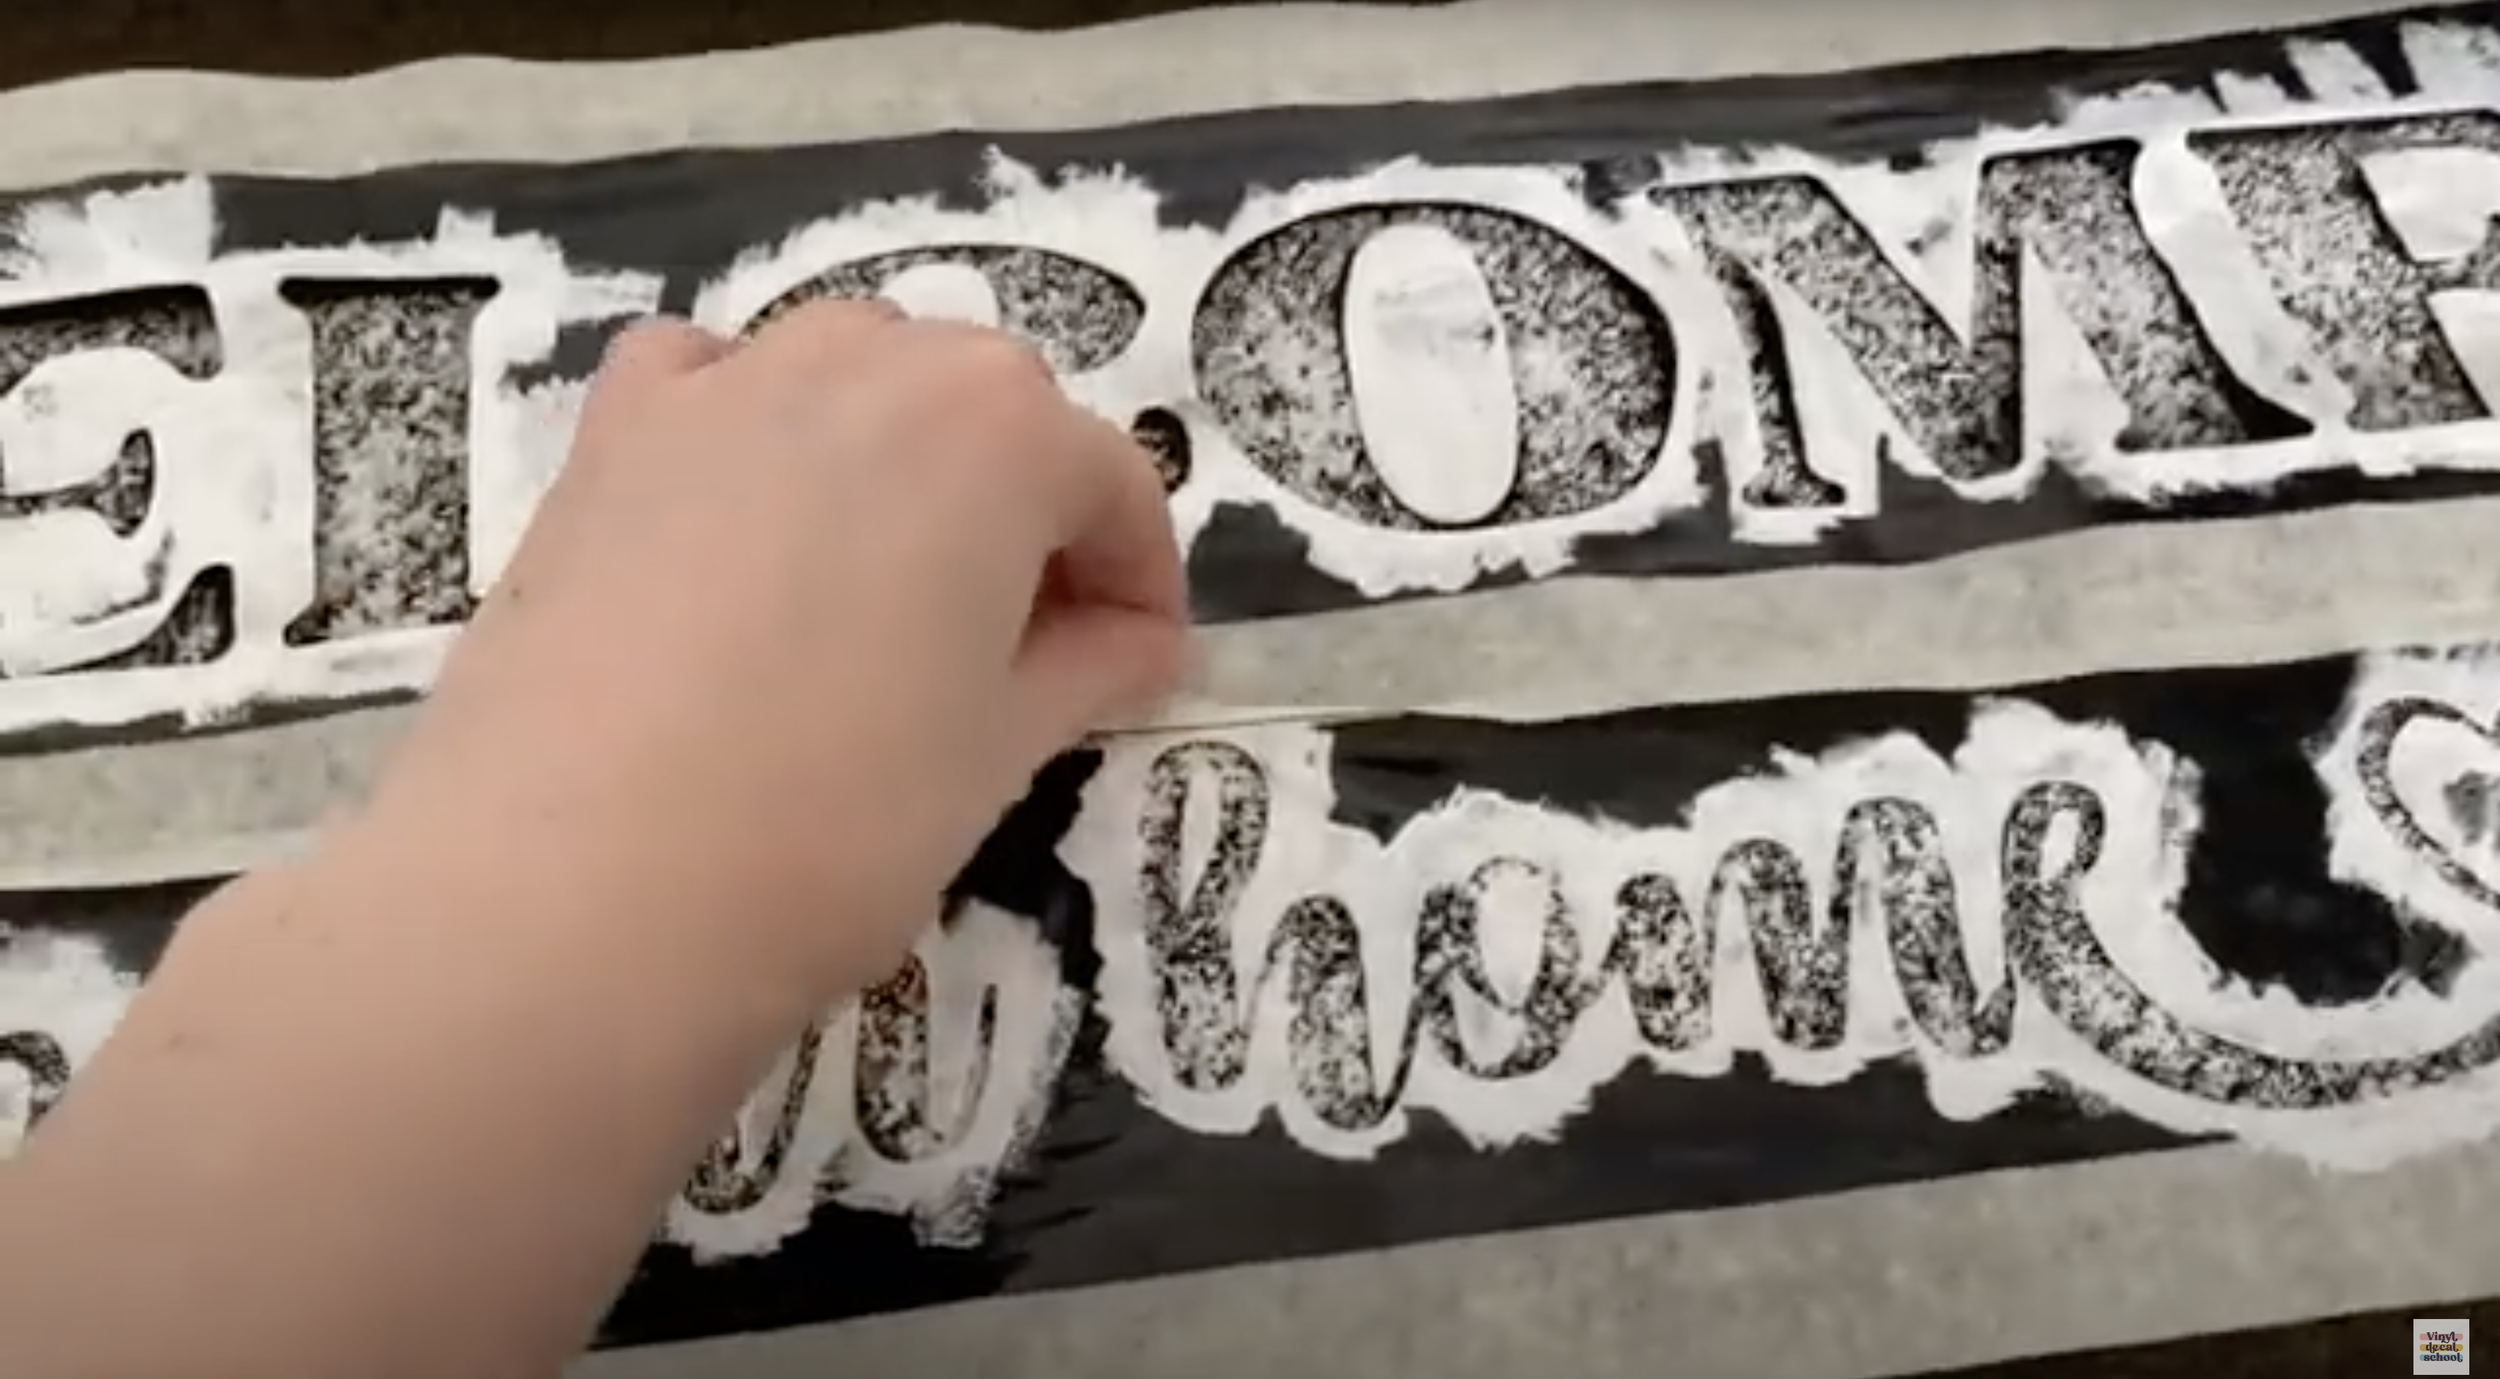
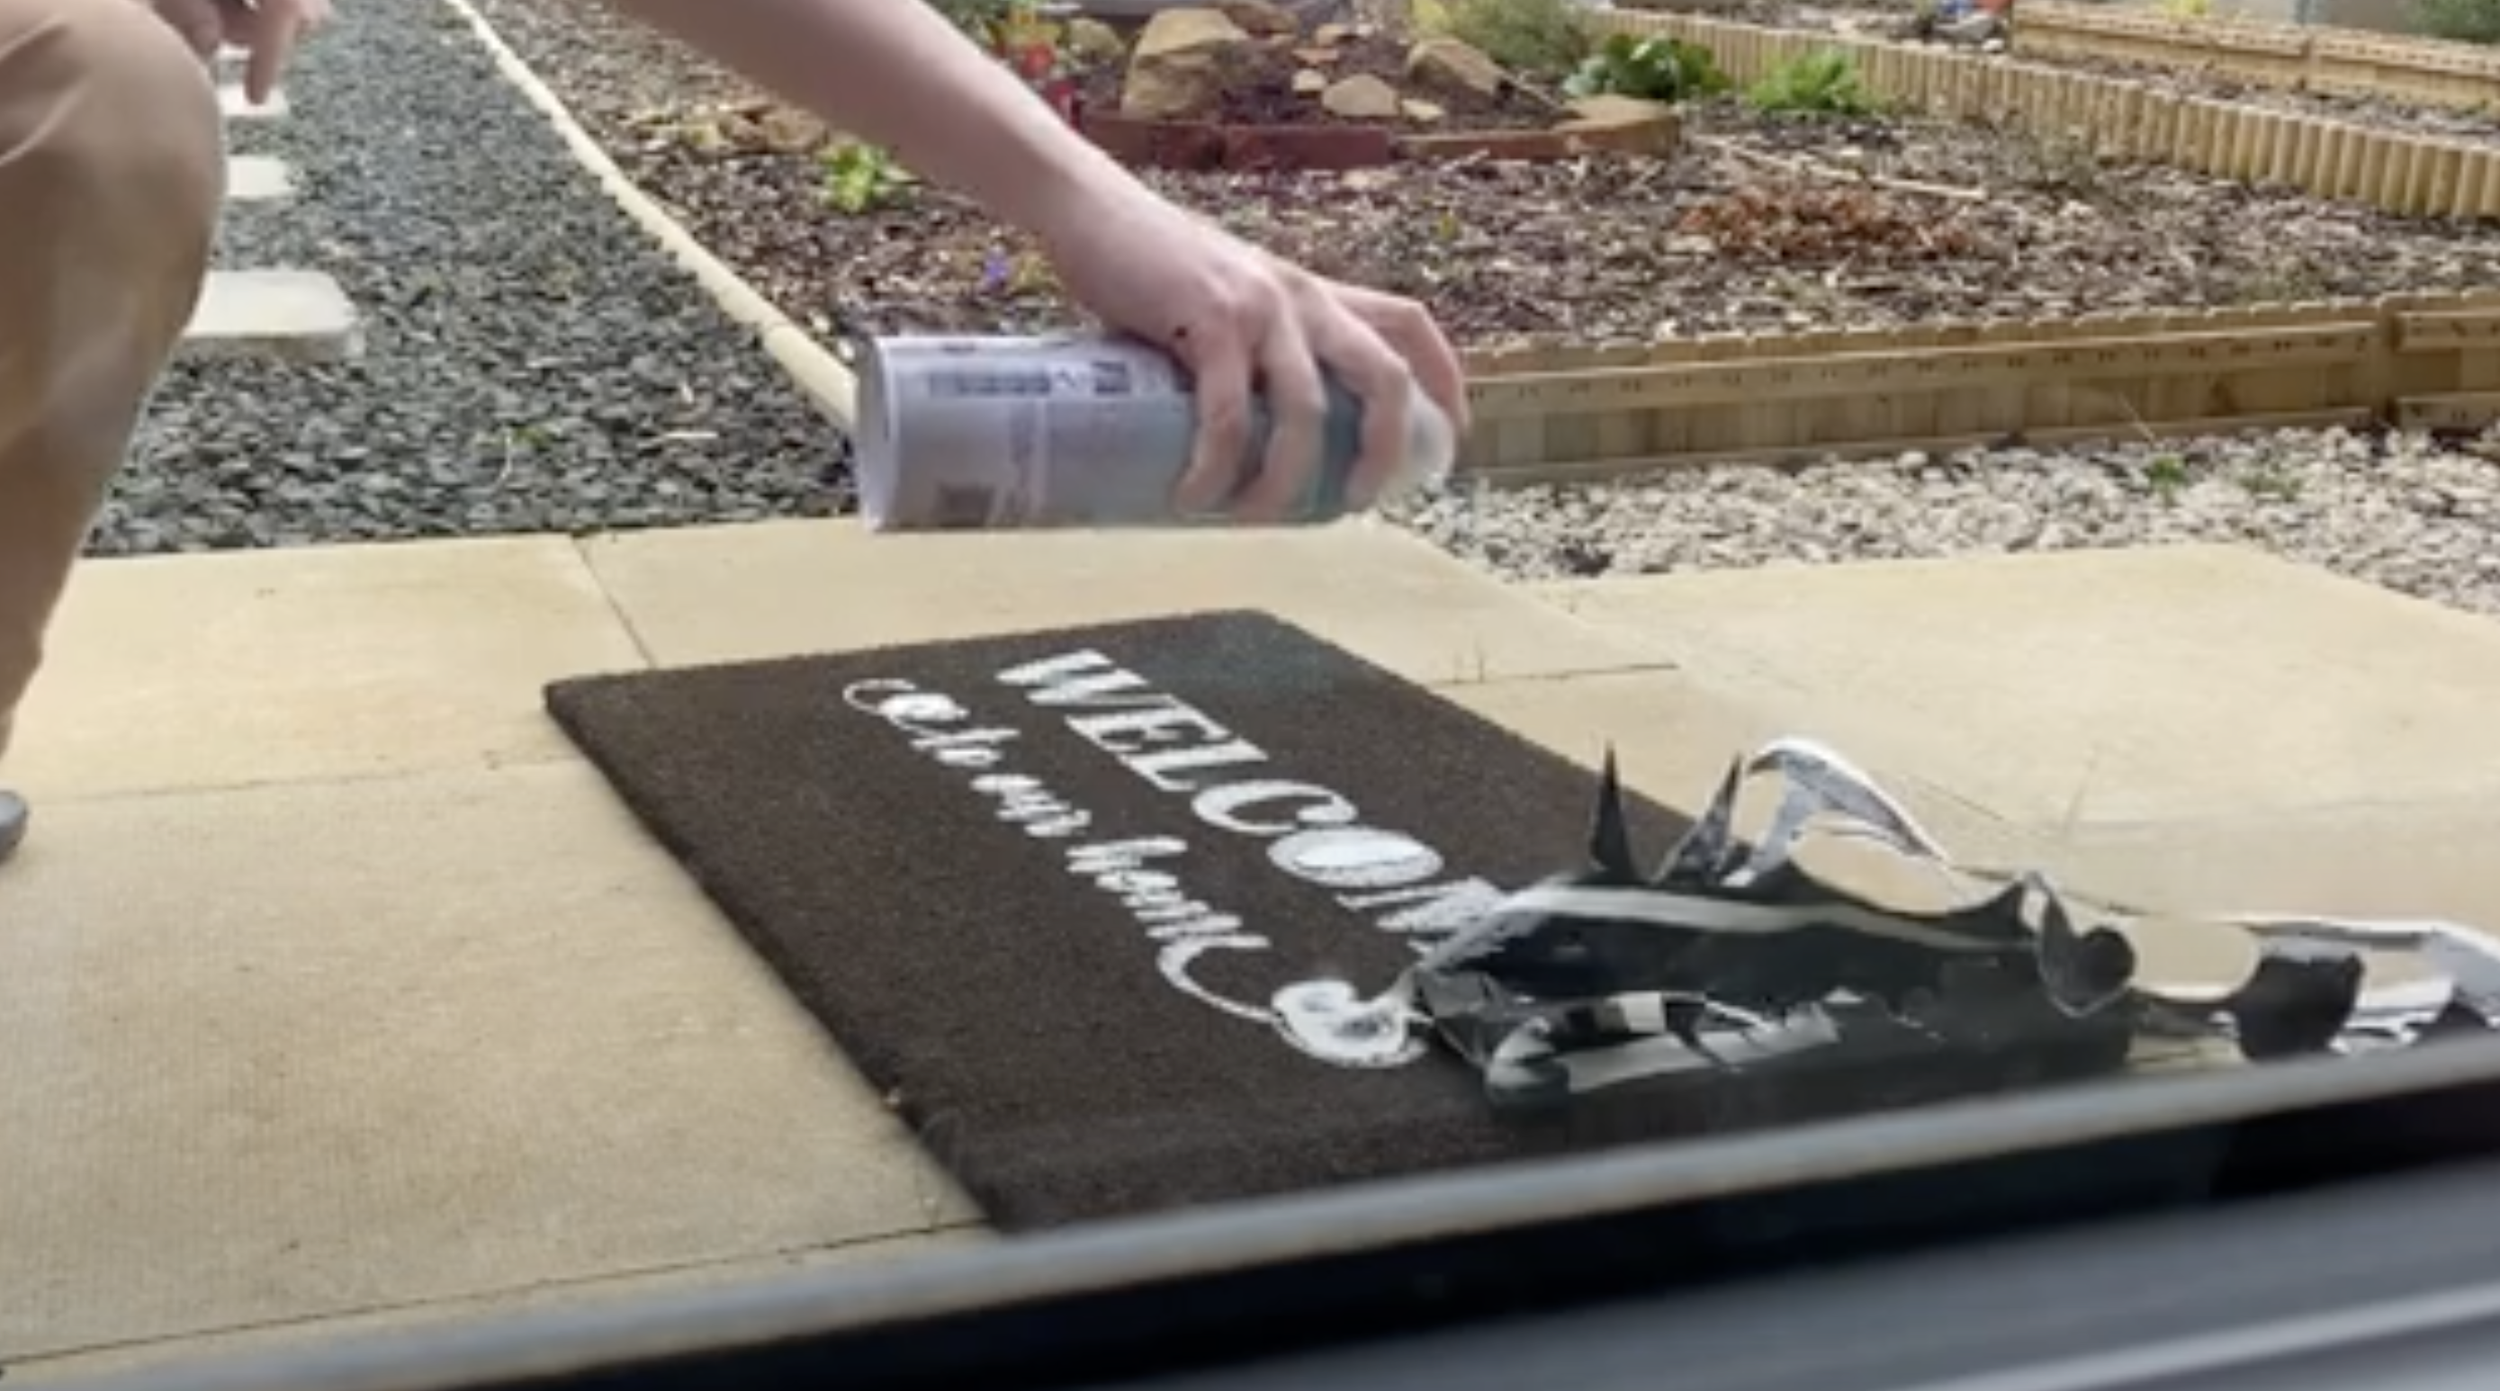
This was after I had left it to dry, athough this was probably three coats. I think it could have done with maybe a couple more coats as it's not as thick as I would have liked it, but the stencil came off really easily, there was no paint underneath it and it worked really well.

I'm really happy with that. Obviously, just get rid of any middle bits very carefully.
Then it was time to move on to the next bit…
Repeat the Process
I had cut it down a little bit just so that it didn't go on top of the other bit as I didn't want to accidentally pull any paint off. I basically just repeated the same process all over again. This one was a lot fiddlier, obviously, just put some tape down to hold it.
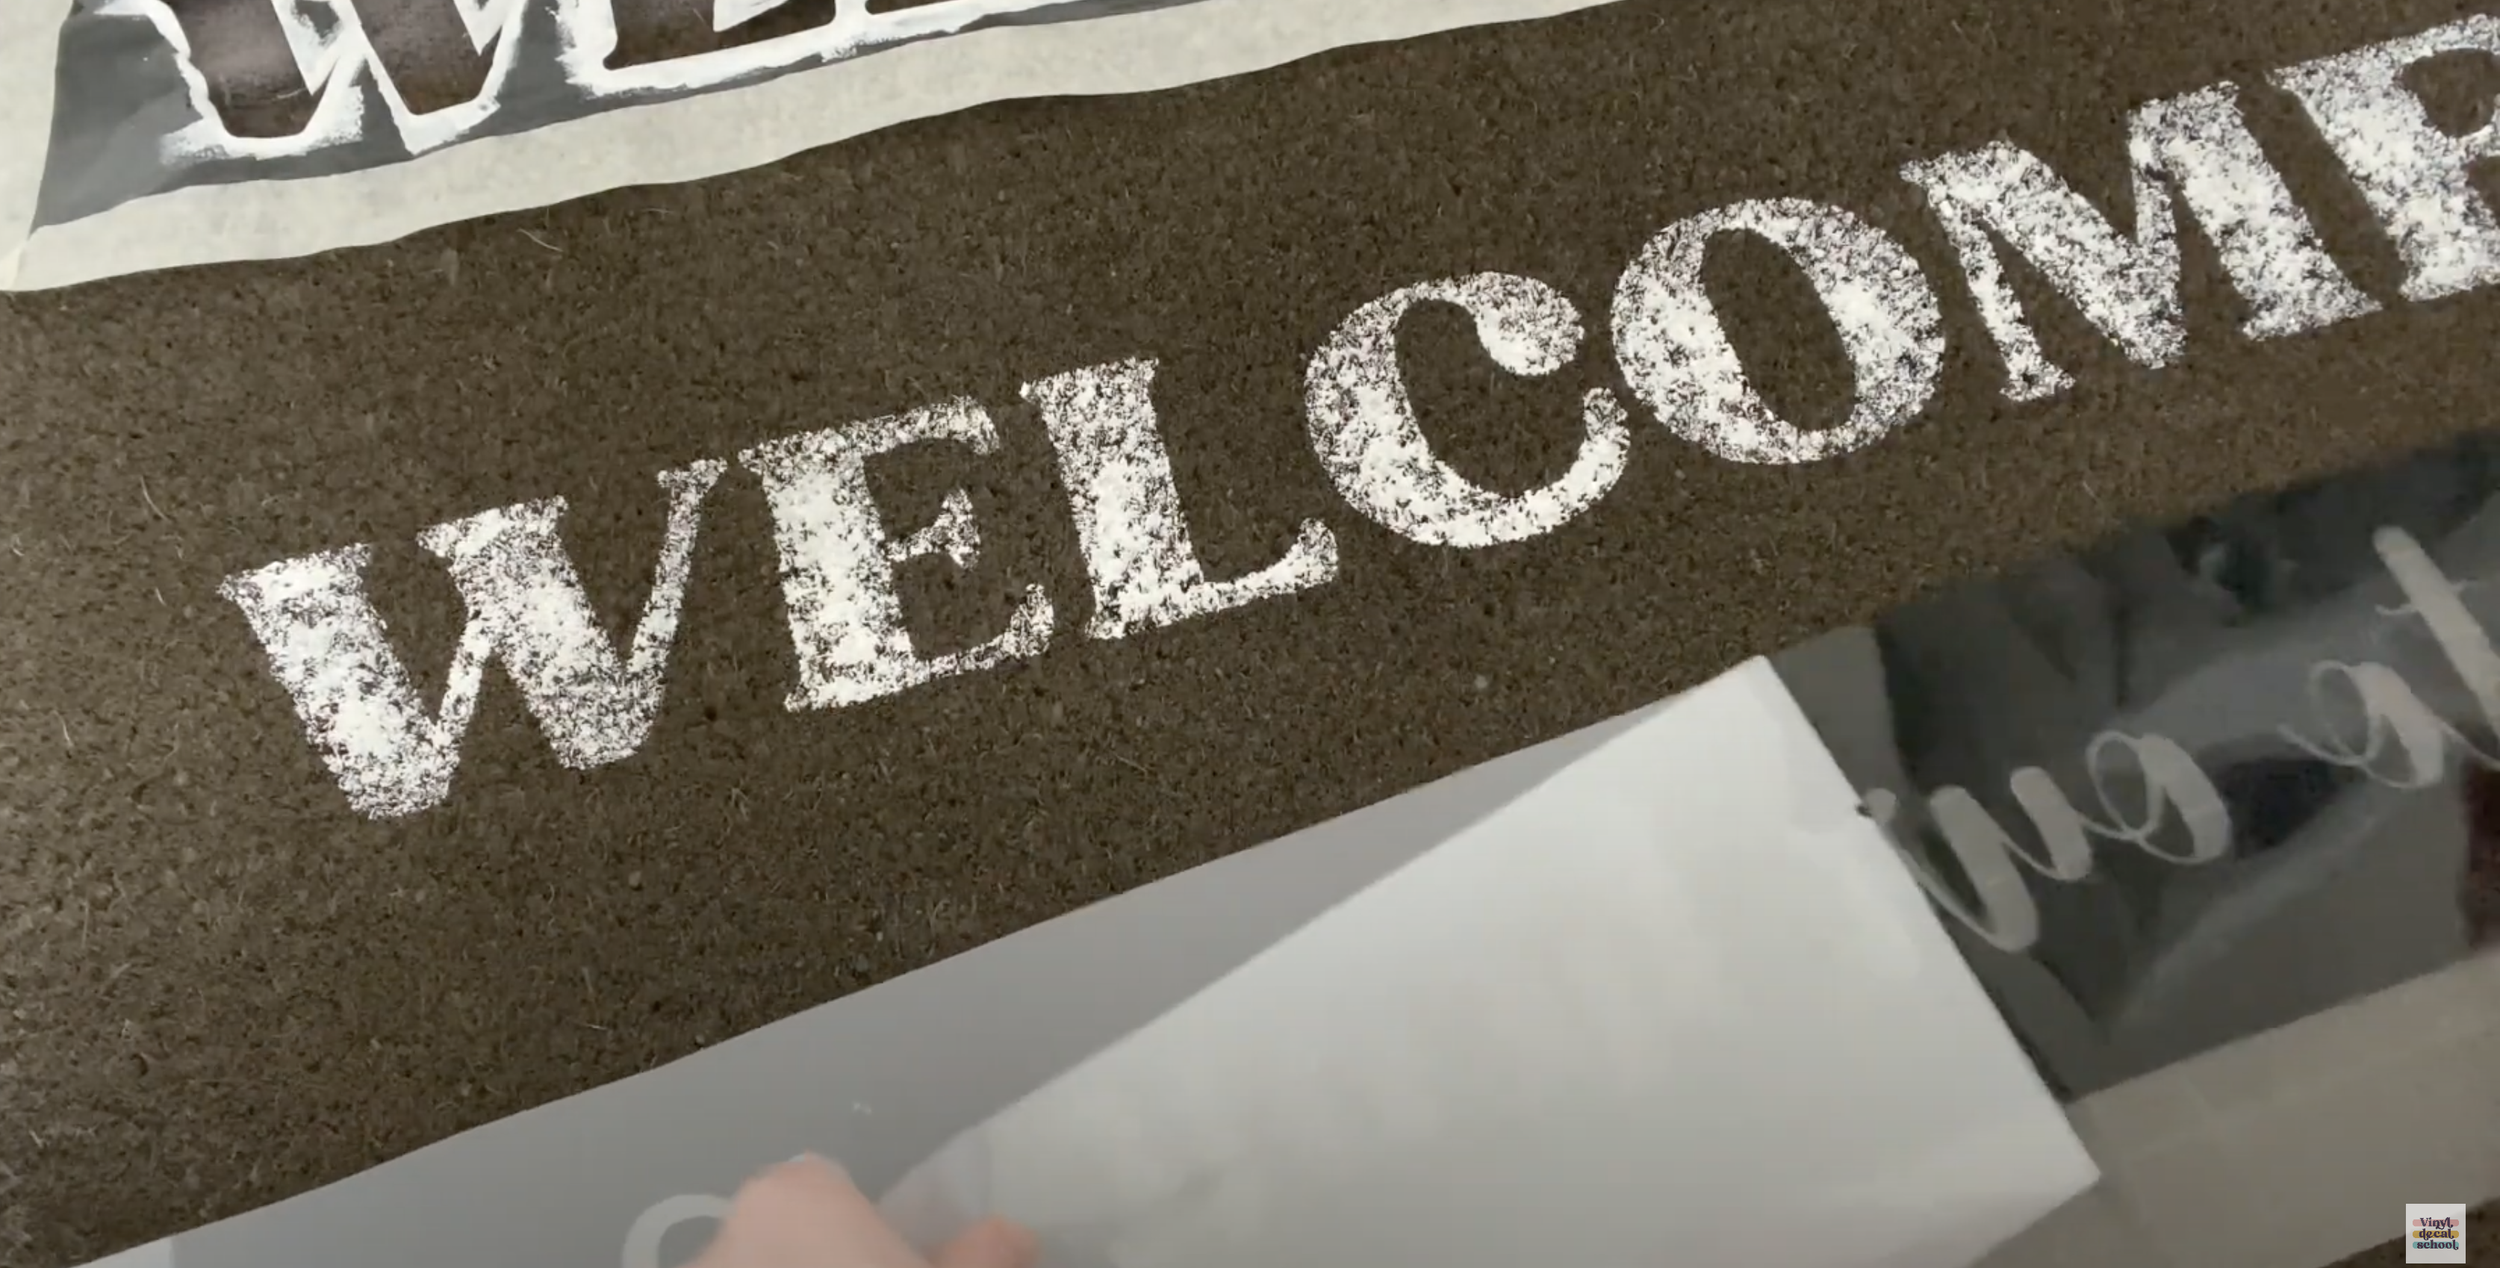
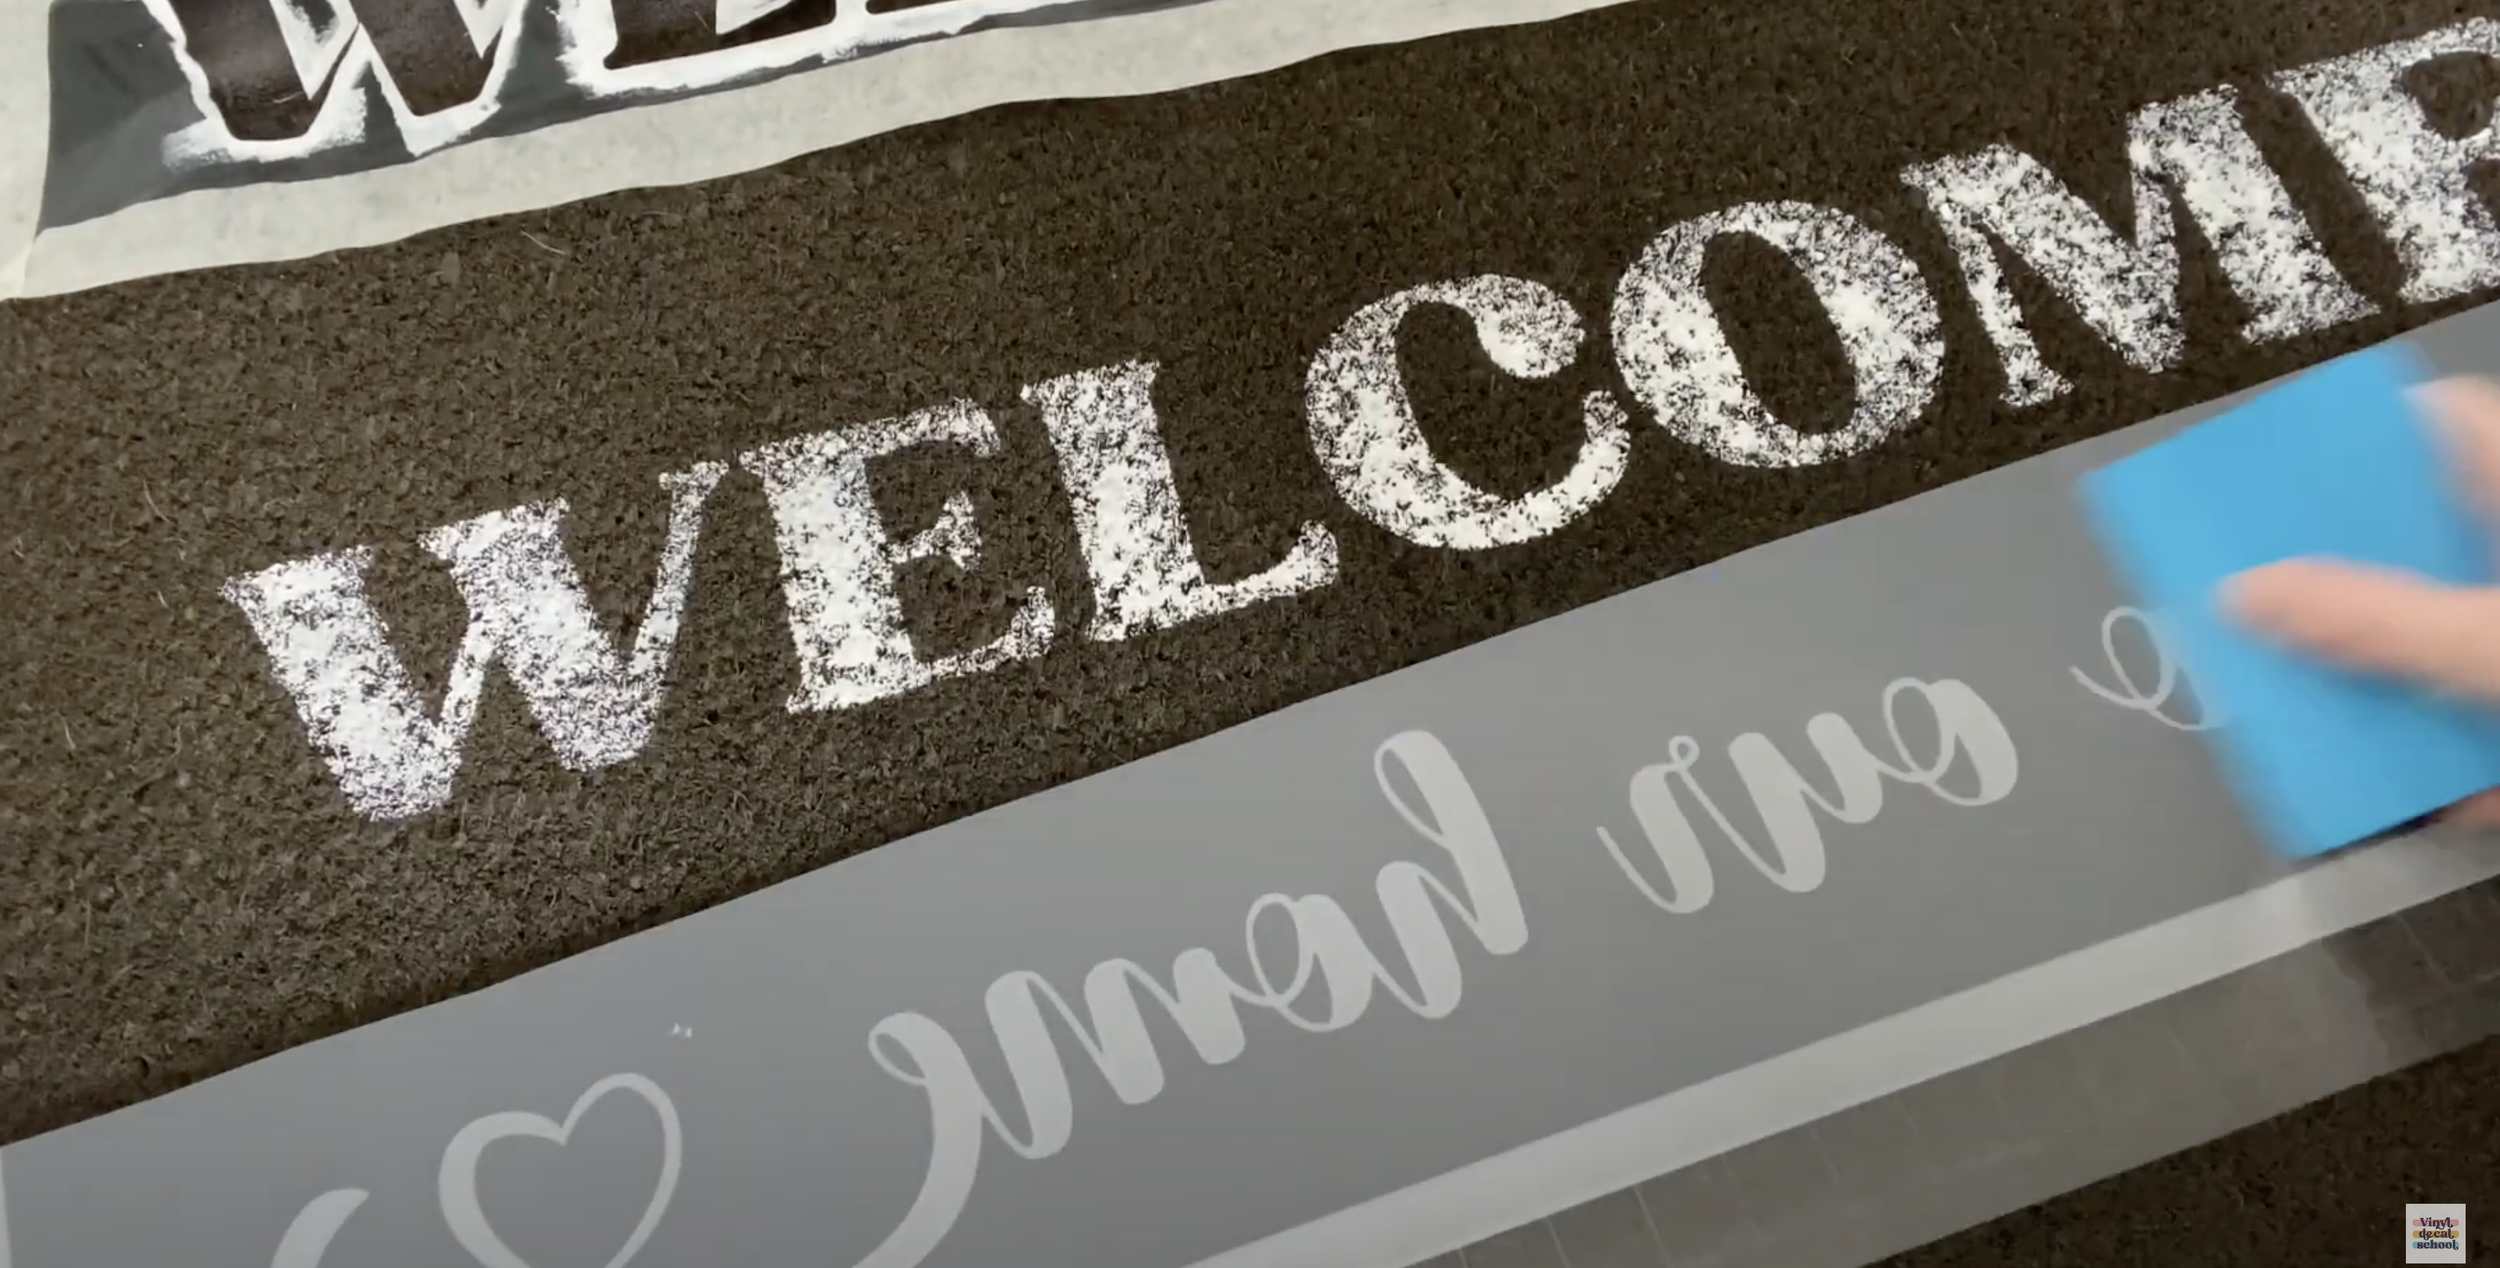
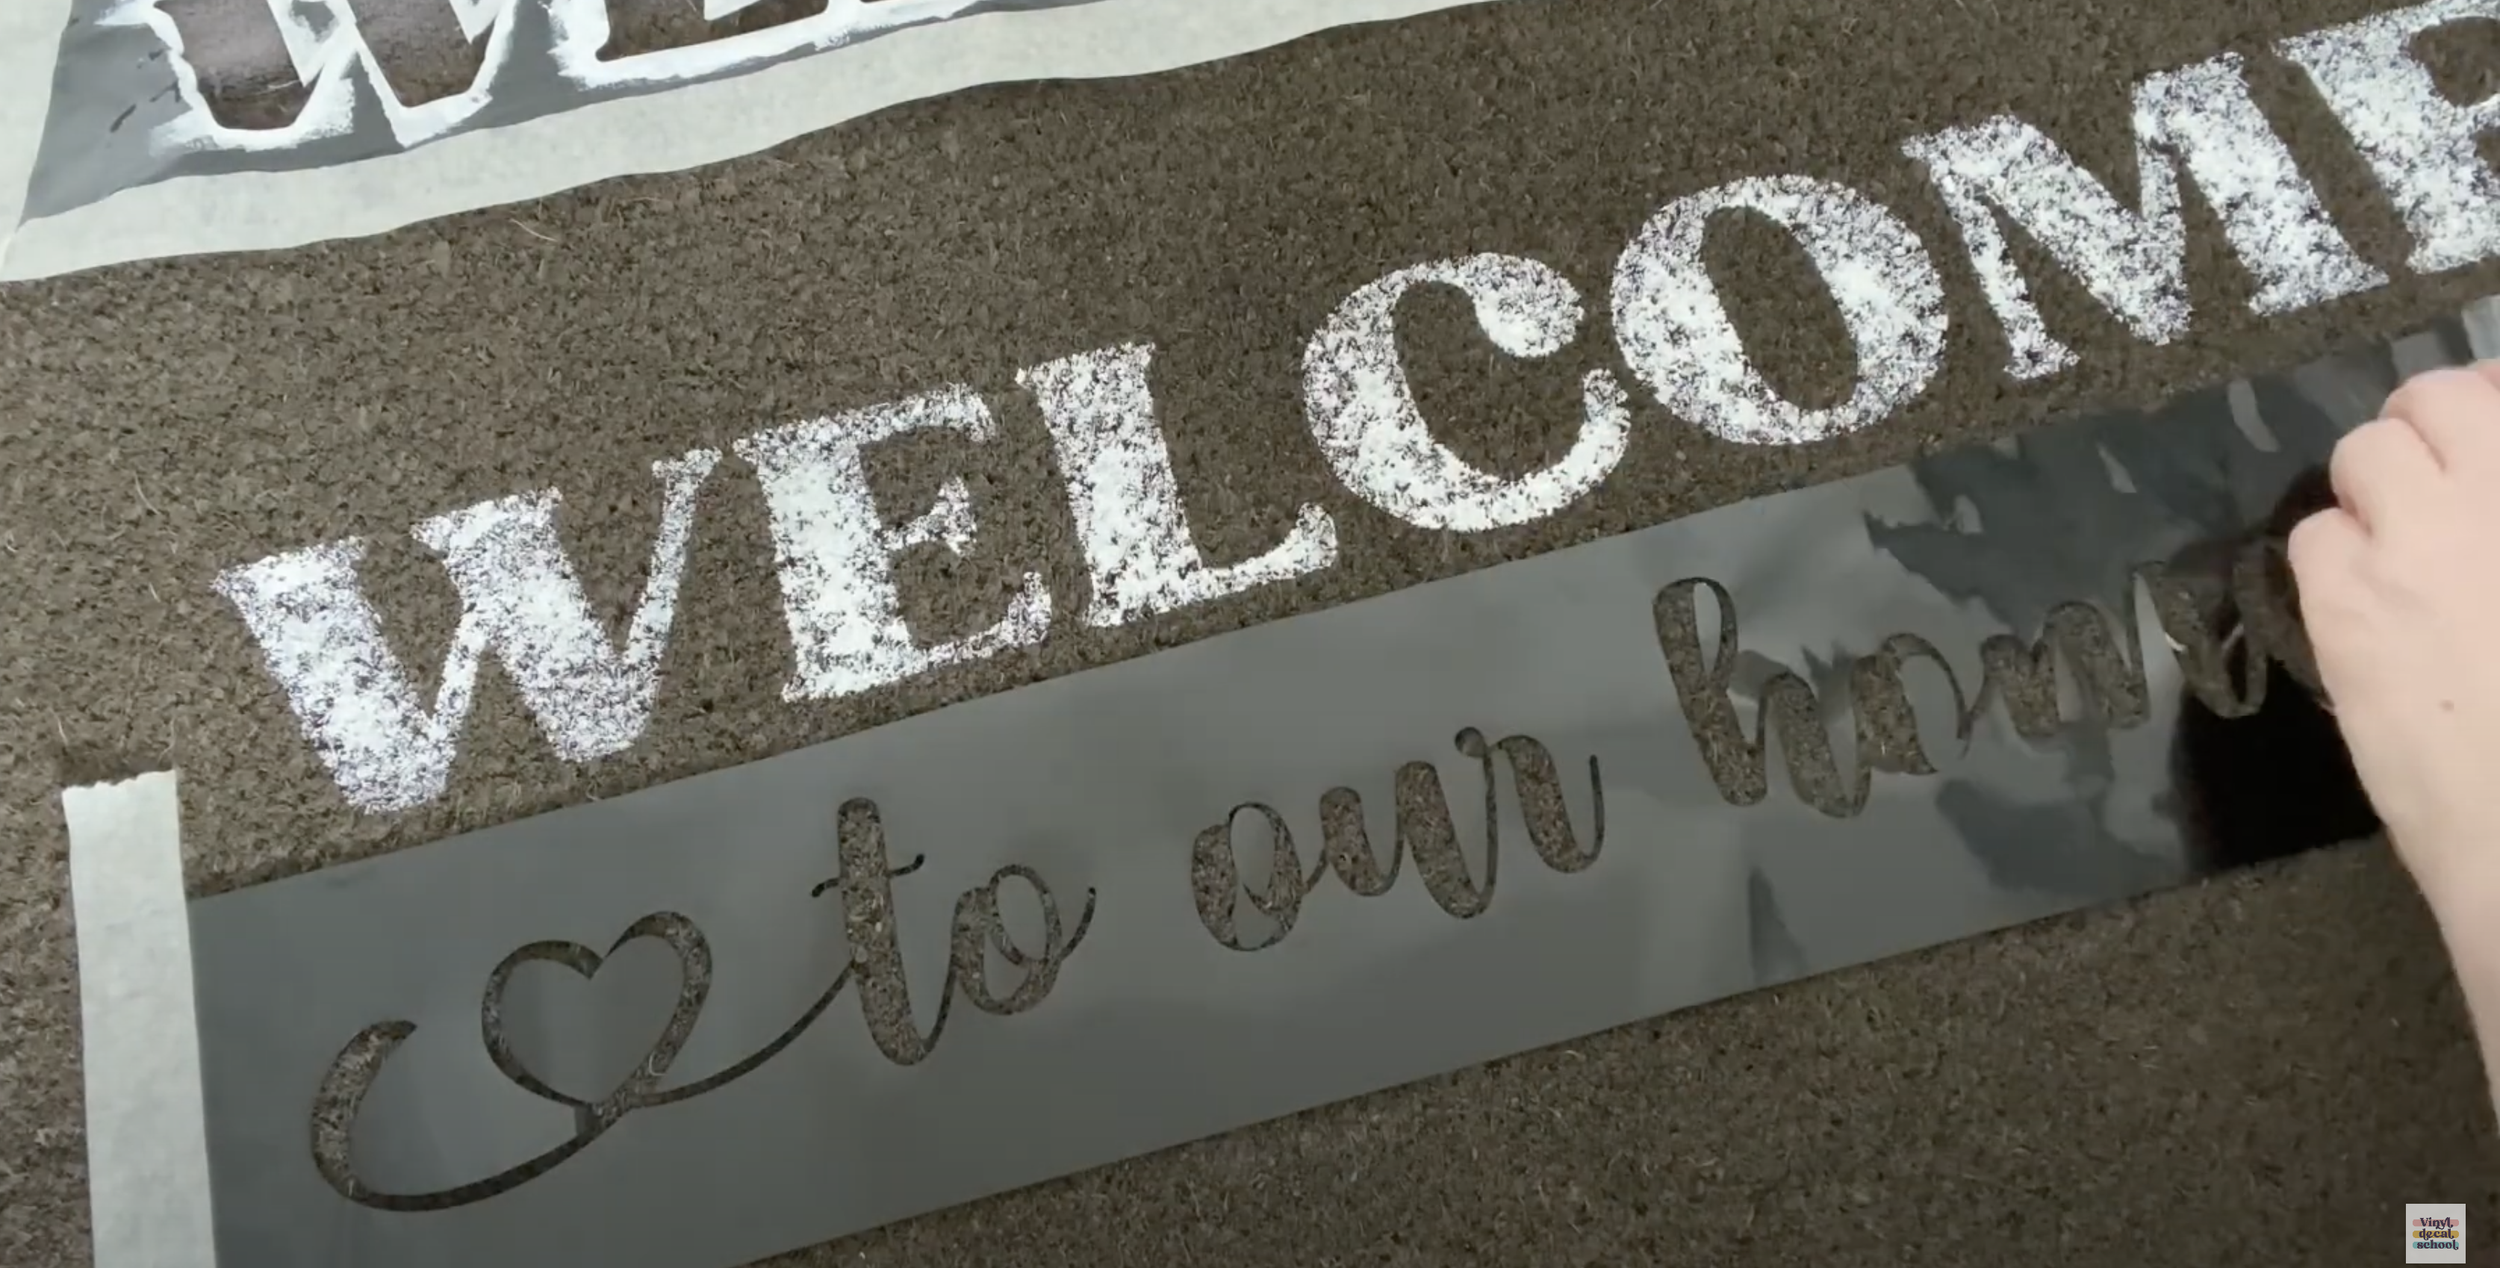

Because I hadn't left a bit blank across the top this time, do be really careful when you're pulling the tape off as you may just need to go back and move the in-between bits of letters around. Just try and get everything in the right place before you stick it down with your tape.

I’m putting the creepy glove on again and just going over it with the hairdryer. Be careful because, with those small bits, they can just blow off completely. So again, I'm just really trying to push things down, but be careful.
I did use a much smaller brush for this one because it's much thinner letters and again, dab dab dab!

Make sure you're getting into the really thin bits as well.
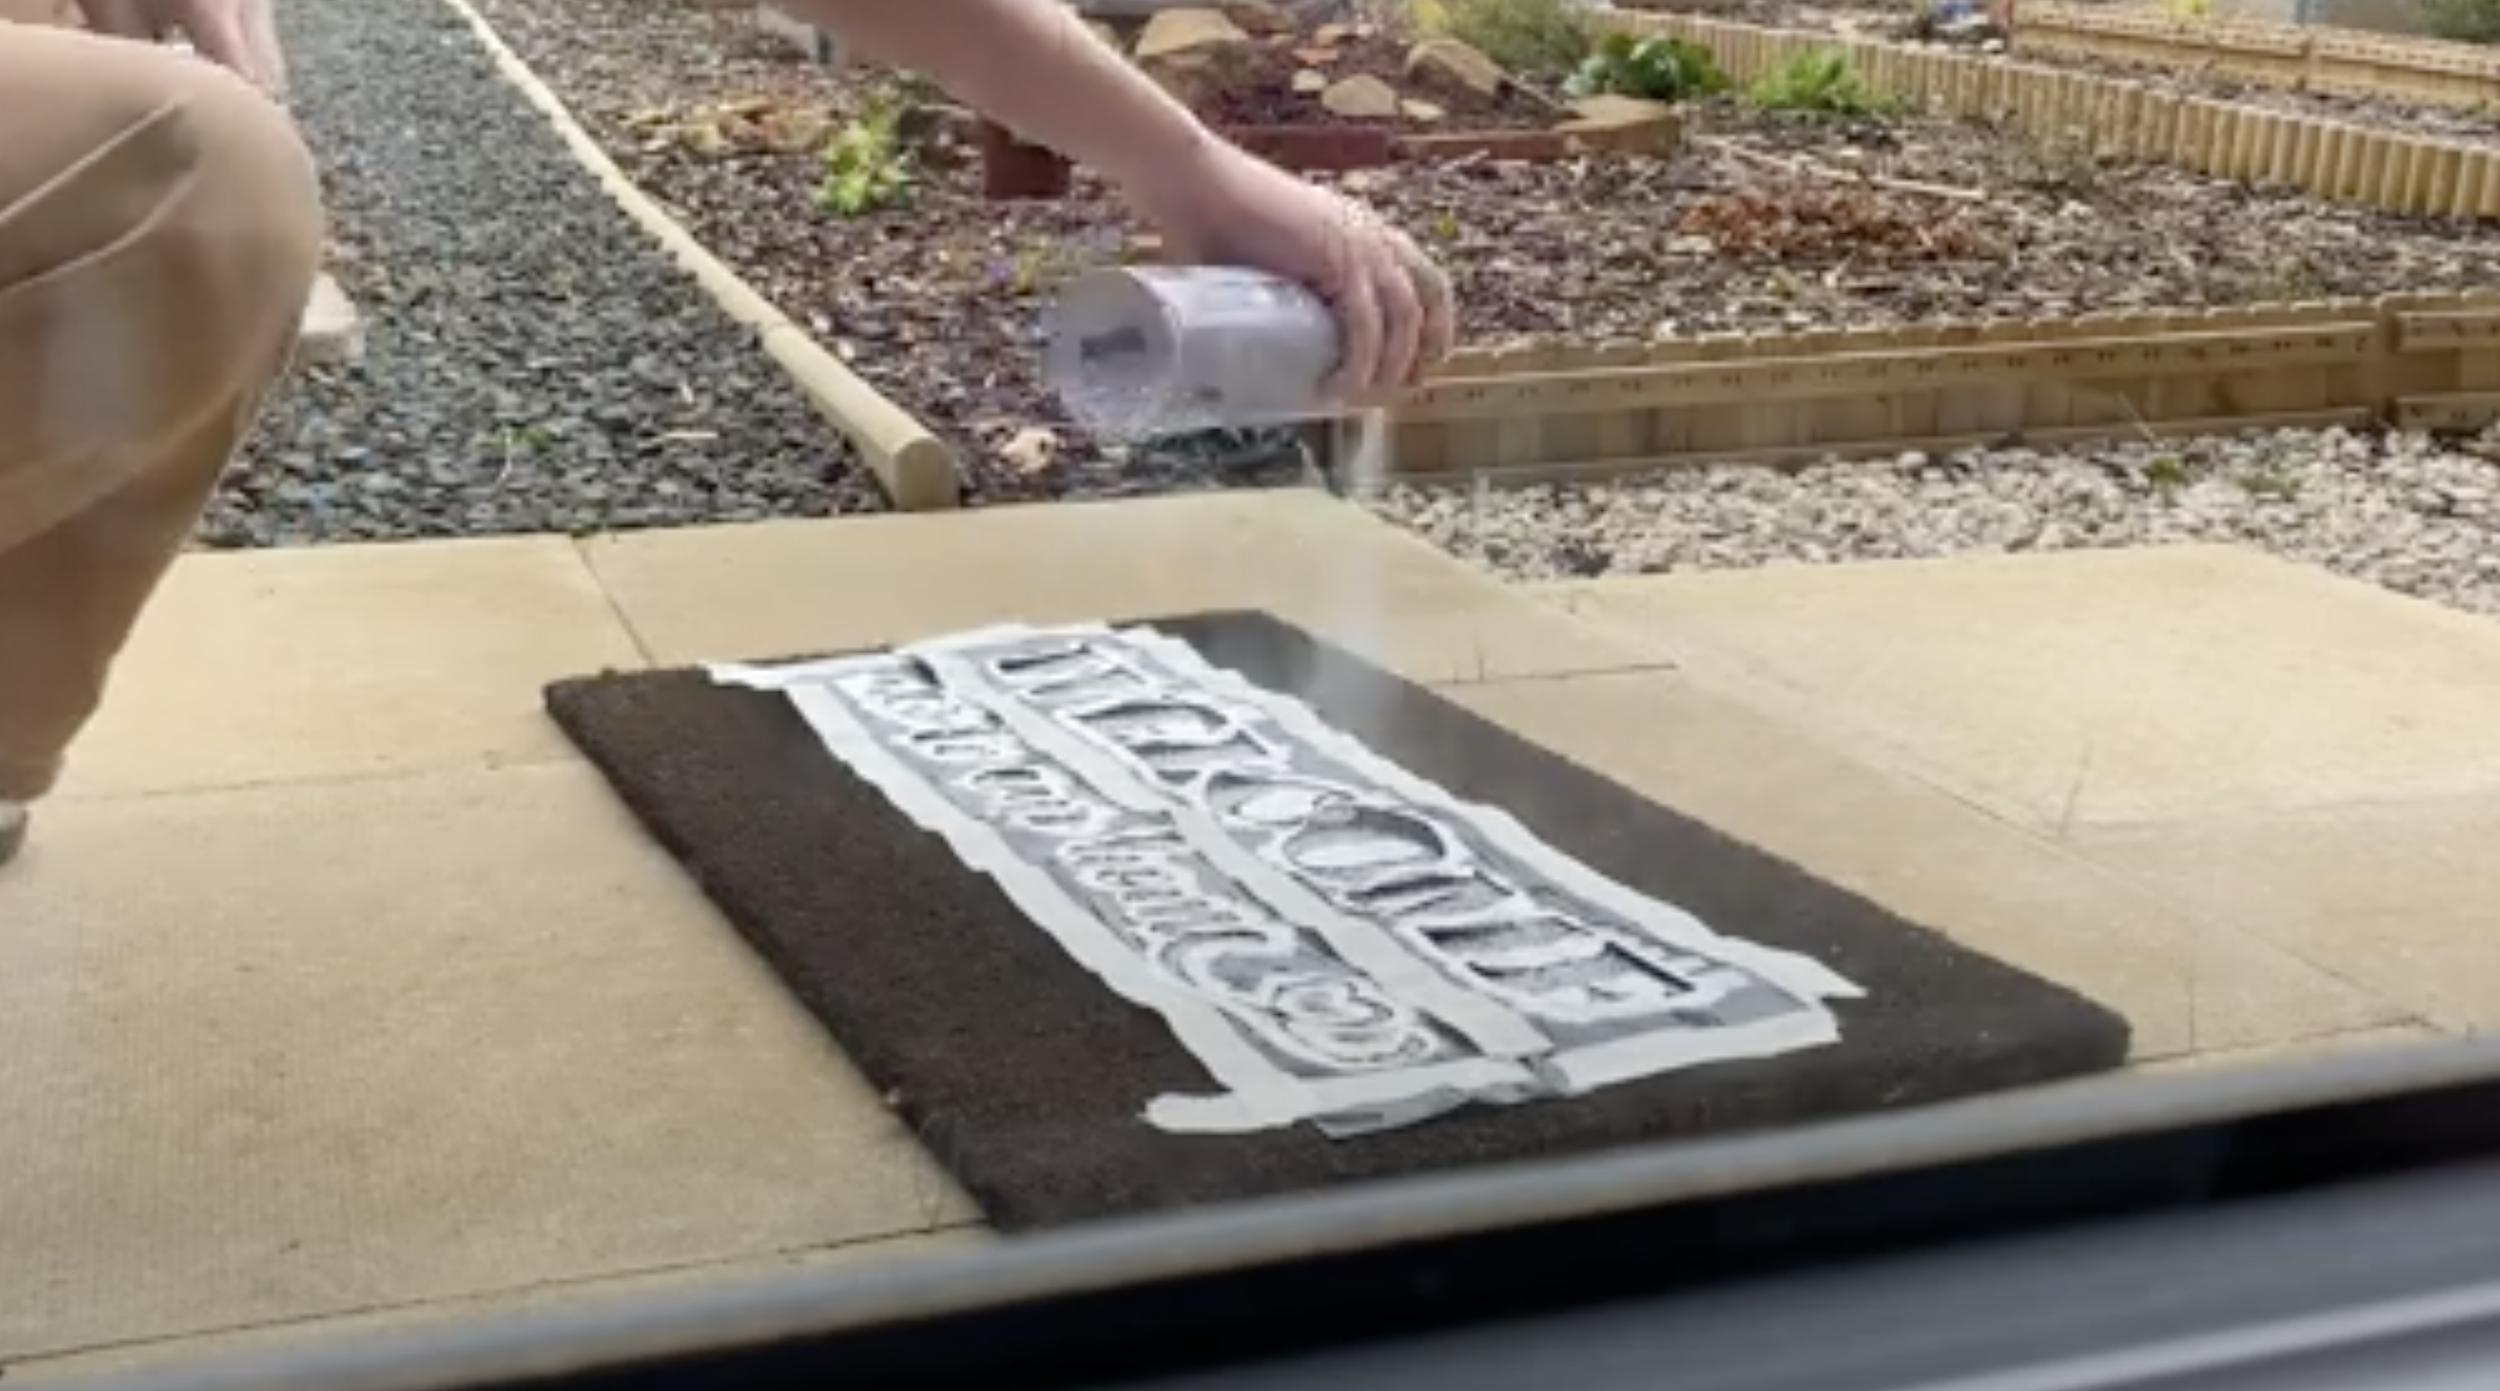
Once that one was dry I actually found this clear sealer that I forgot I had so i decided to seal it. I put that stencil back on just making sure it didn't go over the other one.
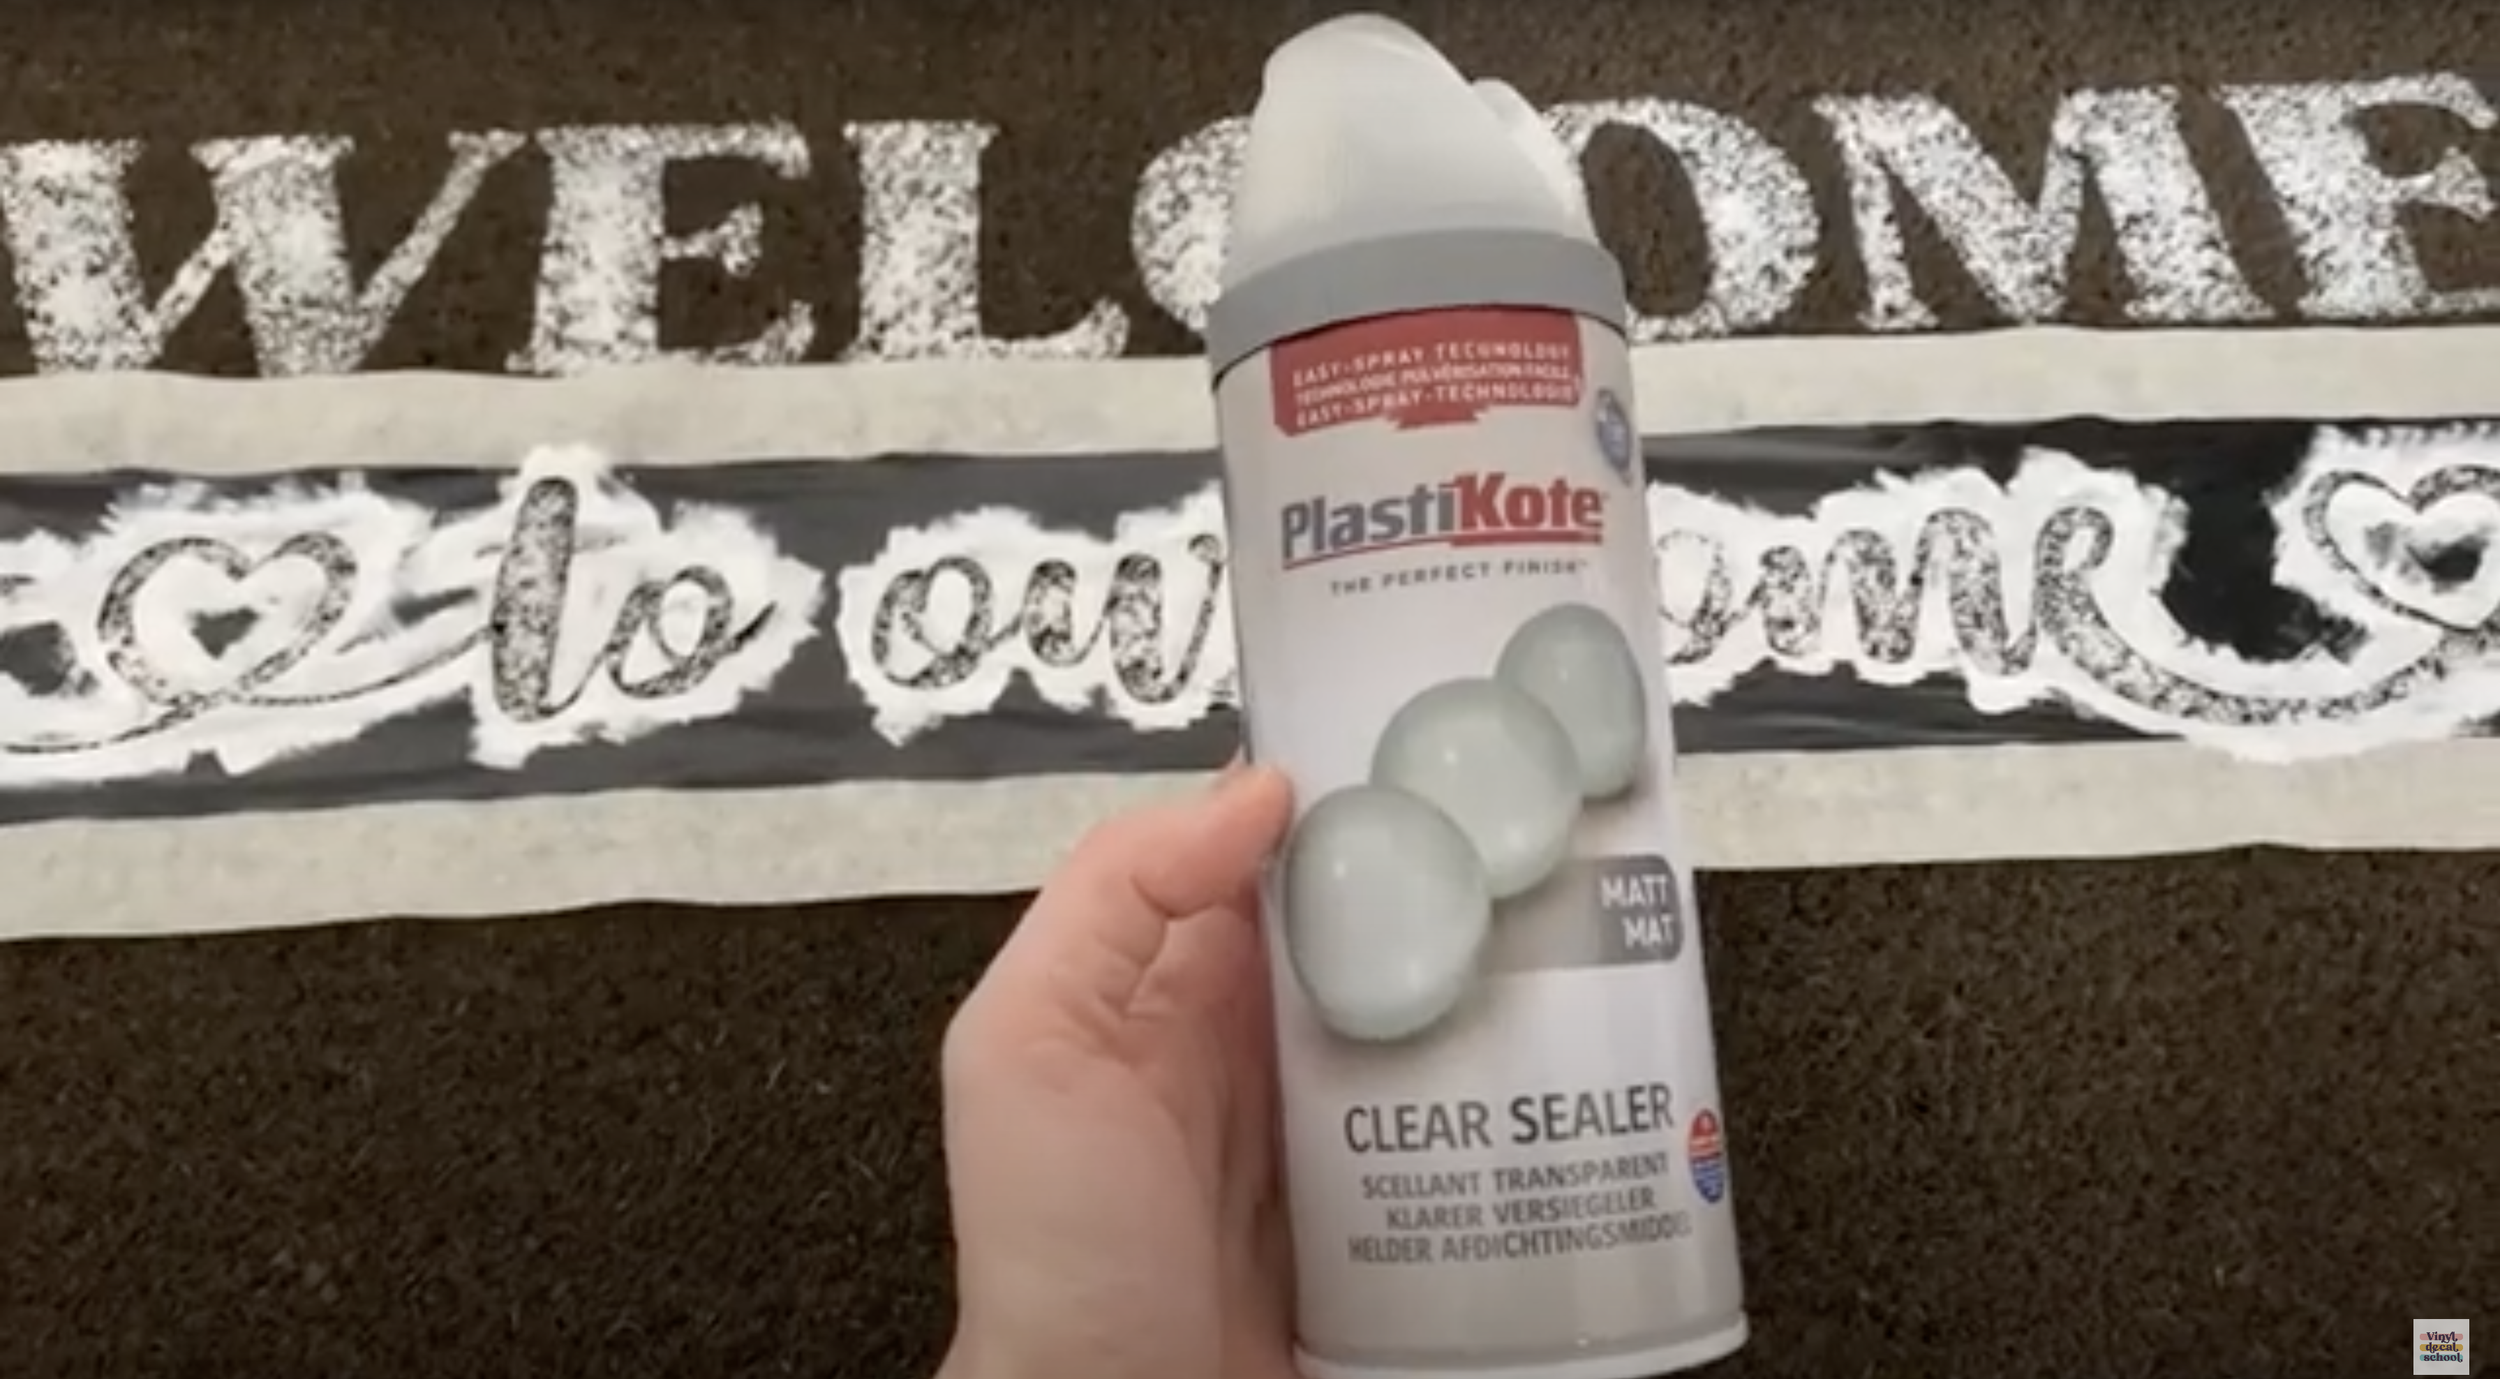
I put a mask on and then sprayed it outdoors. Disaster struck when the wind blew away but thankfully I had already done it a few times before this and I just forgot to press record, so it was actually done at this point. It wasn't a disaster but be aware of that when you're doing that outside!
There it is!
As I said, I should have done a few more coats but I'm quite happy with it. You can see what it says and I think it's pretty good for a first attempt! And hopefully, you can avoid the few mistakes that I made.

I hope you found that helpful.
Please remember to like follow and subscribe for more videos like this in future.
Check out my online courses to learn how to make and sell Vinyl Decals & SVGS by clicking the button below.
It’s free for one month for all new members!