

HOW TO: Create A Mock-up Design For Your Vinyl Decals
In this blog I would like to show you how I make mock-ups for my Etsy shop.
I sell a lot generic scrapbook decals and in this example I'm going to make a Christmas version. I found some props to match the theme I’m going for which I will photoshop over the top of an existing scrapbook.
Continue reading below or watch the video…
The content below contains affiliate links and we may earn a commission if you shop through them, however, this won't cost you anything, it just helps us to keep the site running for free. For more information on affiliate links, see the disclosure here.
The first thing I do is find a place in the house which has the best light for that time of the day, which doesn’t cast too many shadows and has a nice sizeable background to house your design.
I chose my kitchen work surface for this design as it gave me the least shadows and a nice backdrop and once I had set things up, this was the result.

Another option for a surface in your home is to use a foam board. I have used one with marble vinyl on it and you could use any pattern such as wood for a more rustic background. This works quite well for me because most of the smaller products I shoot fit on there well. For the larger designs, such as signs, you can use a photography backdrop. If you're shooting a lot of stuff it might be worth the investment.
You can also buy ready-made mock-ups so it's just about weighing up whether it's quicker to buy a mock-up online that someone else has already done for you to put your design straight on to, or if you fancy playing around with doing your own. I like to just have a mixture of both.
I decided to have another go with some foam board as a background in a different part of the house just in case the lighting on the other one didn’t turn out right.

For my design I decided to go with the marble background because the lighting looked better.
I edited my design in Photoshop.
Firstly, I removed the wording by using the lasso tool to outline the wording and then right-clicked on ‘Content Aware Fill’ function. Next, I removed everything that I didn't want to be the same colour and once I was happy with the result, pressed OK.


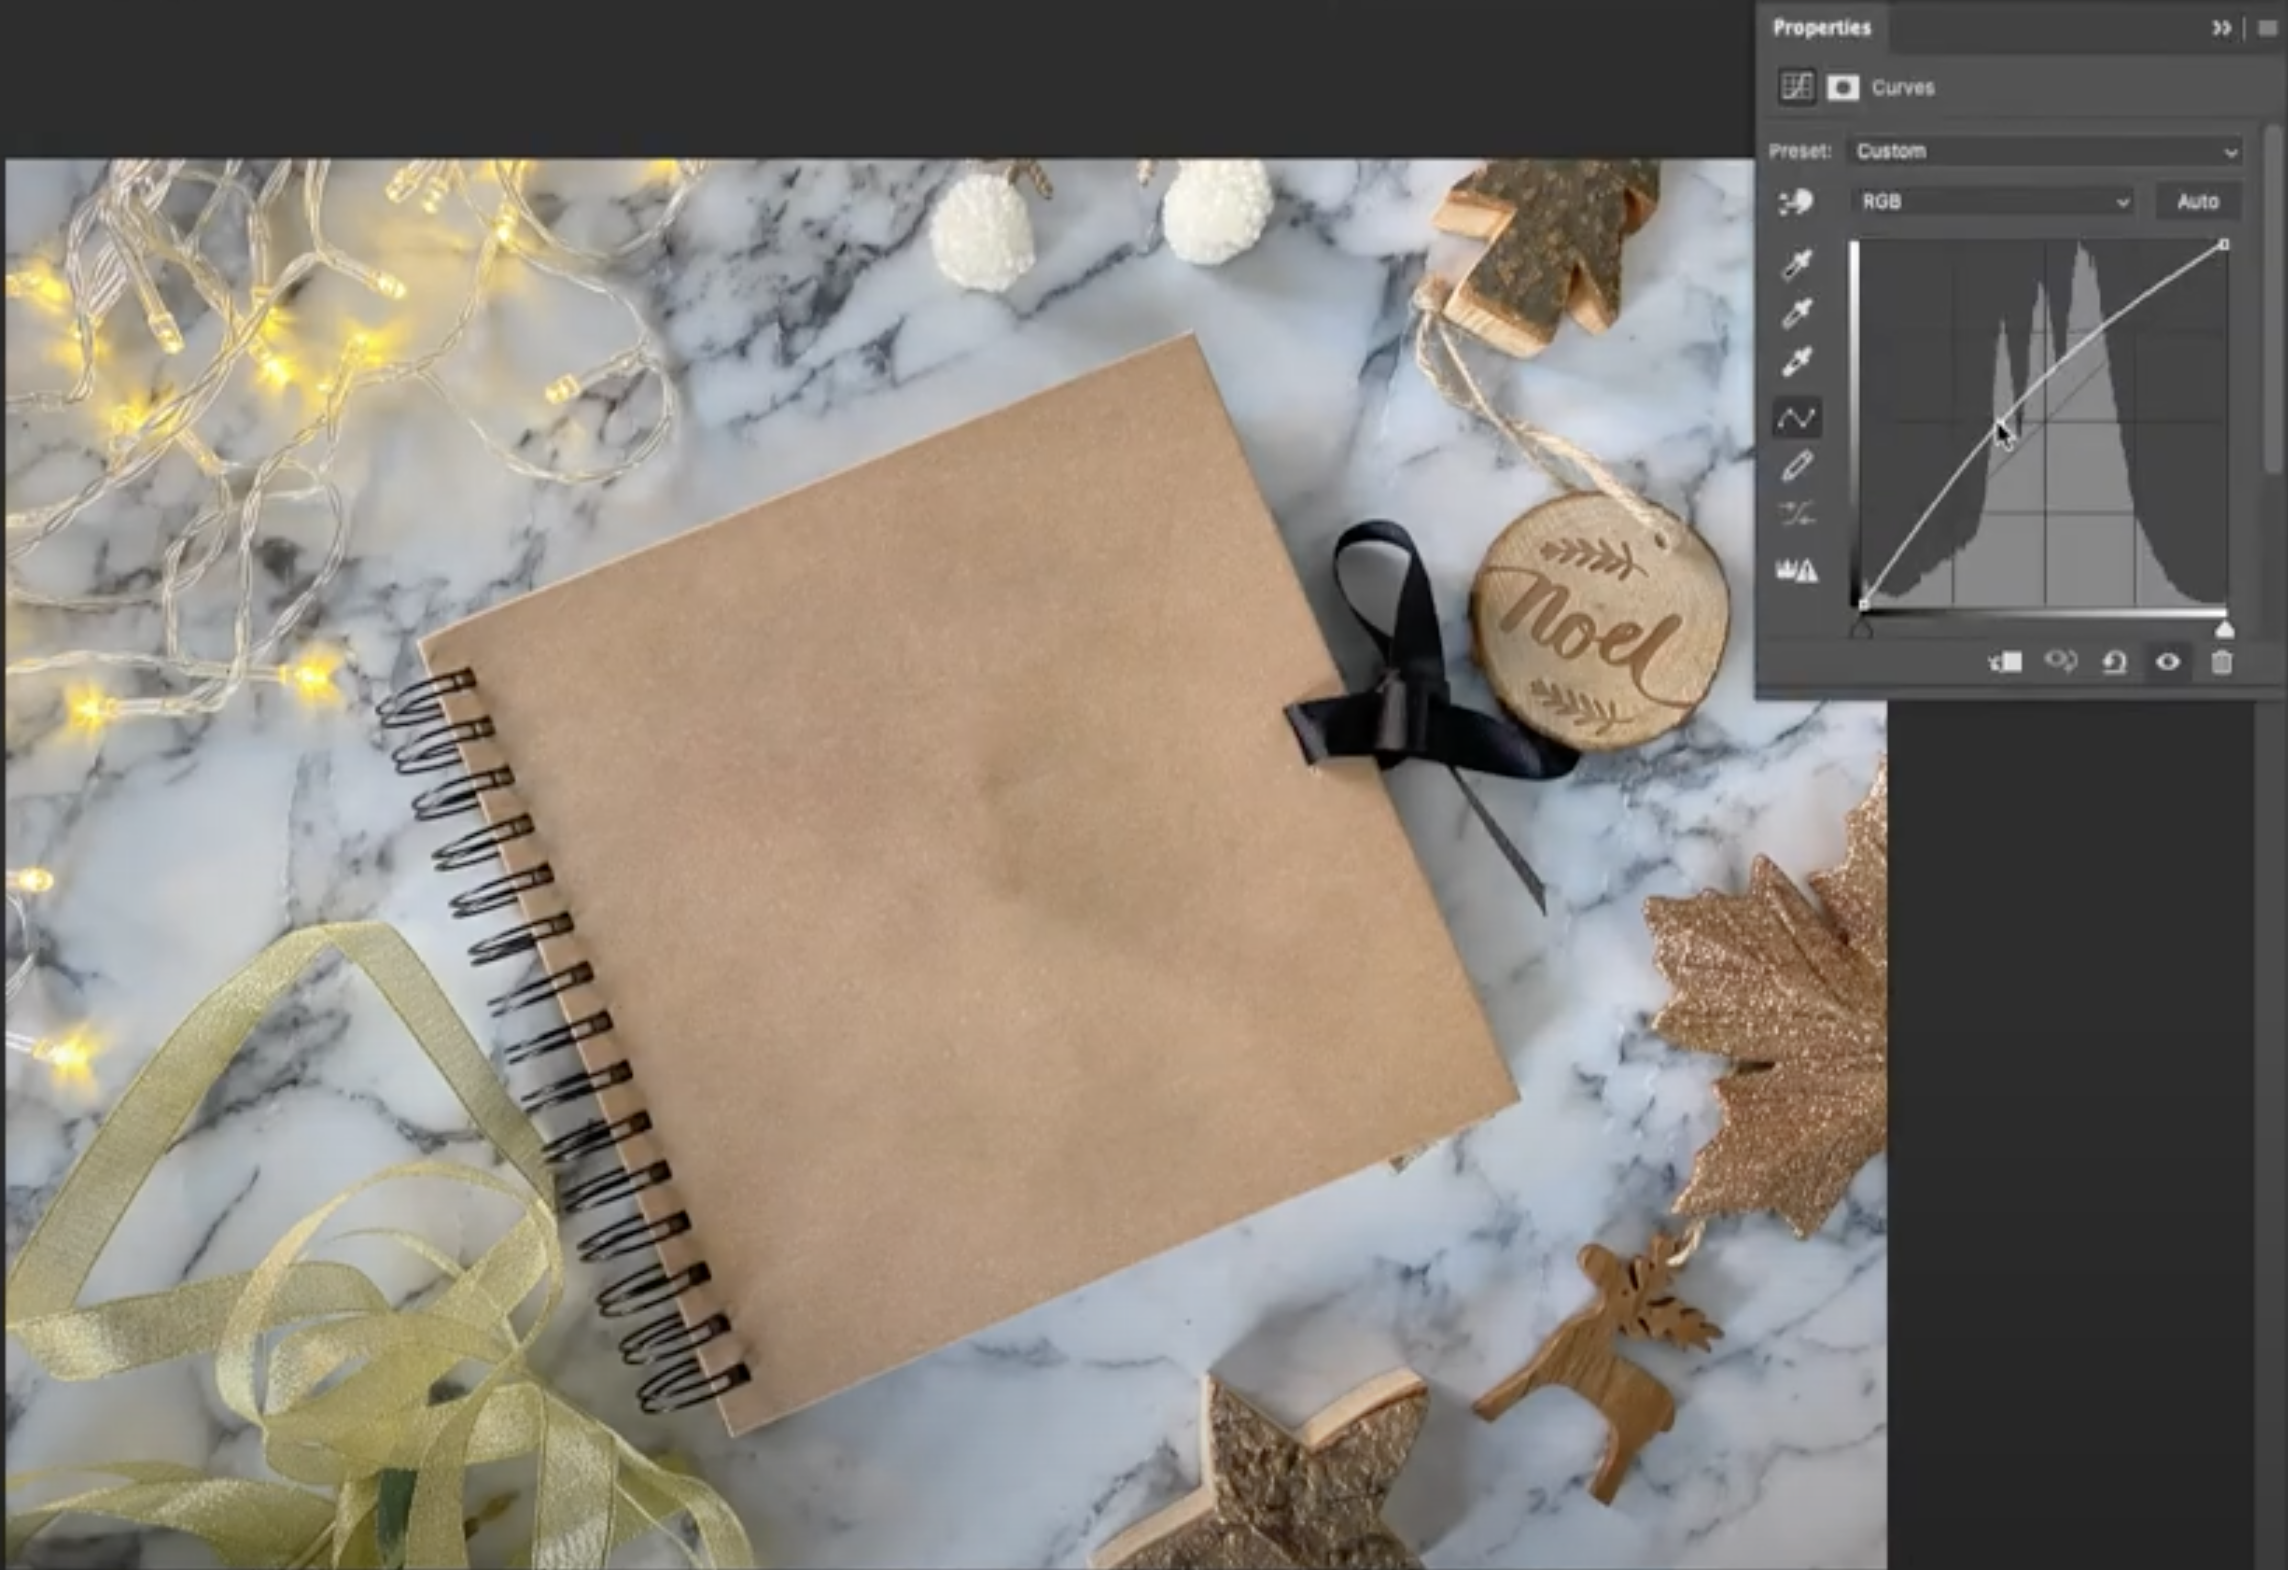
If there are still some shadows you can make adjustments using ‘Curves’ and by playing around with the lightness and saturation tools.

I added the wording on the front cover and this was my end result.

I hope that was useful. I do it seem to get good results with using Photoshop which is a great tool if you are not a photographer and you just want to get really good clear pictures for selling more decals.
Please remember to ‘Like’, ‘Follow’ and subscribe to my videos.