

Quick Cricut & Silhouette Studio Designs Using Photoshop
I watched my first ever video back the other day and I actually can't believe how bad the quality is!
As a lot of people have been watching it I thought I would redo the video and show you how I create all of my designs in Photoshop before I transfer them across to Design Space or Silhouette Studio.
To learn how I do that, either watch the video or have a read below …
Create Your Canvas
The process I apply has actually changed a little bit since the first time I did the video because now I create canvases for both Cricut and Silhouette Studio.
The first thing I do is create two canvases.
The one for my Cricut machine is 23.5 x 11.5 inches
The Silhouette canvas is 11.5 x 30 inches

I also have some pre-created designs that I sell on my Etsy shop or Shopify and have used an old design I previously sold in Photoshop as an example of what I do daily when I am making orders.

Once I have all my designs open in Photoshop, I edit the names and dates and then I'll either drag or copy the different sections across into the blank canvases that I created, moving them around to fit.
I cut most things up into sections rather than sending it all as one big decal as it’s easier to post, and it also makes it easier for my customers to apply them when they are split.
Sometimes it's a bit of trial and error when utilising the space to fit all the designs and if I don’t have a template for a particular design I will type it out and change the font on the canvas as I go.

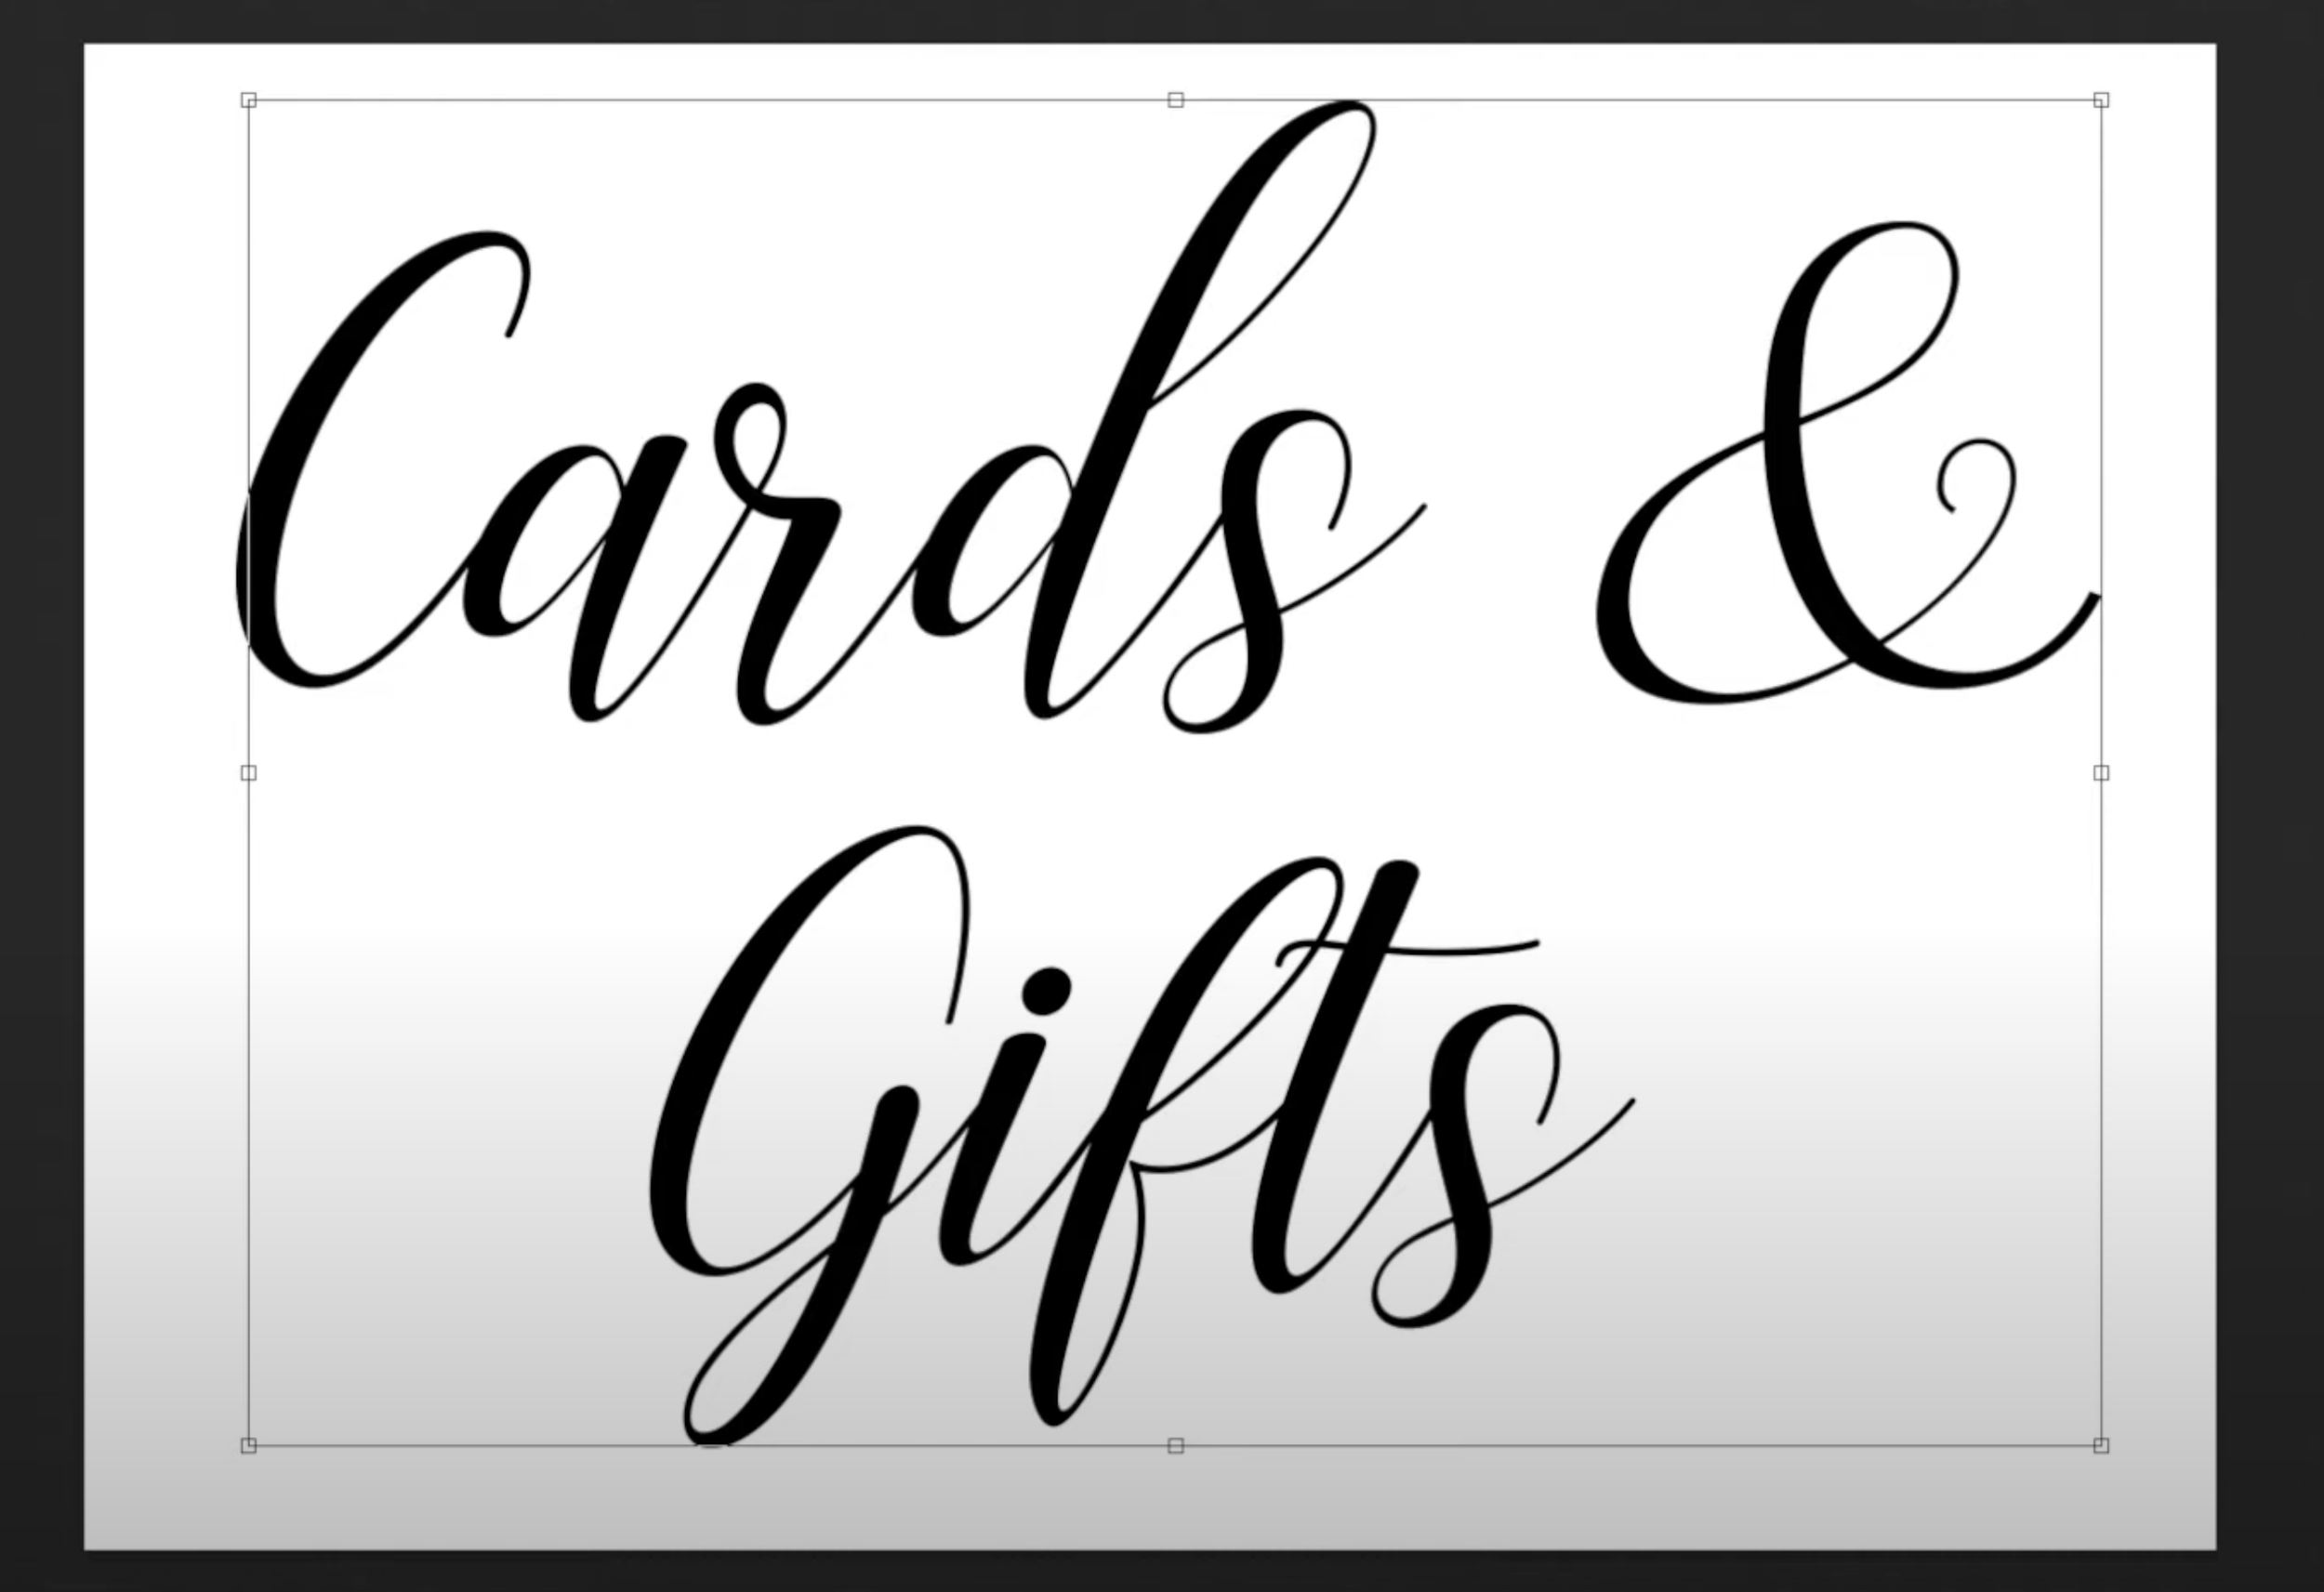
In my example, I put cards and gift designs on the Cricut canvas and the bigger designs on the bigger canvas.
Once you have filled the space and are happy with the finished canvas, remove the background and save it as a Photoshop file first, so you have the original copy. I save mine as the date and the colour of the vinyl that I will be cutting it in and then I also save the canvas as a PNG file.


Cut Your Design
The next step is to open your canvas in Silhouette Studio in order to cut it. Once the file has been opened in Silhouette Studio you can move it around to fit within the red box.
You can fit your canvas as tightly as you can within the red box by tweaking the settings in ‘Page Set Up’ and once done, send your design for cutting.

In my example, I repeated the process for my smaller design, making sure to utilise as much of the space as possible to save wasting any vinyl.

Again, I removed the background to make it transparent and saved it as a Photoshop file. Use a file name that will be easy for you to find, should a customer want a repeat of a design you made.
Once the file is saved you can open the design in Design Space and add it to a new canvas. I try and use the size boxes as much as I can.
When you are happy with it, click ‘Continue’ to cut and start all over again!
That is how I create my designs for selling and I hope you found my tutorial helpful.
Please ‘Like’ and ‘Subscribe’ if you would like to see more videos like this!