

How To Use Cricut Design Space On An iPhone
After 4 years of owning a Cricut Air 2 I still hadn't tried cutting on design space using an iPhone, so I thought it was about time!
I filmed the process as I tried it, so anyone else who is thinking of buying a Cricut, or wants to try out Design Space on an iPhone can see what it is like to use. It is quite similar to using an iPad too so if you want to check out my video on that, you can watch that here.
Take a look at my video ...
The content below contains affiliate links and we may earn a commission if you shop through them, however this won't cost you anything, it just helps us to keep the site running for free. For more information on affiliate links, see the disclosure here.
Or have a read below ….
Set up the App
Once I had downloaded the Cricut Design Space app, the first thing I needed to do was to connect my machine.

Open up your settings and connect your Cricut machine to your Bluetooth. You will get a PIN to add in order to pair the machine.
Once done, you should see your machine connected in the Design Space app.
It should connect automatically and takes a couple of minutes to update.
Open up your settings and pair your Cricut machine to your Bluetooth. Once done, you should see you machine connected in the Design Space app.
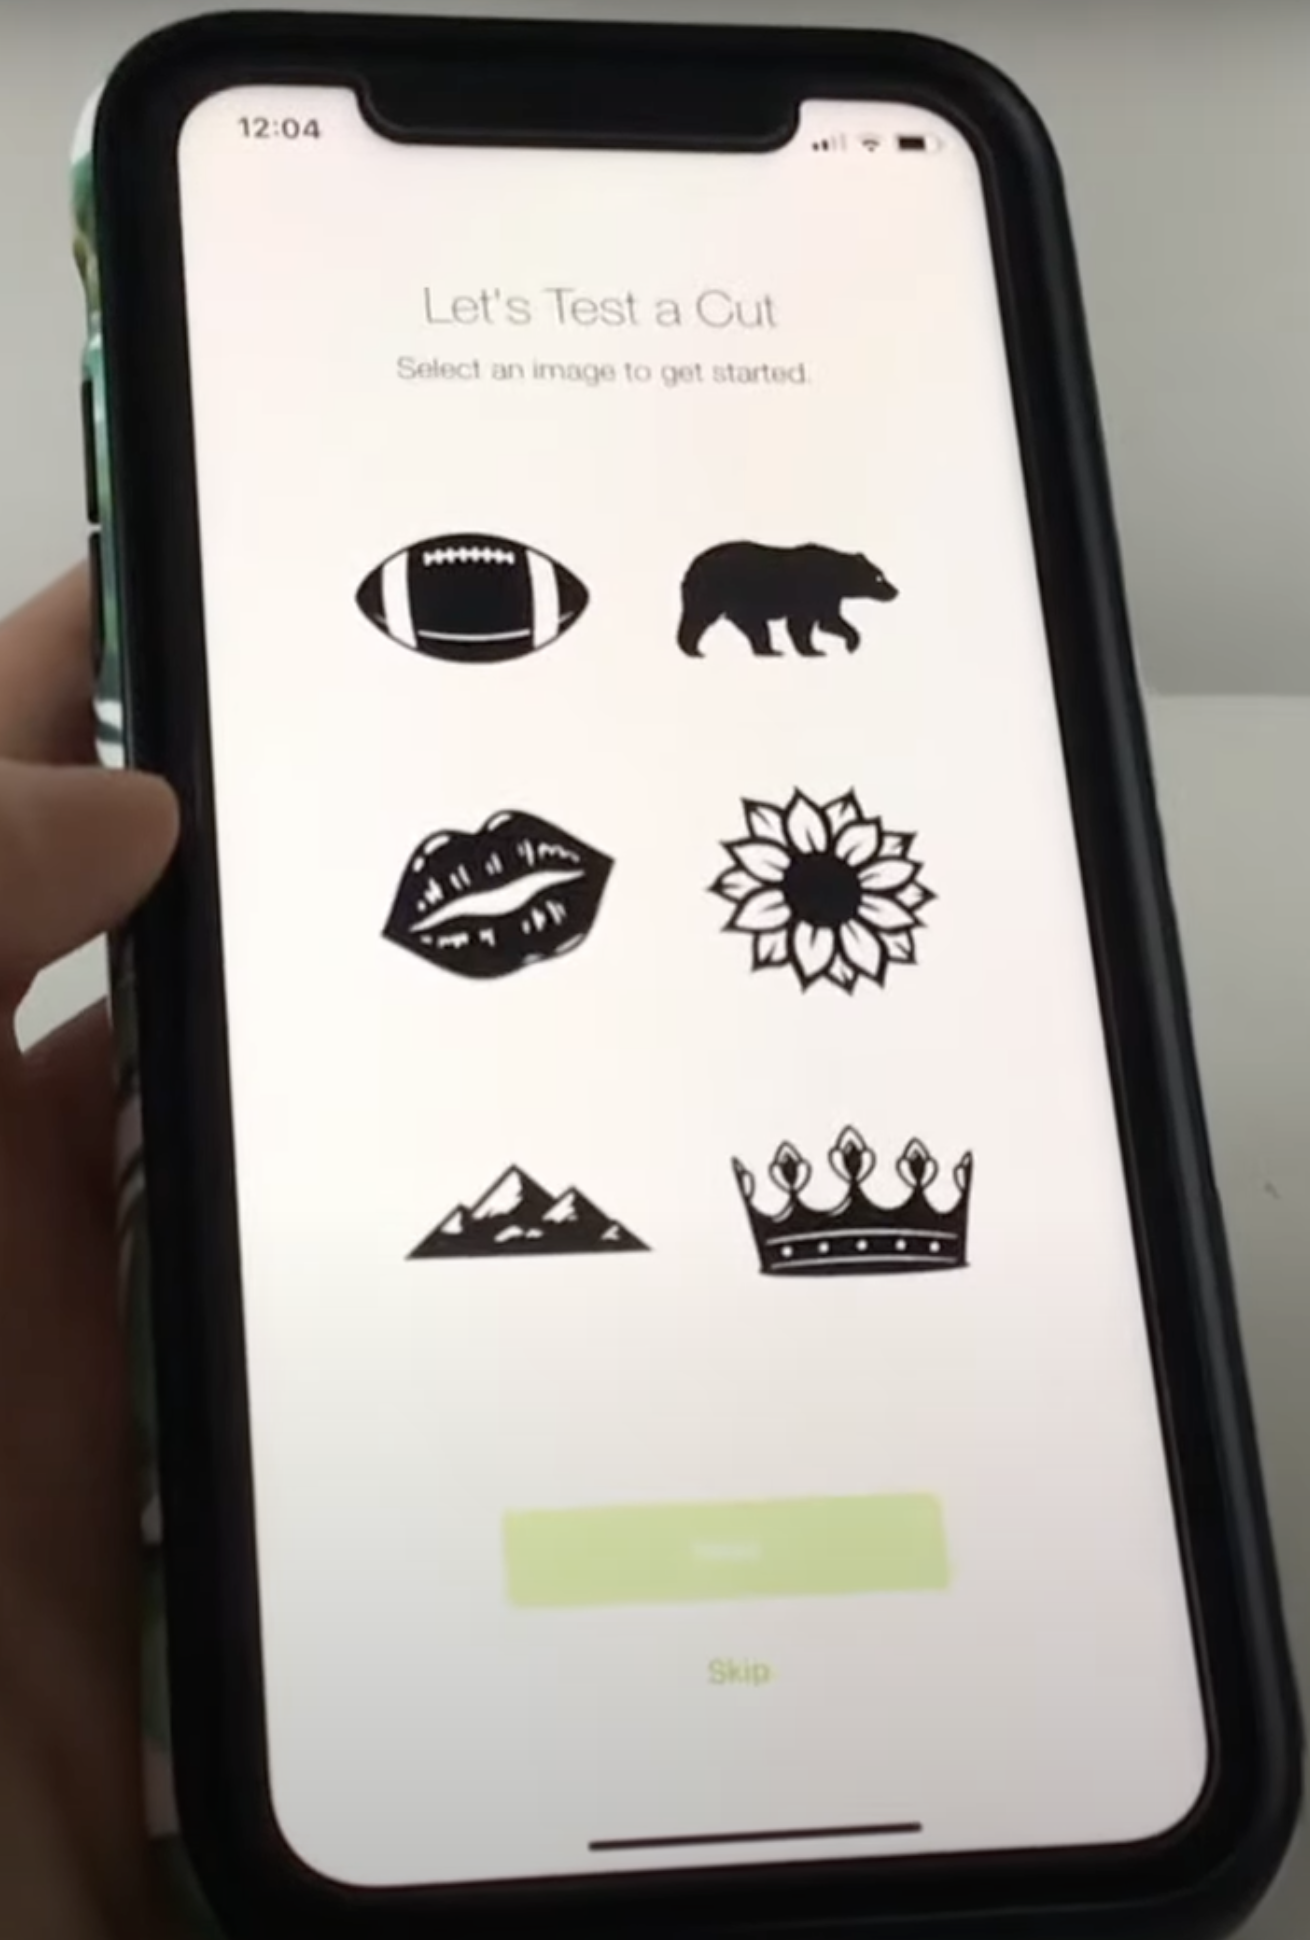
Open a new project to get going.
Functions, Images and Fonts
You will find all the functionality buttons at the bottom and you can swipe across to see them all. (If you use design space on a computer they're usually at the top).
There are the same sorts of functions like’ add a shape’ and ‘add images’, (although there is no ‘offset’ or ‘curve’ function on the app.

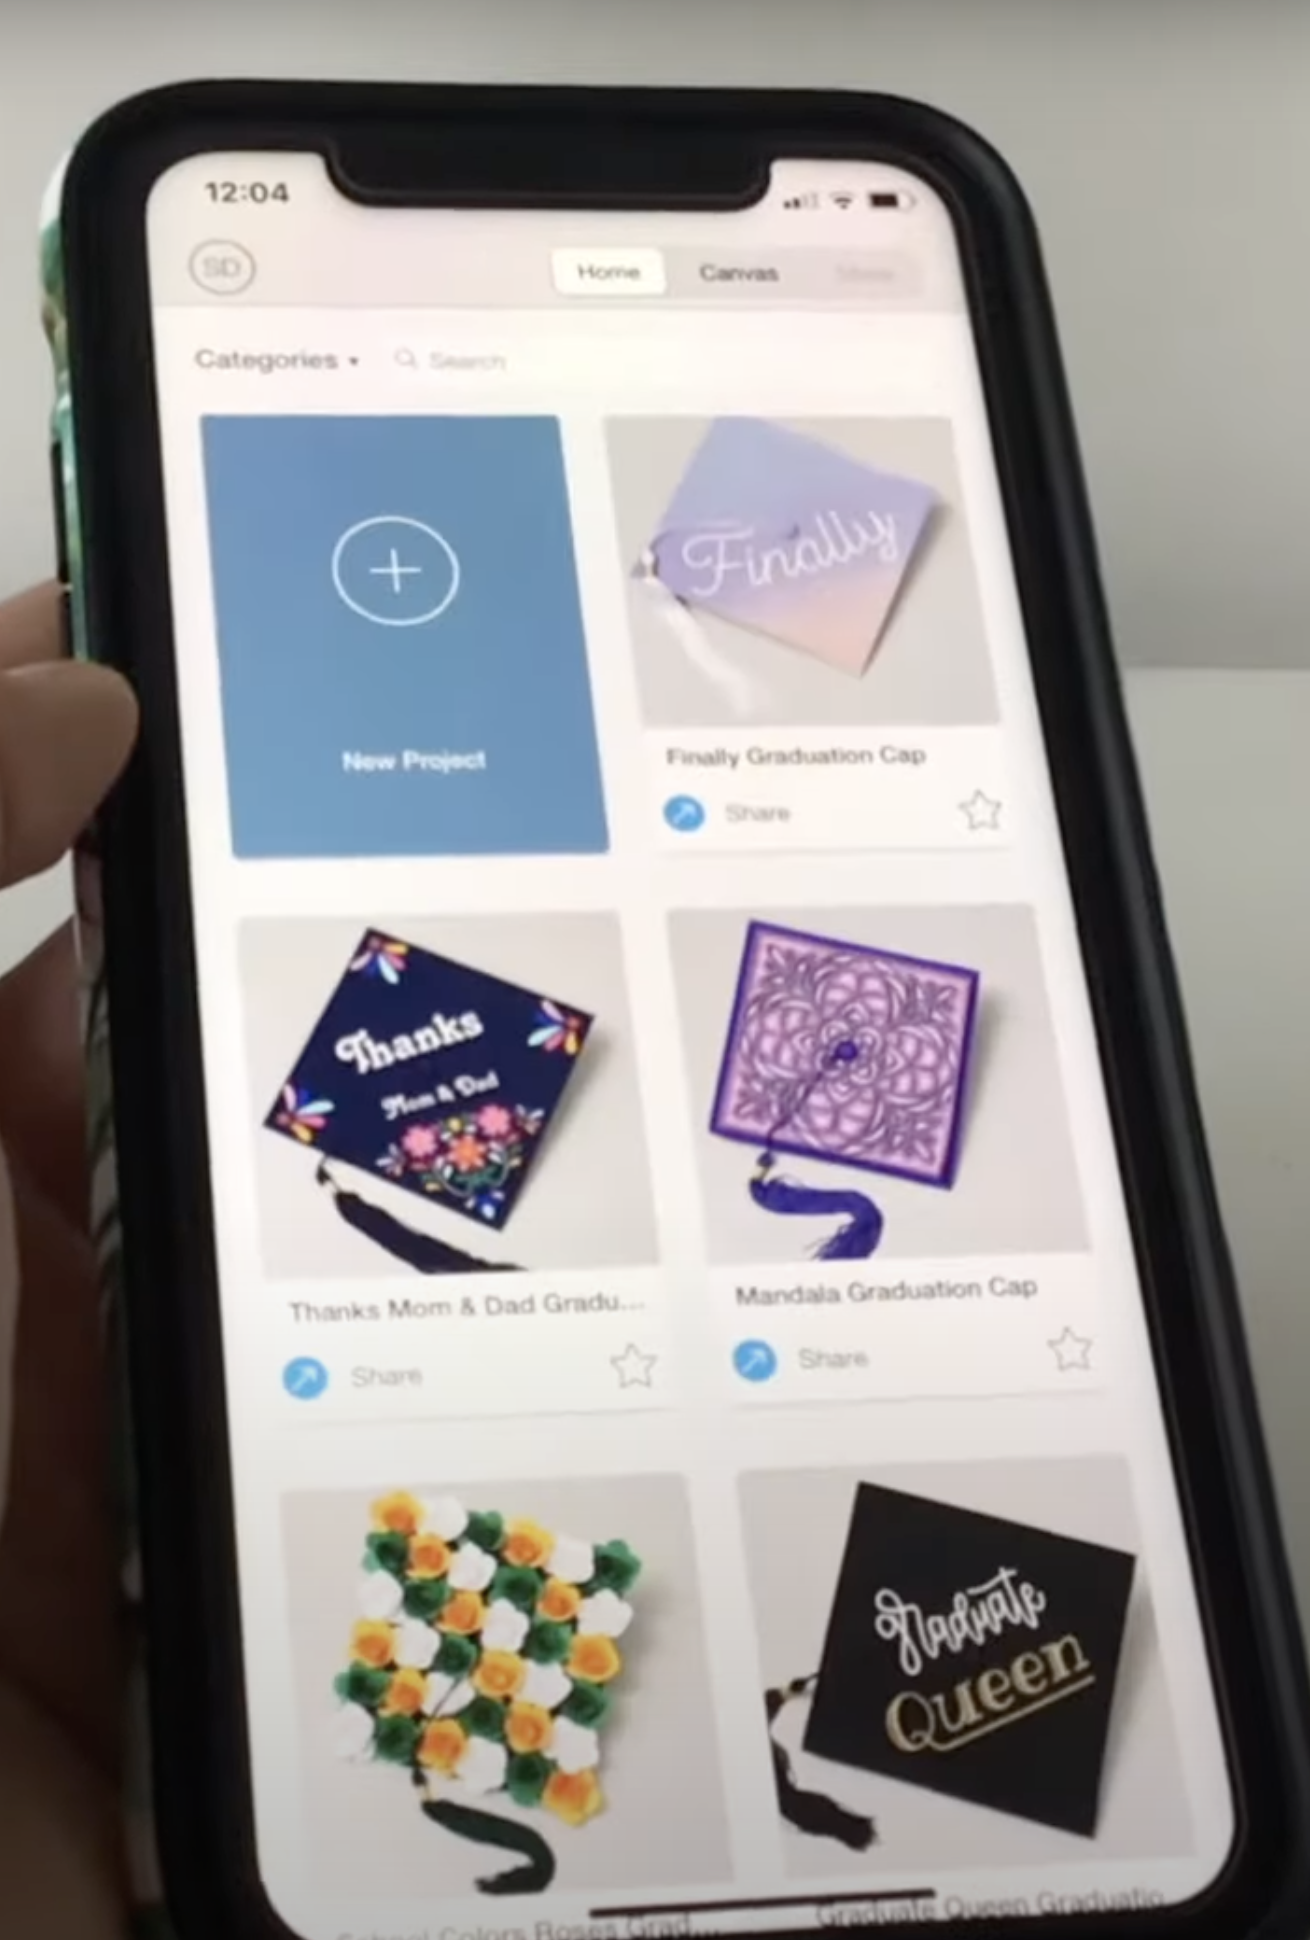
Many of the images are only available to purchase, but they have a ‘Free this Week’ section.
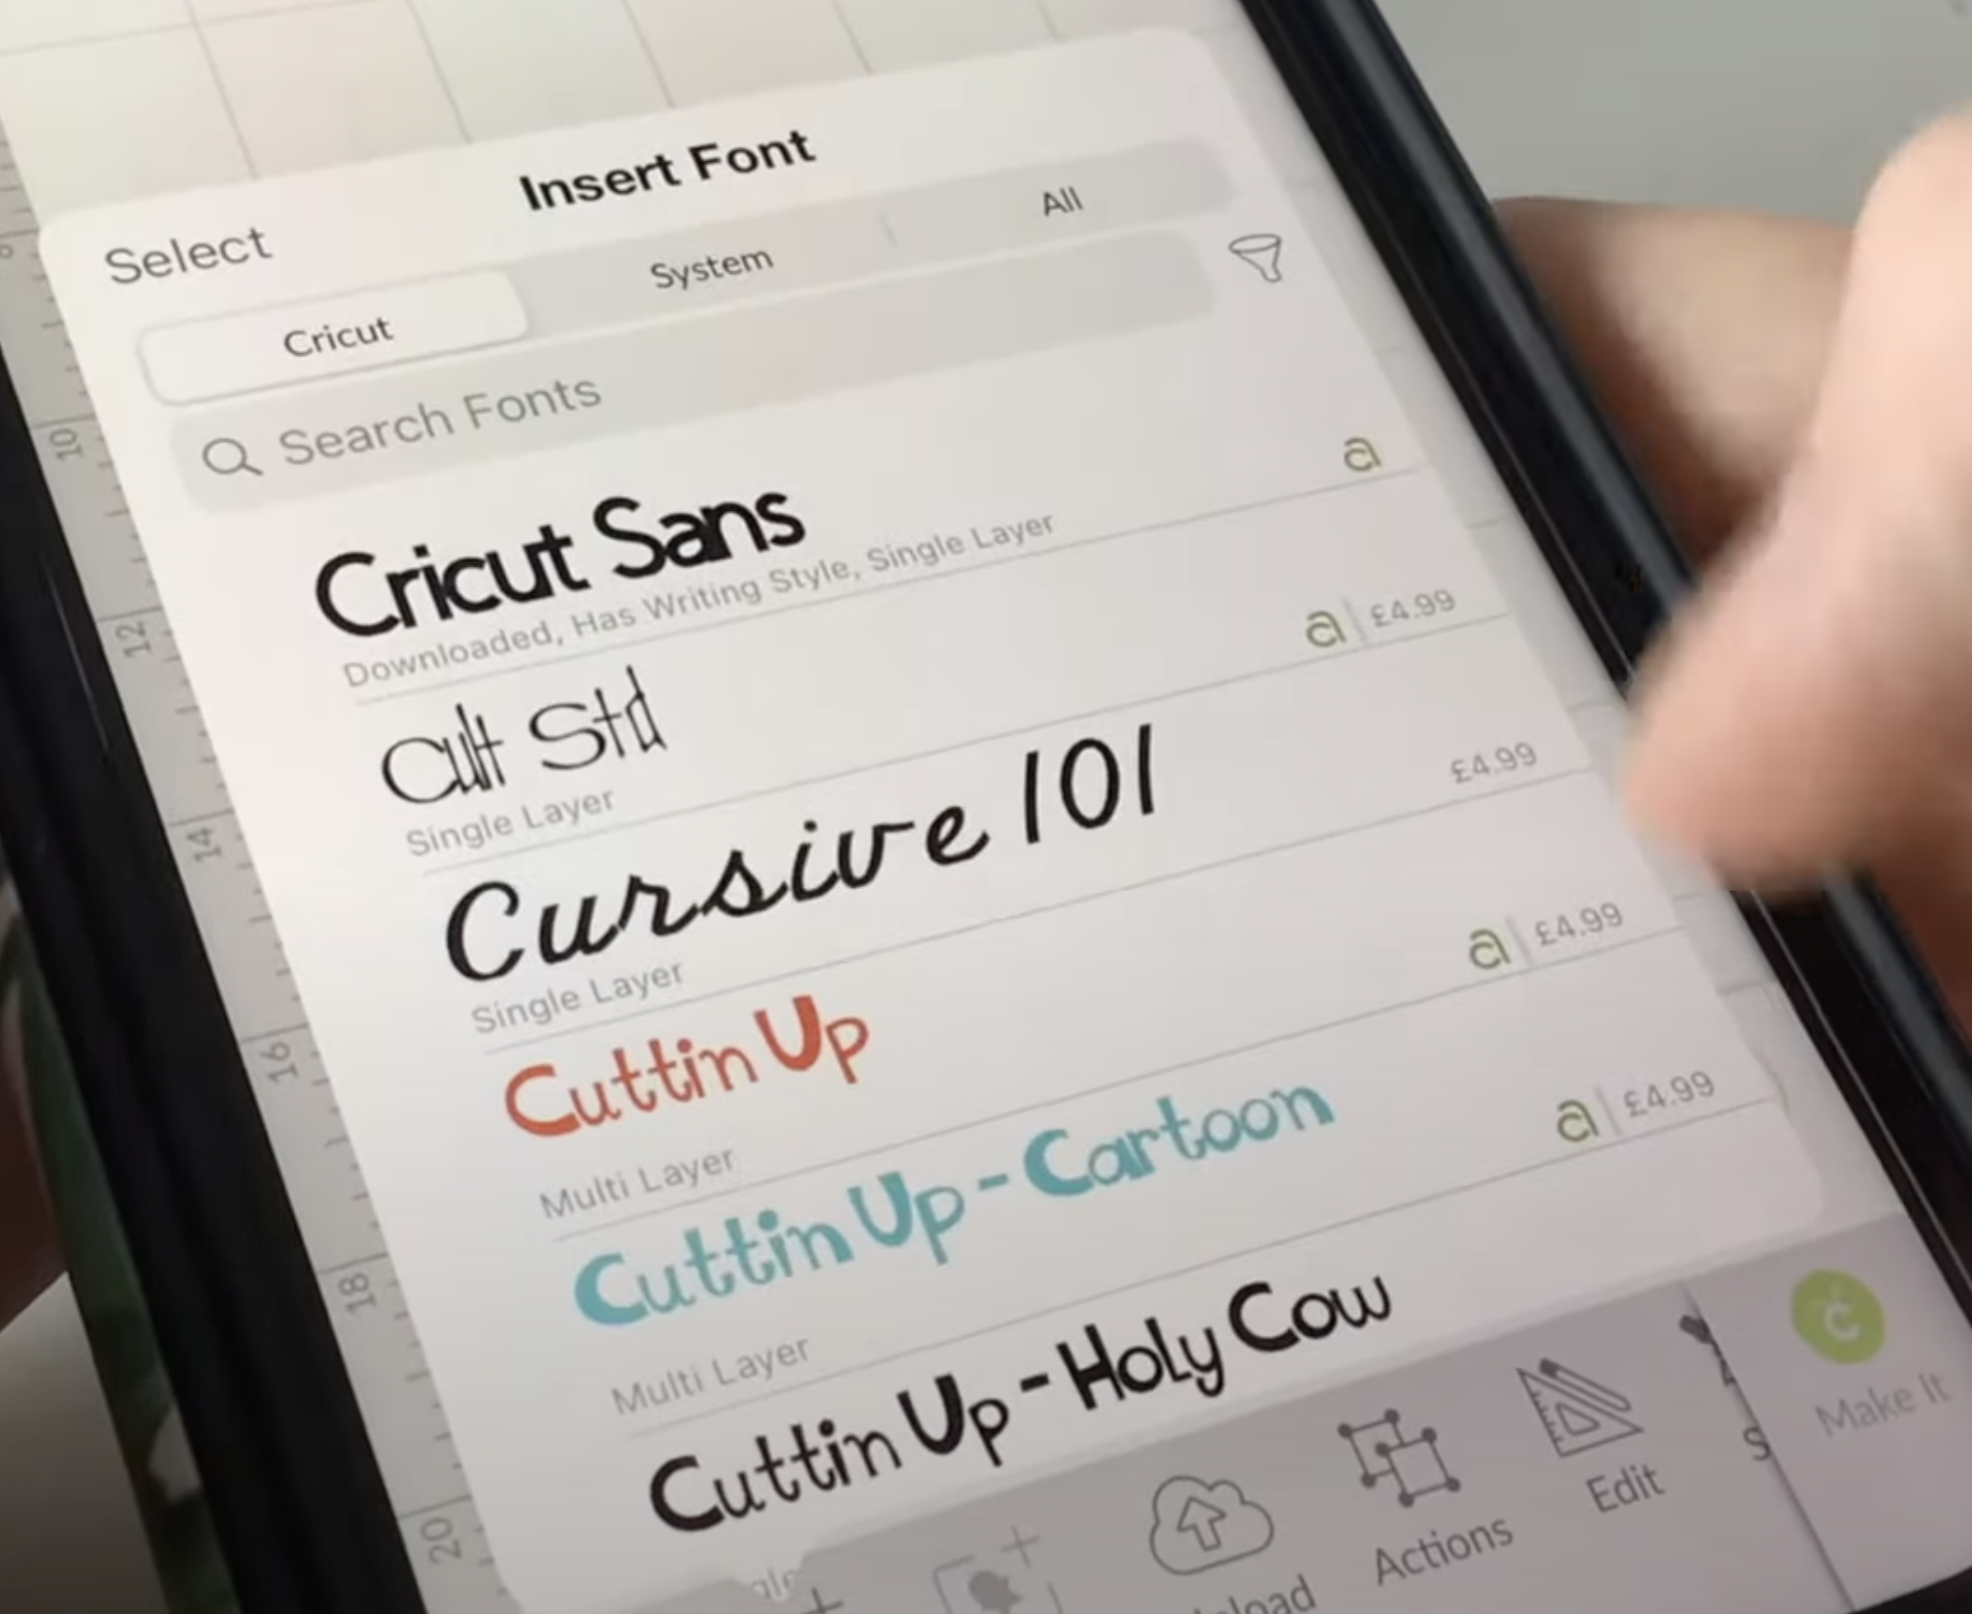
There are also Cricut fonts. Again, a lot of which you have to pay for or have Cricut access in order to use, but there are some free ones available as well.
There should also be some standard fonts on your phone and as far as I am aware, you would need to have a separate font app in order to obtain new ones.
However, rather than doing that, you might want to have a look at the fonts that are available in the Design Space app to purchase or get Cricut access to, if you're going to be using your phone a lot for designs.
Create and Prepare Your Design
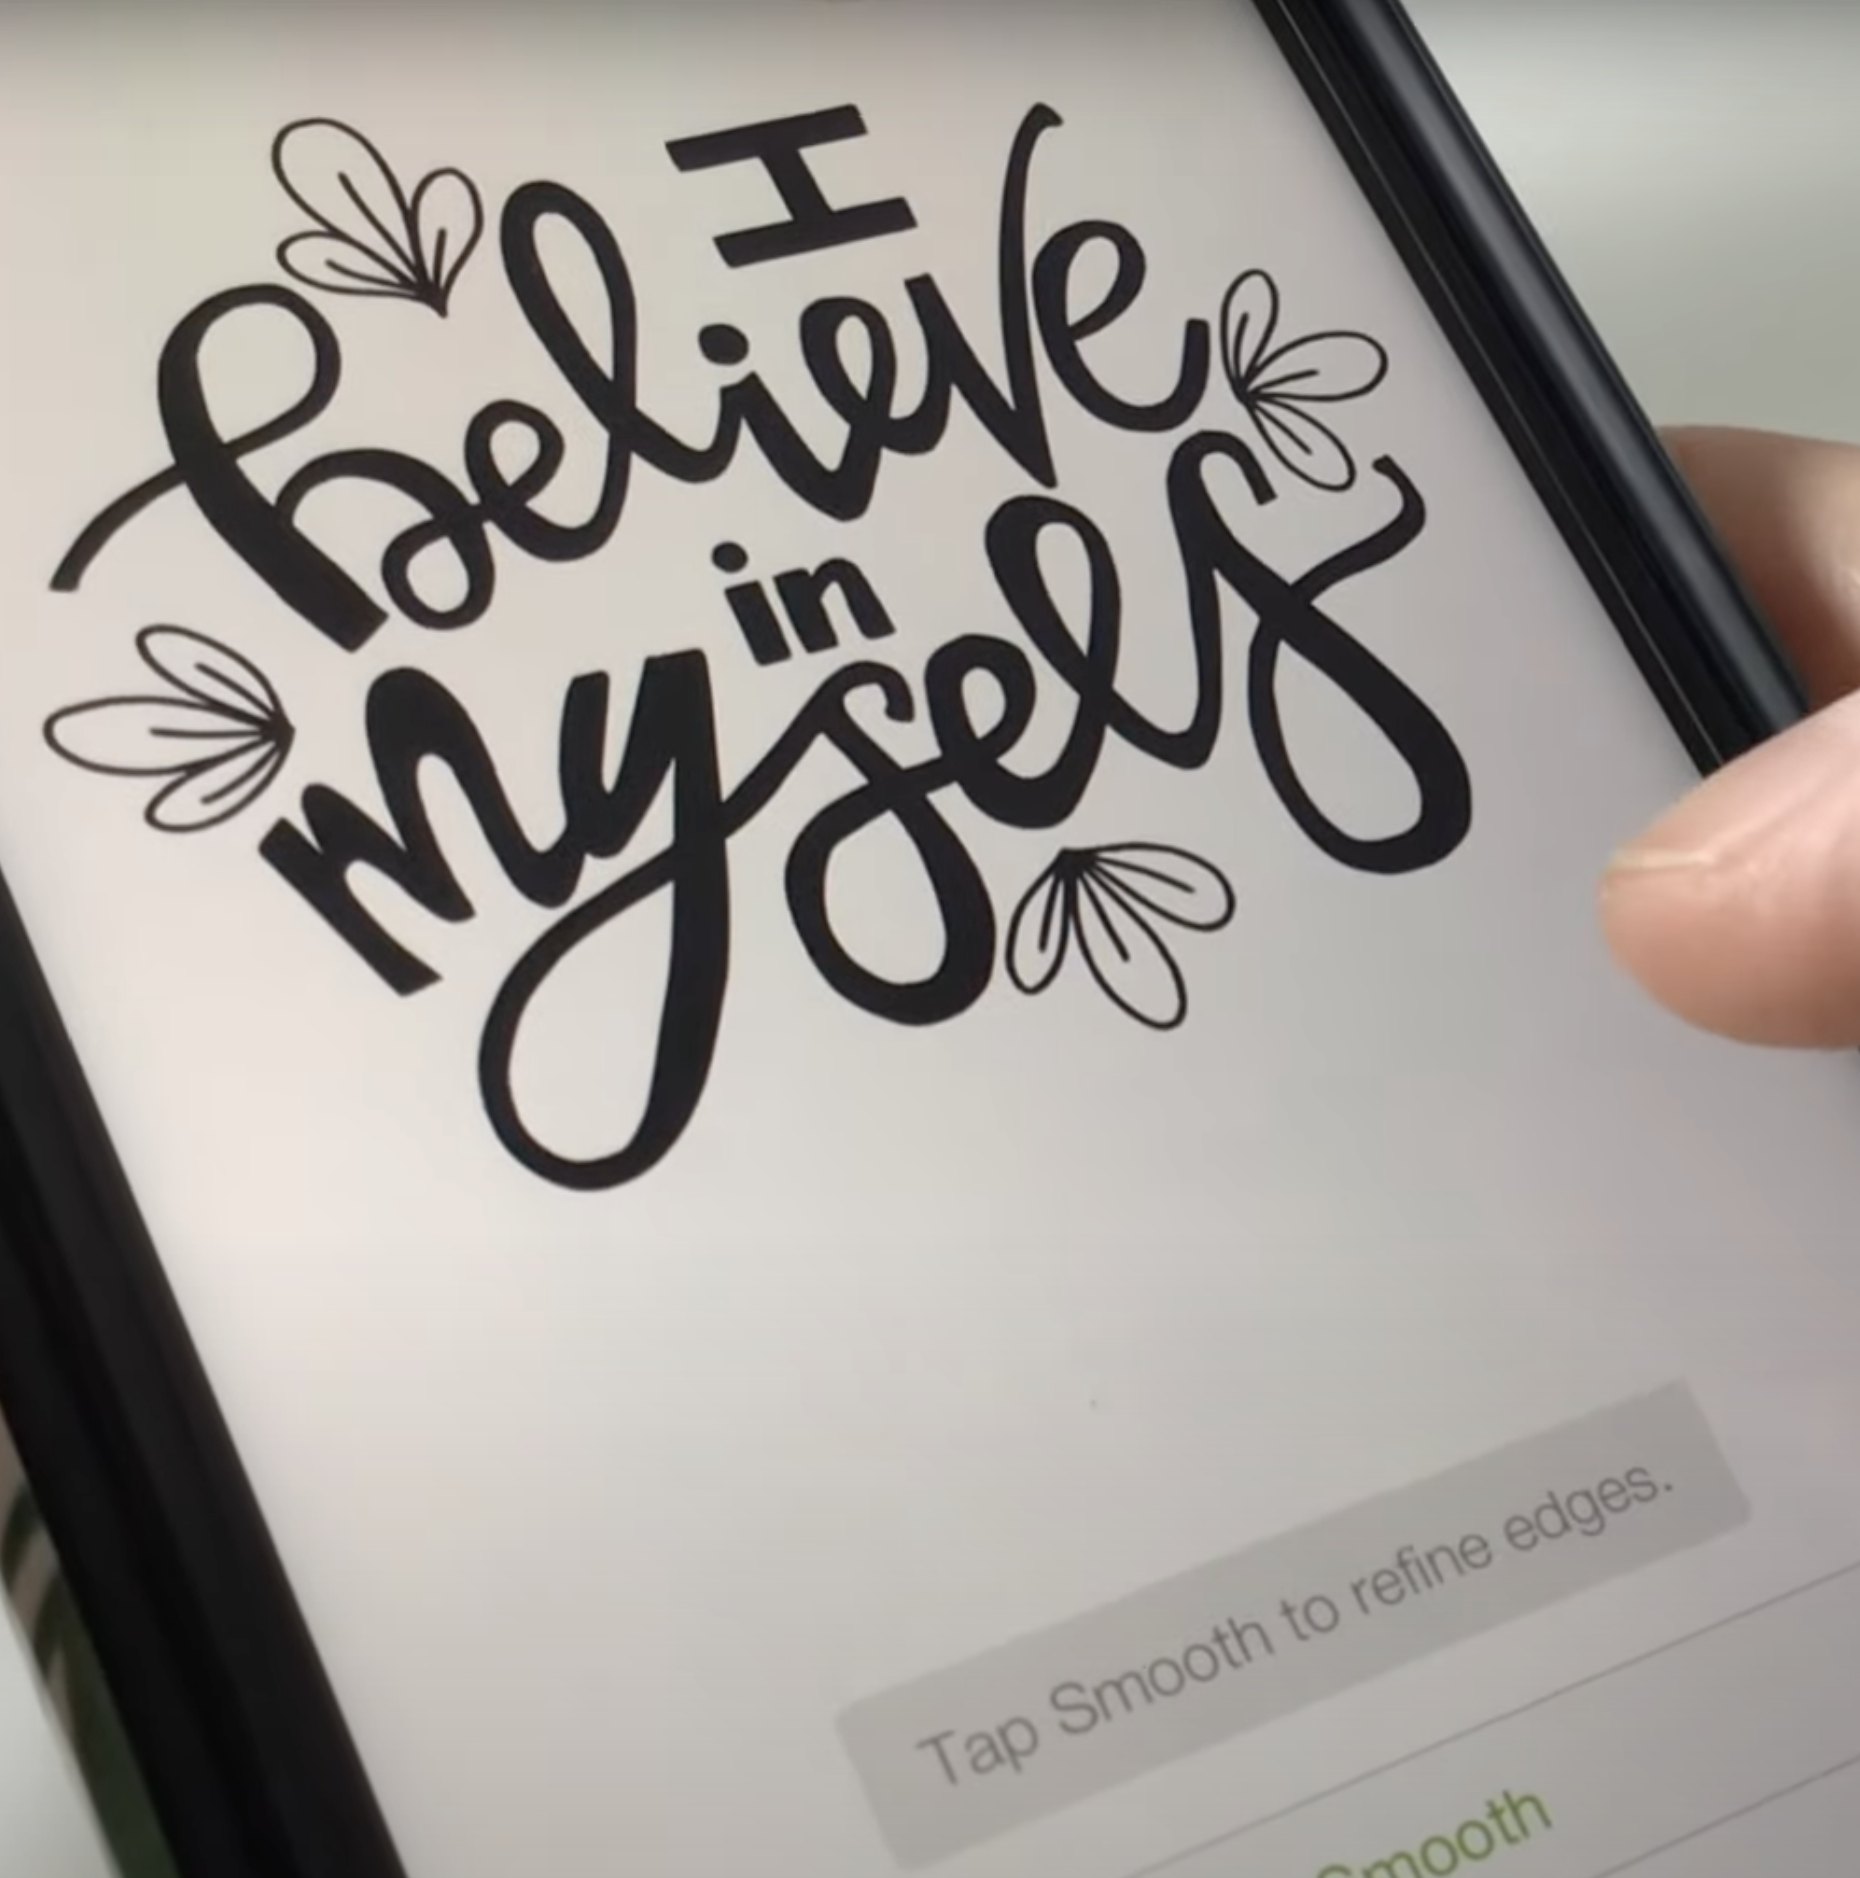
I decided to upload a PNG file with a background for this example because I wanted to see how easy it was to remove the background.


It's just a case of tapping on all the white bits to remove the background. I think this would be a lot easier if you had a stylus or a pen for your phone as using my thumb wasn't that easy.
It did take longer than if I was using a computer so I think f I was going to use my phone in future I would upload transparent PNGs (or SVGs if that is an option).

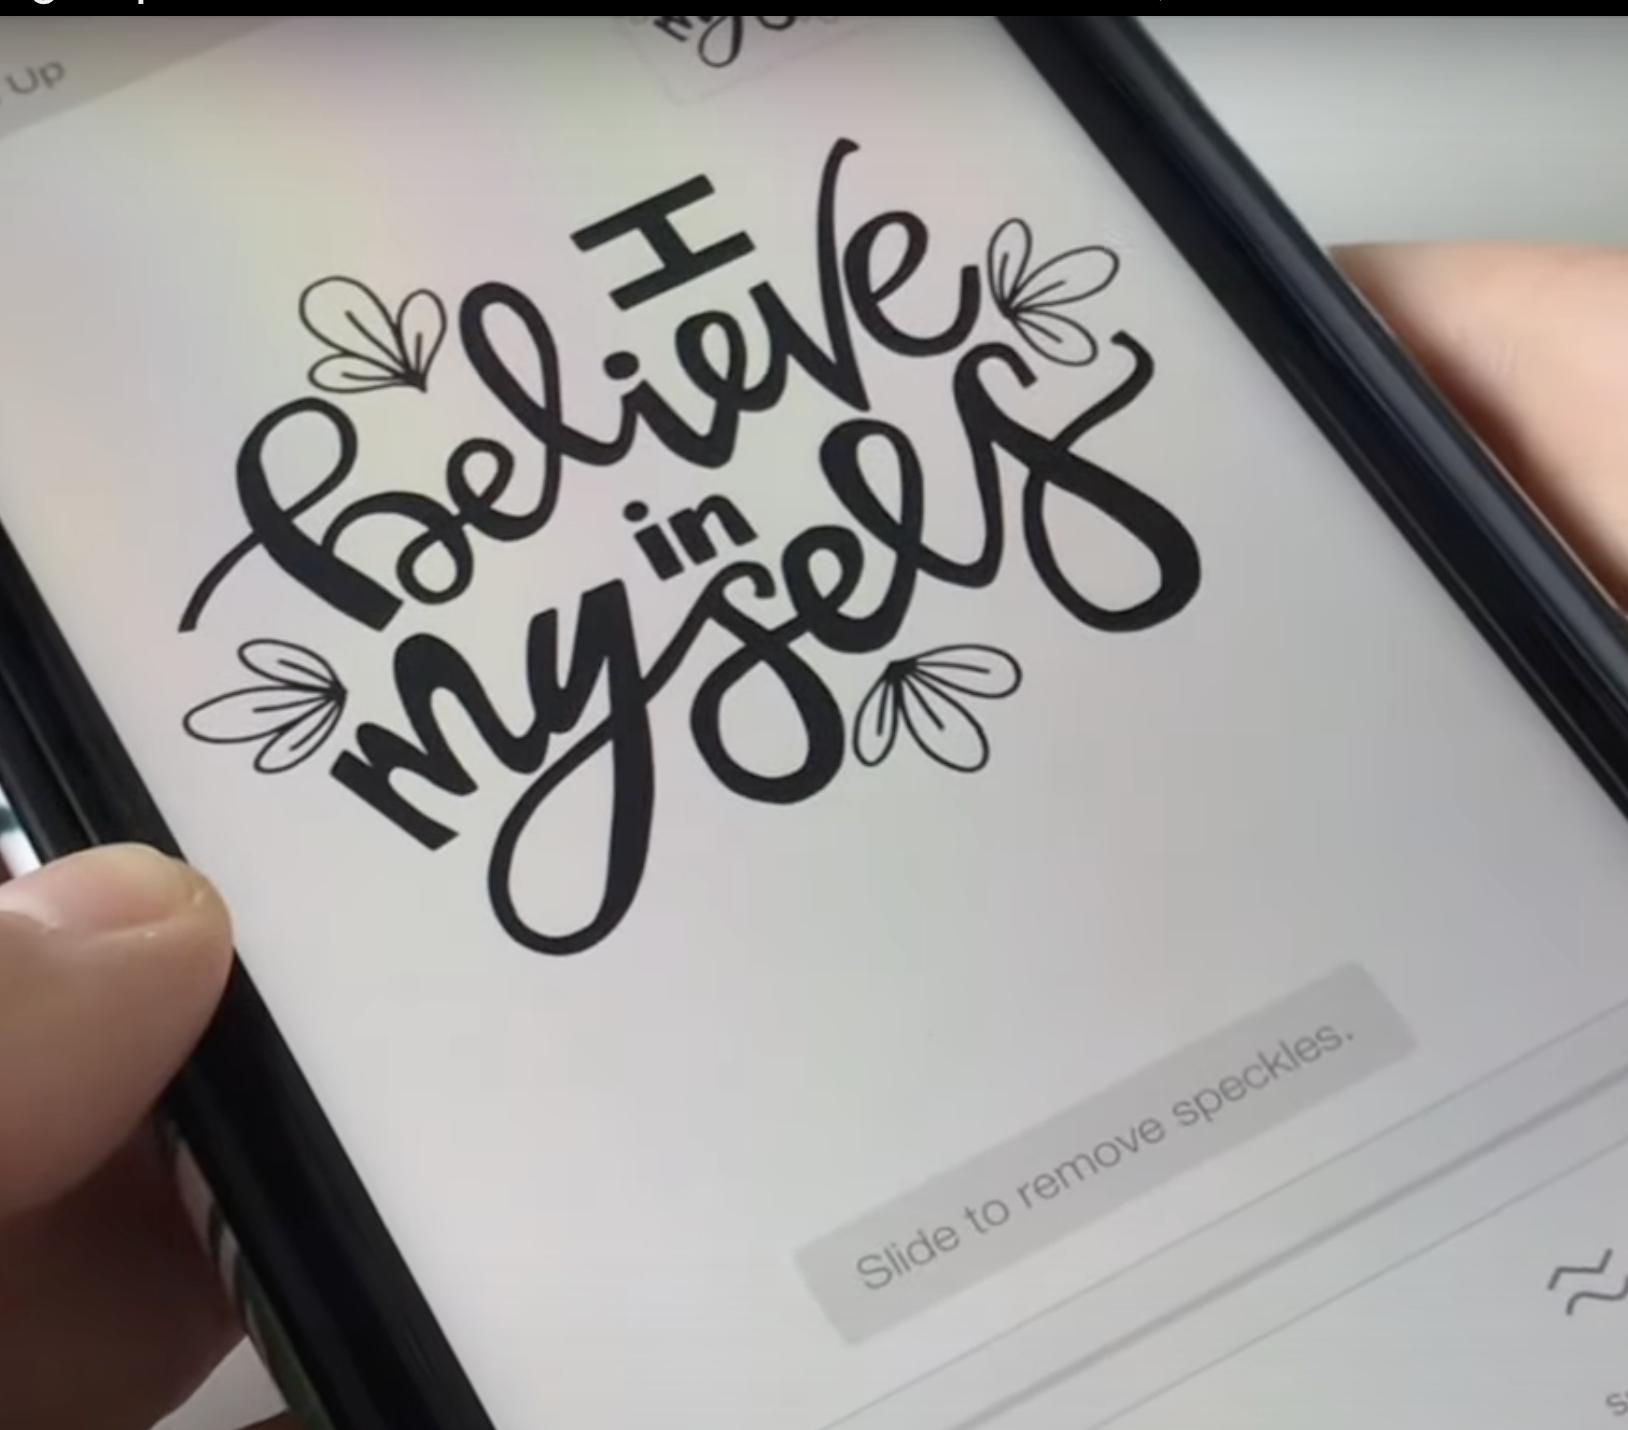
When you move on to the next section there's also a ‘Smooth’ function (that didn't really do much) and a ‘de-speckle’. The ‘de-speckle’ function didn't work with this particular design but if you had quite a rough design I think that would be helpful.
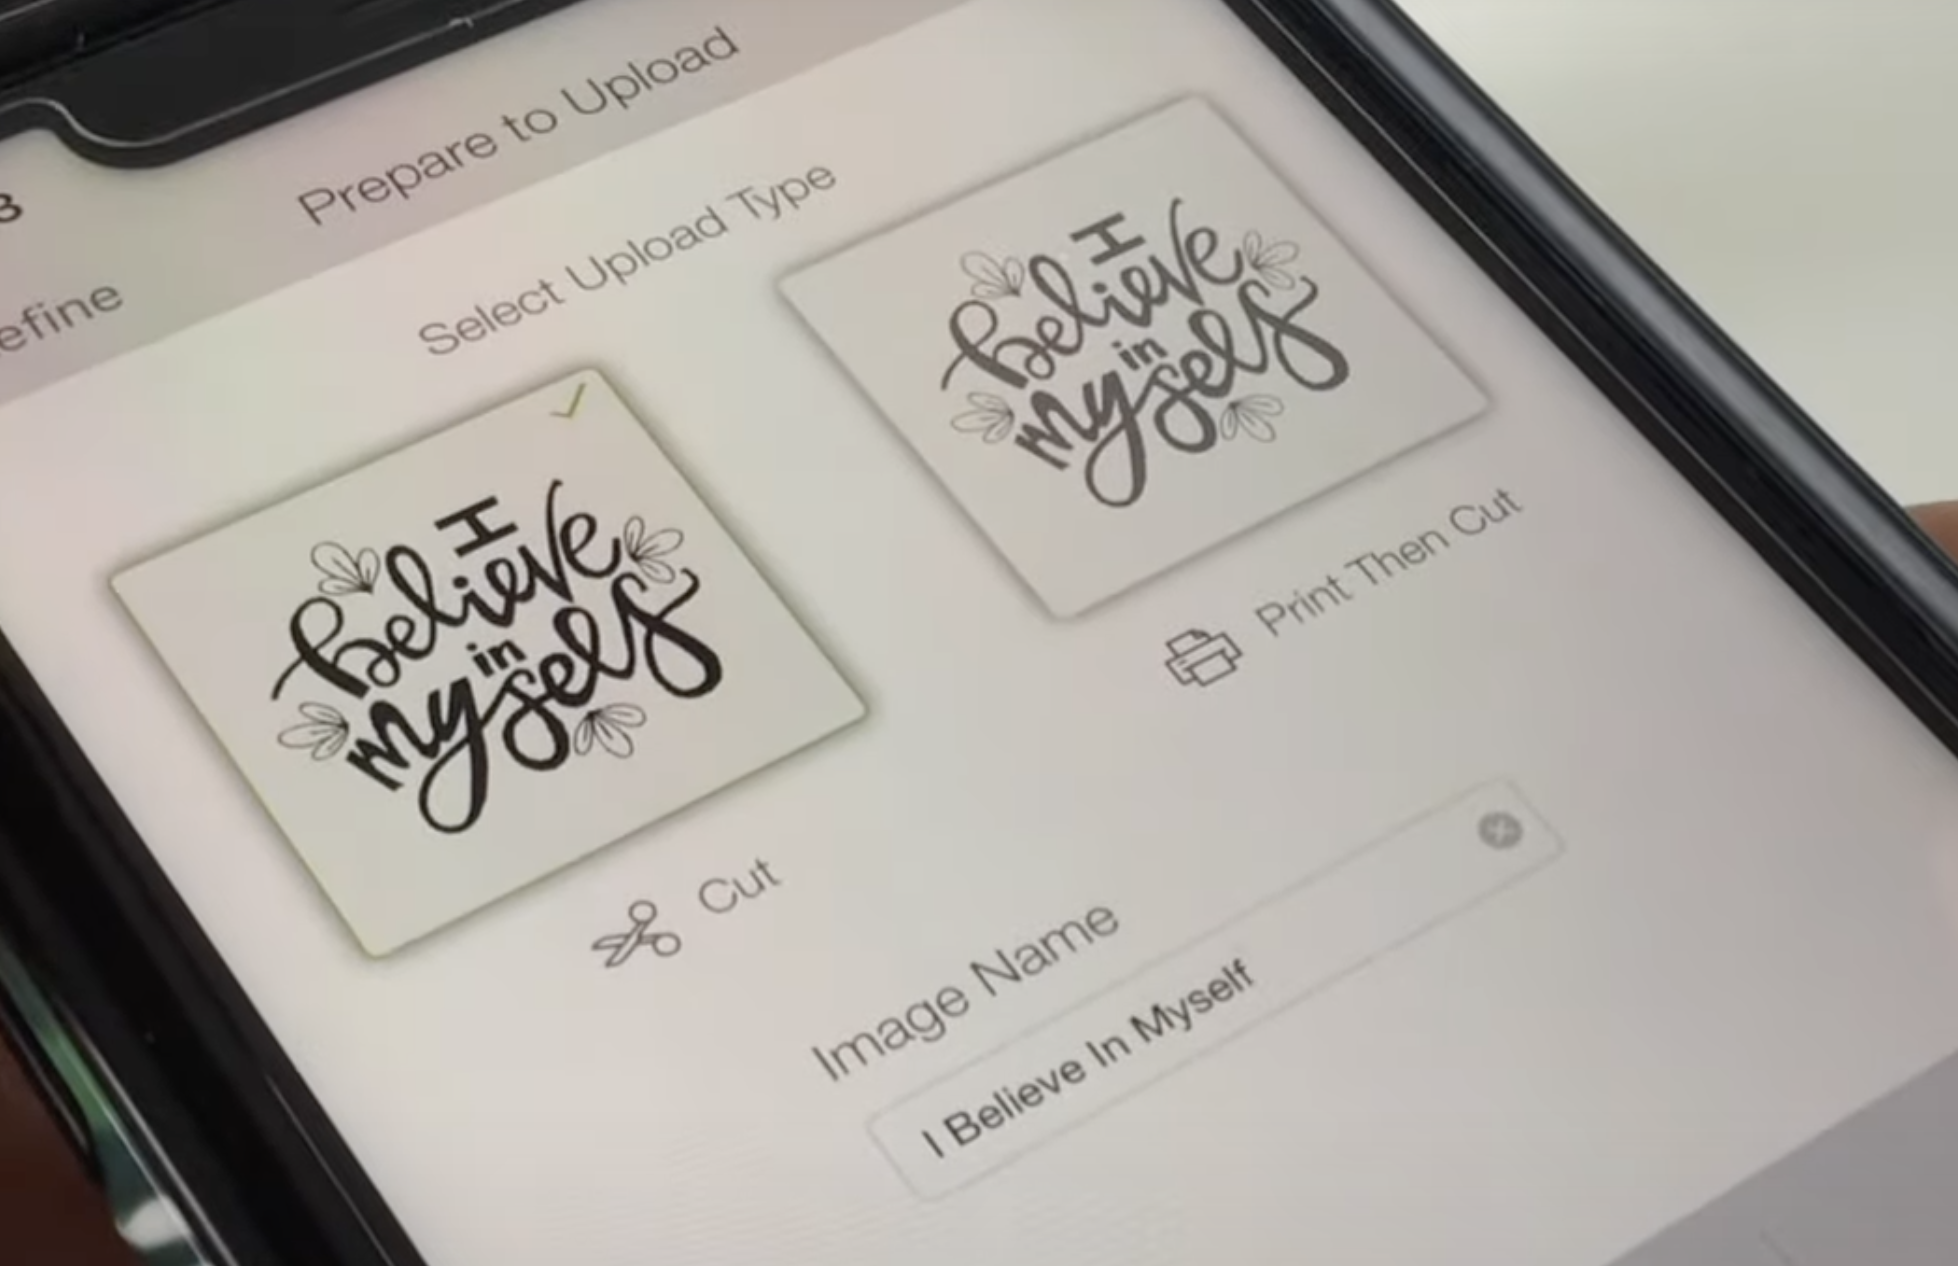
I clicked ‘Next’ and saved the image as a ‘Cut’ file as I was making it in vinyl.
The design is automatically added to your Design Space Circut account so it can be accessed from your computer, iPad or phone.

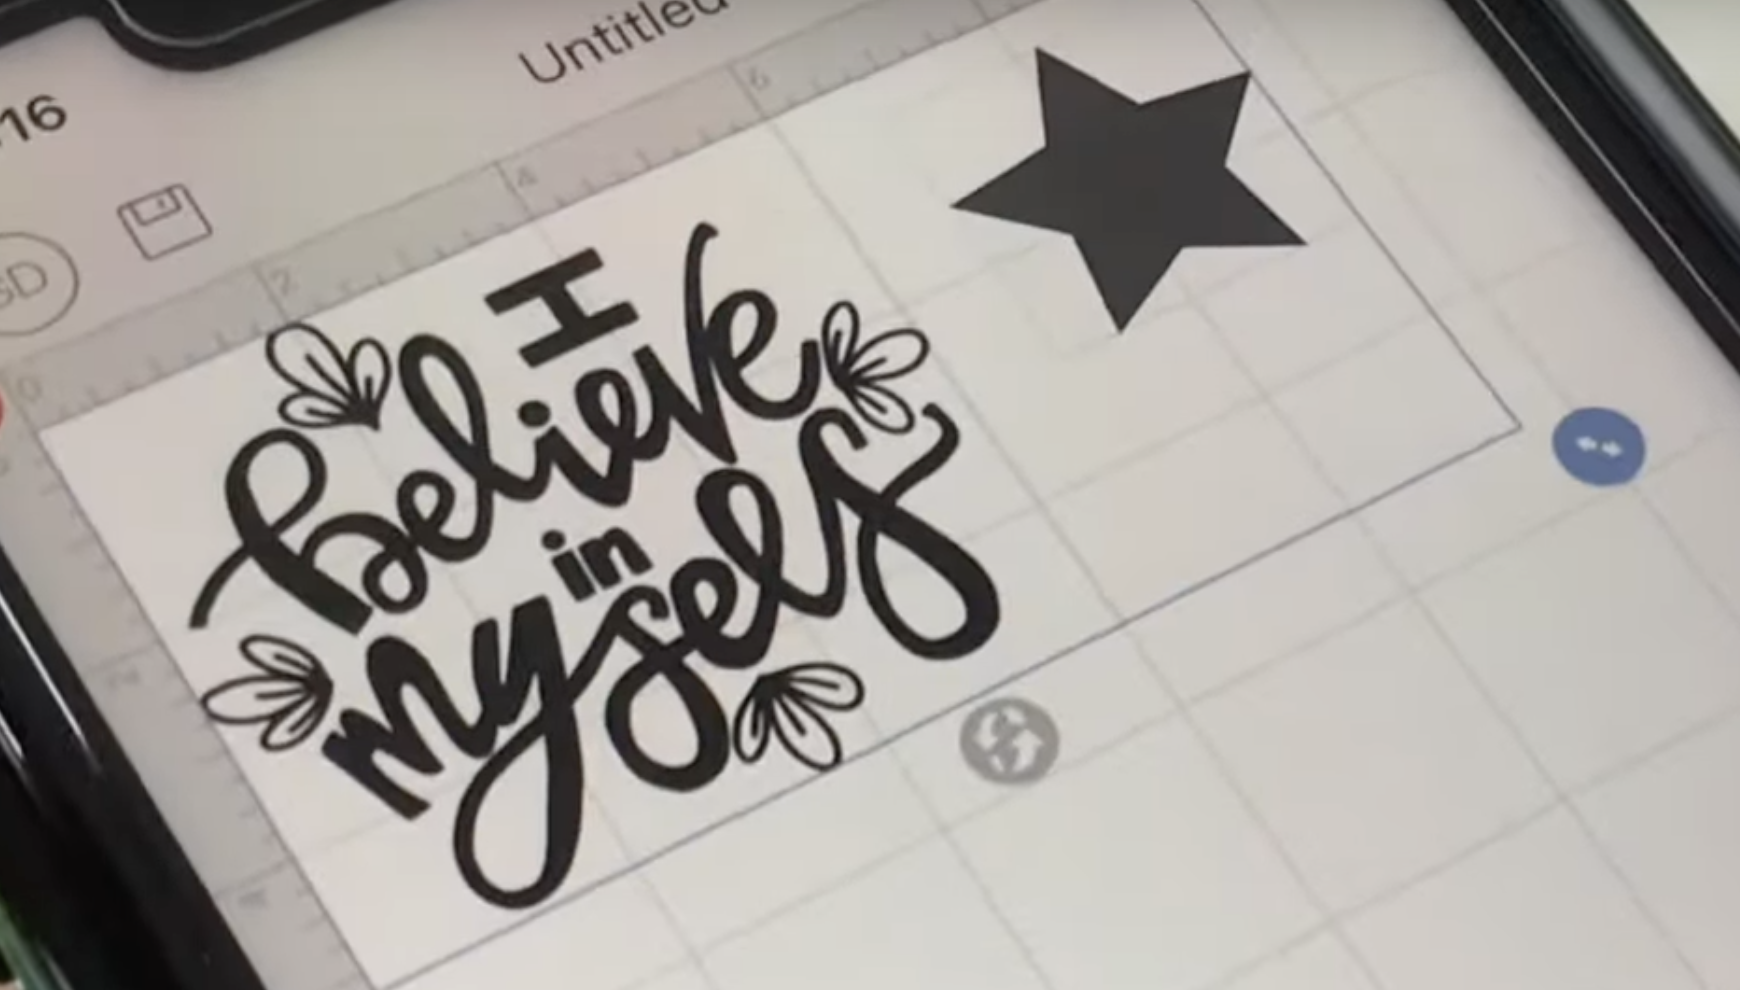
The design I created was quite easy to resize with the resizing box (I wanted to make sure it was on inches which can be found in the settings).

It's not too difficult to move the screen around if you pinch it and l added a couple of shapes to see how it dealt with having multiple designs.
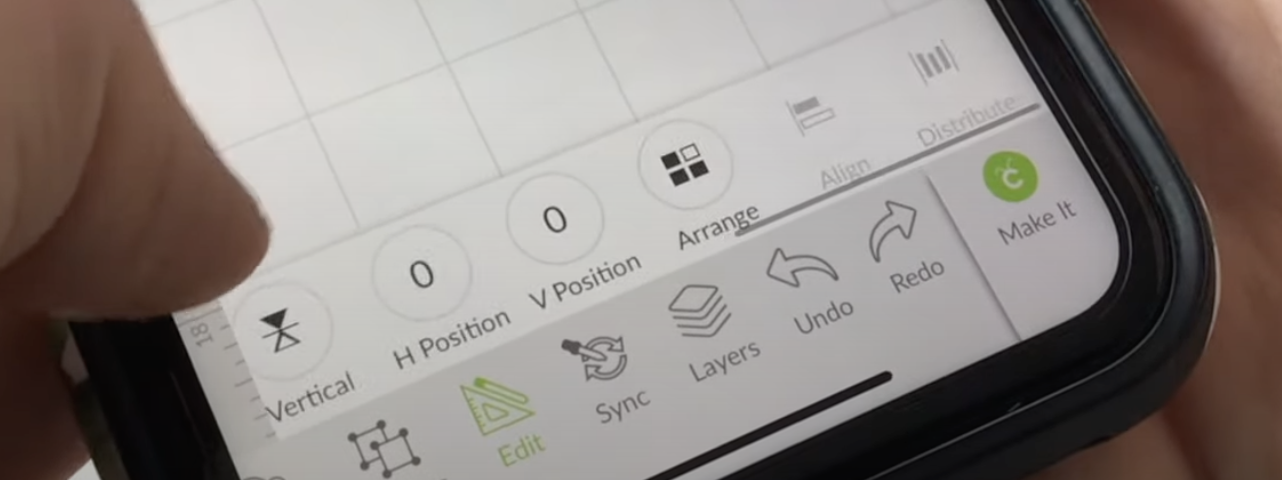
If you want to edit individual designs you open the edit box.
You can change the position of the size and also draw a box around both designs. Go on to actions if you want to Group attach, or Weld, Slide or Flatten etc.
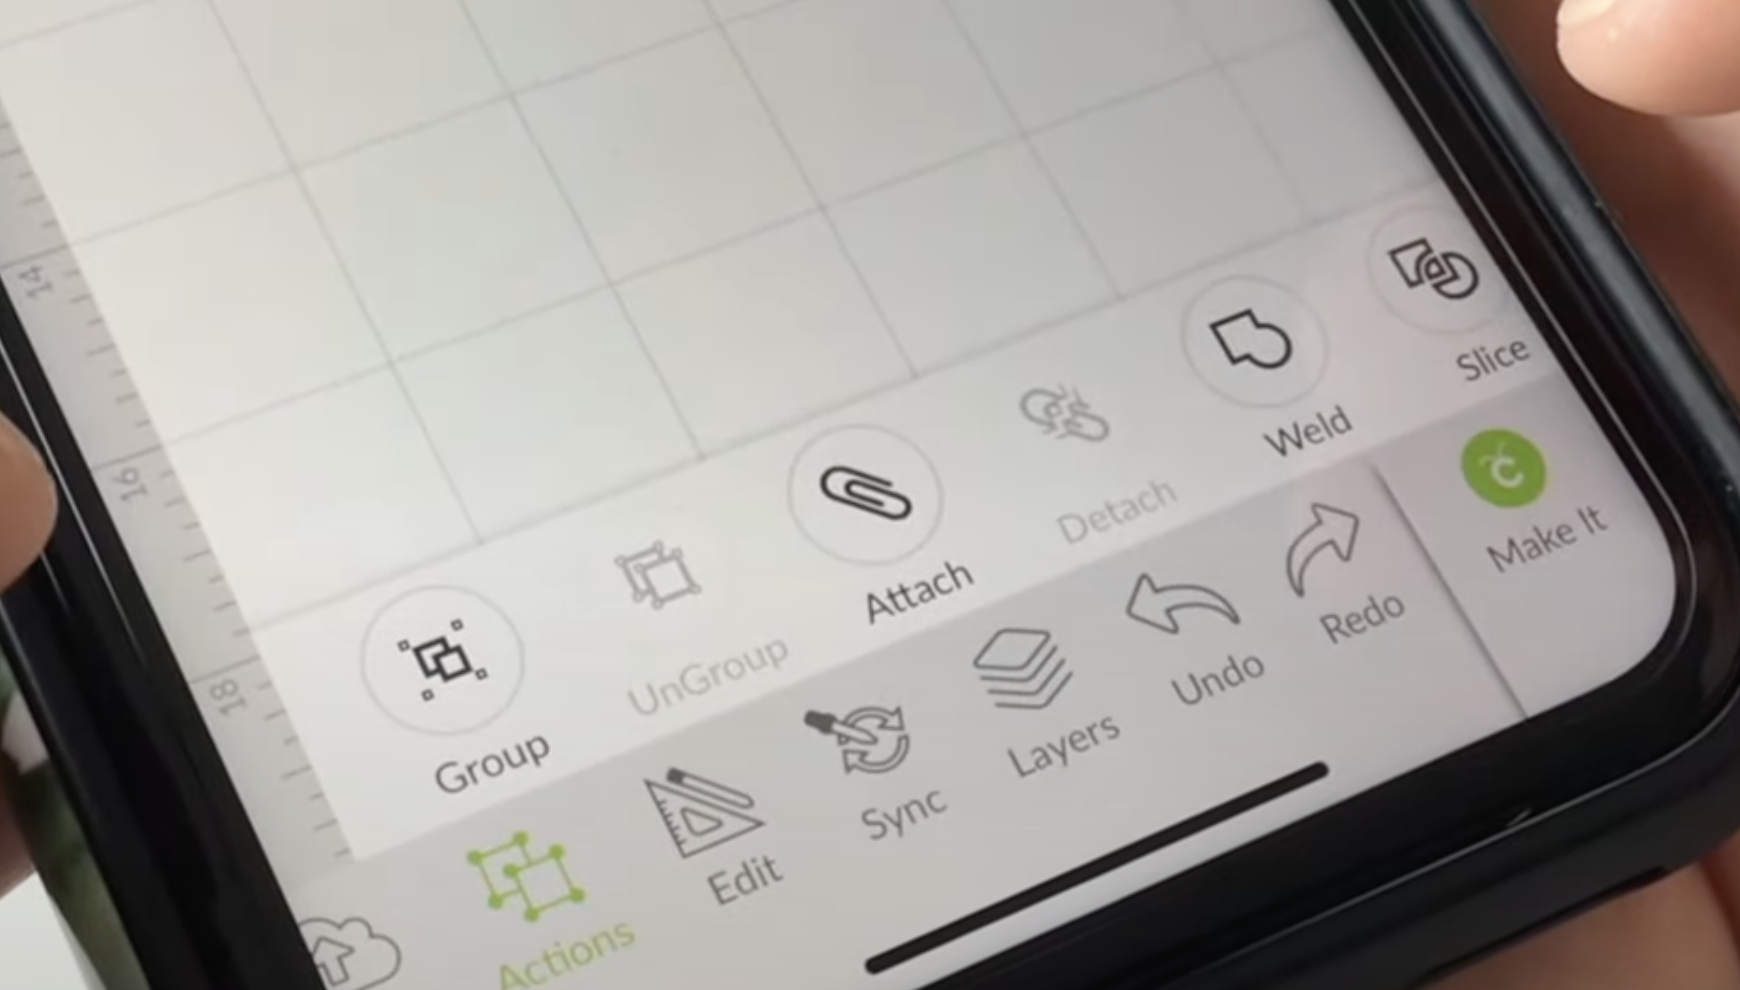
If you want to attach both designs so they stay together (like I did when I made mine), click on ‘Make It’, which will take you to the next section.

From here you can move the designs around on the mat but you also have the SnapMap feature, the same an on the ipad.
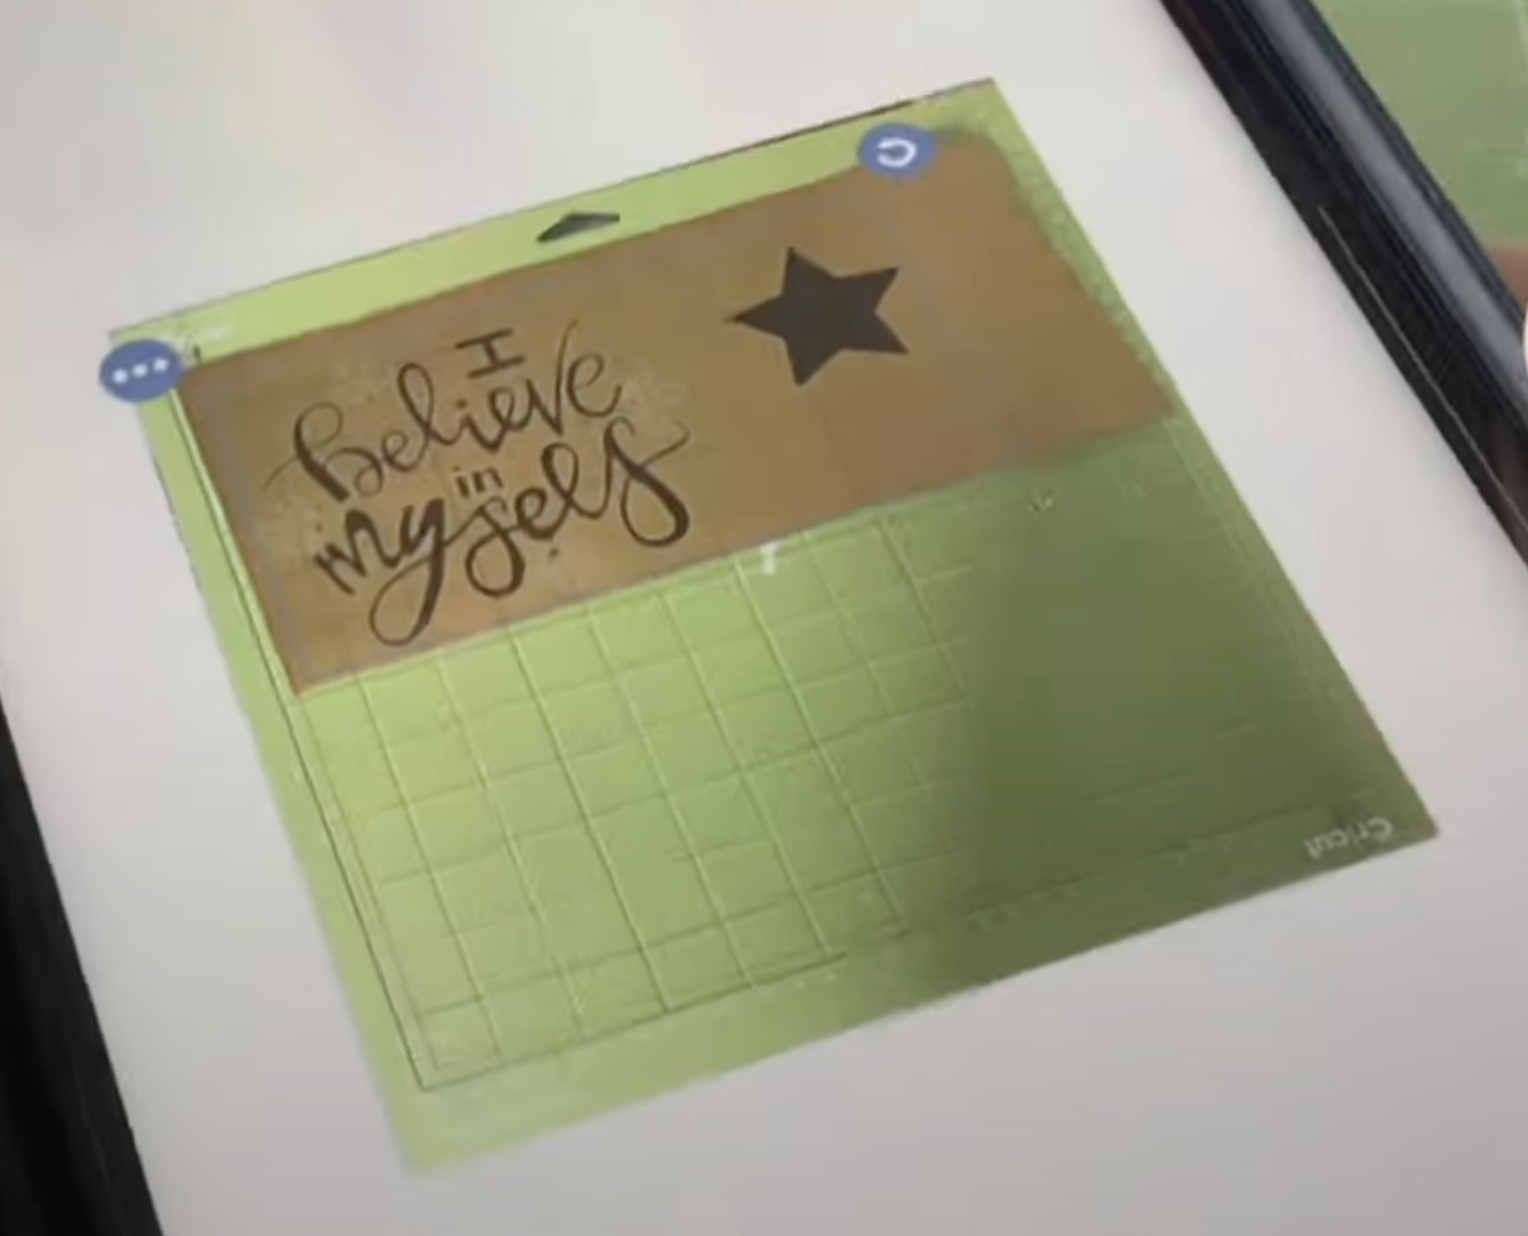
Place your vinyl on your mat and take a picture of it. This is really good if you've got loads of different pieces or if you want to use a few different colours.
Make sure the design is in the right place and it's not over the edge of the vinyl. Once you're happy just click ‘Continue’.
Make sure your material is set to the right setting either on your machine or the custom materials button, then pop your vinyl into the machine and press ‘Cut’.
It’s all Done!
Once you have weeded your finished design, there it is!

Although this was super quick, I don’t think I would use my phone a lot of the time as it is a lot easier for me to do everything on my computer. But it would definitely be helpful if I wanted to be mobile with my machine and didn’t have my Macbook. And if I wanted to do some little things it probably would be quite easy.
I hope you found that very quick overview of cutting on a phone with your Cricut helpful!
Remember to ‘Like’ and ‘Follow’ and you can subscribe for more videos in the future by clicking on the button below.