

How To Make Your Own Cup Wrap Designs
I love a vinyl wrap but I can’t always find exactly what I want, so I do sometimes resort to making my own designs.
In this post I’m going to show you the beginning-to-end process of making an adhesive vinyl glass wrap design for yourself. You could also use this process to create your designs for cold cups, mugs, and also for sublimation wraps or UV DTF wraps if you want to.
Okay, let’s get going… continue reading or watch the video below …
The content below may contain affiliate links and we may earn a commission if you shop through them, however, this won't cost you anything, it just helps us to keep the site running for free. For more information on affiliate links, see the disclosure here.
Measure your glass

The glass I used had a handle so I measured around that, rather than trying to place the design underneath it. Obviously, if you’re sublimating and you’re using drinkware with a hand you will have to take this into account.

If you want to use a cup that’s tapered, there are blank templates online from Kayla Makes, or there’s also a few different ones on Creative Fabrica (check these and this one).
Create a template
Next, create a template.
You can use pre-made elements from somewhere like Creative Fabrica, or you could draw your own, but I use Kittl as they have lots of really nice elements that you can change the colours on.
You can also use the elements for commercial purposes if you want to think about selling your wrap designs.
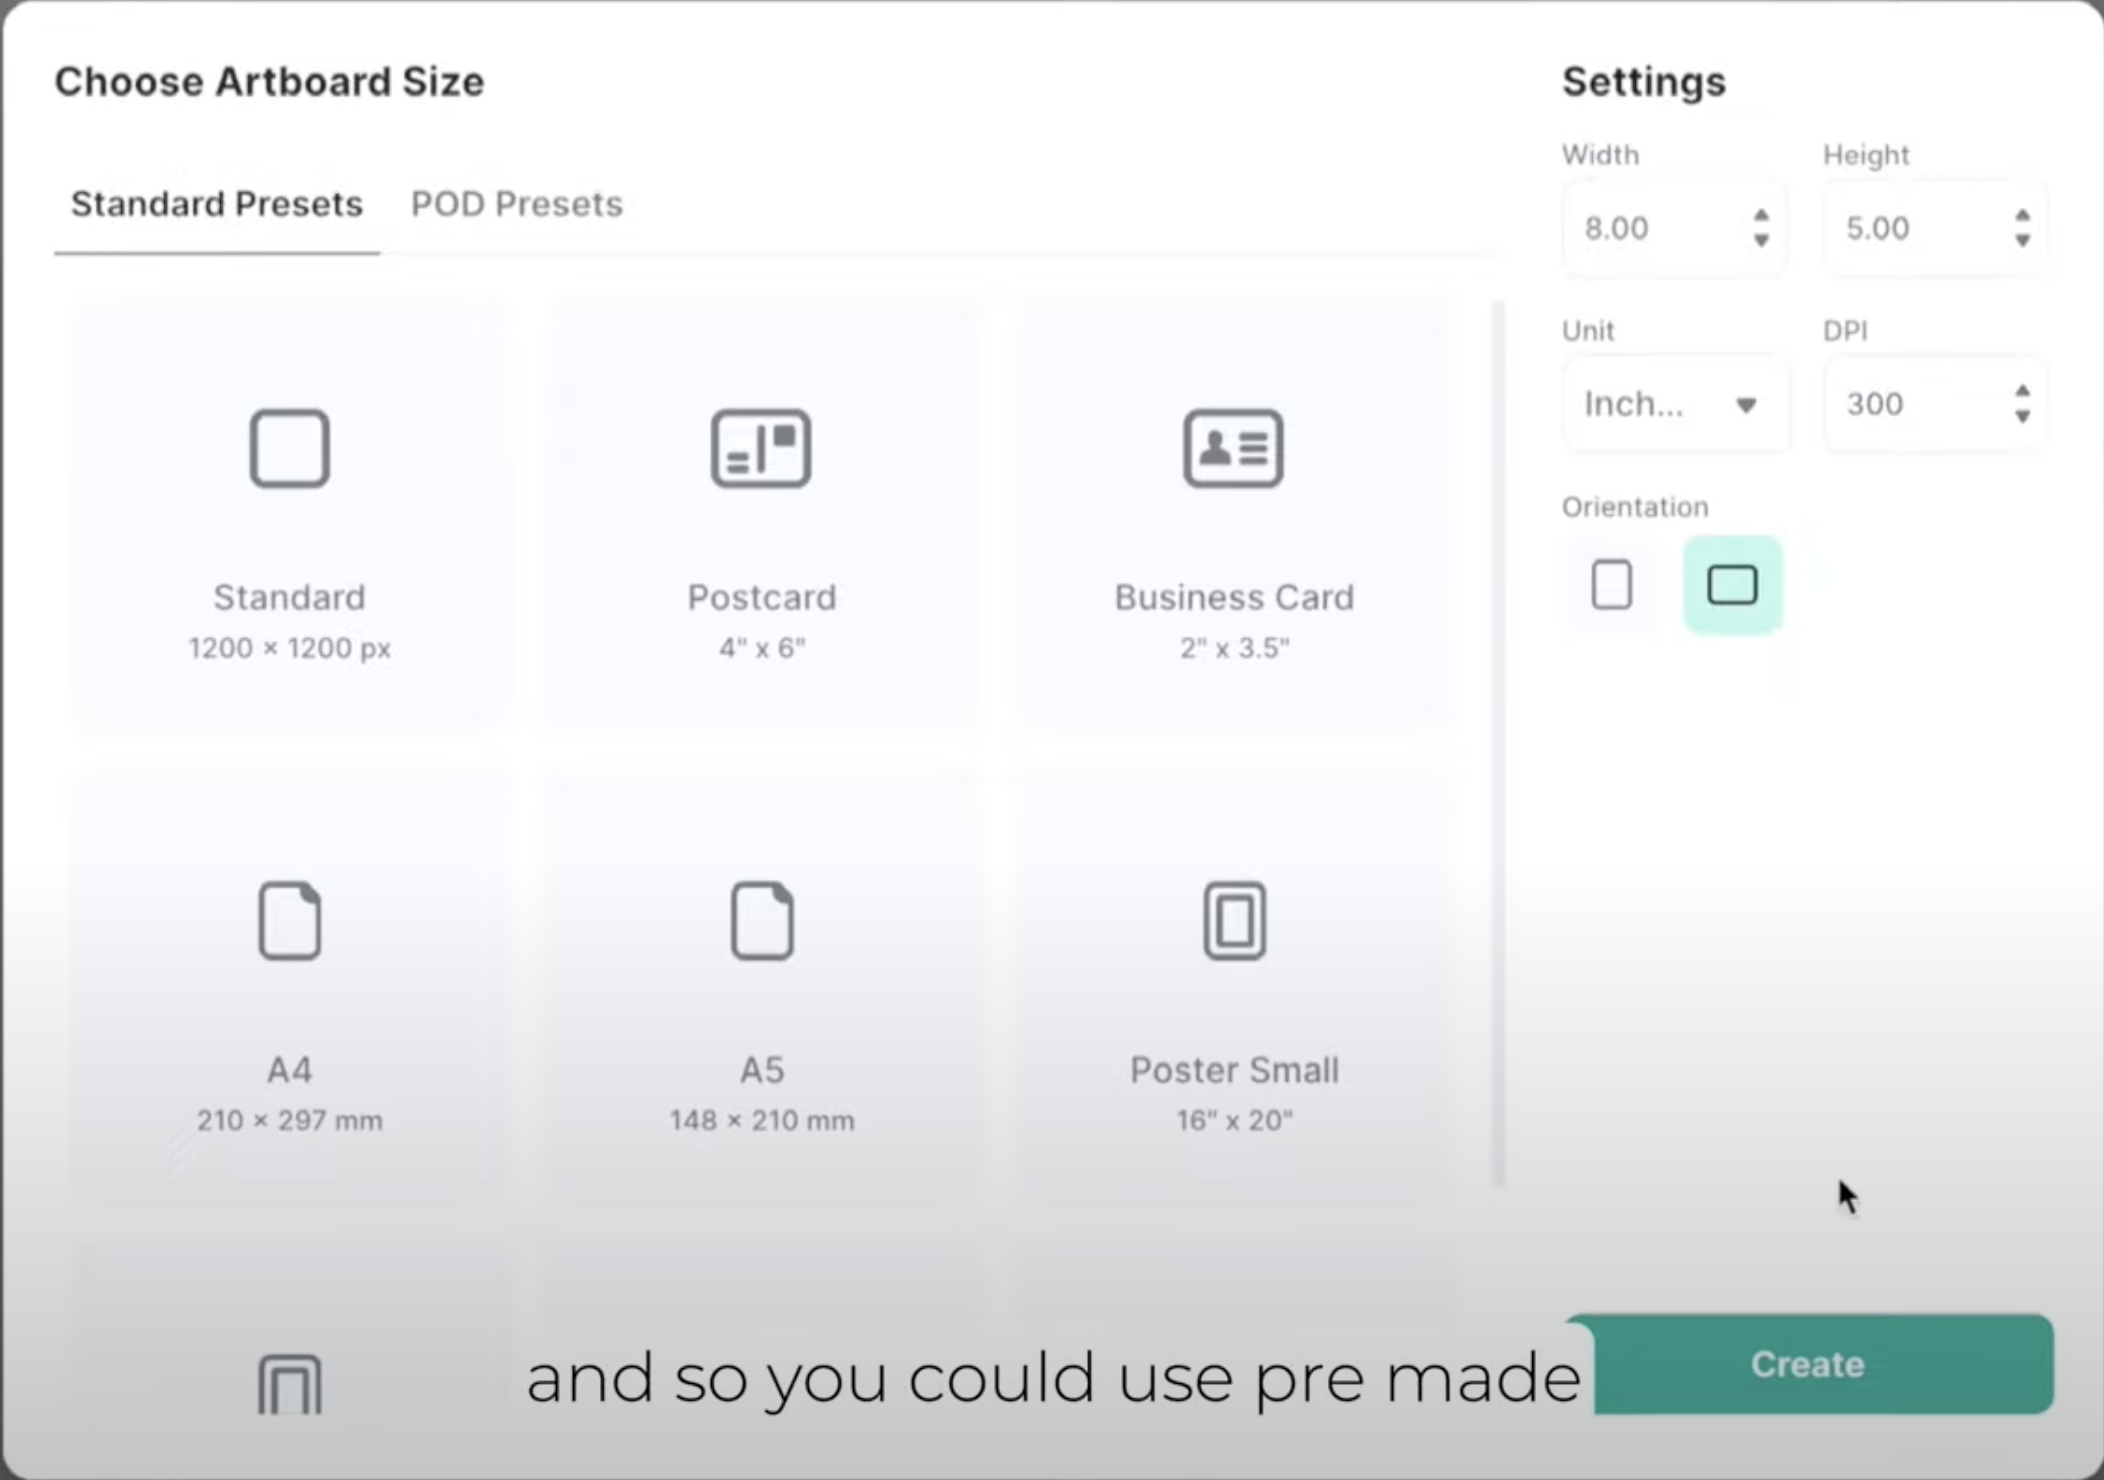
Firstly, I changed the size settings to fit my cup. I changed my sizing to inches and the dpi to 300 so it’s better quality.
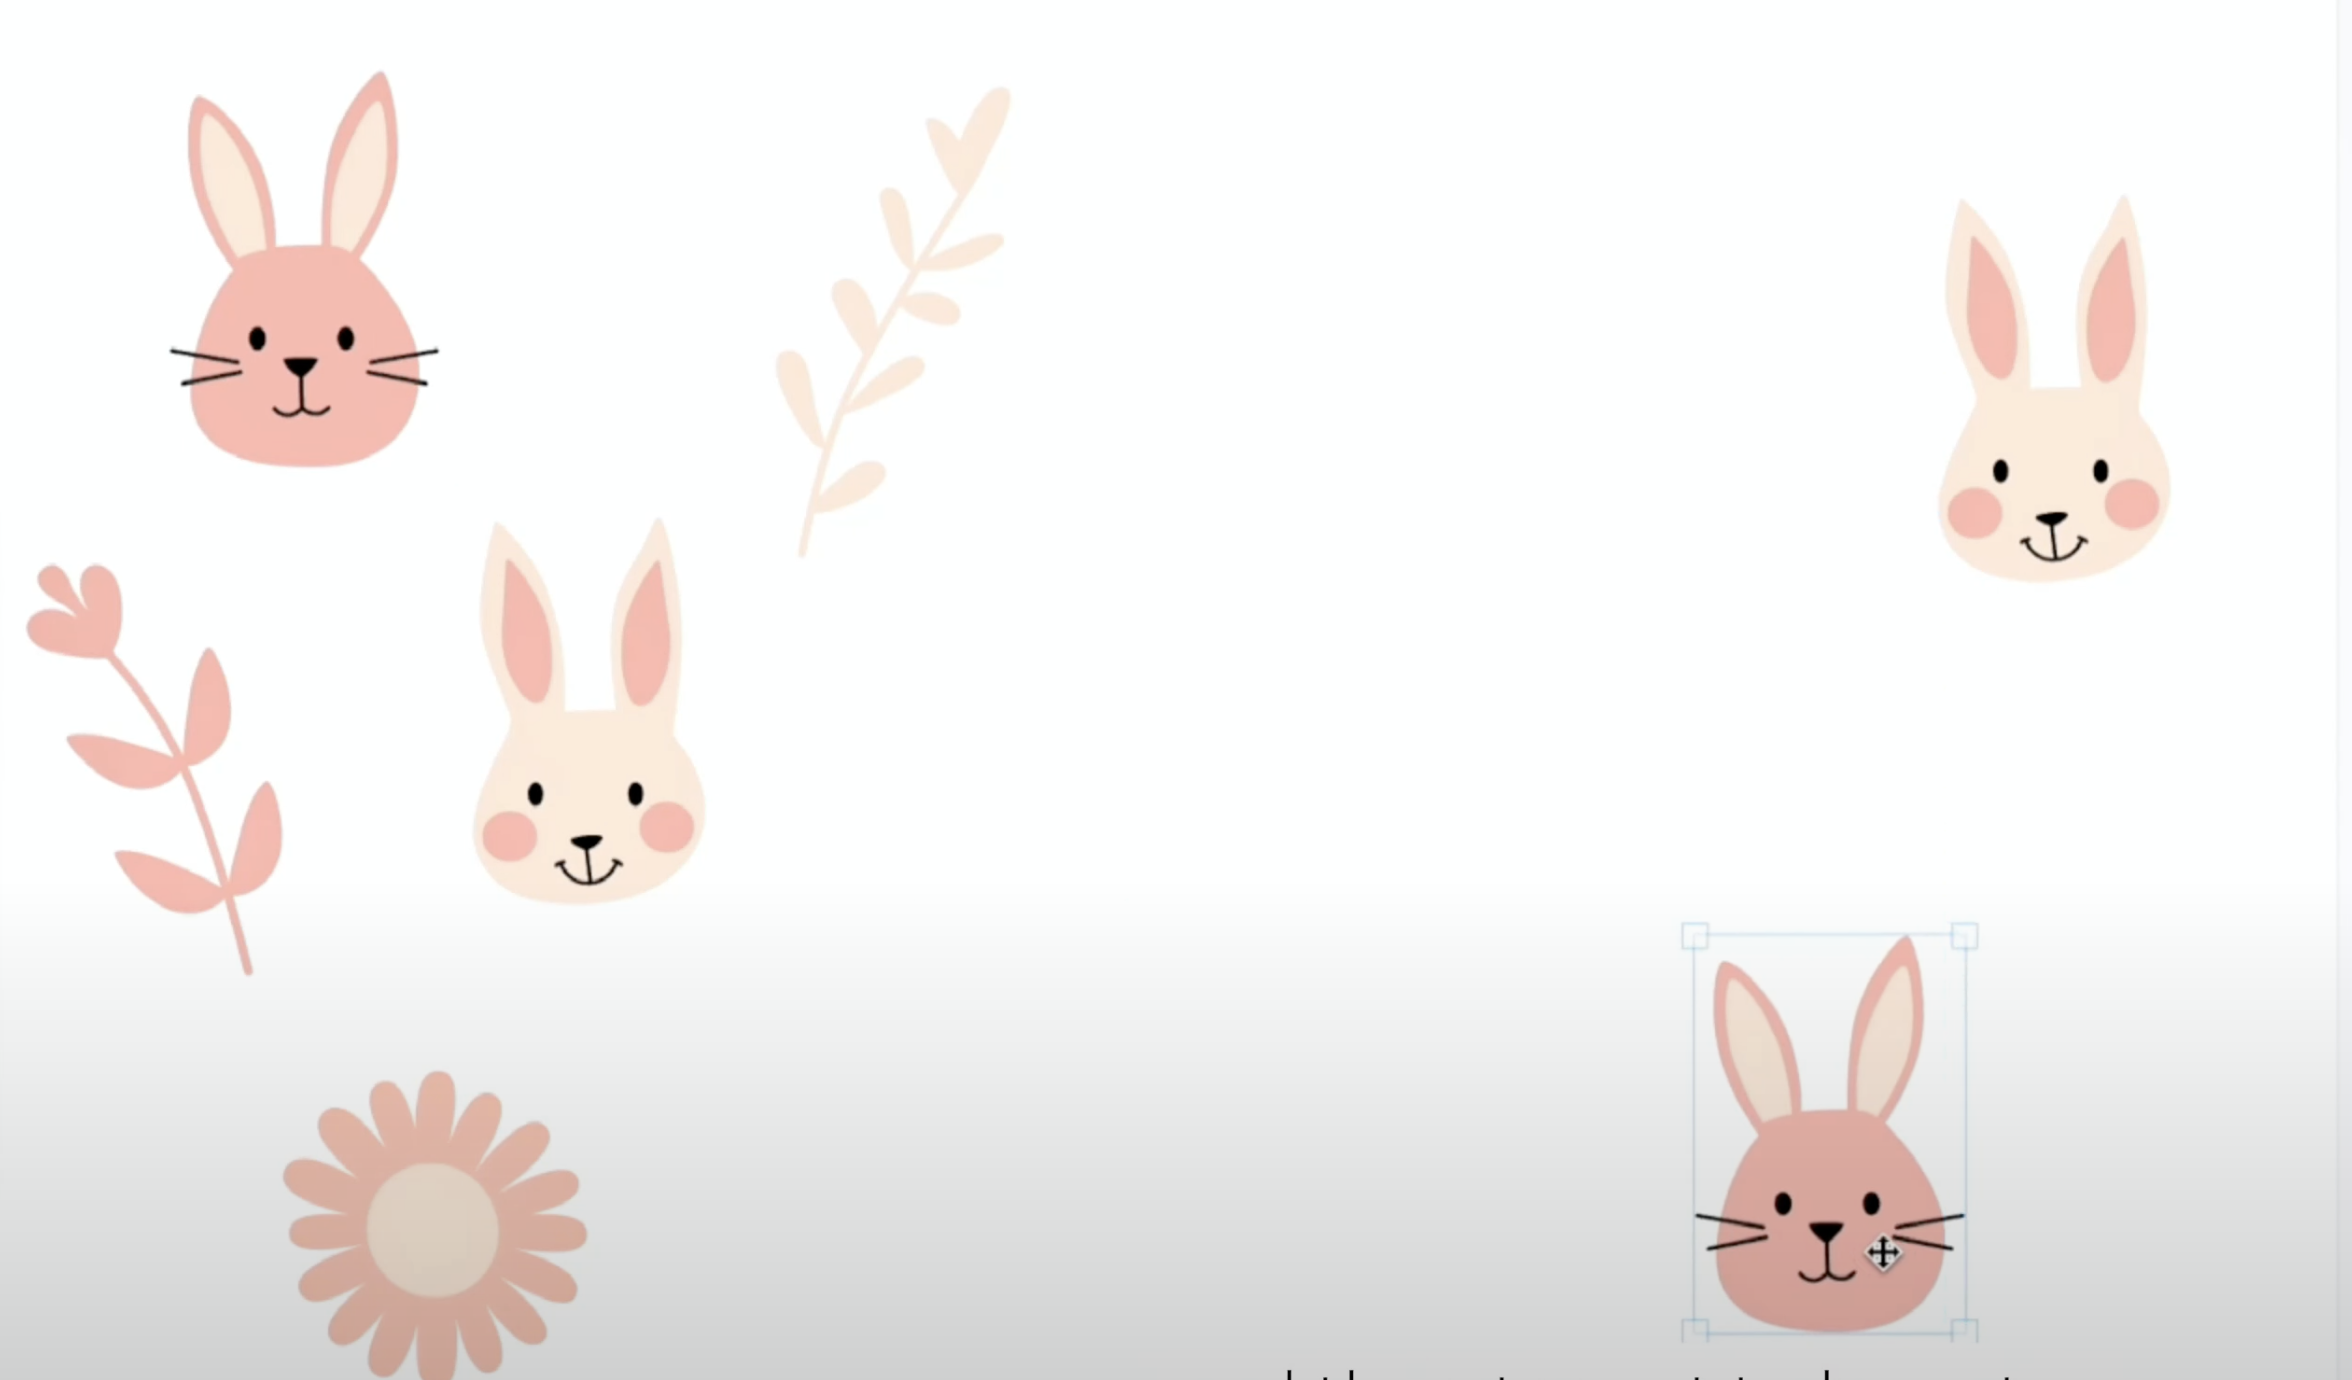
I decided to do a spring theme wrap, so searched for spring elements and chose designs with 3 colours maximum to keep things simple. This is the advantage of using Kittl as you can change the colours of any element.

If you need some inspiration take a look at other glass wraps to see how they are designed. A lot of the ones that you could use for a vinyl wrap are fairly simple and only have a few different elements.

Bearing that in mind I removed a couple of my elements and repeated them across the wrap.
If you’re doing a pattern like mine with a few different elements, you want to make sure that you don’t have two of the same thing side by side on either side of the design as is going to wrap around the glass. Also try not to have two colours exactly the same as well if you’re doing multicoloured like this.
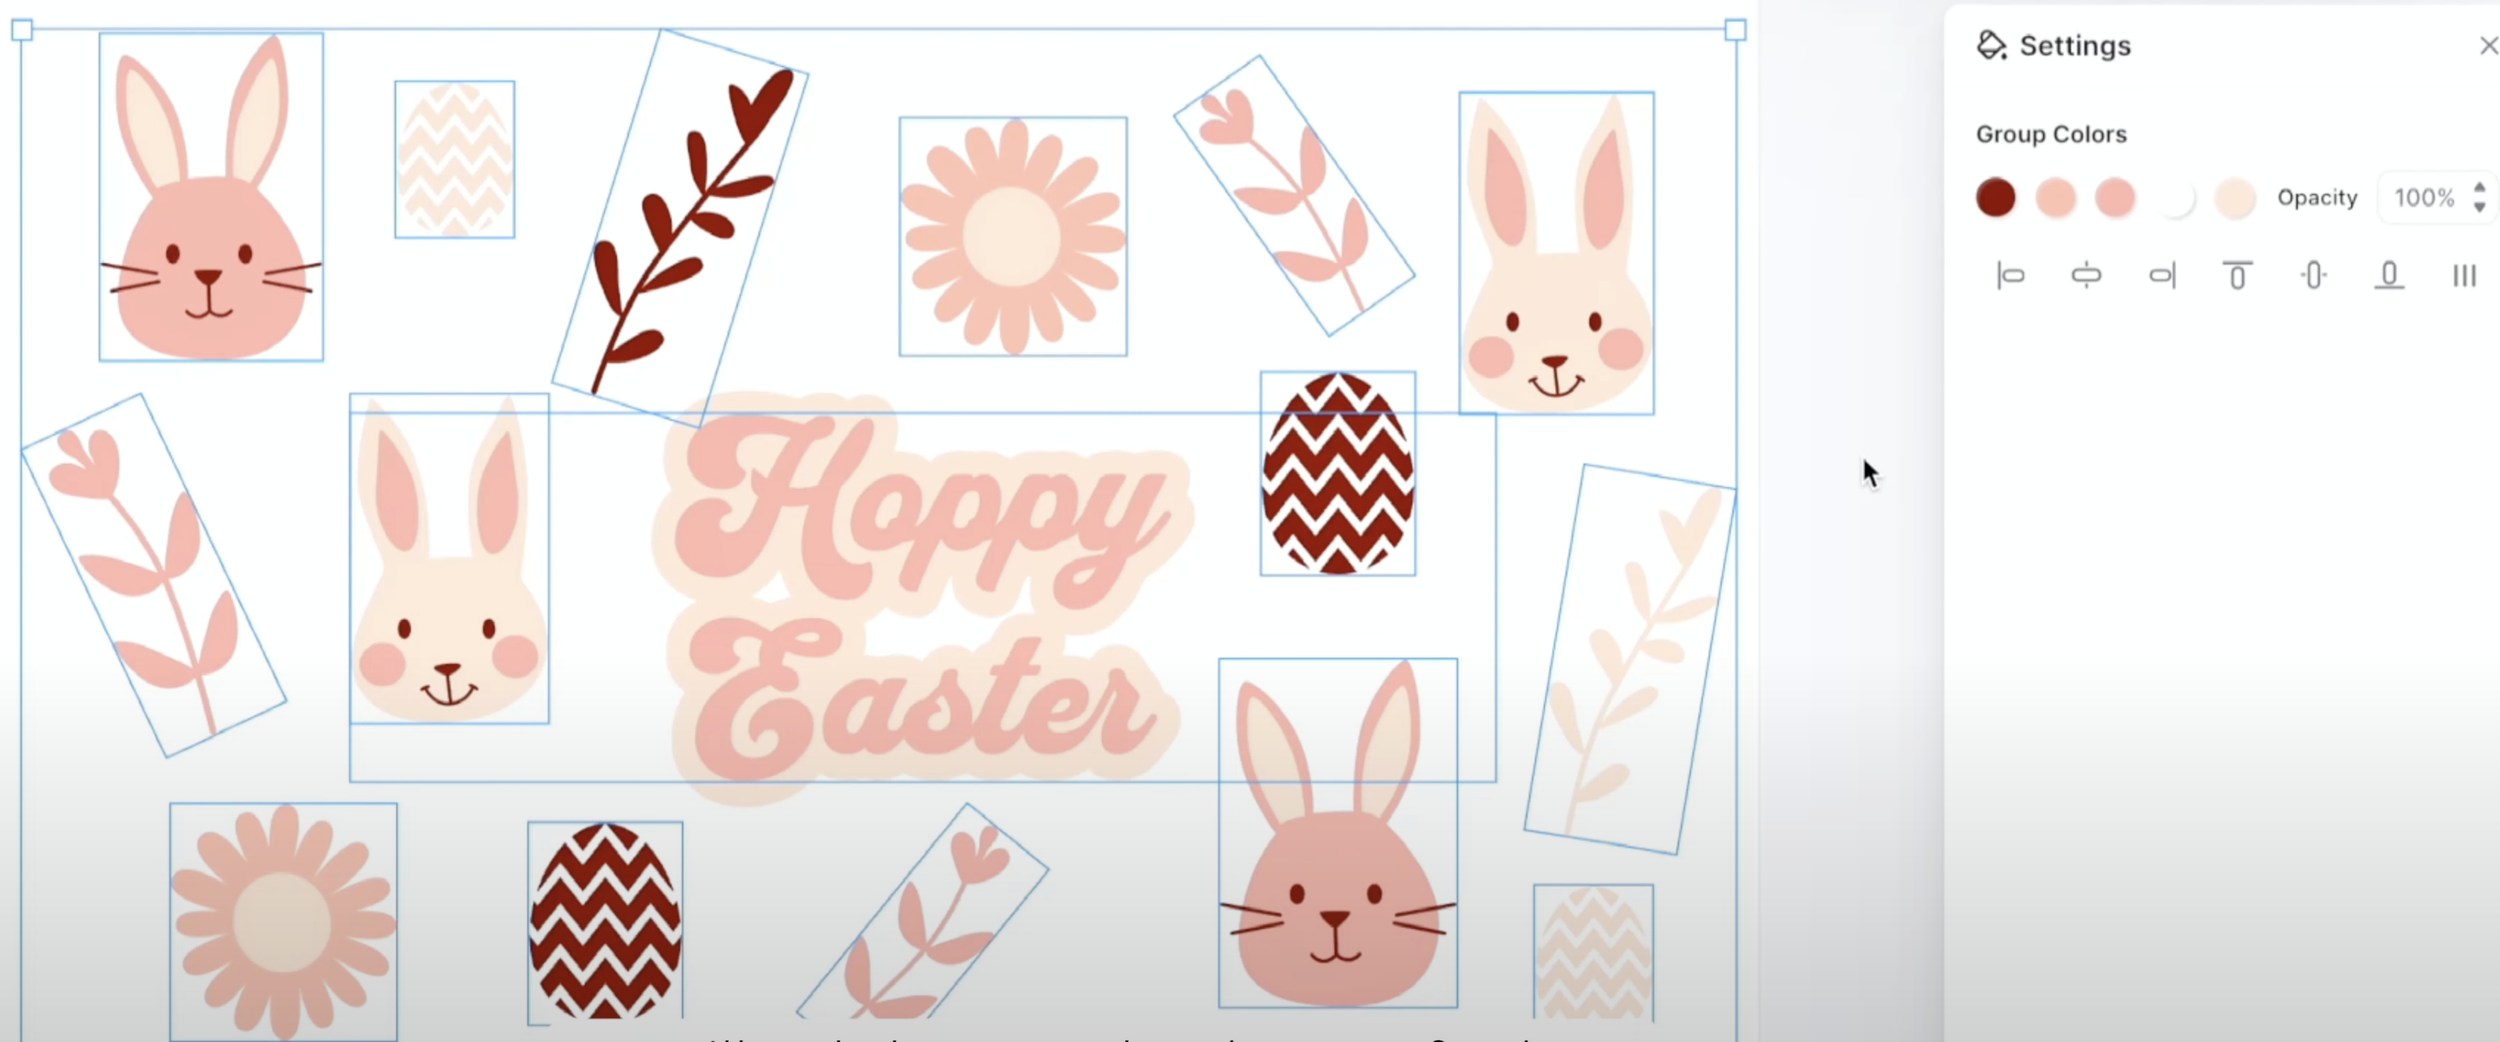
Next, I added some wording in the middle and an offset. I also added a few little easter eggs in the dead space and made one of the colours a bit darker so that it popped a little more. I made the bunny features that same colour so I had less layers to cut.

When I selected it all, 5 different colours were noted, but I didn’t count the white and I combined the 2nd and 3rd colours as one, to give me only 3 layers of colours.
If you are a beginner I would recommend only doing about 3 layers maximum.
Before I downloaded the design, I decided to remove the wording and add that in Design Space instead.
Consider Your Layering
When you are creating your design, think ahead about which layer is going to be added and when. You can then make some final adjustments.
In my example, the darkest one would be added last as that has the bunny features. And if I added the lightest one first, then the middle of those flowers would be underneath and so would the darker bunny’s ears.

Bearing this in mind, I changed the flower’s centre to the darker colour, and made the darker bunny‘s ears all the same colour.

Those adjustments meant I could add the lightest colour as the first layer, the medium colour as the second layer and then the darkest layer as the third one.
You can of course separate different sections of the same colour within Design Space, so you don’t have to do this, but it does make life easier, especially if you’re thinking of selling them as well.

Prepare the Design in Design Space
Once you are happy with the design, download it as an SVG and upload it to Design Space.
These are the next stages:
#1
I hid the whites of the easter egg first so I didn’t have to have that as one of my colours.

#2
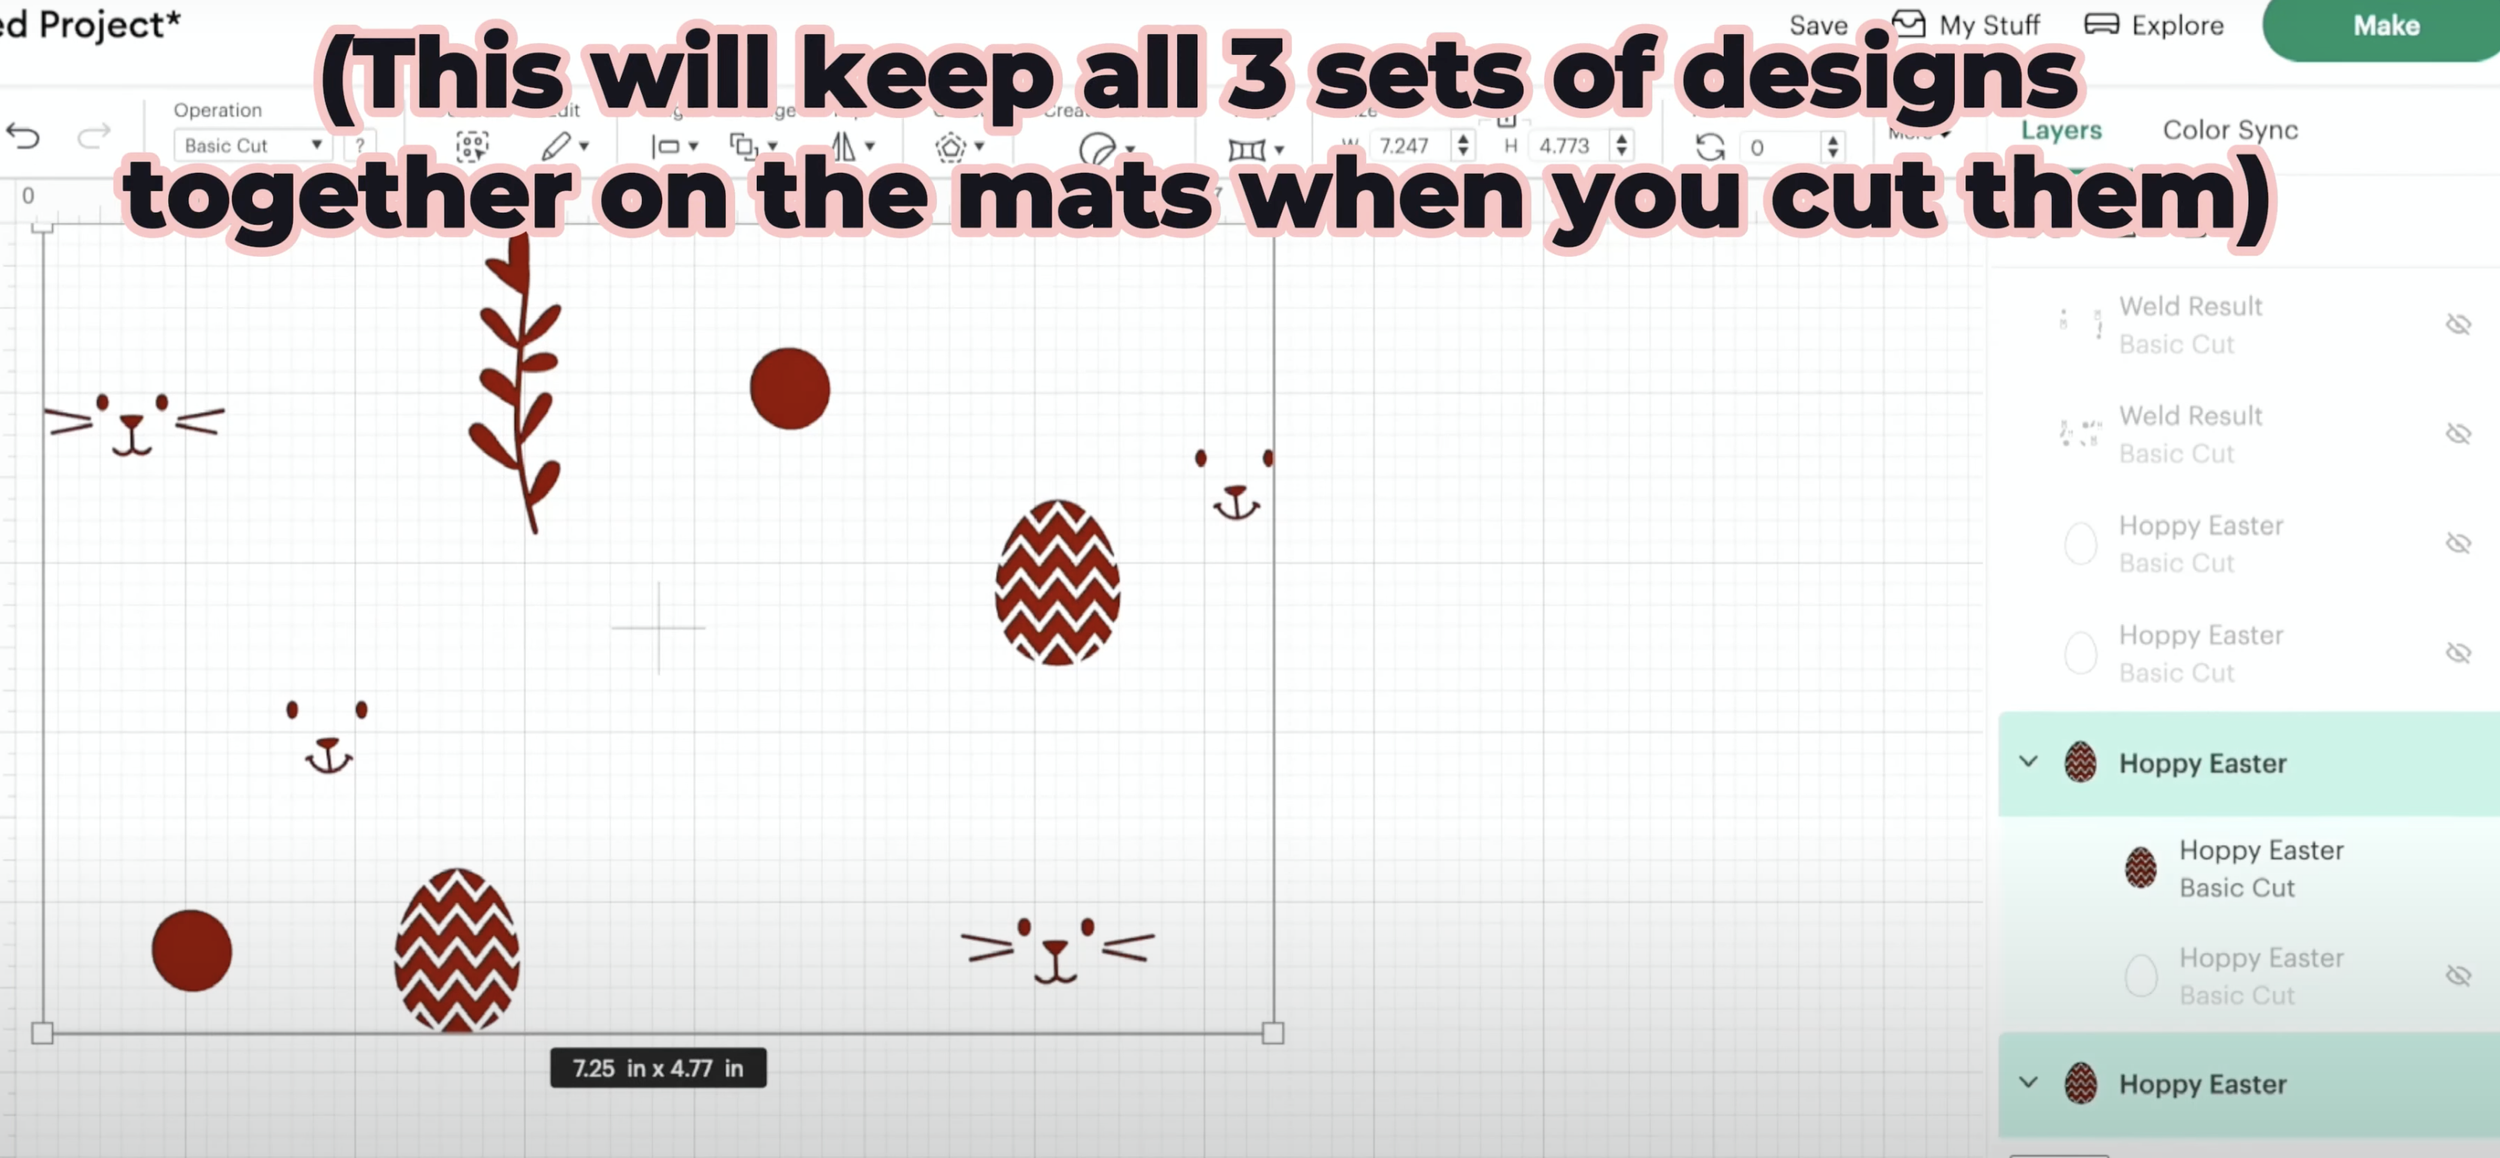
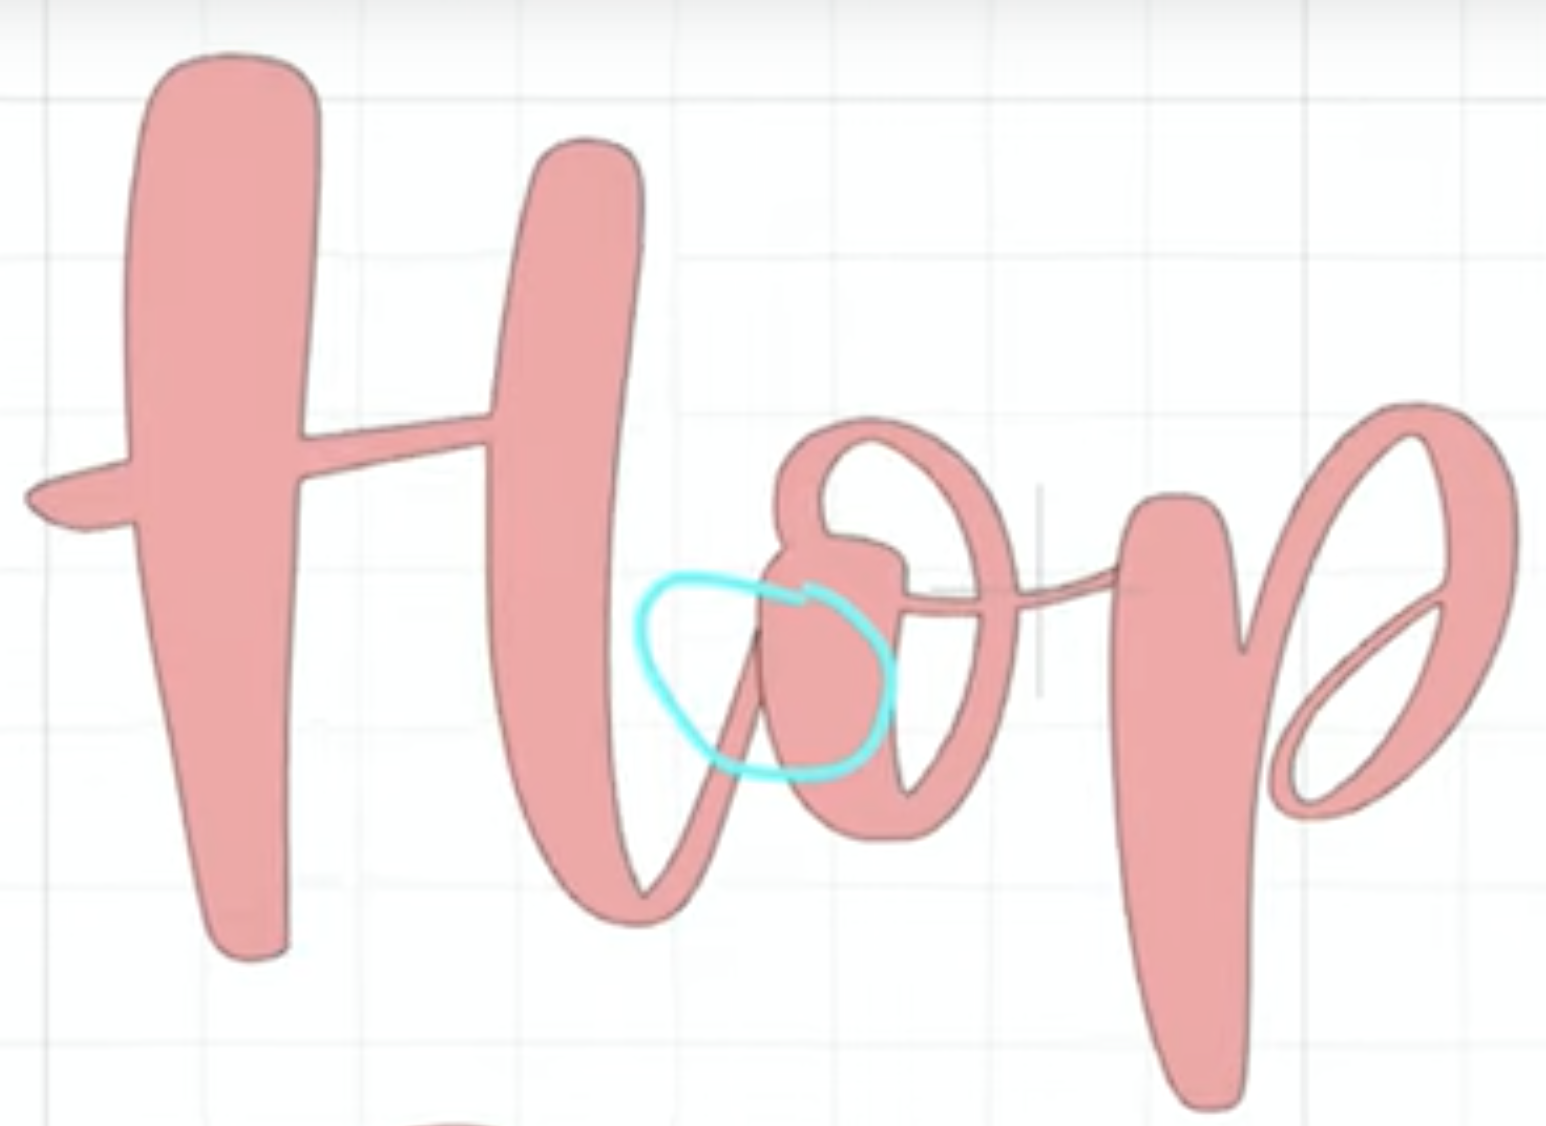
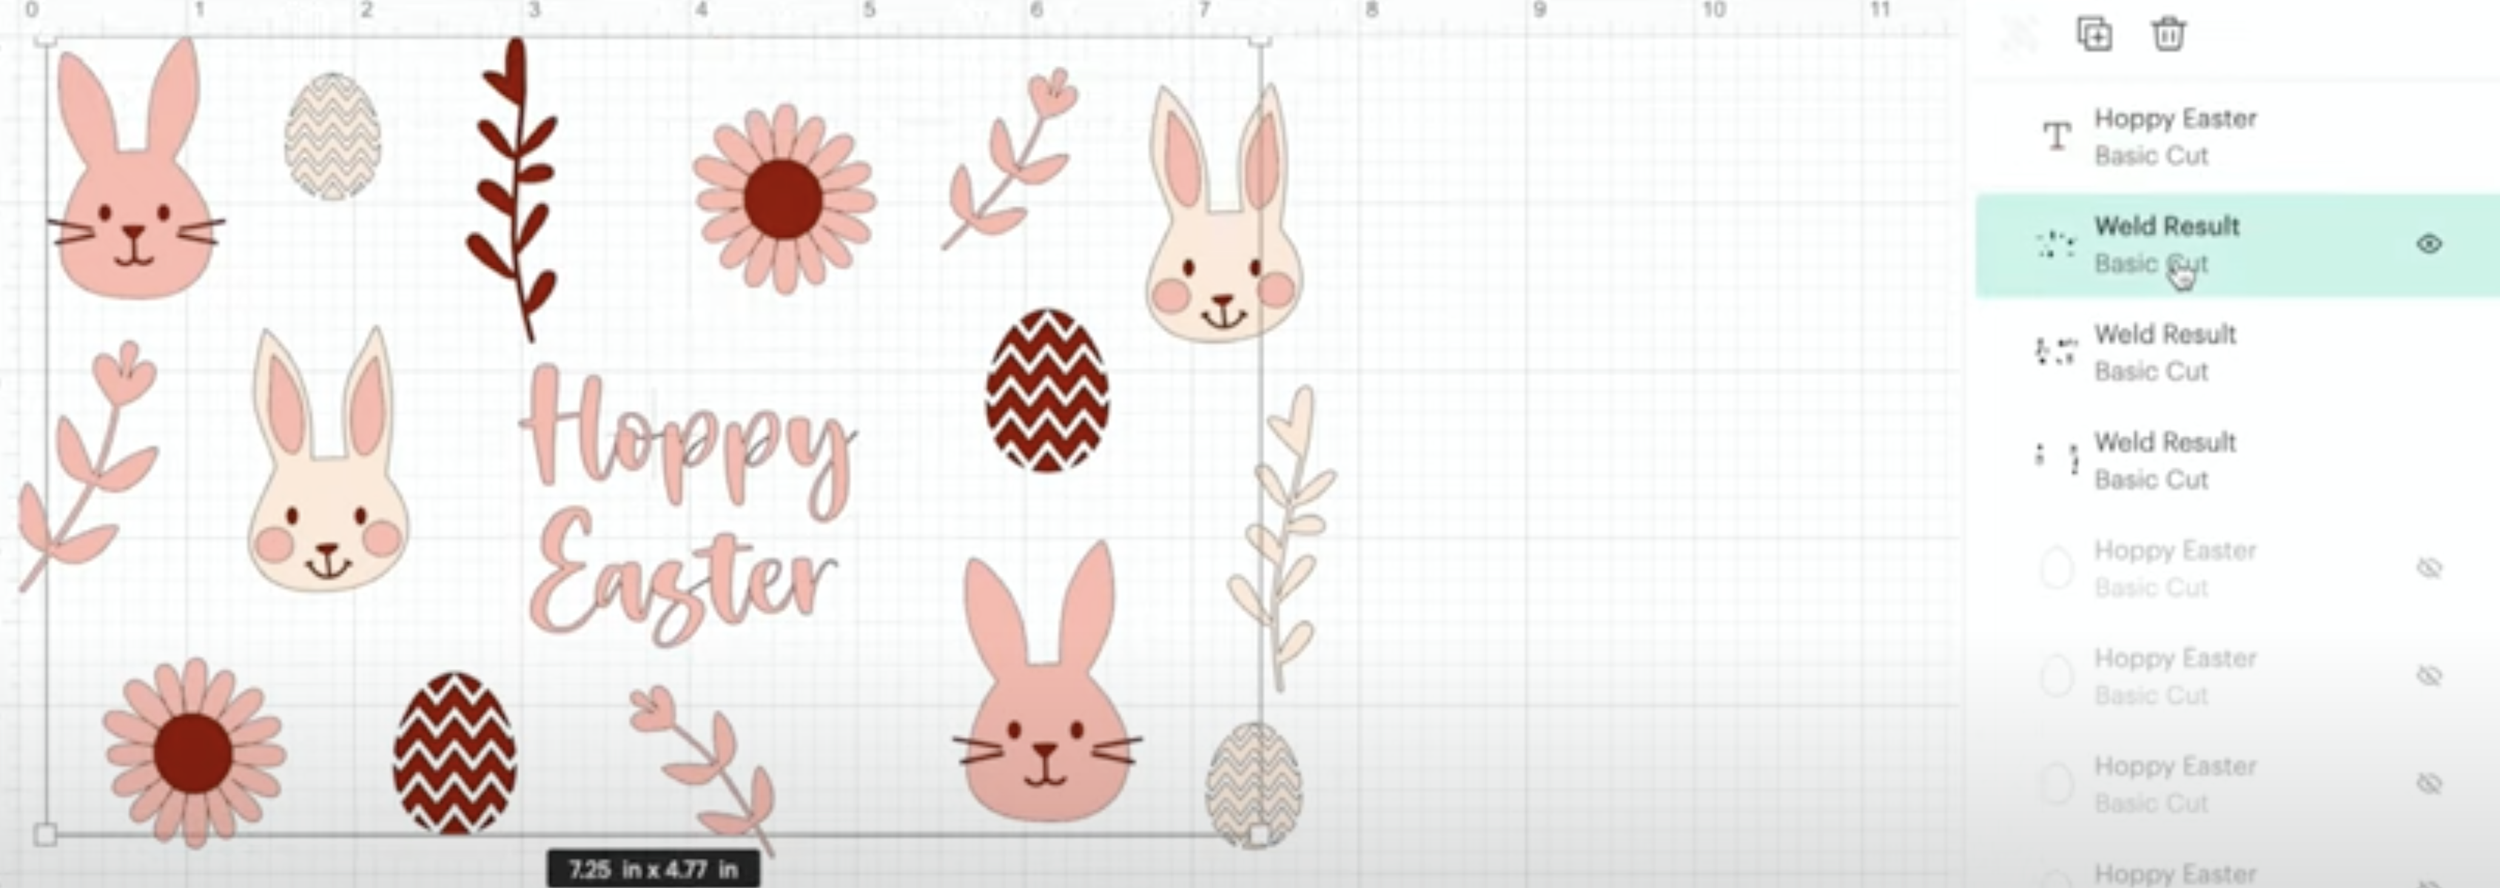
I then ungrouped and selected all of the darker pink and welded those elements together.

Then I did the same with the lighter pink.
#3
You can hide both of those and select the remaining ones to weld all of those together too. Now you will have three separate layers that will all cut at the same time on your mat.

Next, I added my wording using a font from my system fonts, minimised the line space and chose which layer I wanted it to match.
You could also add a completely different colour here if you want to.
NOTE: When designing your wording, check the sizing is correct for where you want it placed on the glass you will be applying it to.
If you’re not matching it to another colour and are using a script font then you will need to weld the wording together to make sure there are no line cuts in between each letter.
But if you are going to match it to an existing colour you can weld it together with that layer, or combine (unite) it like I have done here so that you can go back and change it if you want to.


You could also try out different colour combinations here as well if you’re not 100% which vinyl colours you would like to go for.
Cut and weed (and things to watch out for)
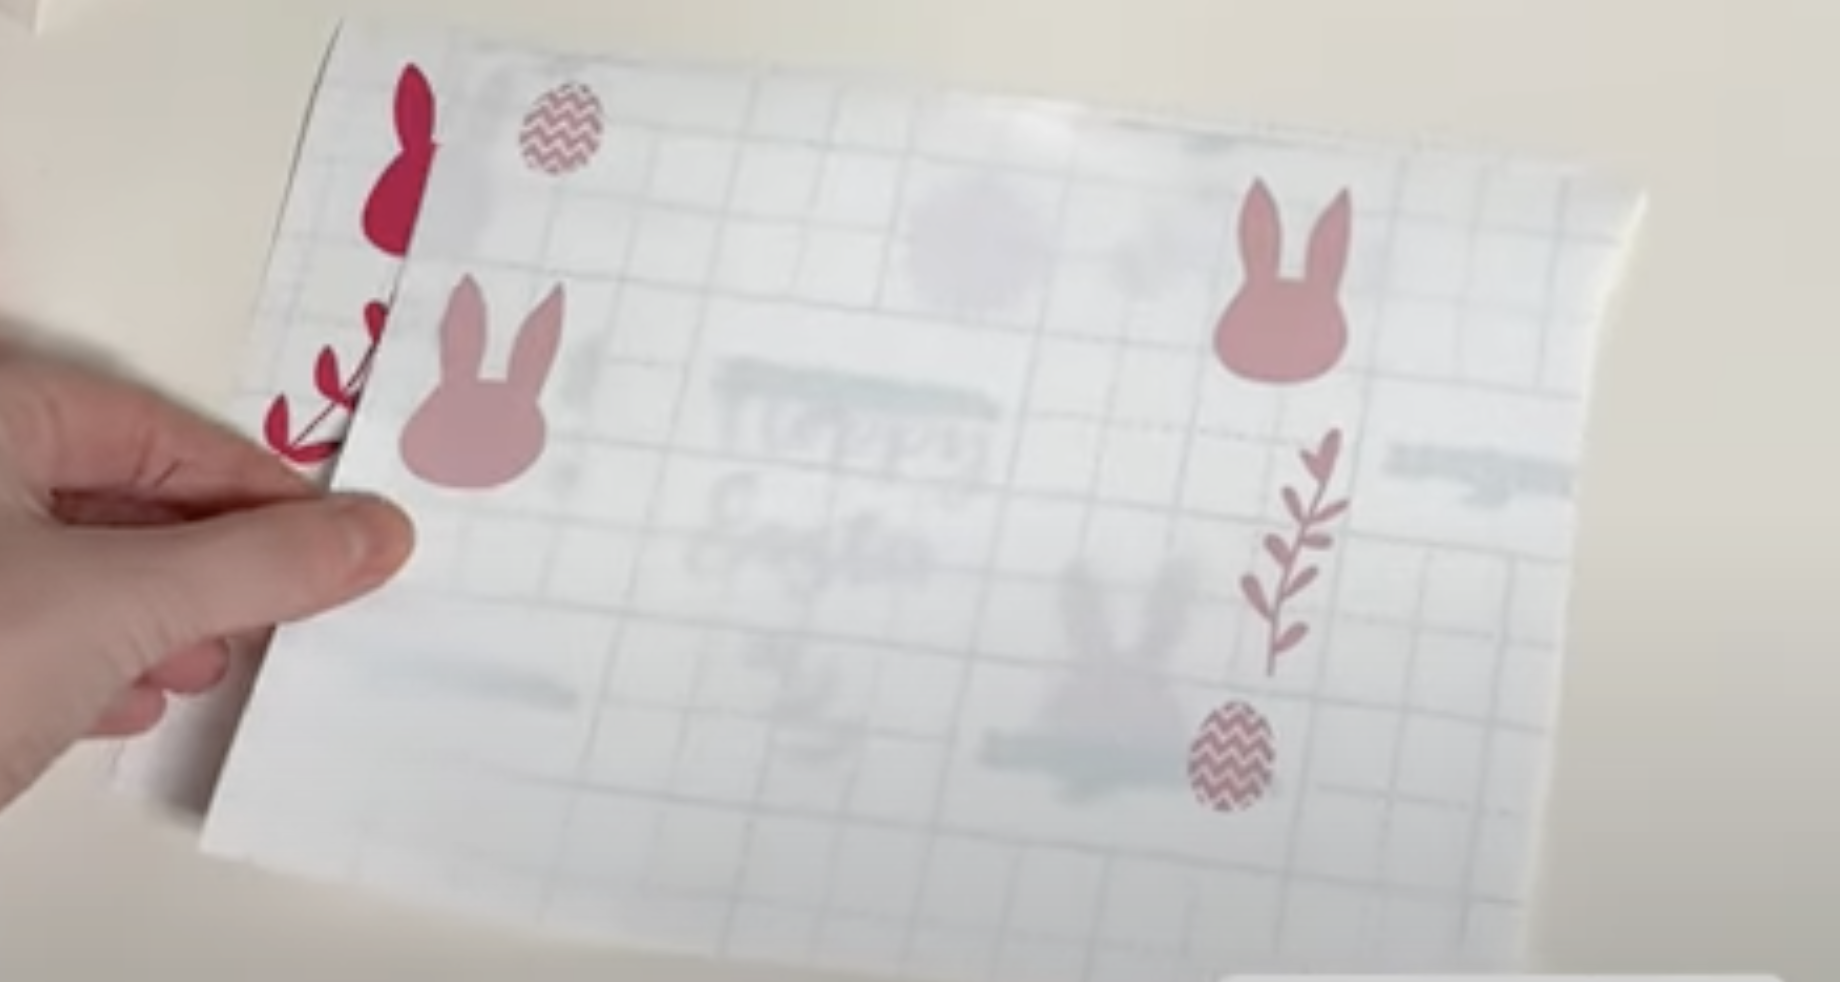
Once you are ready, hit ‘Make’, trim each roll down to the right size and cut each layer on your Cricut machine using the vinyl setting. Then weed each layer.

This one was fairly easy and there wasn’t much weeding to do other than in between the letters.

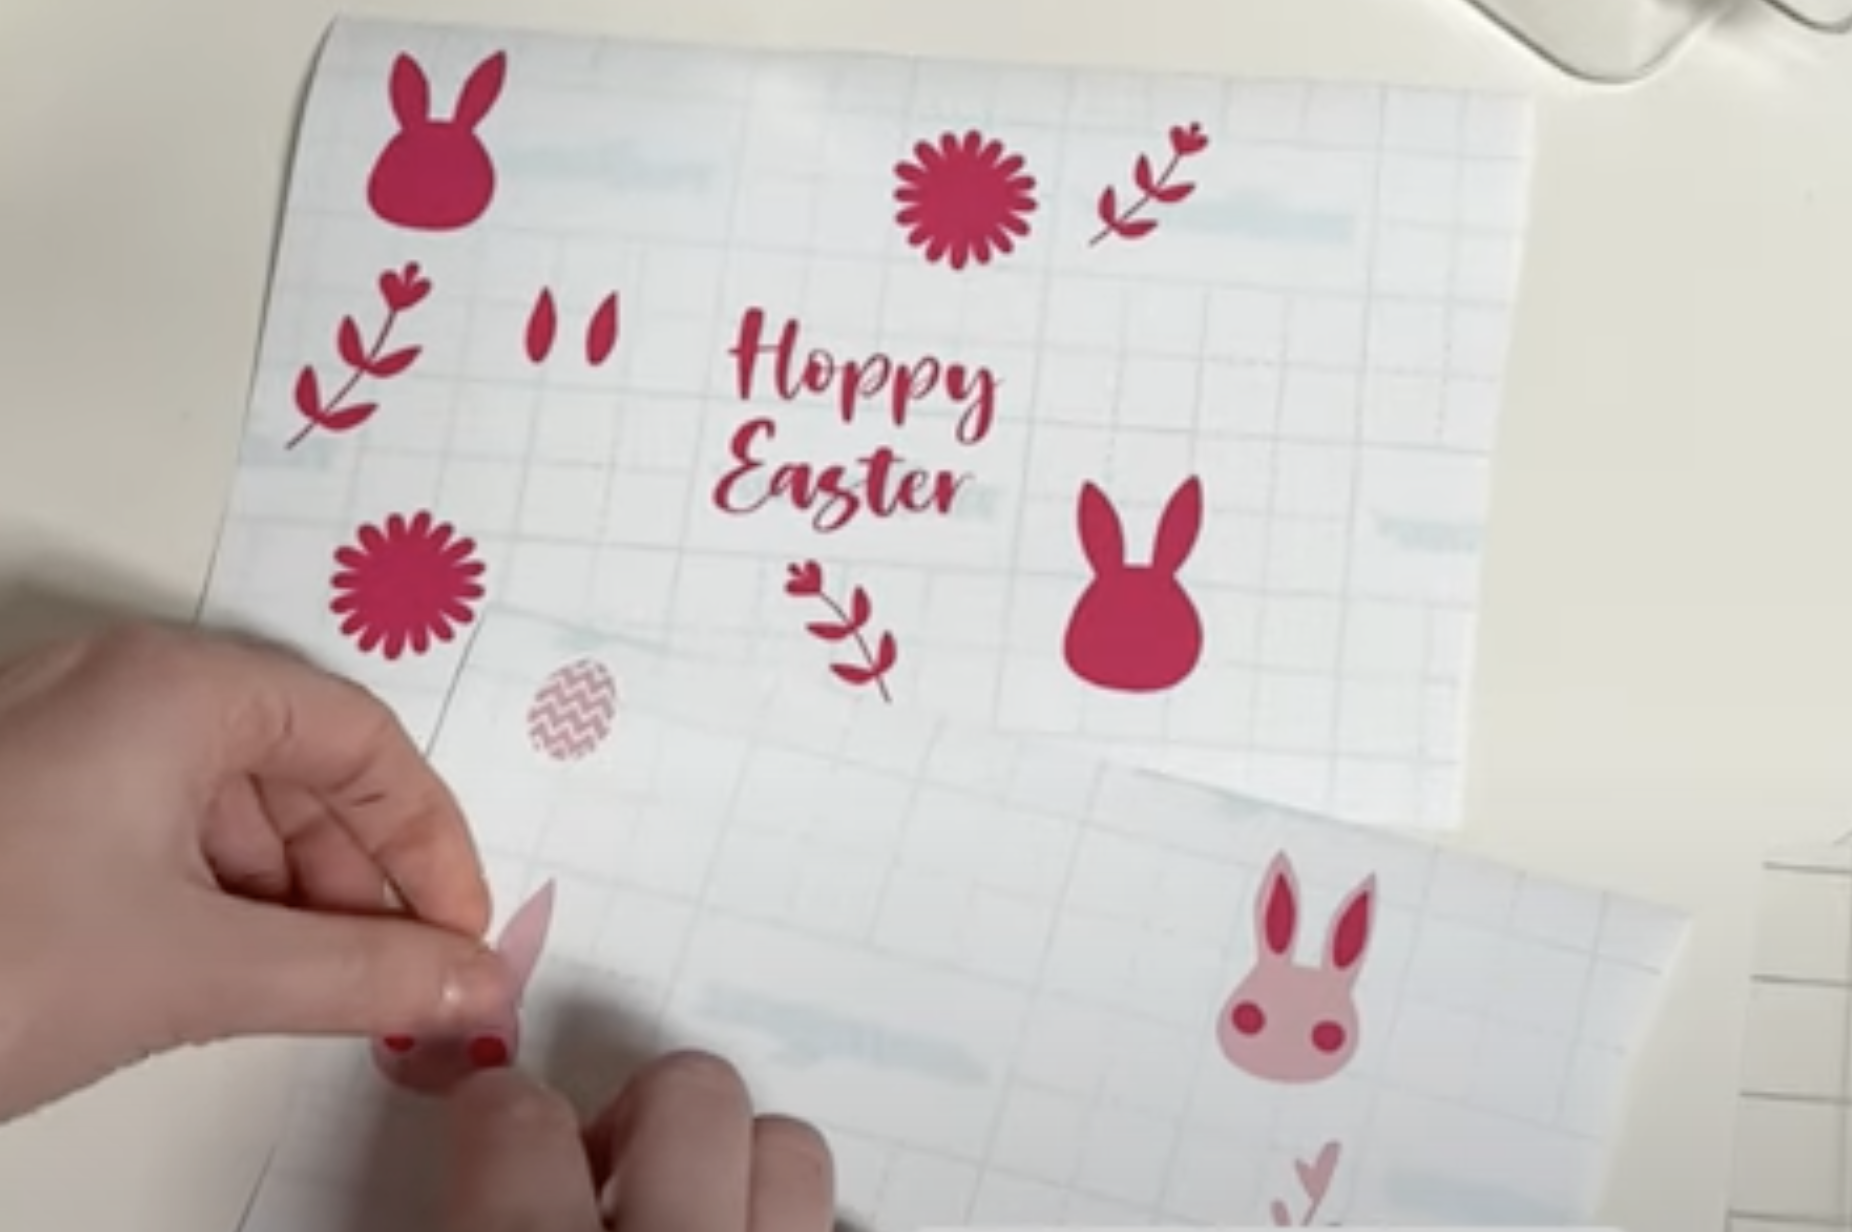
This one on the other hand was really hard to weed. I hadn’t anticipated how small those little pieces of the egg would be at the top and bottom of the design and if I had thought about that, I probably would have looked for a different design that had larger segments.
They were a bit tricky to do on the burgundy layer as well and the whiskers for the rabbit were also too thin and I just couldn’t get them out very easily. So I decided to have a rabbit without whiskers.
On reflection I would have done both rabbits with the same cheeks and ears but swapped the colours around so they looked a little different.
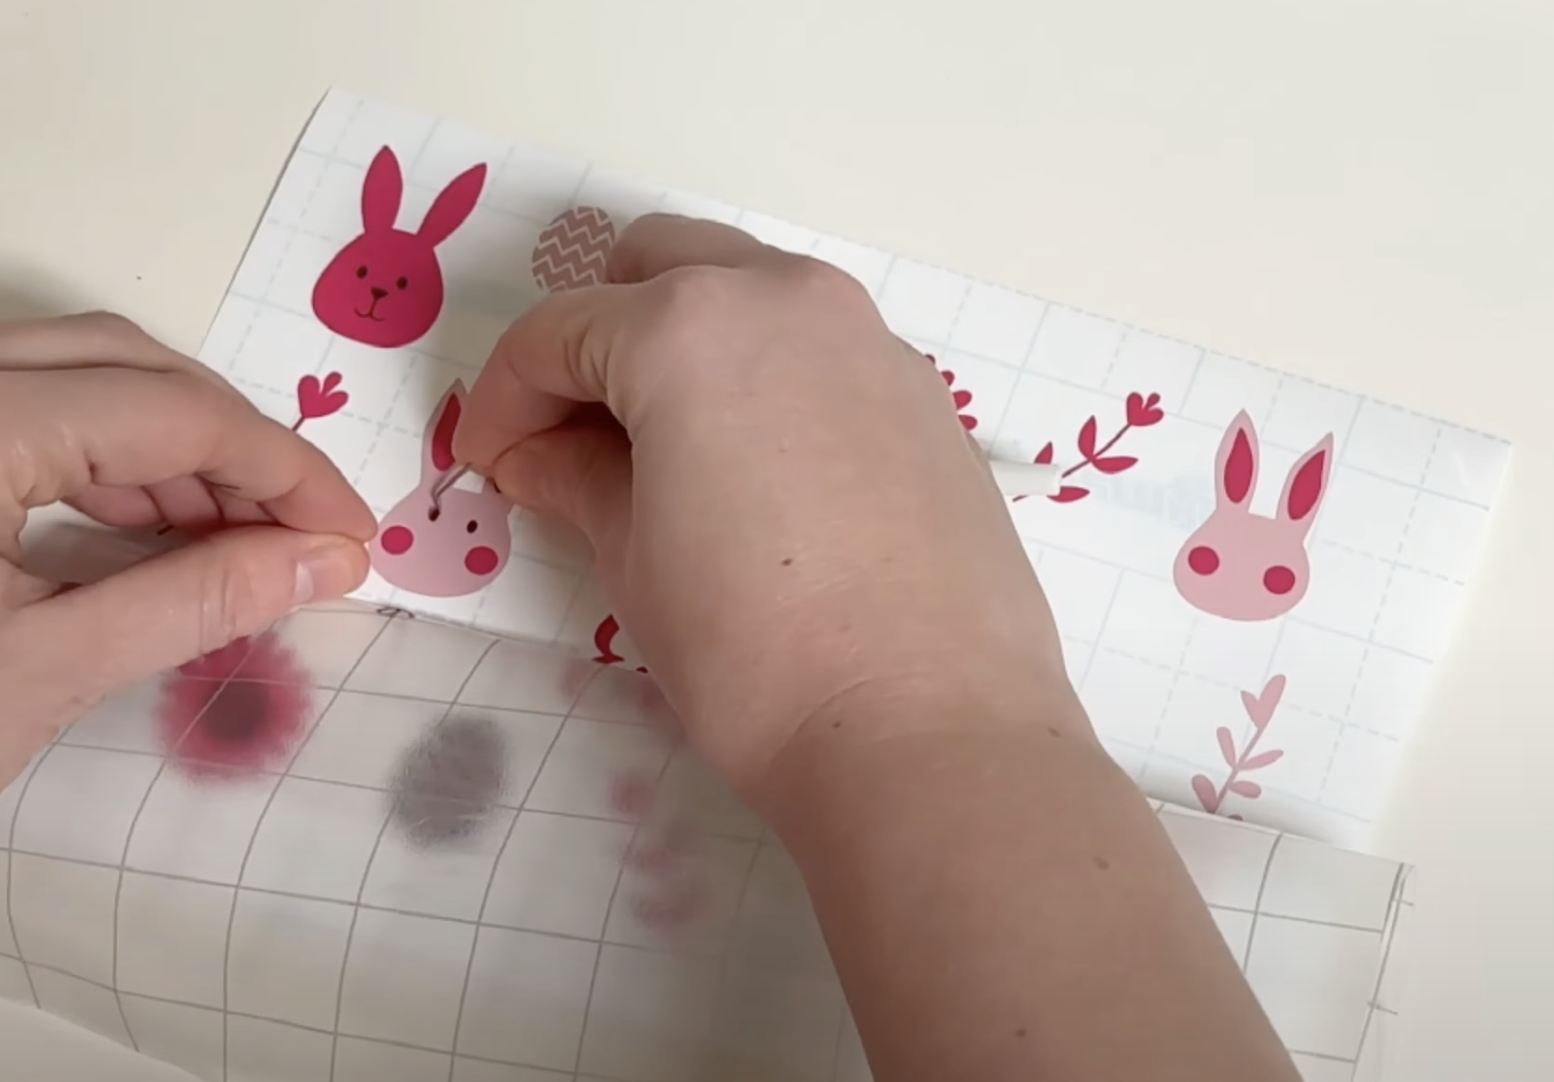
Apply your design
I usually add my layers to the glass one by one, rather than adding it all to backing paper and then transferring it. However, as I had never used this type of glass before I wanted to apply the design all as one transfer.
So here was my next learning - the light pink layer needed to be the bottom layer, but I hadn’t left enough backing paper to add the dark layer on top of it. So how I attempted to correct that was manually add the cheeks and ears to the light pink rabbit head, and then add the light pink on top of the dark pink. Then I applied the rest to the larger backing sheet and ended up with my two layers together.

However, because I hadn’t put the light pink rabbit heads in the right place when I went to apply the third layer the burgundy features were then not in the right place.
Ordinarily I could have just applied the third layer, and then flipped it over, removed the backing paper and applied it to the glass. But because it wasn’t lined up properly, I had to add the other elements to the backing paper, manually add those features on the left and then move the tape and apply the bits on the right.
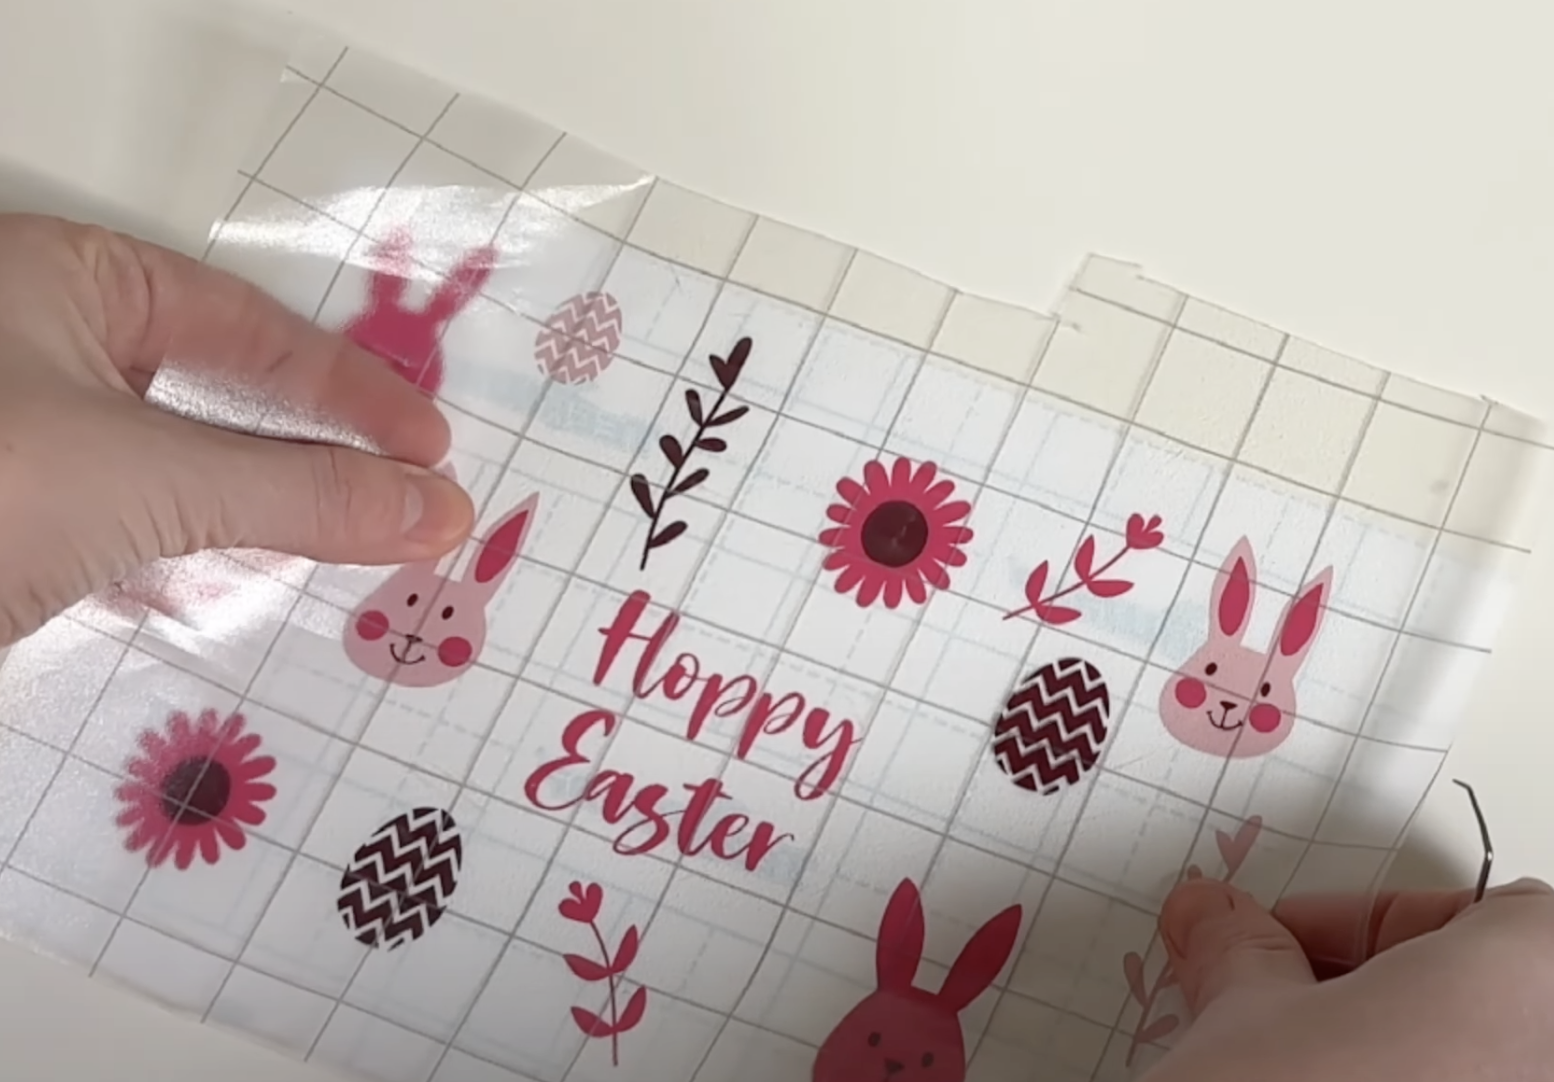
Once your layered decal is ready to apply, you may want to trim around it so there isn’t as much transfer tape, (which is easier to do when the backing paper is still attached).
Take care not to touch the vinyl!
I accidentally touched some of the vinyl and ripped it, and also took a bit of that pesky easter egg off so I had to add those back on manually, which is not easy when the transfer tape is so sticky.
Things to consider (my key learnings)
Don’t use designs that are too small or thin.
Make sure your bottom layer has enough paper to hold the whole of the design.
Make sure you properly place your elements when you are layering.
Don’t touch the vinyl as you’re applying it.

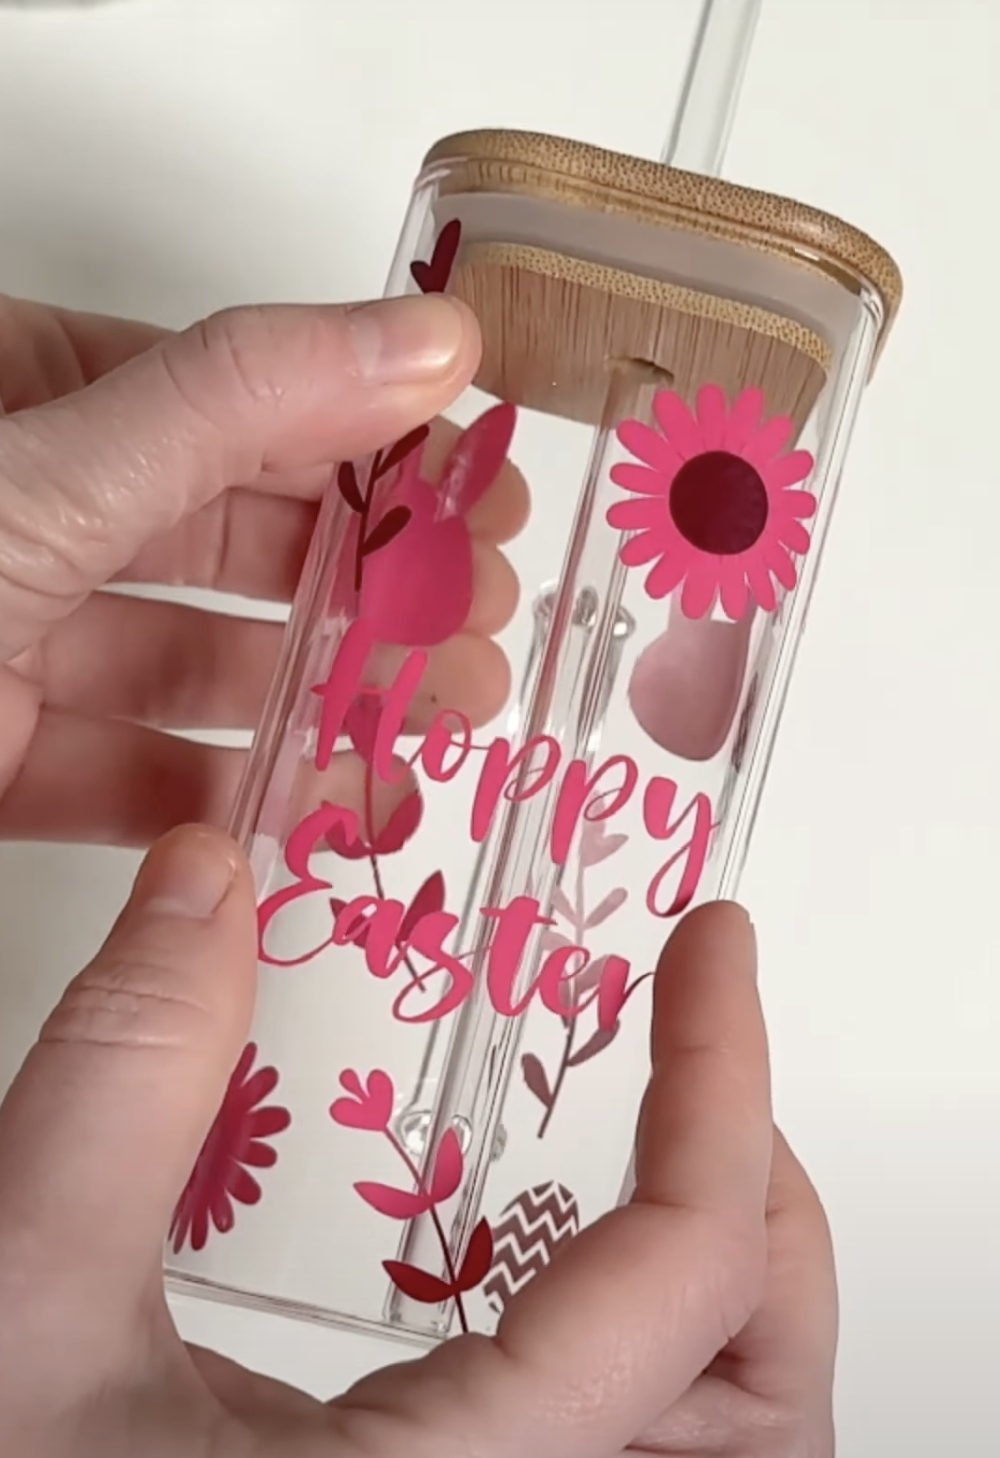
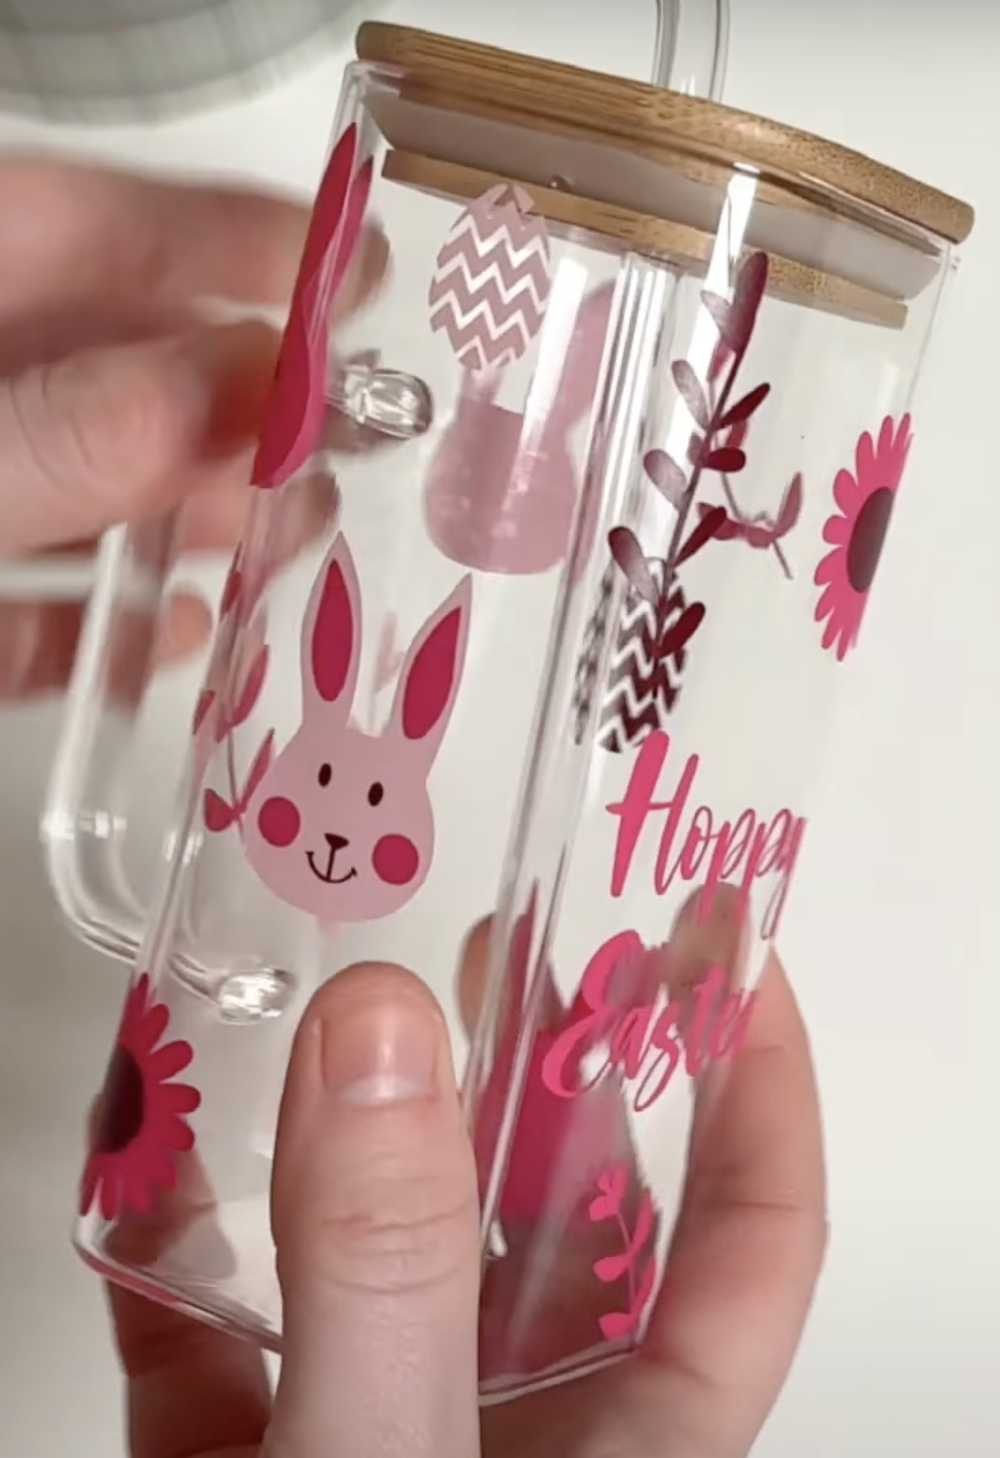
I’m glad to say applying the decal to the glass was a breeze, much easier than round glass and because the edges are curved, the vinyl goes on smoothly around them.
I would have preferred the wording to be a little bit higher (another thing to bear in mind), but other than that, I was pleased with it. A fun pink Easter design, and it didn’t take too long to make at all.
I hope you found that helpful, please let me know in the comments what type of glass wrap you are going to make and follow for more videos like this in future!