

HOW TO: Apply Vinyl Decal To A Glass
In today’s tutorial I'm going to show you how to add decals to a champagne coupe in two places - on the front and on the bottom. This would make a great gift as place names for a wedding or Christmas, or just make one for yourself just for the fun of it.
So let's get going…. continue reading below or watch the video…
The below content contains affiliate links and we may earn a commission if you shop through them, however, this won't cost you anything, it just helps us to keep the site running for free. For more information on affiliate links, see the disclosure here.
The first step is getting the measurements for your decals using a flexible tape measure. I measured downwards as well as across as the champagne coupe is quite shallow. My measurements came to 3 - 3 1/2 inches wide x 1 inch for the top part of the glass and 2 - 2 1/2 inches across the bottom part.
I decided to do a happy new year champagne coupe and added some little stars to my design. When you're making decals this small you really want to look for quite a thick font because the thinner you go the more risk there is of snapping. I added my own name for the bottom part of the glass.
In order to get the curve you need click on ‘Warp Text’ and then in ‘Type’ click on ‘Arc’. You can move the bar to minus numbers to achieve an upward curve at both edges. I set the curve at minus 50 for the curve I needed.

I then sent the design to my machine for cutting and weeded the decals, which was quite fiddly, being so small.

Next, apply the transfer tape over the top and cut it as close to the wording as possible. This will make the decals much easier to apply to the curved surface.

Make sure your glass is clean and dry before applying the decals and add some little slit cuts part way through the decal itself to help it bend around the glass (take care not to cut the letters!).

Once you're ready to take the transfer tape off rub firmly on the back of the paper with your fingers or a scraper and then peel the paper away from the tape. With small decals like this go super slow to make sure you've got all of the wording.
You can either apply this decal with the glass standing flat or with it on it’s side secured on either side to keep it still. Then carefully position the decal and press on the centre section first and work you way outwards to make it stick.
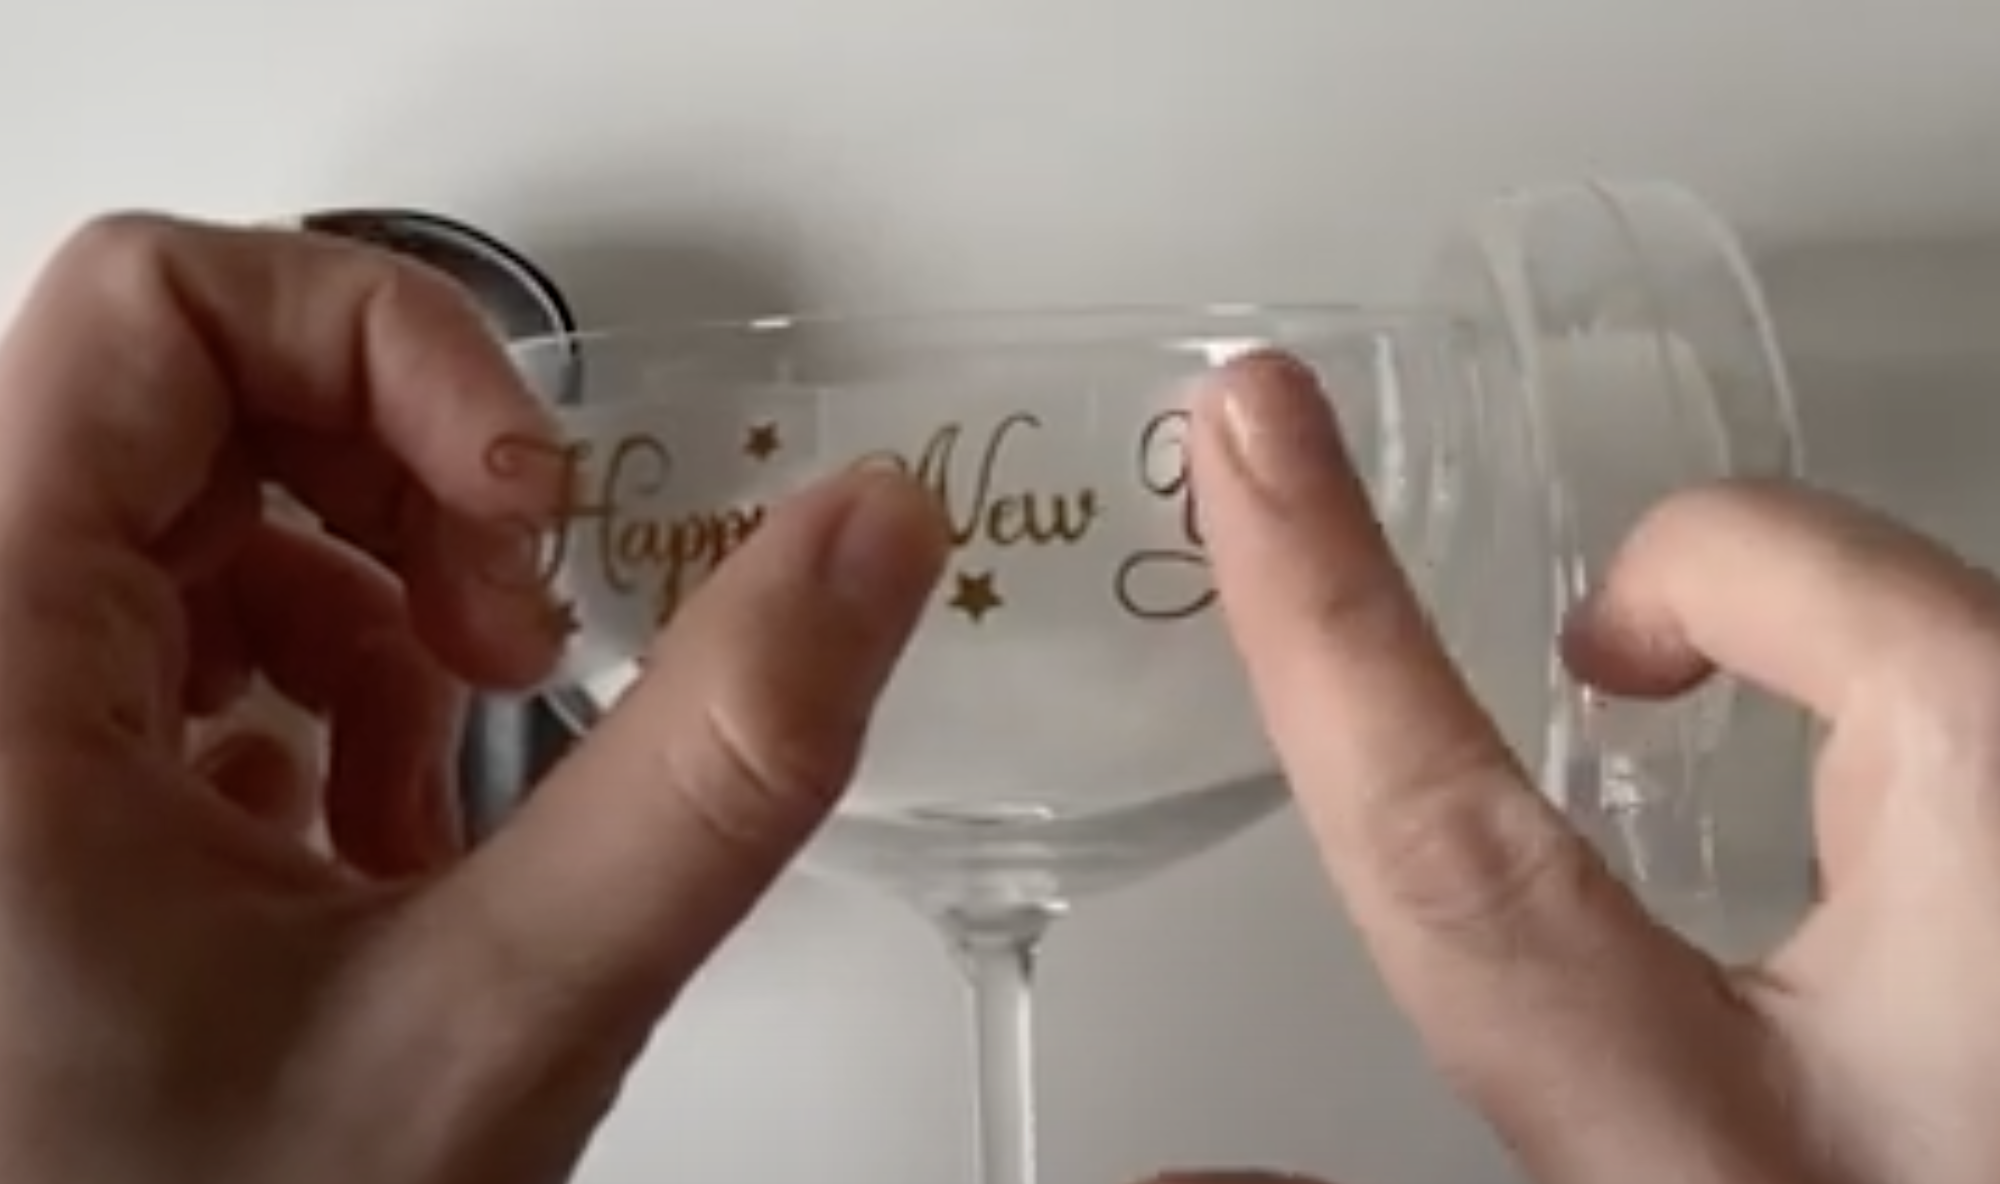
Because it was so small, my design needed a lot more pressing to make the decal stick. Just make sure all the air bubble are out, you can use your scraper to help with this.
Once you are satisfied the wording has stuck to the glass, gently peel away the transfer tape. It might take a little patience!
I repeated the same process with the decal for the bottom of the glass. I didn’t need to make any slits in the tape as there wasn’t so much of a curve. Just make sure your design on the bottom of the glass is lined up with the top part, if you are doing the same.
And that’s all done!

I hope you enjoyed that tutorial. If so, please subscribe for more videos just like this one.