

HOW TO: Apply a Vinyl Decal to a Scrapbook
In this tutorial I'm going to be showing you how to customise a scrapbook with vinyl decals.
Take a look at the video or continue reading below …
The content below may contain affiliate links and we may earn a commission if you shop through them, however, this won't cost you anything, it just helps us to keep the site running for free. For more information on affiliate links, see the disclosure here.
How to apply your decal
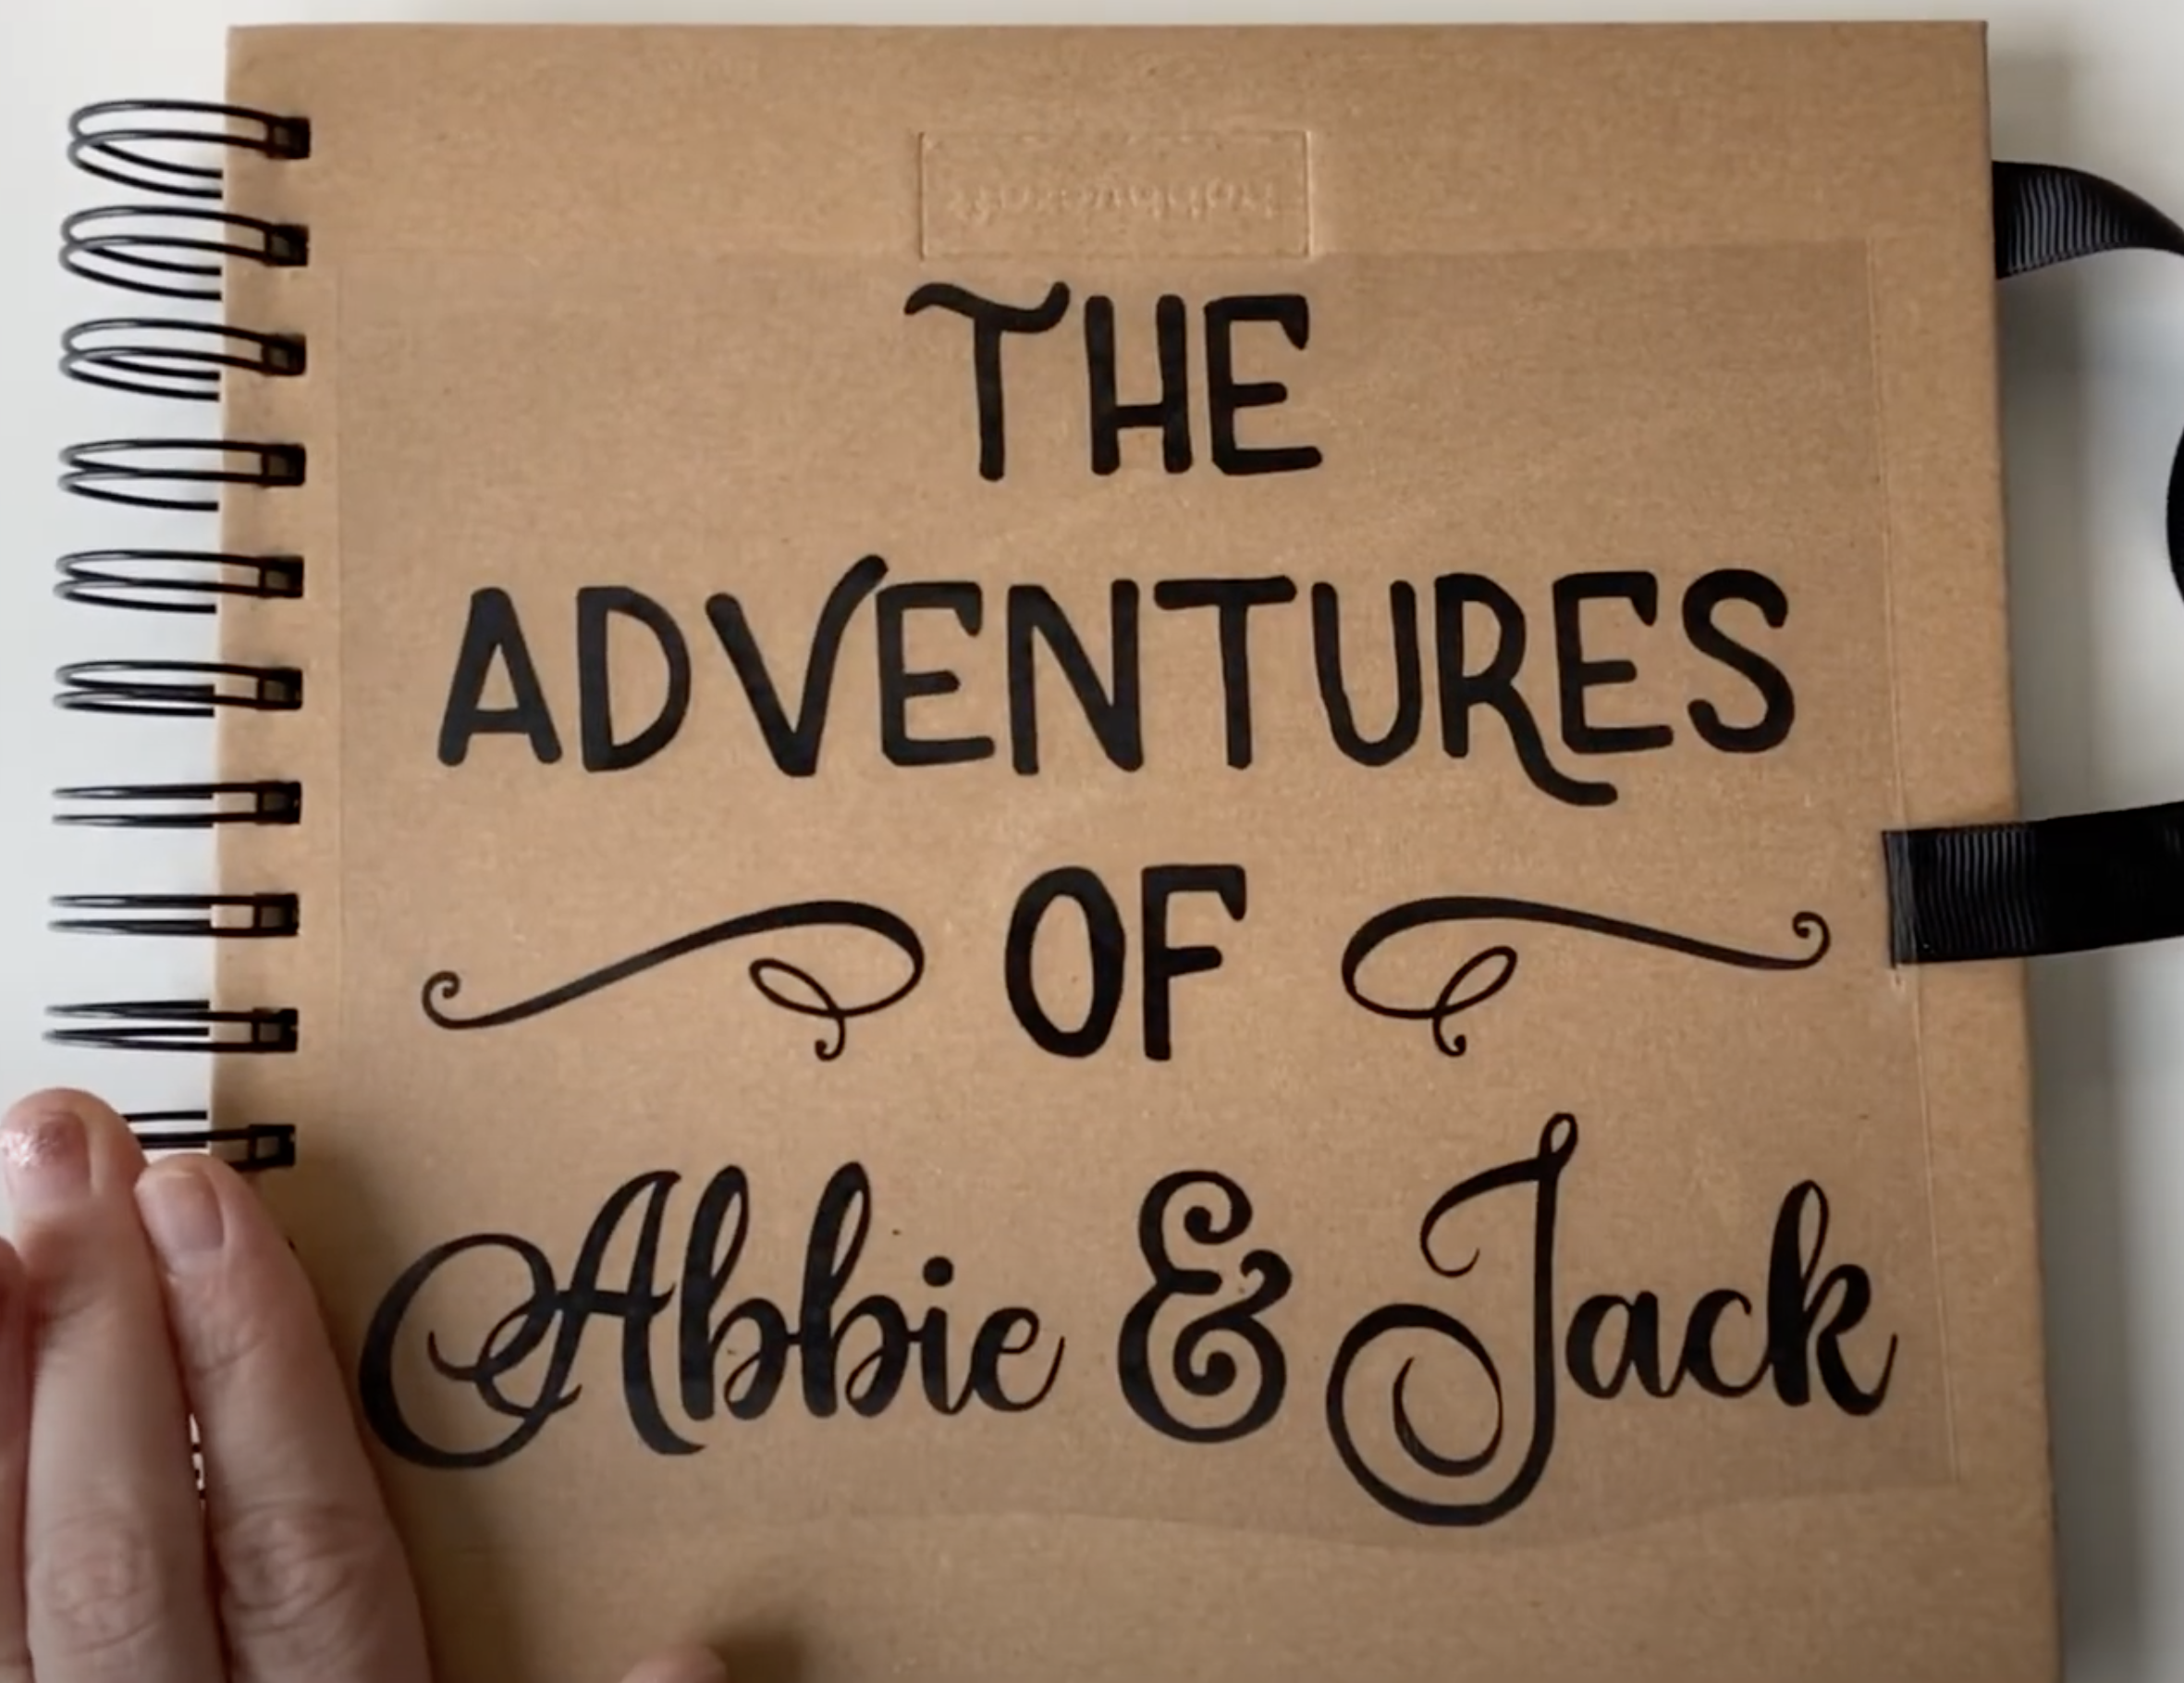
In my example, I used an 8 x 8 inch scrapbook. Make sure your design is slightly smaller than the size of the scrapbook, taking into account the binder and any tie, such as a ribbon.

Weed your decal and pop transfer tape over the top.
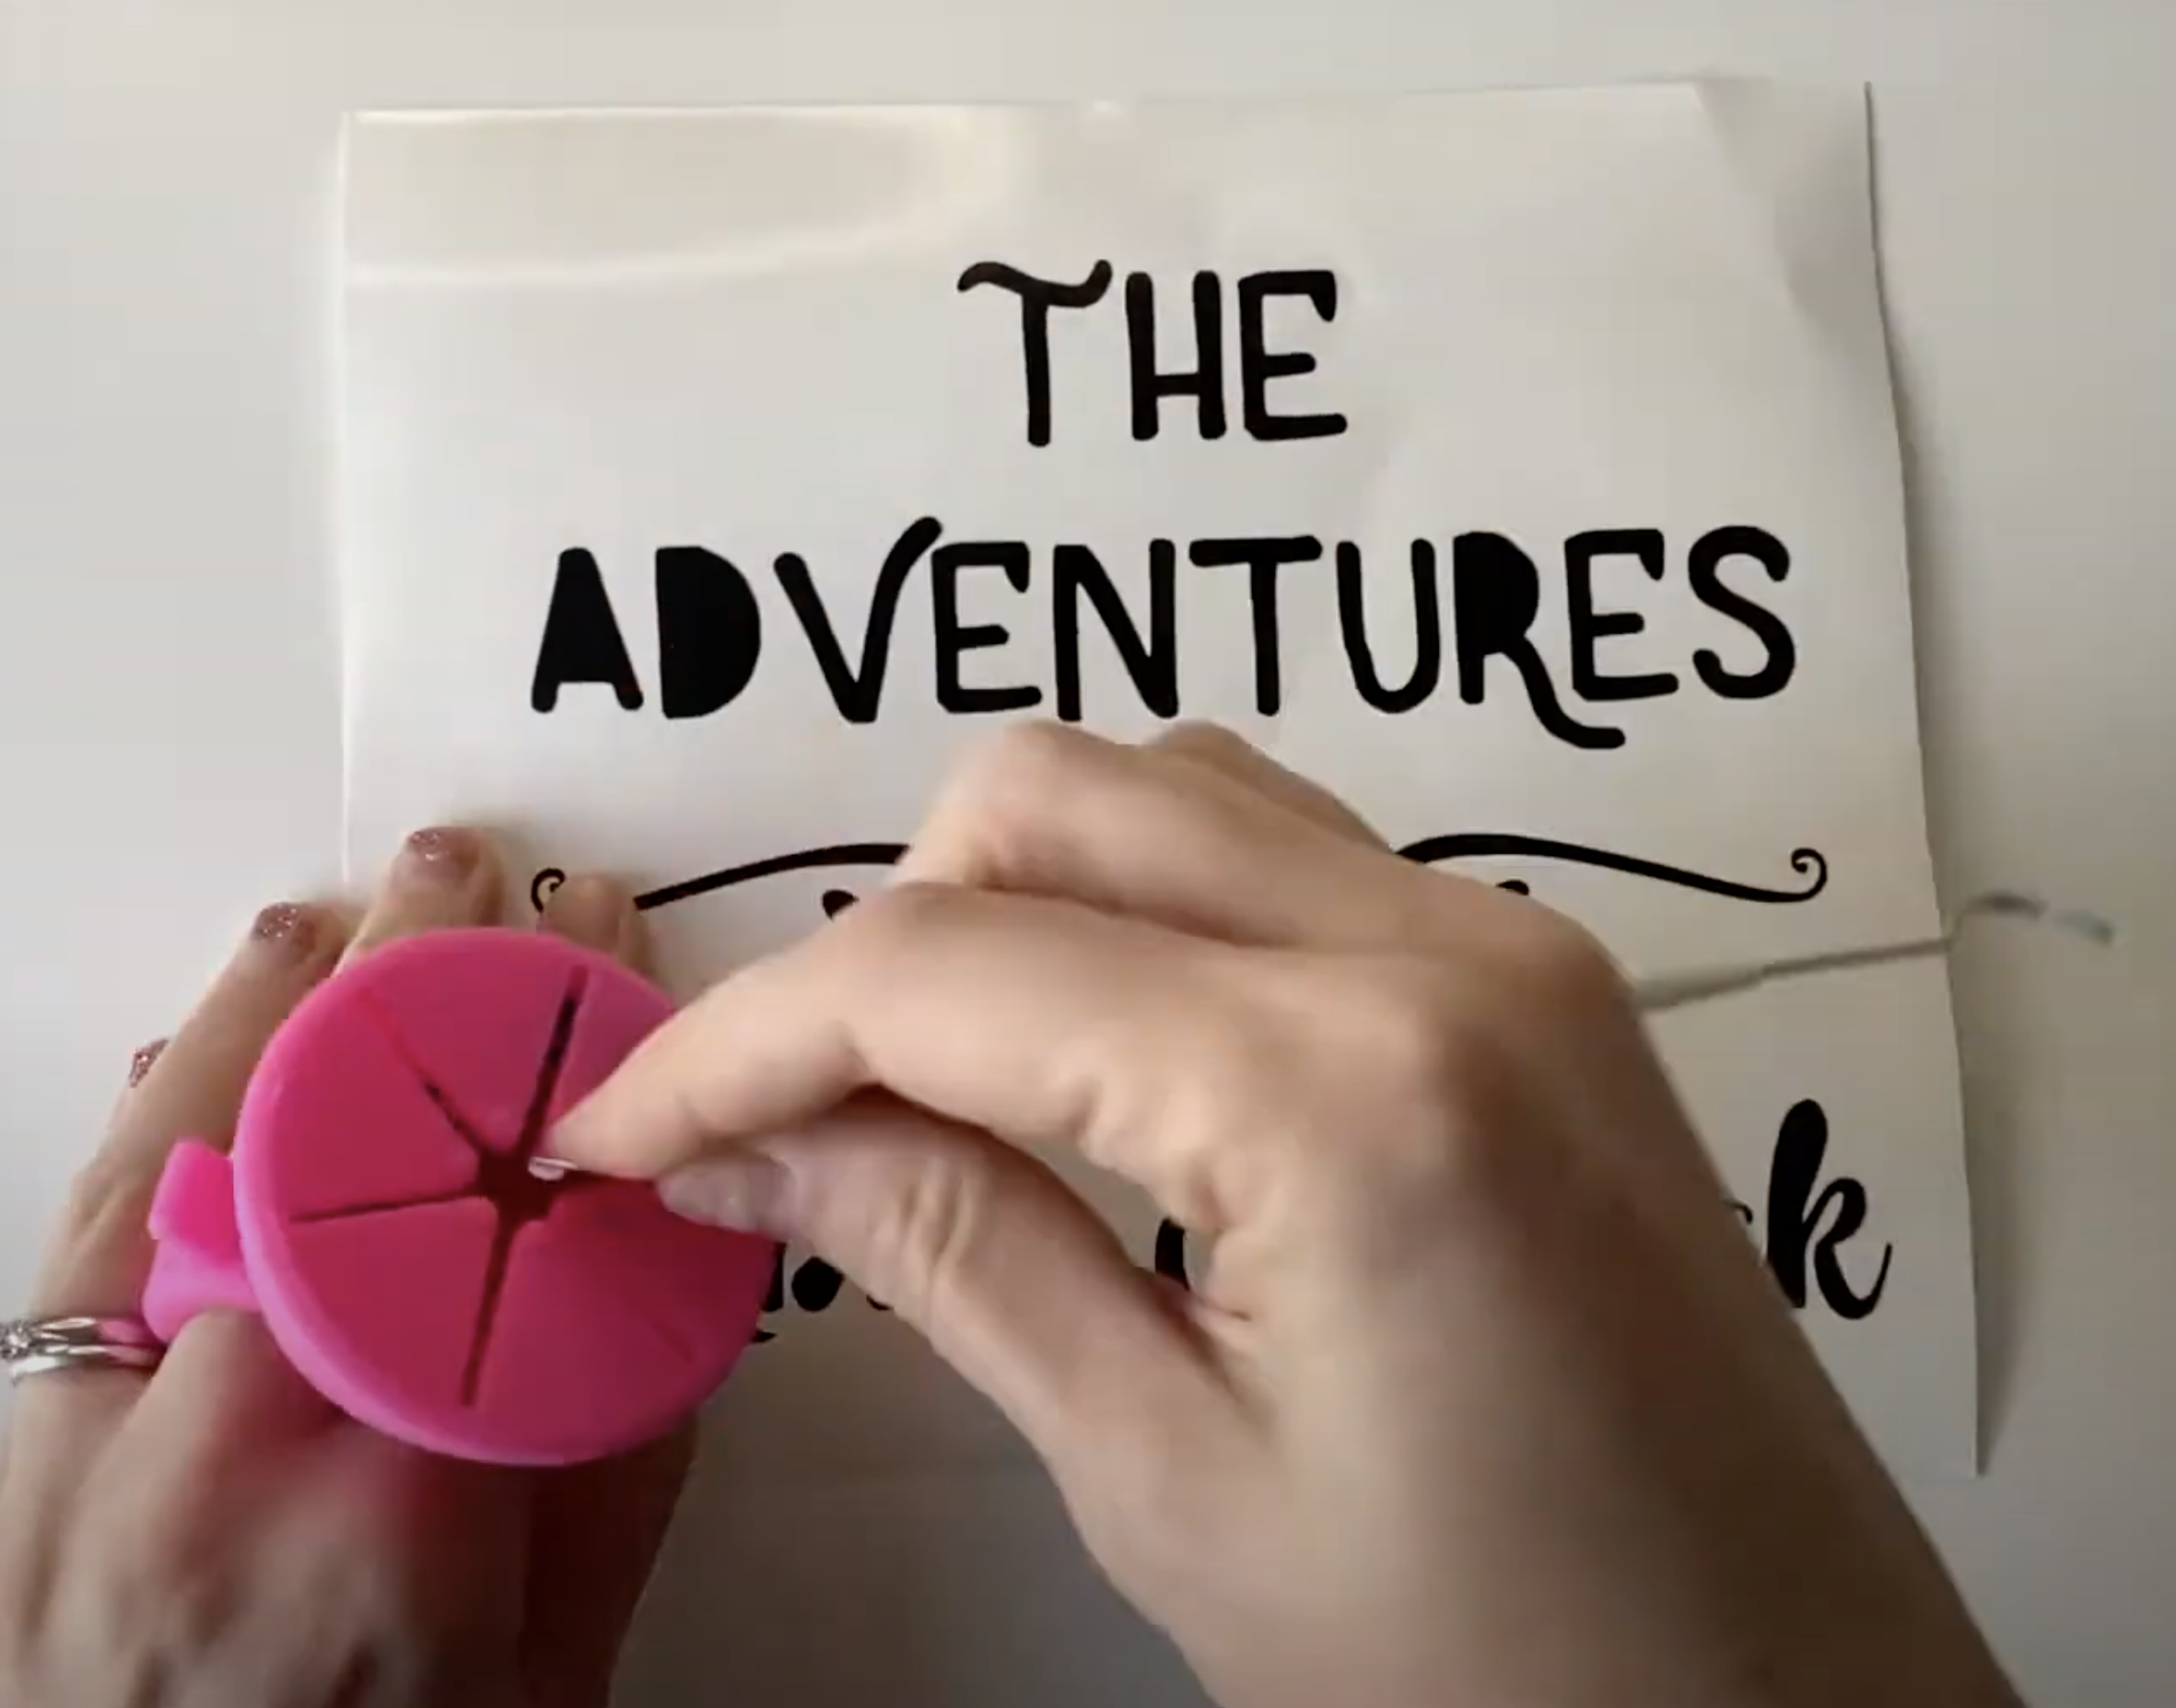
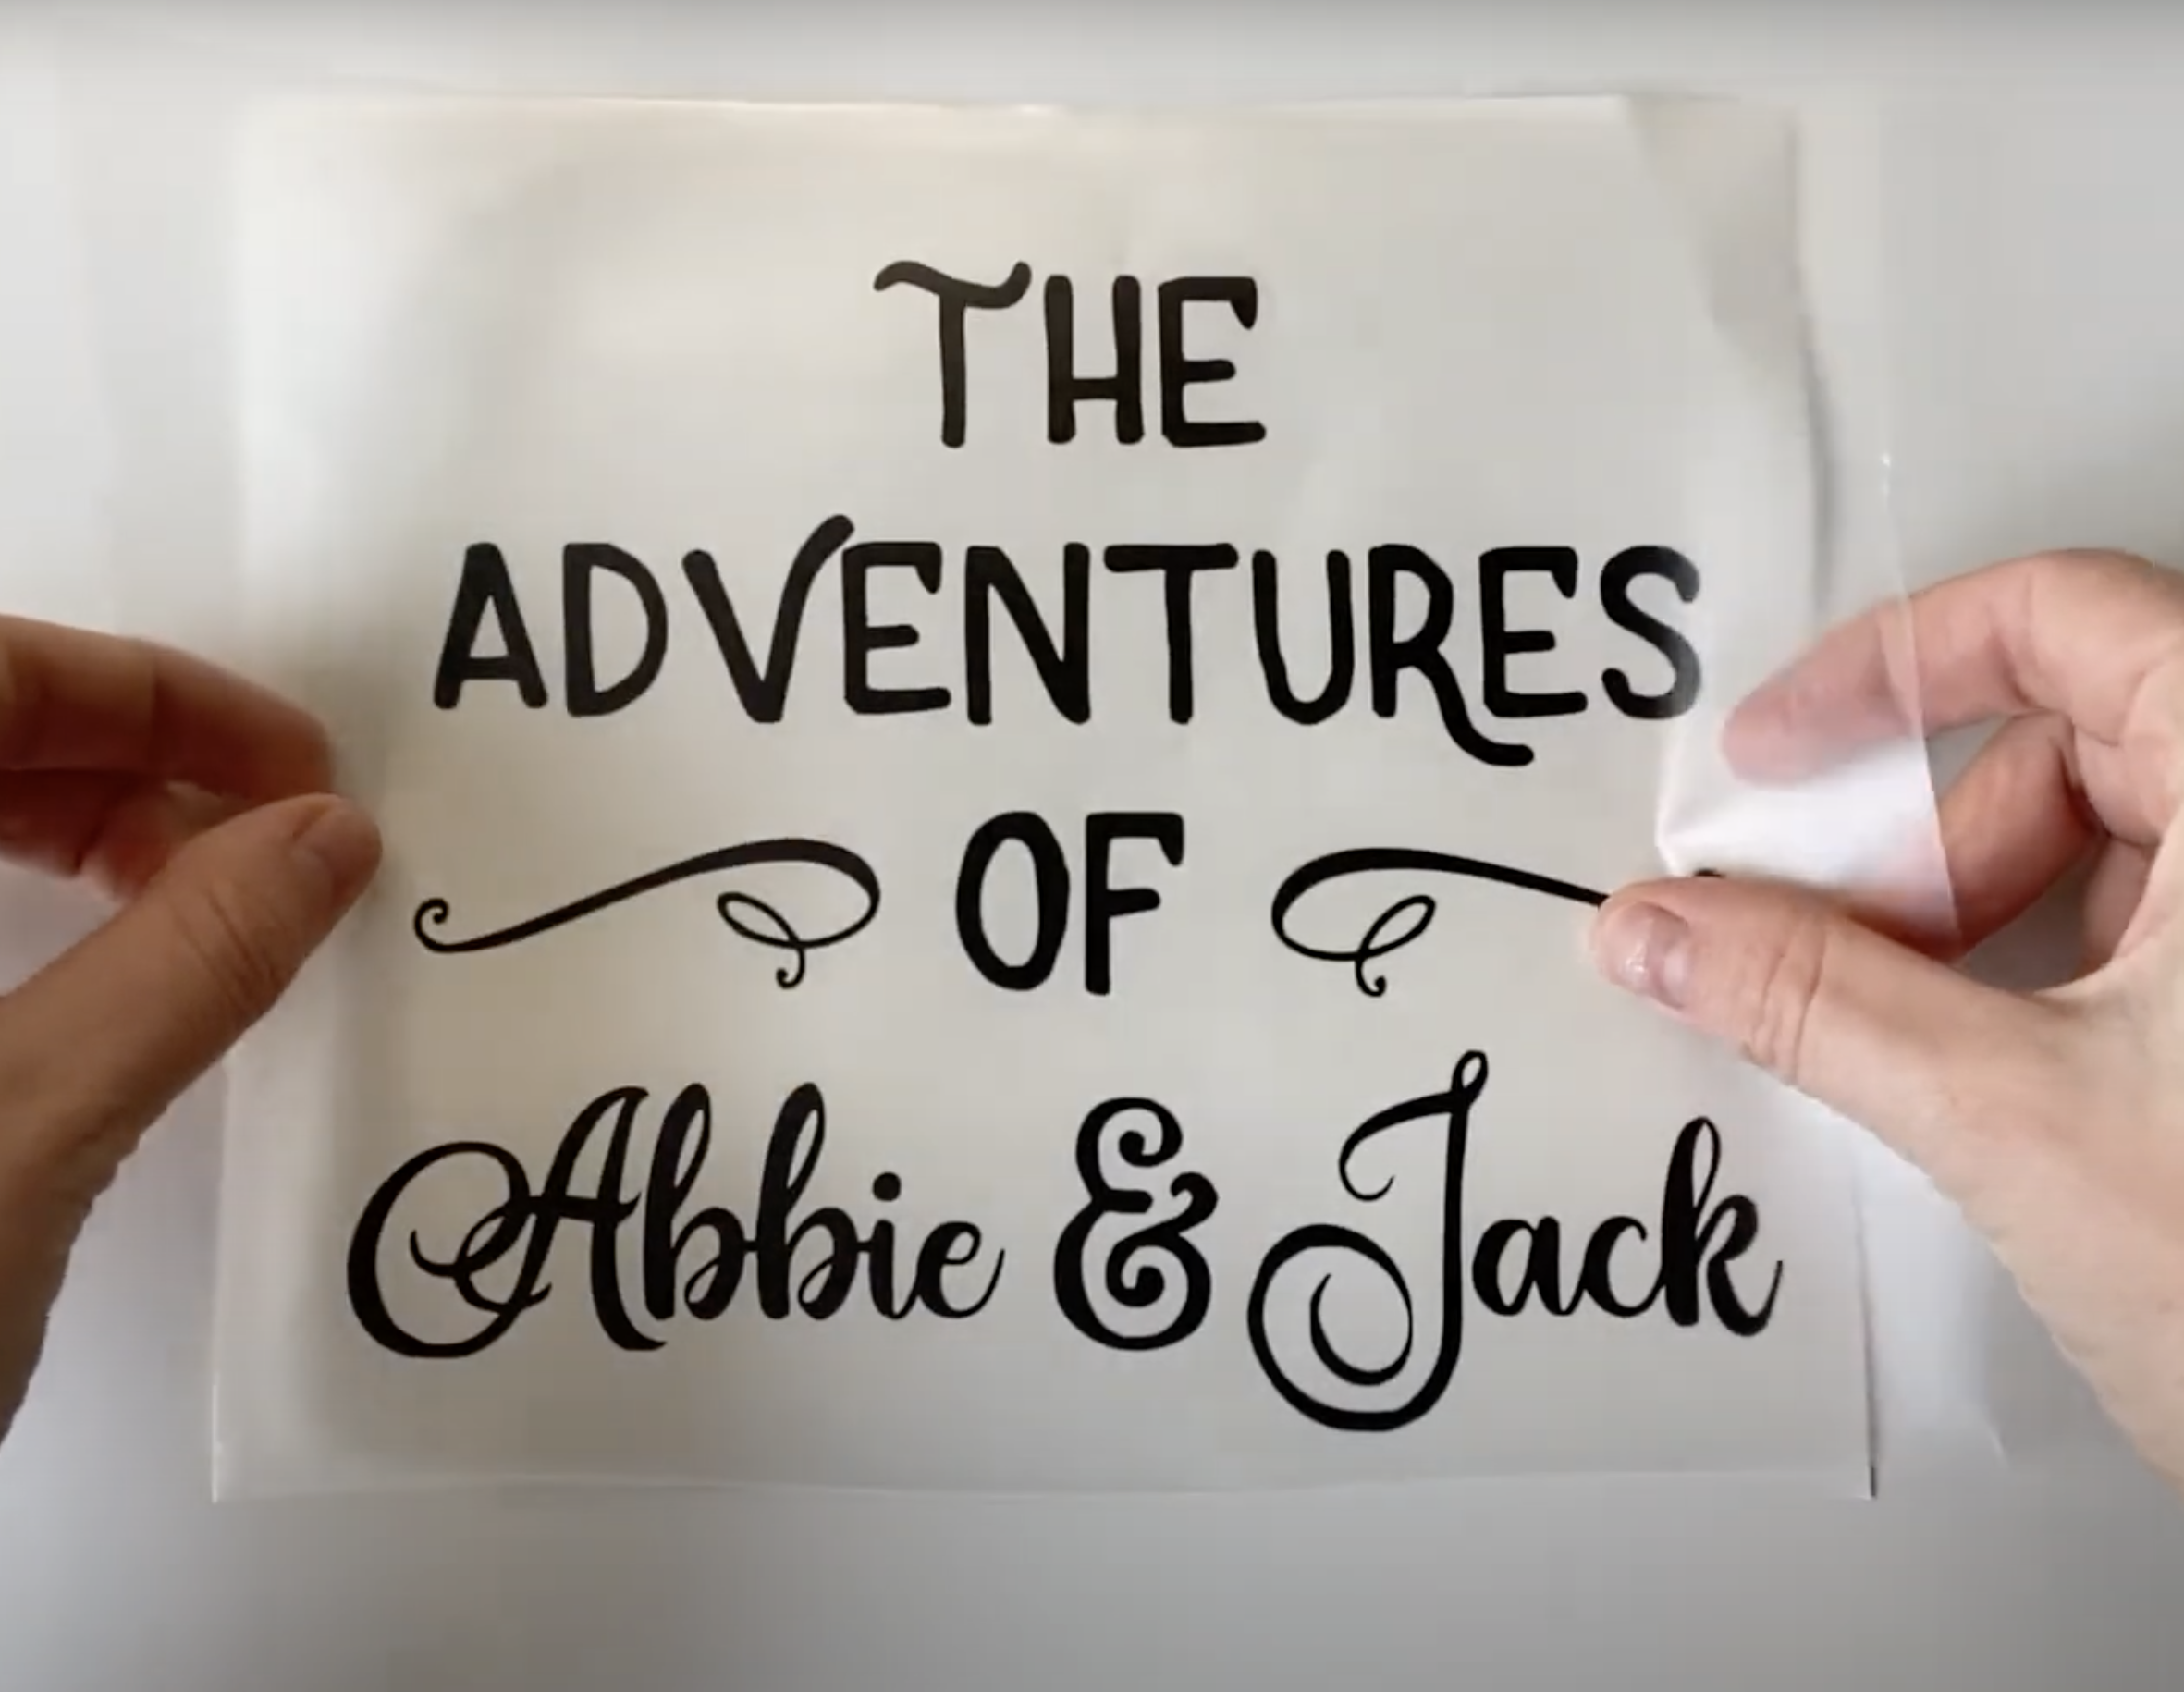
Cut around your design as close to the letters as possible so you don't have to deal with any excess transfer tape.

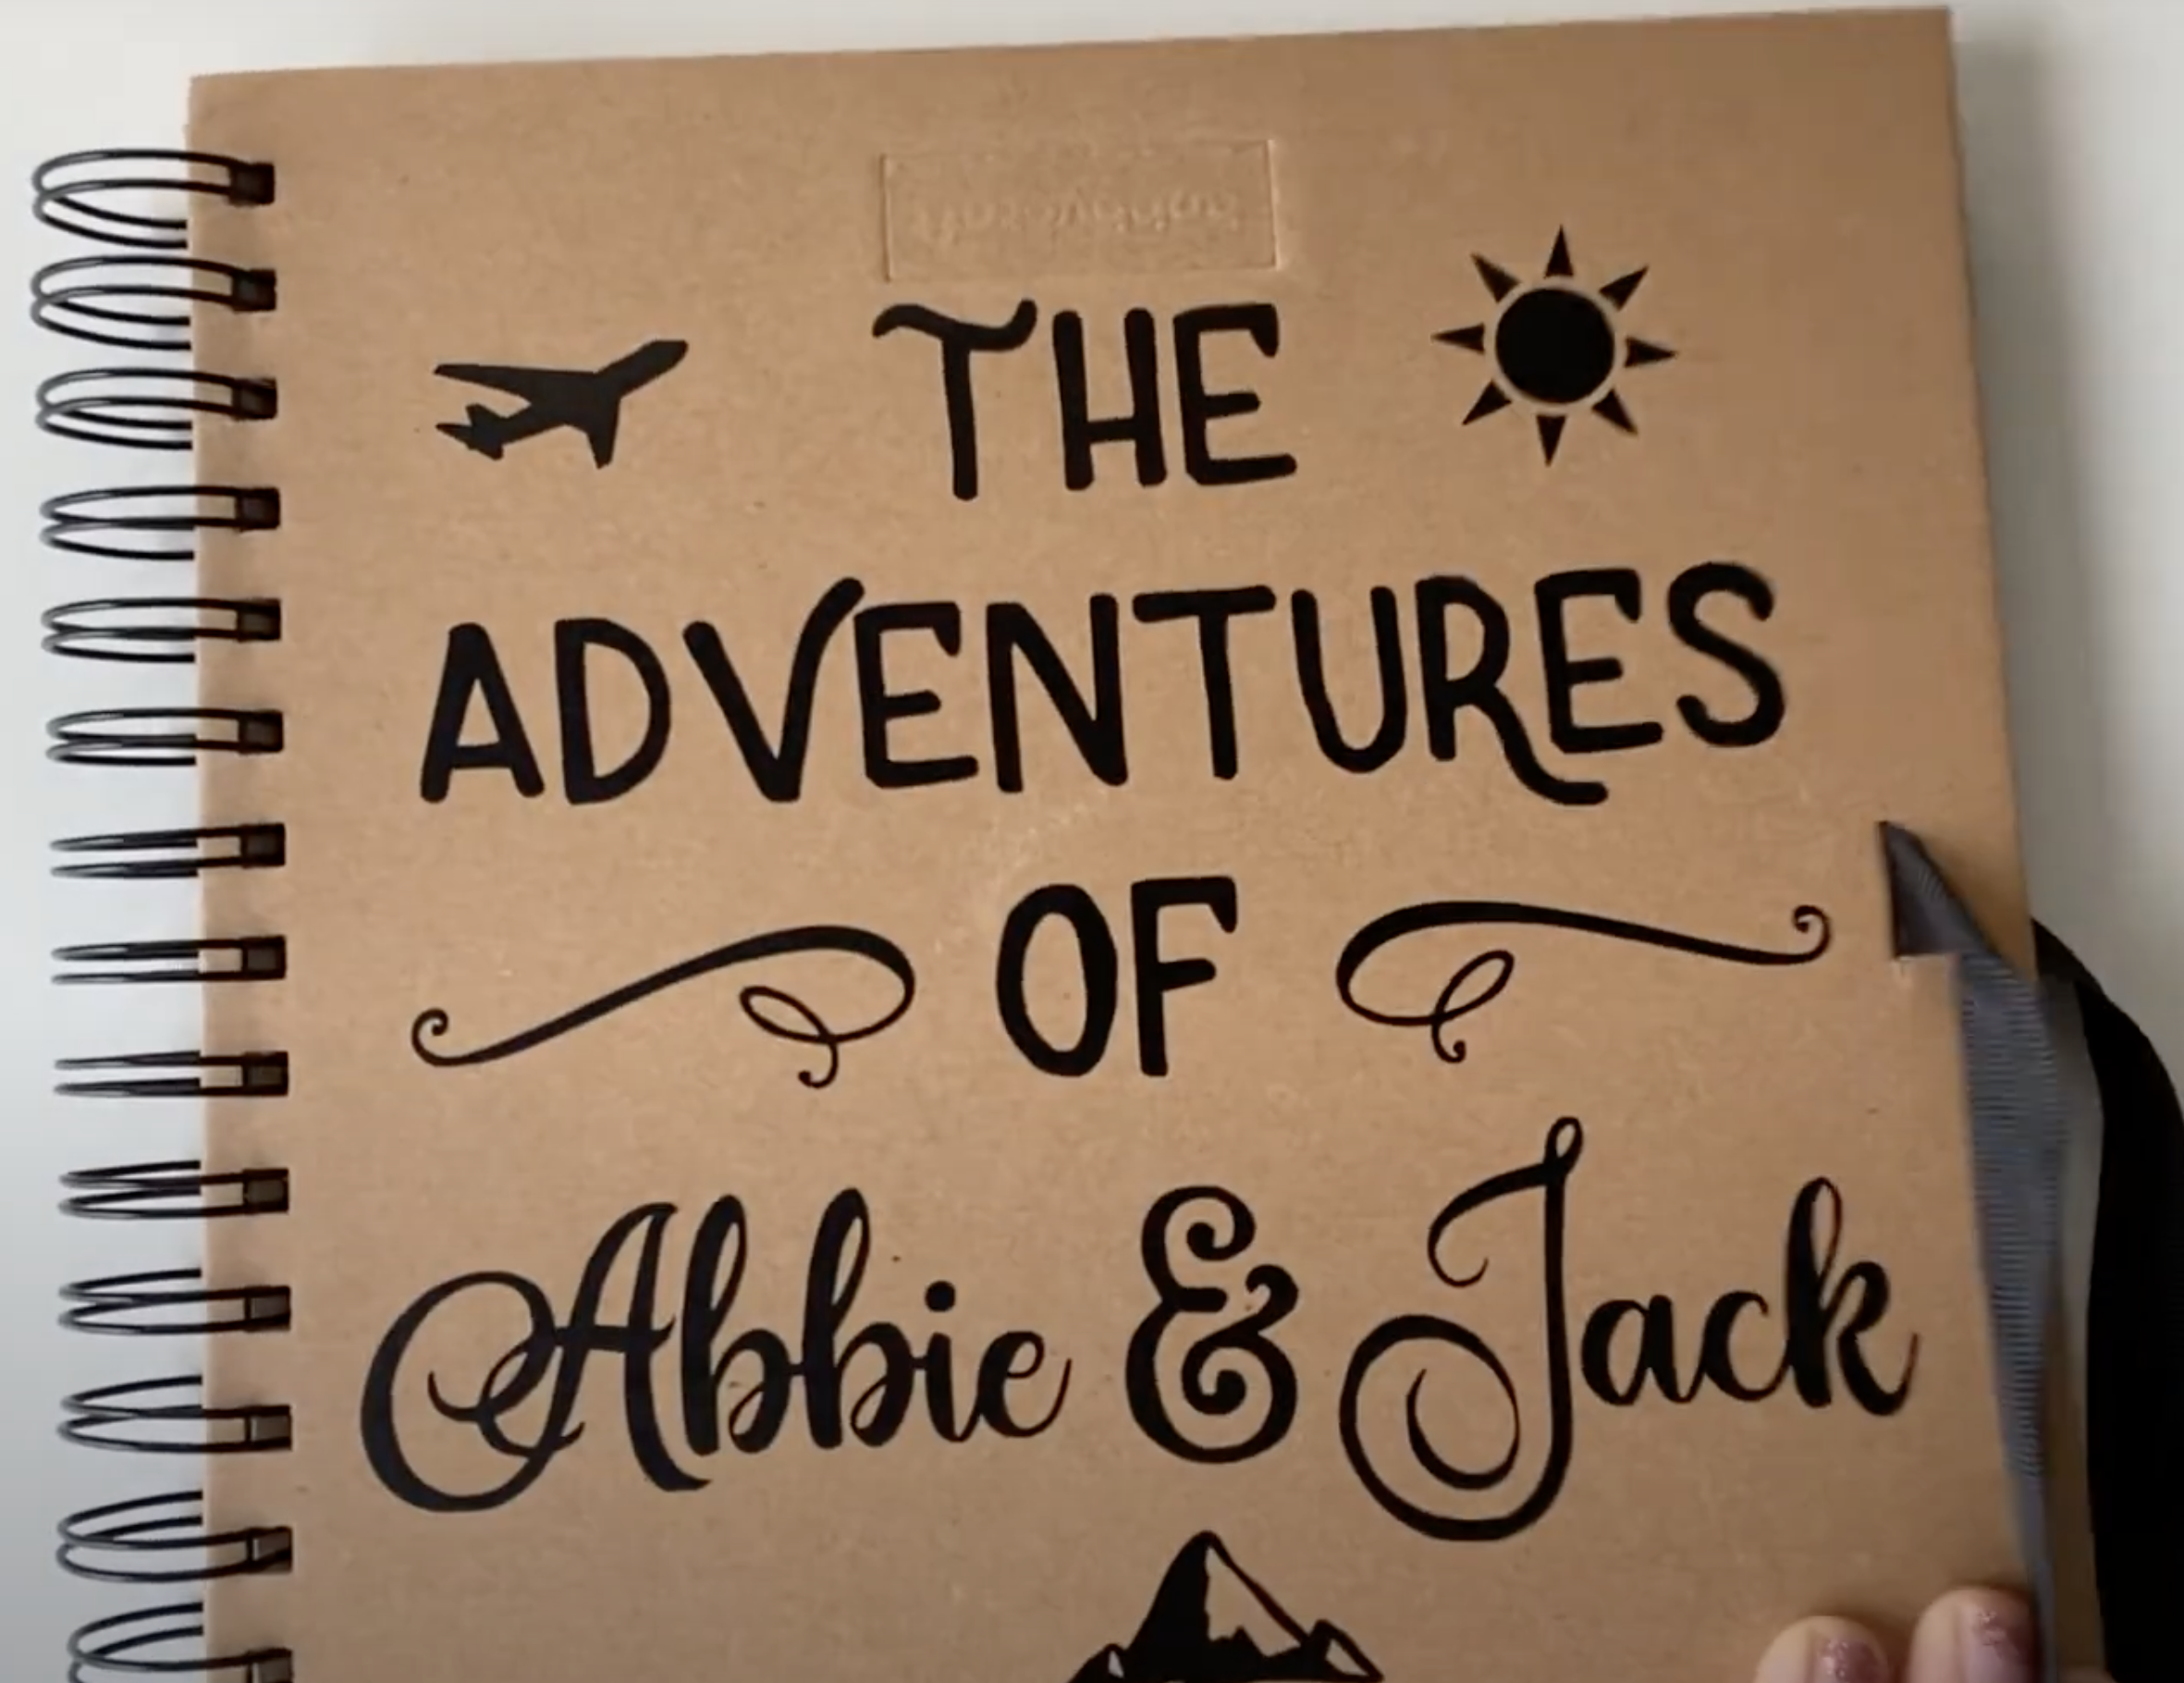
I also did a few little icons to go with it.
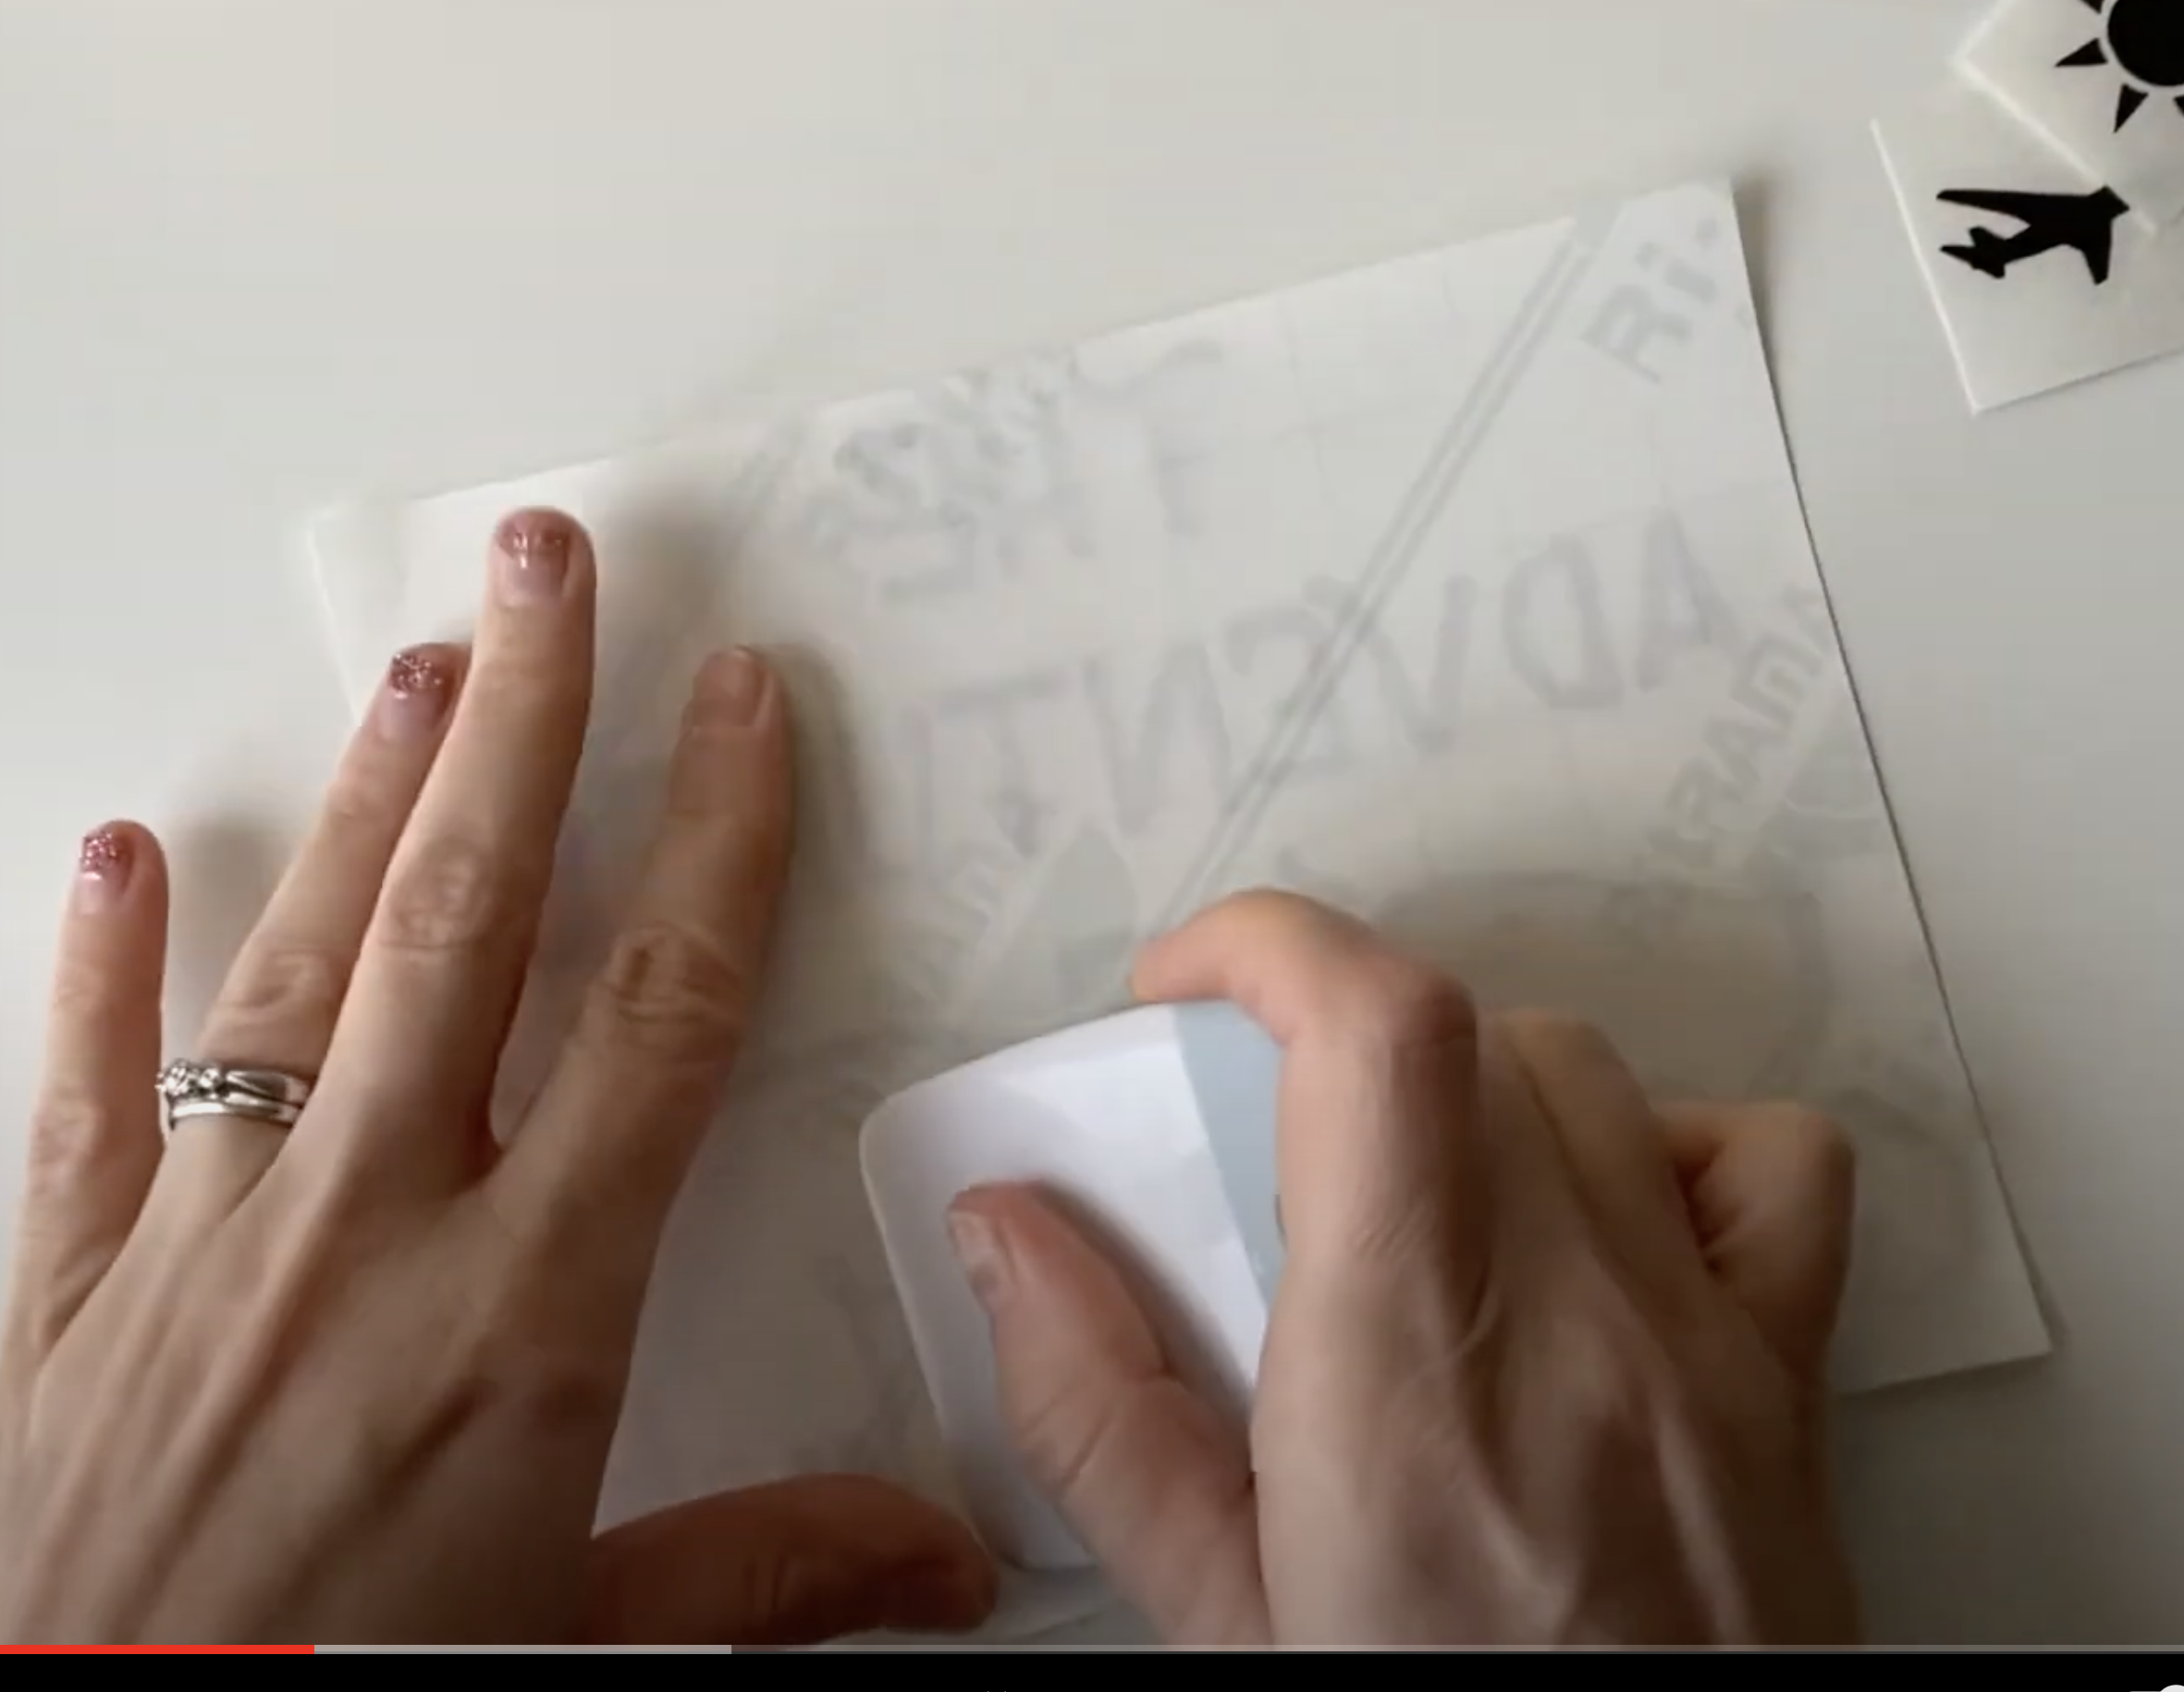
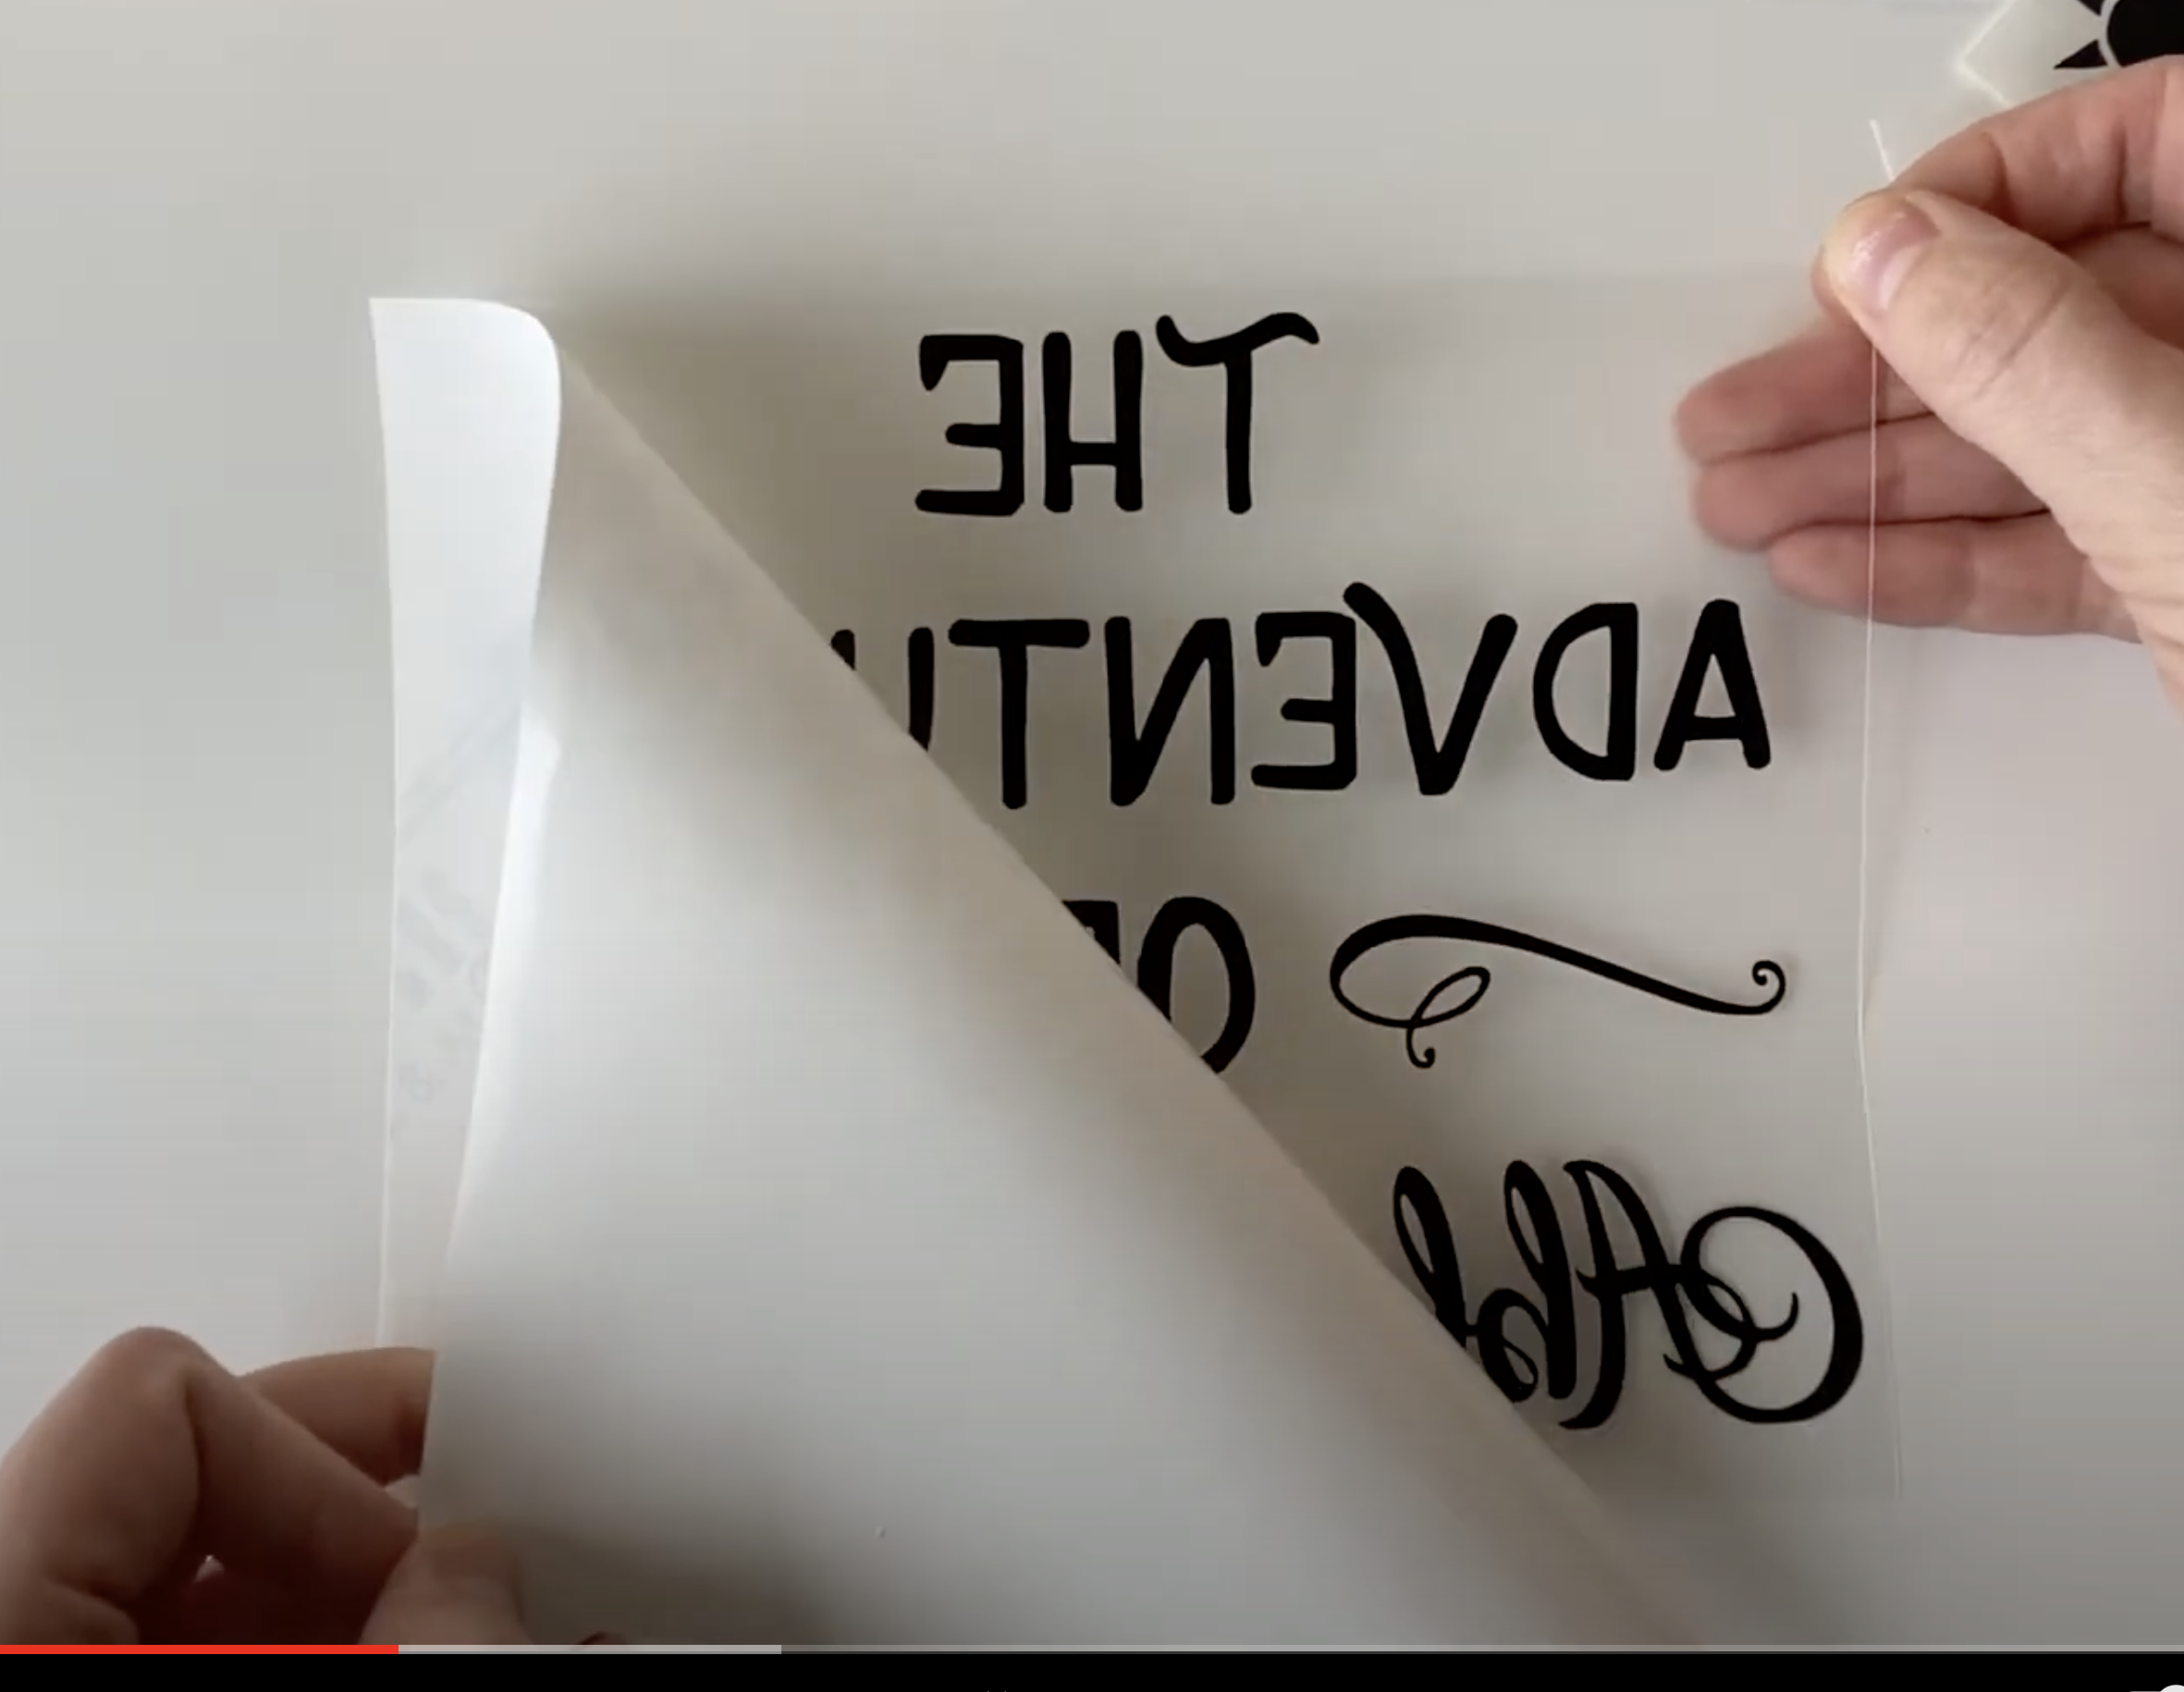
Remove the backing paper.
I find the easiest way to do this is to flip the design over and rub your scraper firmly over the design.
Now the backing paper has been removed, centre your design on the scrapbook and use your scraper again to remove any air bubbles.
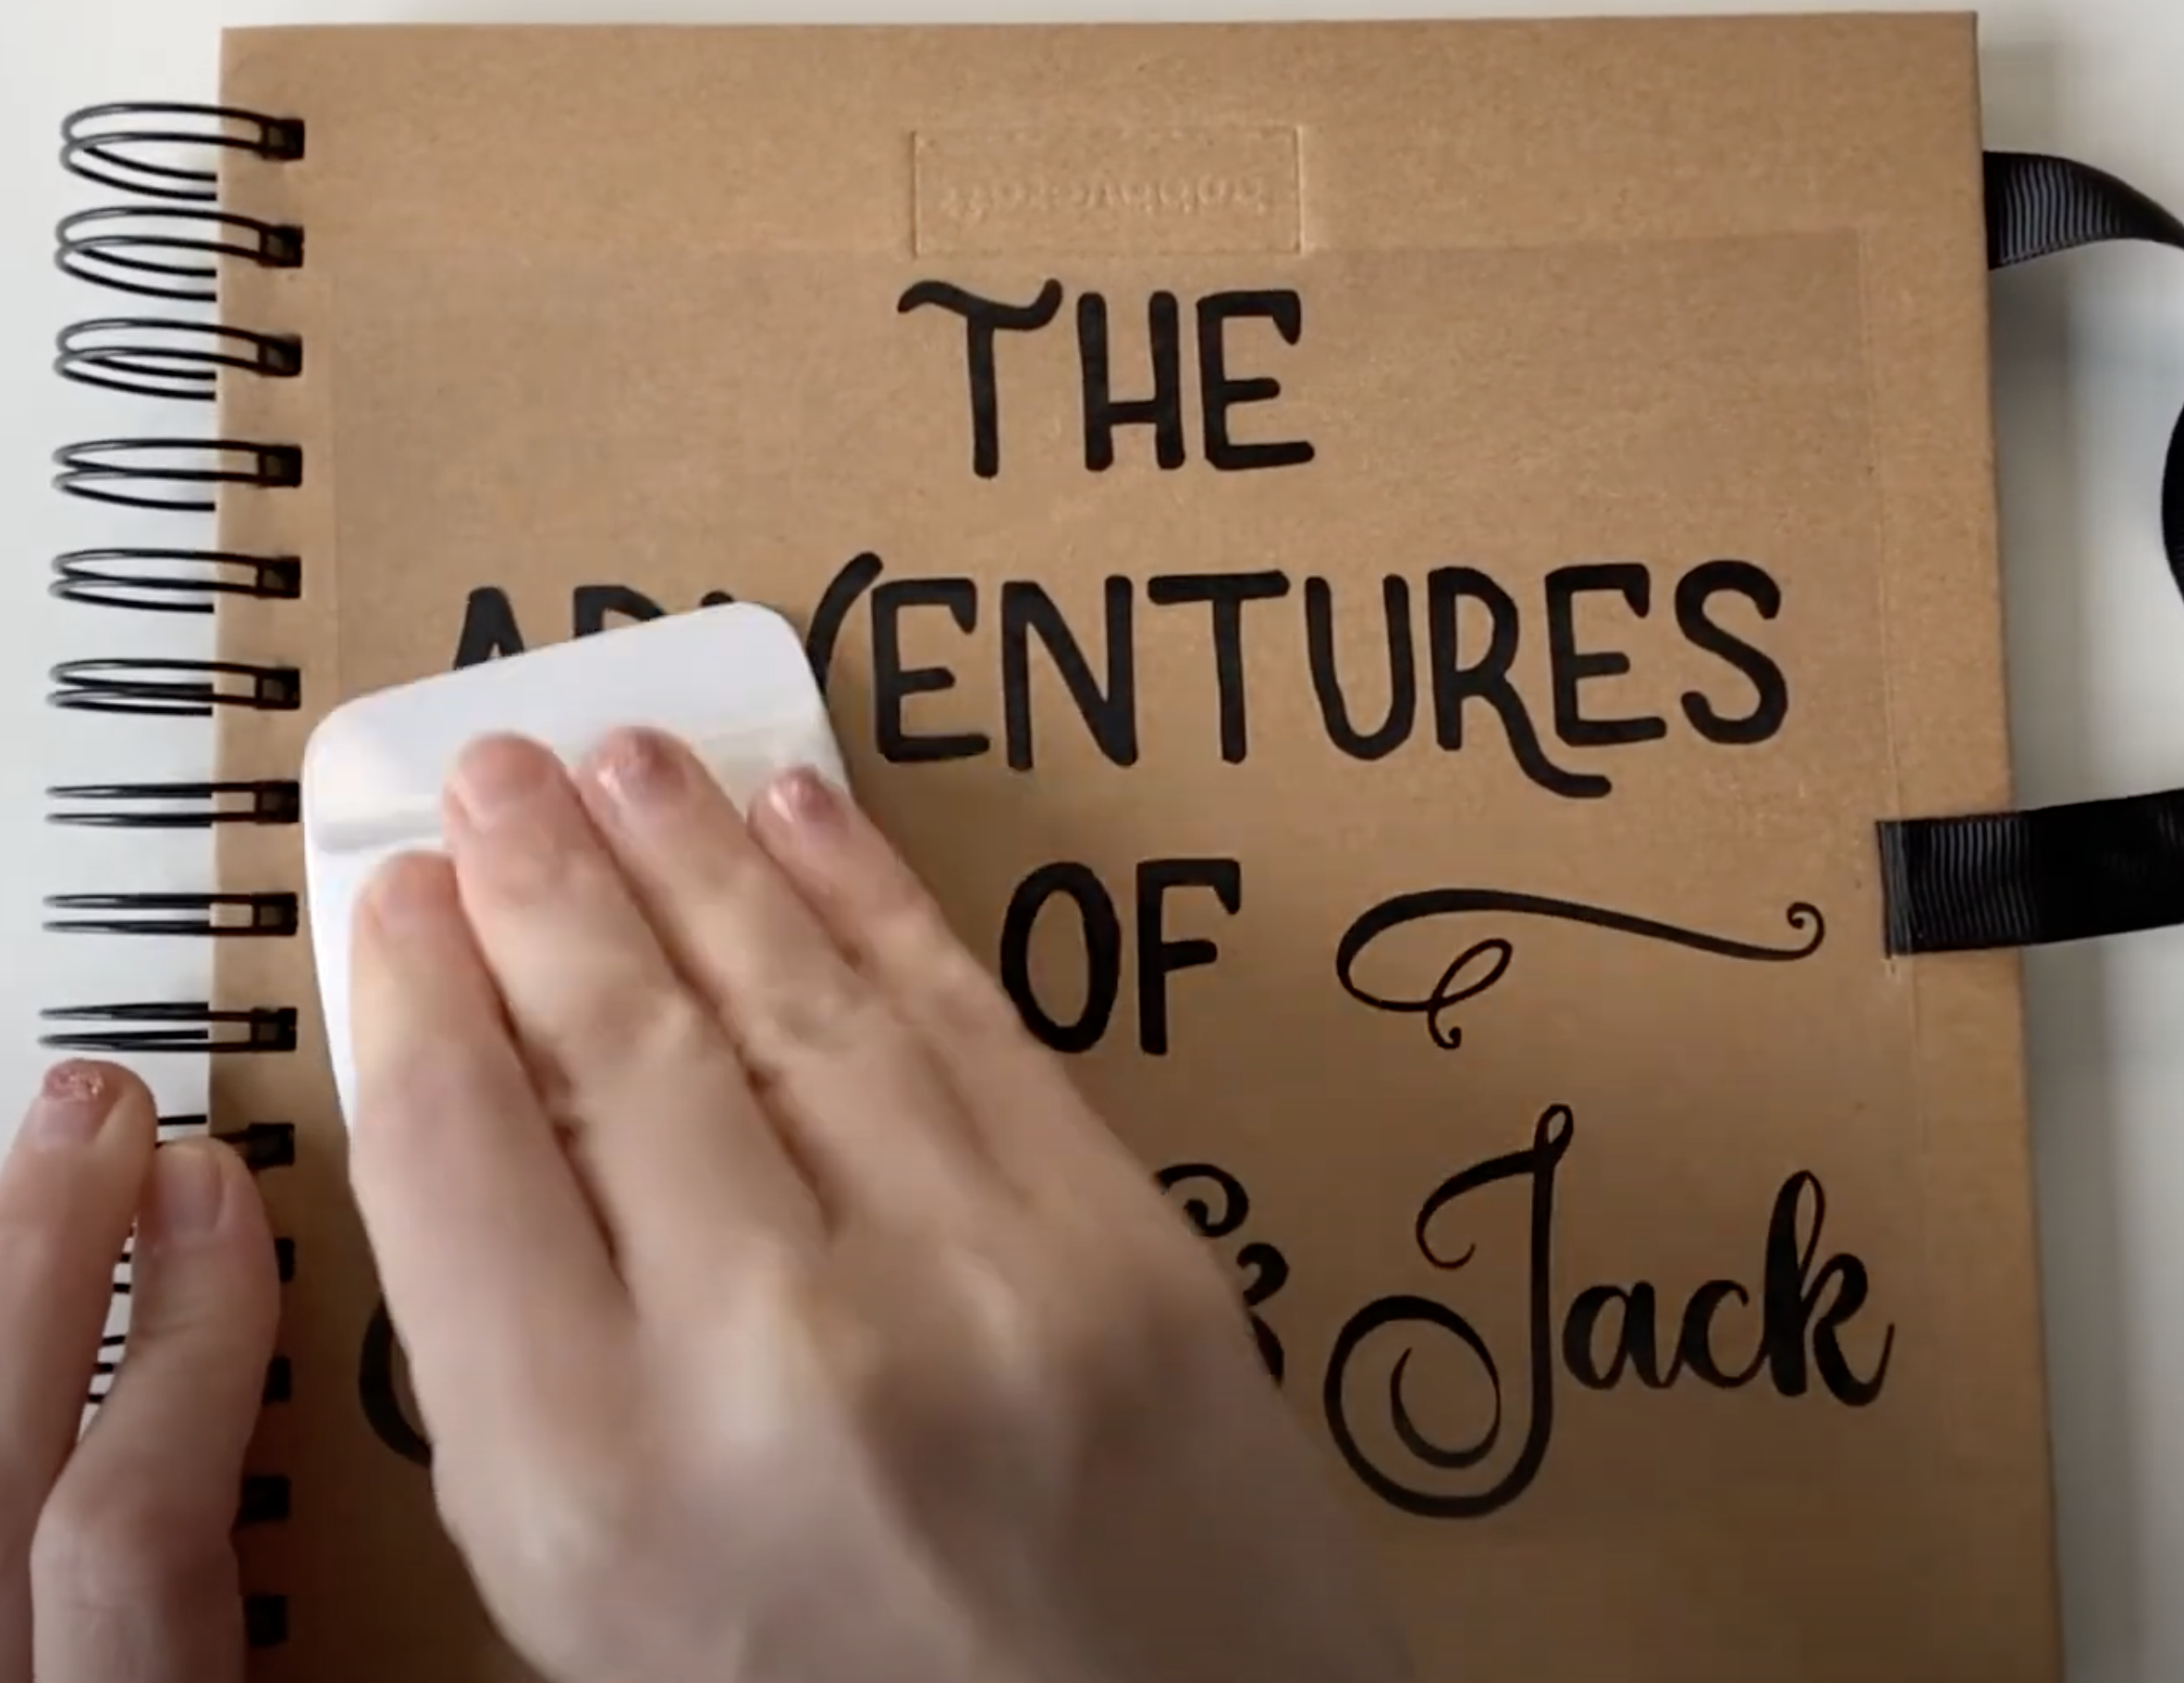

Next, start to (really slowly) peel the tape off. If the transfer tape starts bringing up the letters with it just gently put it back, press down, rub over it with your finger and slowly peel it away again.

Sometimes just takes a little bit of patience, especially with longer words,but you'll get there. Make sure they're all sticking before you peel the whole thing off.
Go through the same process for the little icons and there you go!
You can also use vinyl on the inside of your book. Once you have your photos etc. stuck in your scrapbook, you can add decals such as titles, quotes or icons to them.

That is definitely the quickest and best way to customize a scrapbook so you can fill it full of memories.
I hope you liked that tutorial. If so, please subscribe for more videos like this.