

UV DTF Vs Vinyl & Stickers Comparison
I’m a huge advocate for vinyl decals and I love making stickers, so when I heard about UV-DTF transfers I was very intrigued. If you don’t know what they are, UV-DTF transfers are designs printed onto a sheet using a UV printer, which are then usually laminated to make them easier to apply.
They don’t require any cutting around the design like stickers, or weed them like you do with decals. They can just be peeled and then stuck on all sorts of surfaces like canvas, glass, wood, metal, hard plastic, leather and more.
In this post, I will be comparing UV-DFT transfers as they are similar to both stickers and decals yet different. I will be giving you my thoughts on the pros and cons, especially when it comes to whether you should use those, vinyl decals or stickers.
Continue reading or watch the video below …
Previously UV printers were used to print directly onto items, so it did restrict what UV-DFT transfers could be put on, but now that you can get them on sheets like this they are so much more versatile.
I don’t have a UV-DTF printer myself, because they cost megabucks, so I bought a few transfers to test them out. I got these free samples from InkfuseUVDTF and then a cup wrap and a little Easter transfer from ES Vinyl & Craft.
So let’s get started with trying to apply…
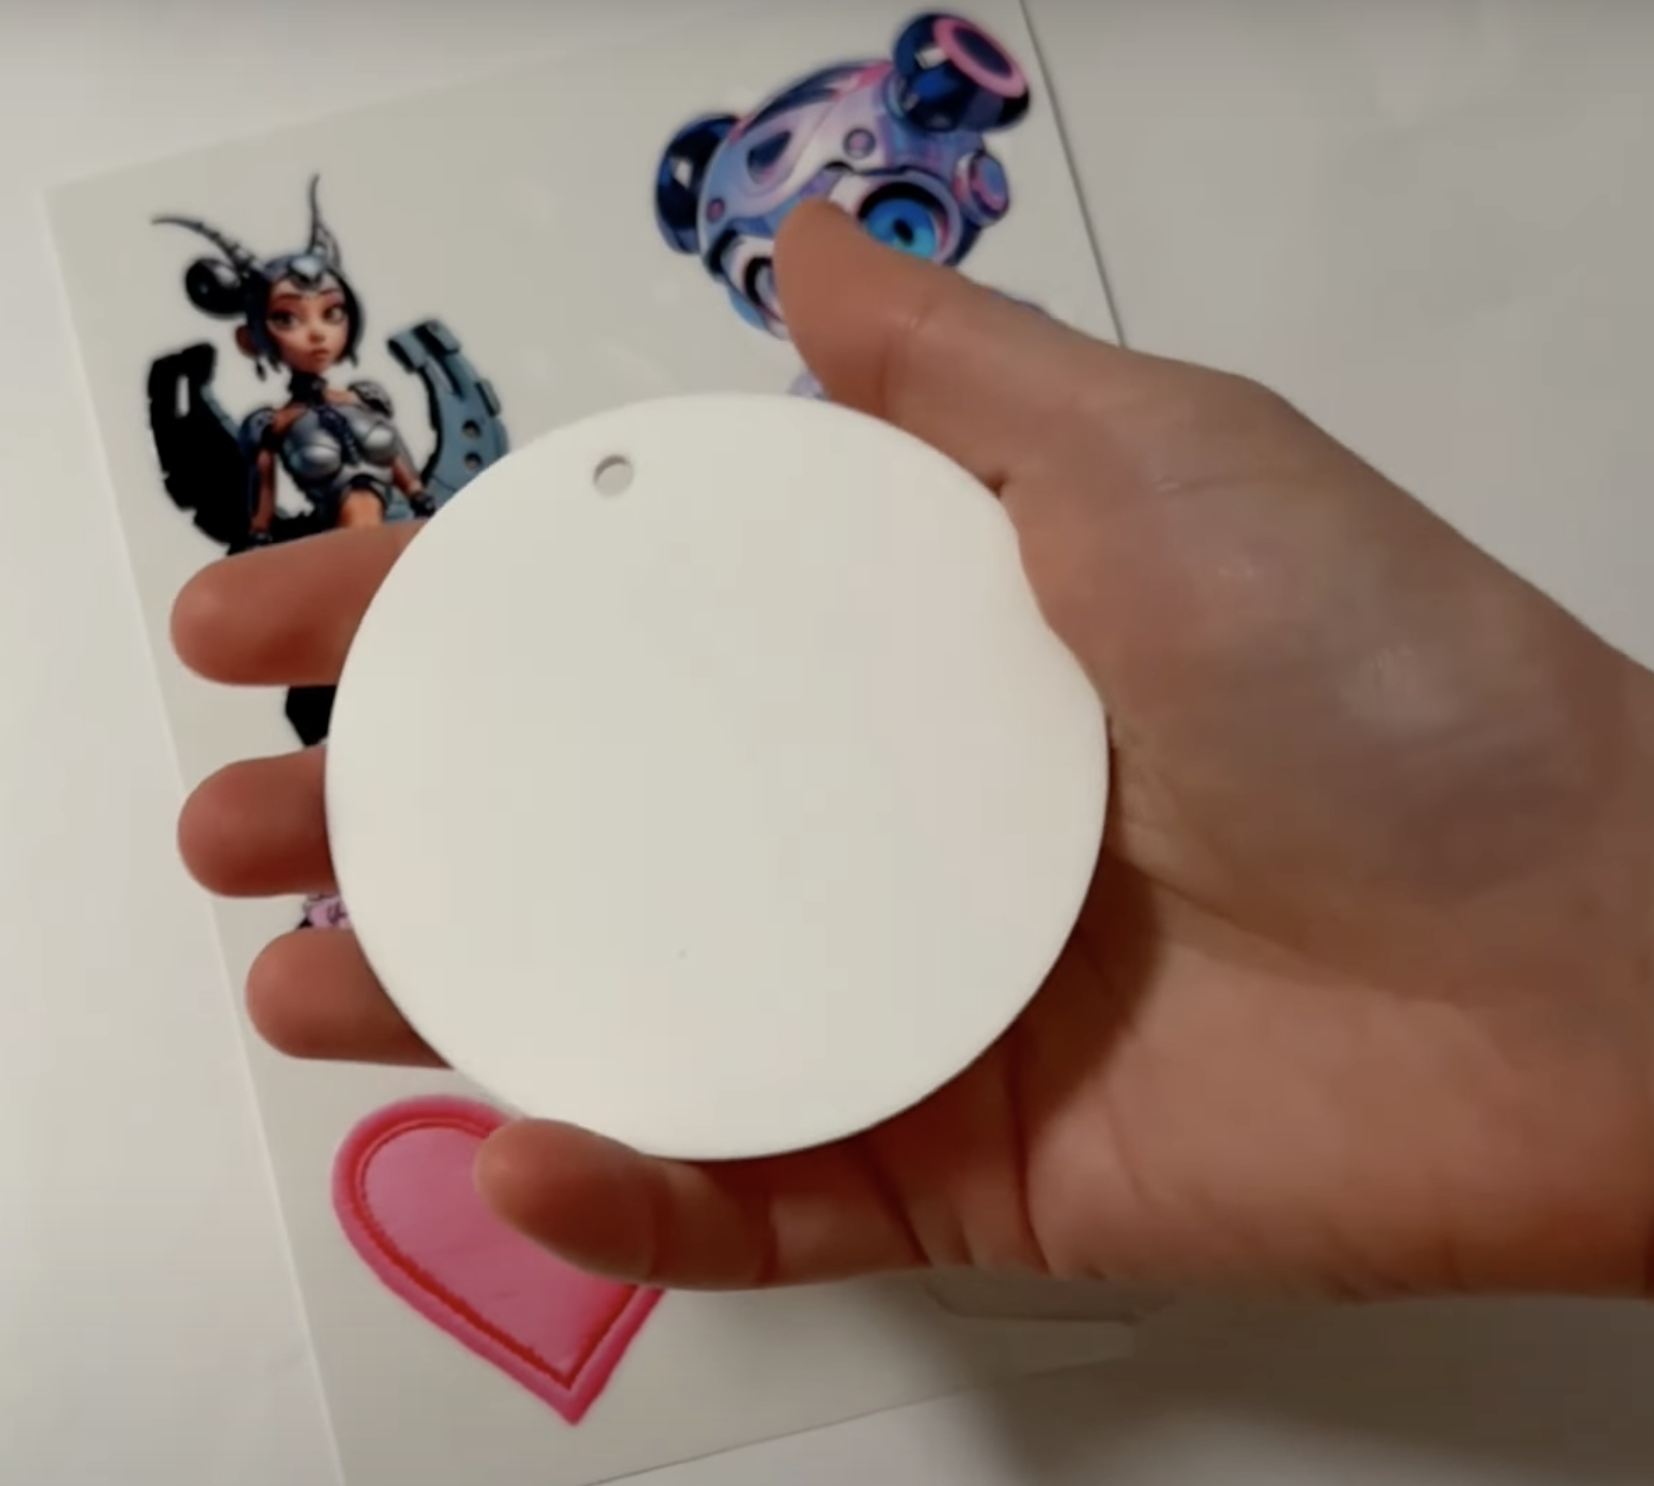
I started with one of the smaller Inkfuse designs to add to a new flat acrylic bauble, so it doesn’t require any cleaning.
Start by cutting around the design (which doesn’t need to be neat unless you want that to help you align it on your item), remove the backing paper and place it where you want it to go. Use your squeegee to make sure there are no air bubbles and remove the cover film.

This cover film is super sticky around the design, so if you were to add this to something a bit more delicate or painted for example, you may want to test that this won’t damage it.
But otherwise, that is done, and you can see how clean and vibrant it looks.
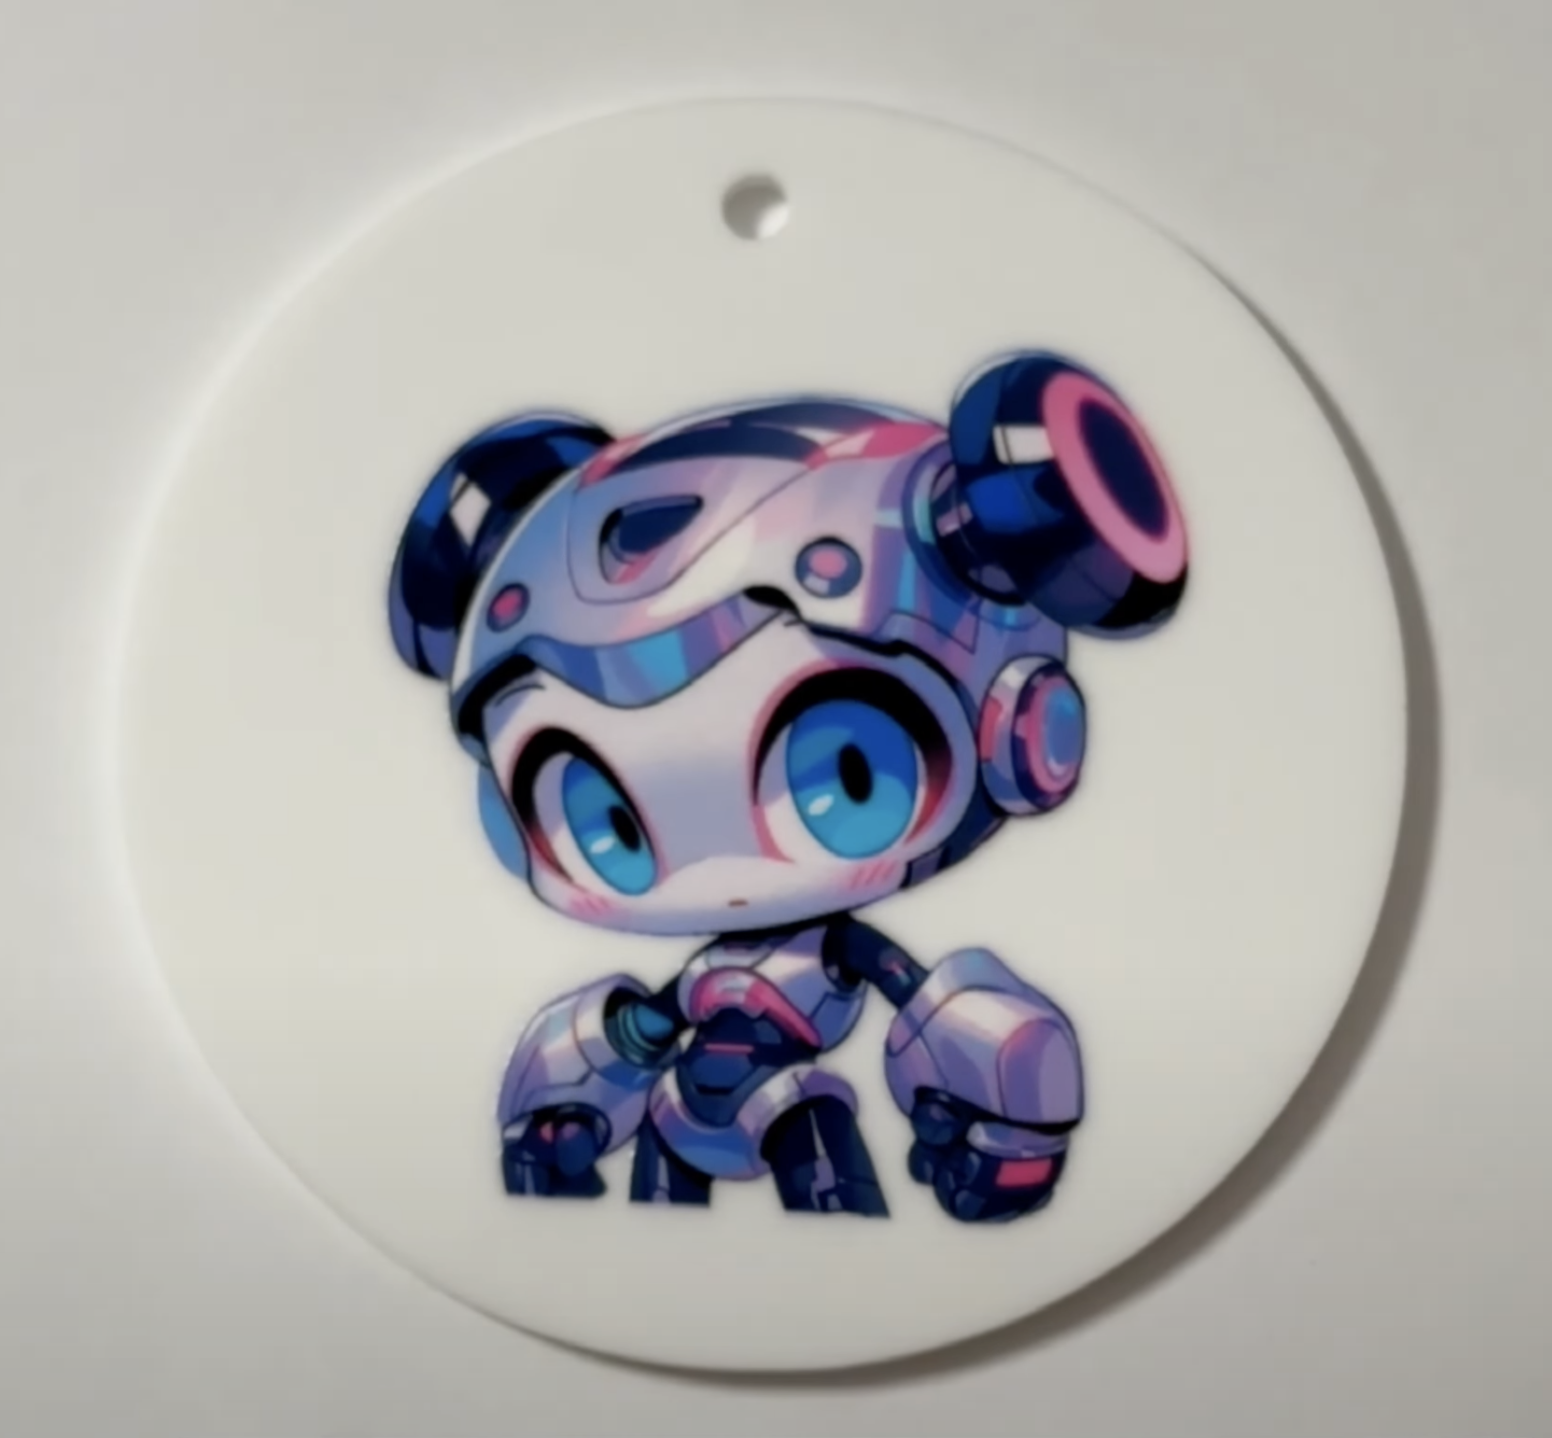
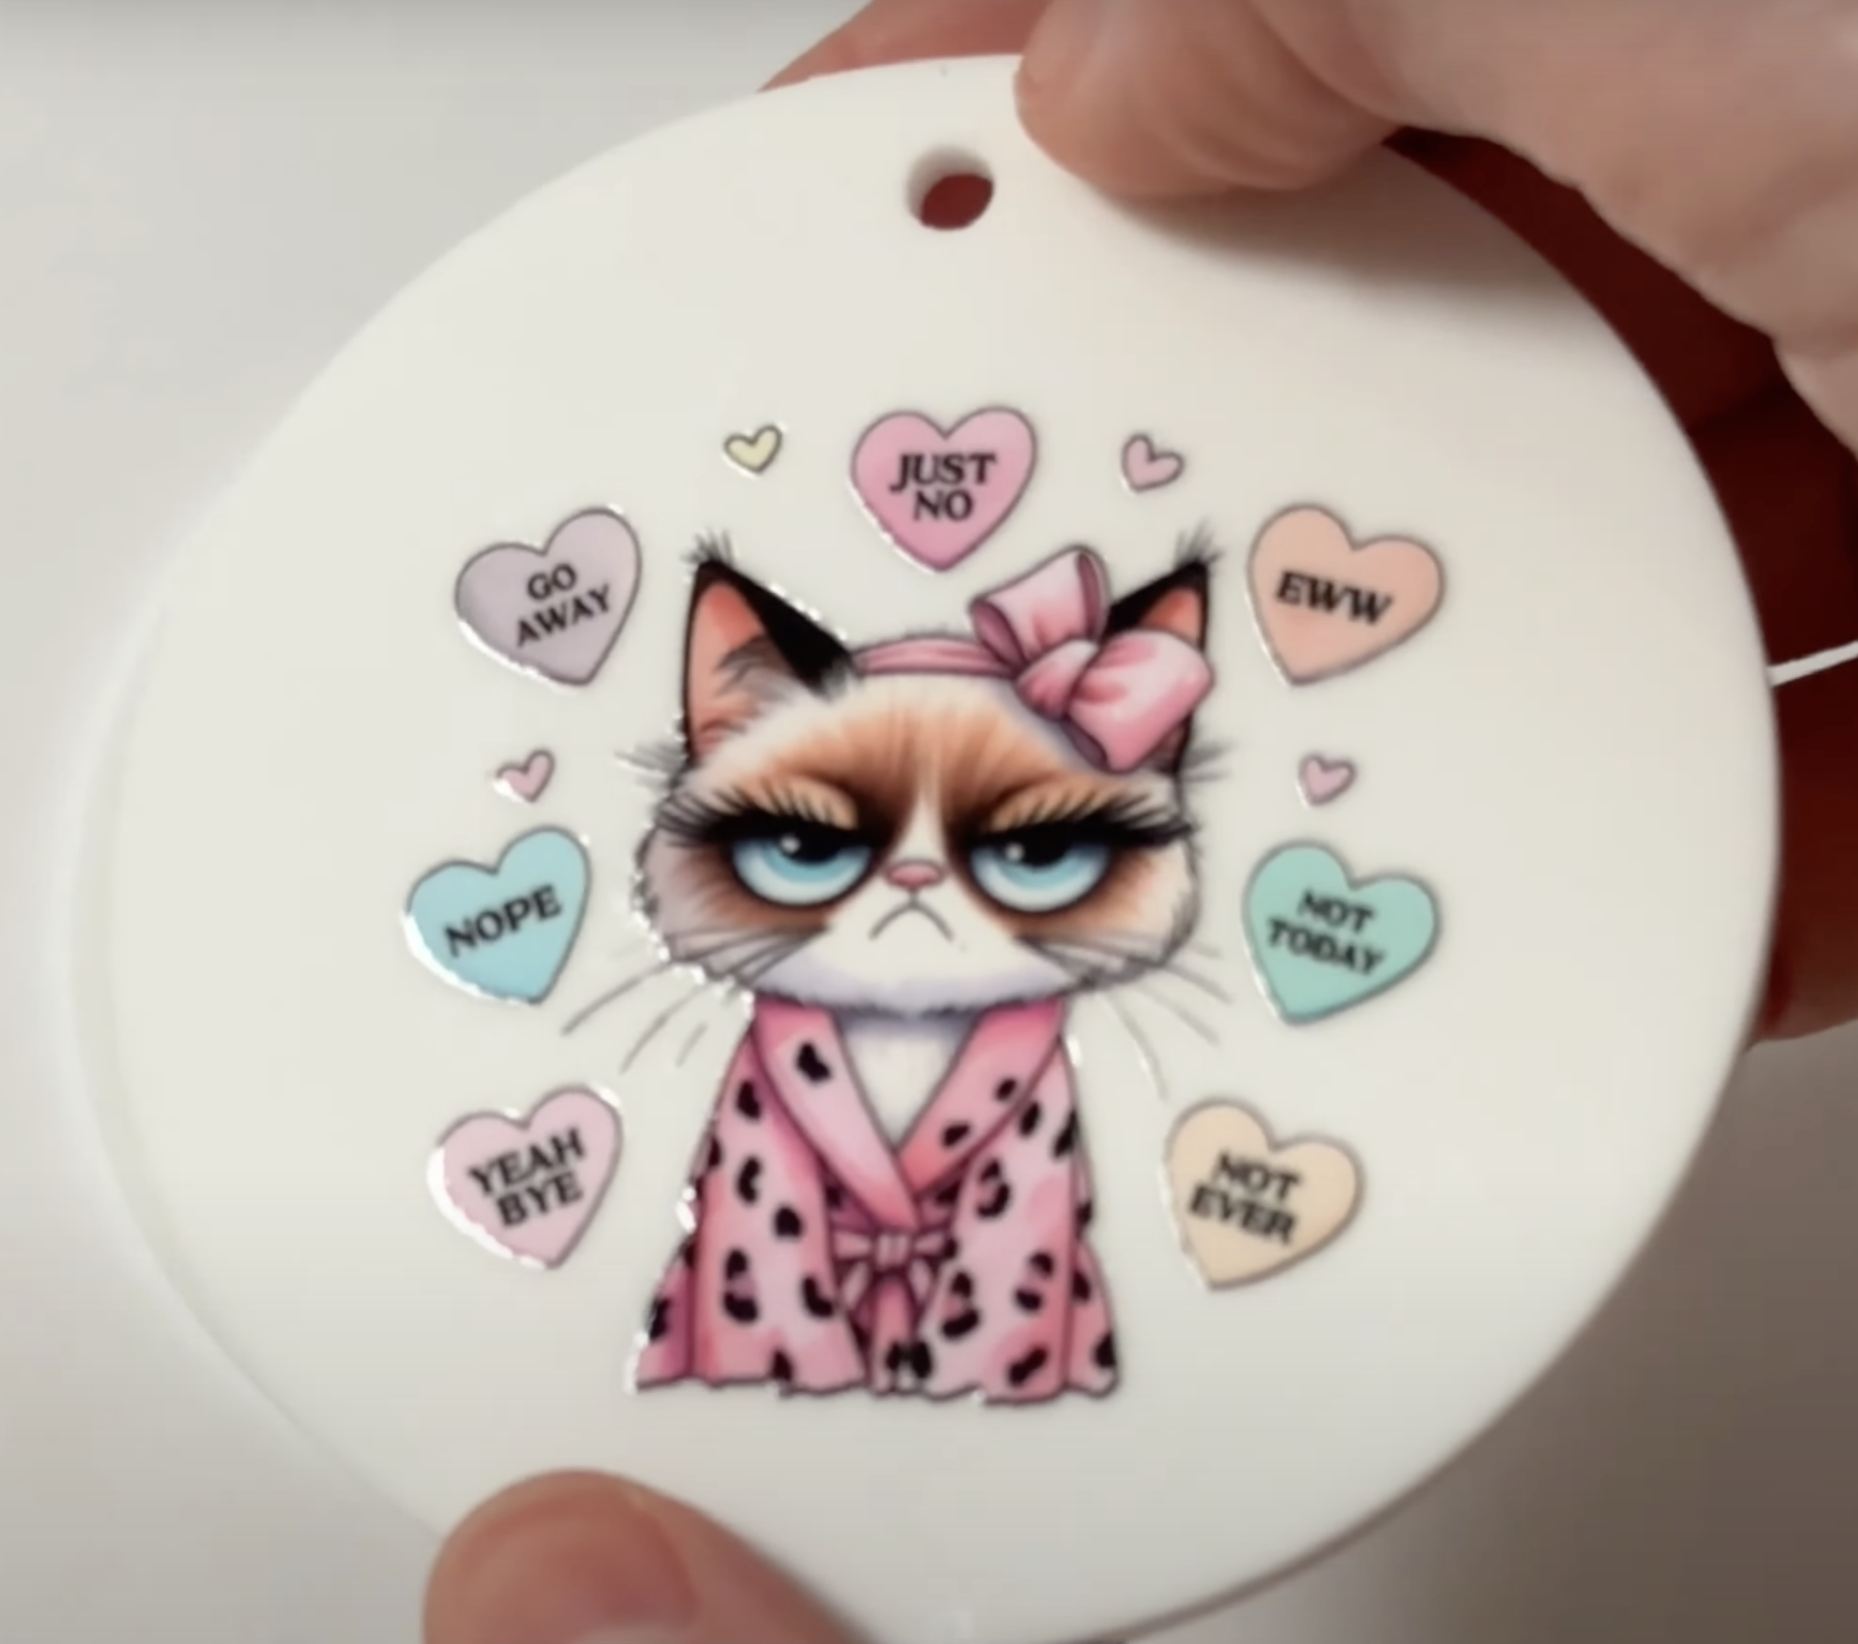
This is like a sticker, however, if you look at this other one I applied, those little hearts have been applied with no offset around them, which wouldn’t be as easy with a sticker. So that is the beauty of UV-DFT transfers.
Now let’s try a cup wrap…
Again, you can just peel off the backing straight away, no need to take time layering or weeding. Before you peel off the backing, squeegie both the front and back of the design which will allow the transfers to come off much easier. Also, line it up with your cup in case you need to trim down the edges before peeling it off.

The instructions tell you to work from the middle and squeegee outwards so that’s what I did. I popped the paper back under one side to avoid it sticking whilst I squeegeed and pressed the other side down.
It went on really easily and I repeated the process on the other side.

I did have a bit of a gap between the join and it may be due to the cup being from a retail store rather than a craft supplier.
Obviously, you would want to measure things properly before purchasing if you were thinking of selling.
I gave it a bit more of a squeegee, then I peeled off the cover tape. This one wasn’t quite as sticky as the other one so it came off really easily. It looks so vibrant, I love it.


If you miss a few of the little bits like I did, they are so easy to line up because you can see the outline of the design on the cover film.
So this didn’t take me too long.

It does say on the instructions sheet that once this is stuck down it doesn’t budge, however that isn’t true in this case. As you can see here this diamond easily lifted up and could probably be repositioned if really needed.
However, when I went back to them a couple of days later they wouldn’t move at all, so they obviously do stick fast once they have been left to cure.
I couldn’t lift it from the acrylic one either, so for that reason, this wouldn’t really work well as an option for some of my customers who like to add my decals to mirrors or acrylic with the option of being able to remove them so they can reuse the sign again.
The same goes for stickers as I’m sure people who like to add them to laptops or water bottles, may also want the option to remove them if they want to.
Cost
As mentioned, the cost of the printers themselves are huge. Exponentially more than just having a cutting machine and a printer. So I wouldn’t say they are for people just starting out, unless you have a lot of capital to play with.
You can, however, upload your own designs to a company who sell UV DTF sheets and then use those to add to cups or whatever you want to sell.

As an example, this 58cm x 100cm sheet from Inkfuse is £26 and I could fit 20 designs on one sheet to make wraps for 16oz glasses. On that basis, it worked out at £1.30 per wrap.
This is definitely more expensive than if you were to use vinyl with the same amount of colours, however, you save so much time when it comes to avoiding weeding and applying, so to me, that seems like a pretty good price. This was the first place I looked too, so there may be companies doing a better deal or selling bigger sheet sizes for a cheaper price.
And if you can bulk buy your cups as well and get the price of those down, then that will take your profit margin way up.
That is of course only comparing these specifically for cup wraps and for making items ahead of time.
For me and my business, it definitely wouldn’t make sense to do this. I sell single colour decals that don’t require that much weeding time, threfore it is a lot cheaper for me to cut those out of vinyl and then send. Also for things that are made to order and include personalisation details, the turnaround time might just be too long if you have to wait for the UV-DTF sheet to arrive, then apply, then send.
In comparison to sticker sheets, it is going to be cheaper to make your own. However, again it is just time consuming.

For example, pre-made stickers from somewhere such as Sticker Mule would cost £64 for a 50 mm x 50 mm design. You could fit 160 stickers of the same size within a 58 x100 cm area if you make them yourself, which would work out much cheaper.
This is definitely something to consider if you sell stickers individually.
Durability
I haven’t had a chance to properly test the longevity of these transfers in comparison to stickers and decals, however, according to the companies that sell them, they are water resistant. The instructions did say they can be used in a dishwasher but won’t necessarily last as long. They are also scratch resistant and the fact they are UV printed hopefully means that they won’t fade very quickly.
Permanent vinyl obviously lasts a long time as well and is technically water resistant, however isn’t dishwasher proof. But then, of course, you can also get removable vinyl which is great for things like wall decals.
Regarding stickers, they could potentially fade quicker and you do of course have to laminate them to make them waterproof. But you can add holographic and glitter overlays to make them a bit more special.
Conclusion
My conclusion is that UV-DTF sheets are amazing! If you have the resources and space to purchase a printer yourself and want to add it as one of your business services they do seem to be becoming a lot more popular. Or if you tend to make things like cups or items that require layering, and/or you make things ahead of time with no customisation then buying printed gang sheets does also look like an interesting option.
However, decals definately still have their place for signs, wall decals, personalised items and for people who are just starting out. Stickers are similar, especially if you already have the facilities to make your own.
What do you think - are they the future?
Have you tried UV-DTF transfers yet, and are you a fan?
Let me know in the comments and follow for more videos like this in future!