

10 Canva Tips You Might Not Know
I love Canva and use it all the time and I’m constantly telling people about it. So I thought it was about time that I shared some of the tips and tricks that you might not know about.
In this video, I thought I would do 10 different things that you can do on Canva and I've made sure that every single one of them you can still do on a free account, so you don't have to pay anything for them.
Quite a few of these I've just picked up from constantly using it myself, clicking on different buttons and stumbling across them, but there are a few that I have learned on TikTok as well (when I mention them I will add a link to their TikTok account).
You can watch the video below ….
The below content contains affiliate links and we may earn a commission if you shop through them, however, this won't cost you anything, it just helps us to keep the site running for free. For more information on affiliate links, see the disclosure here.
Or have a read ….
The first one is super helpful to people like me who sell decal designs, or if you sell any type of art or designs in general.
#1 Mock Ups
Canva now has a selection of different mockups available. Either search in ‘Pictures’ or in the search bar and a number of different options will come up.

You can just drag the one you want into a blank document and make it the size relevant to where you're going to be posting it. Upload your design into it and really it's as easy as that!

Download it as a PNG or JPEG and upload it to where you want it to go.
#2 Branded Invoices
The second tip is that you can create your own branded invoices in Canva if you find the Etsy or Shopify order forms really boring and you want to spice it up a bit. Or if you don't sell on there and you just sell through Facebook but you really want something that looks a bit more professional, there are a ton of different templates to choose from.
You can change the background, insert different elements and do whatever you want to do with it. You can change the fonts and use kind of the template as a base to create your own. Or you can create it from a blank template if you know exactly how you want it to look.

The next two tips are from KCH Company on TikTok (thank you for those!)
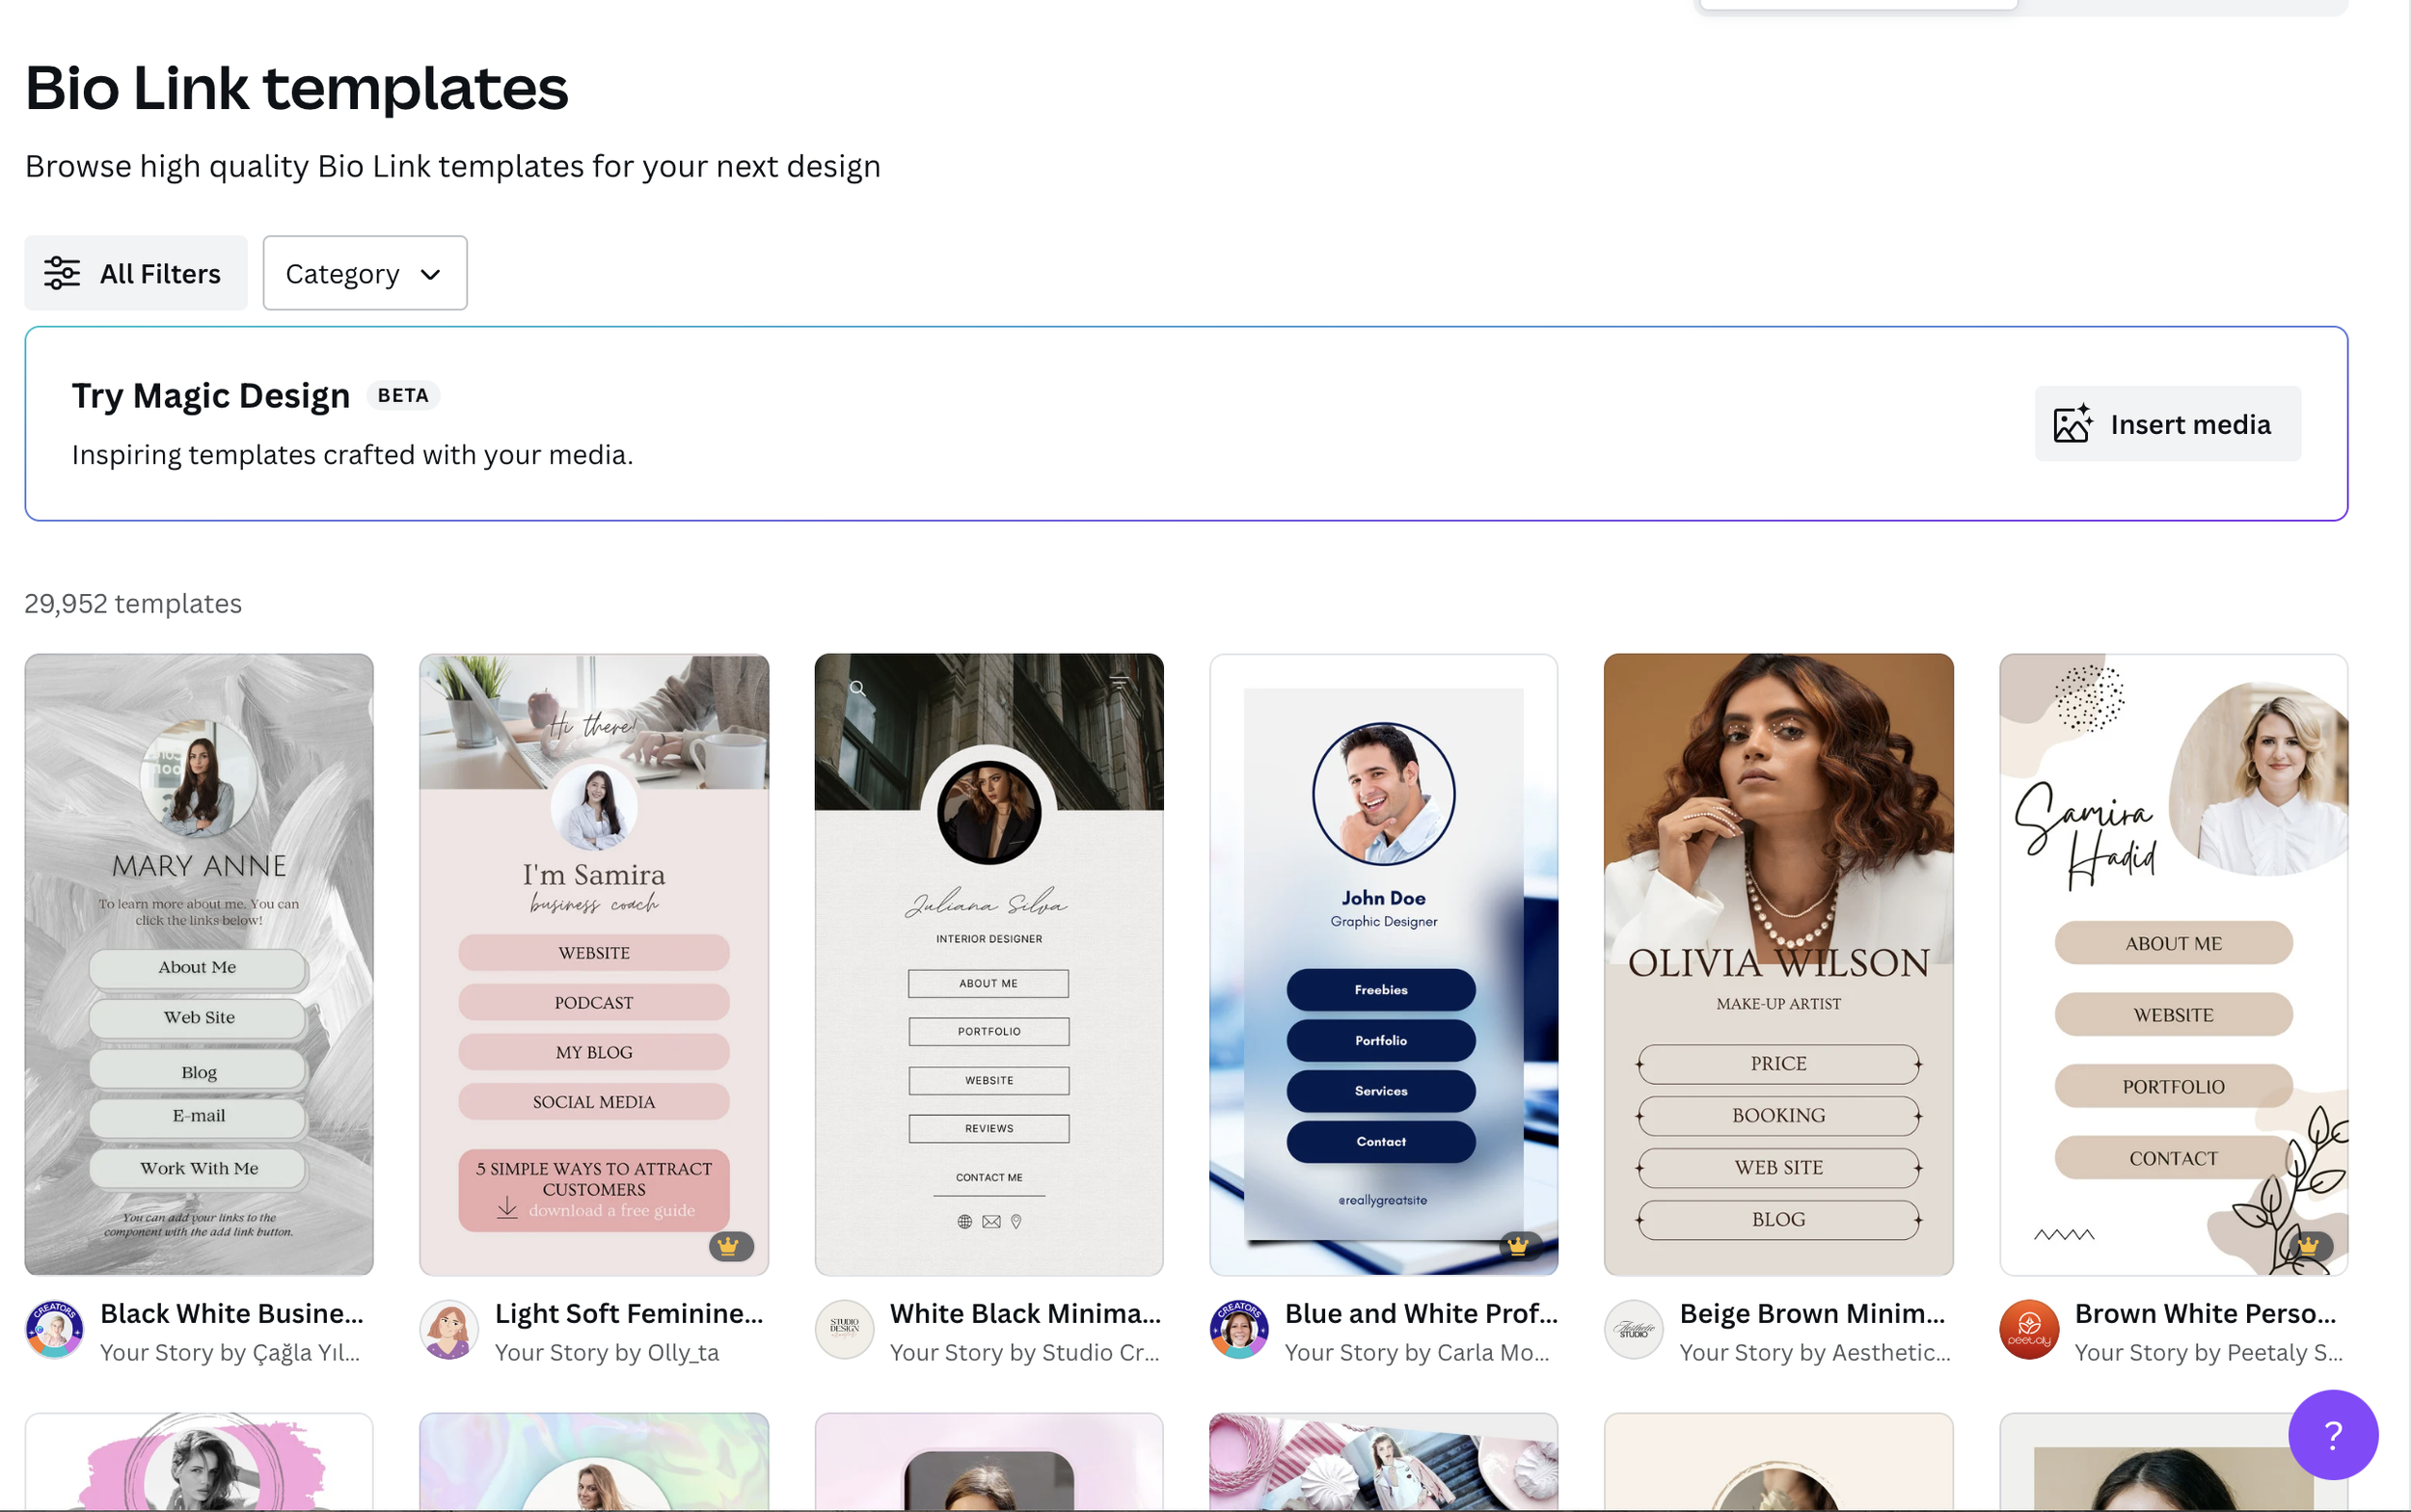
#3 Bio Link Websites
I’m still using both Linktree and Liinks for my social media profiles. I use them on Instagram and TikTok so when customers click through they can click a variety of my links and not just the one. And I use those because I like the analytics they give me.
But if you want one that is really suited to your personal brand and you want to have a bit more control over the design, then you can use Canva for this purpose.
Just look for ‘Bio Link website’ in the search bar and it will pull up a lot of different quite colourful templates that you can use. Look for the one that fits your brand then you can just change the pictures and wording.
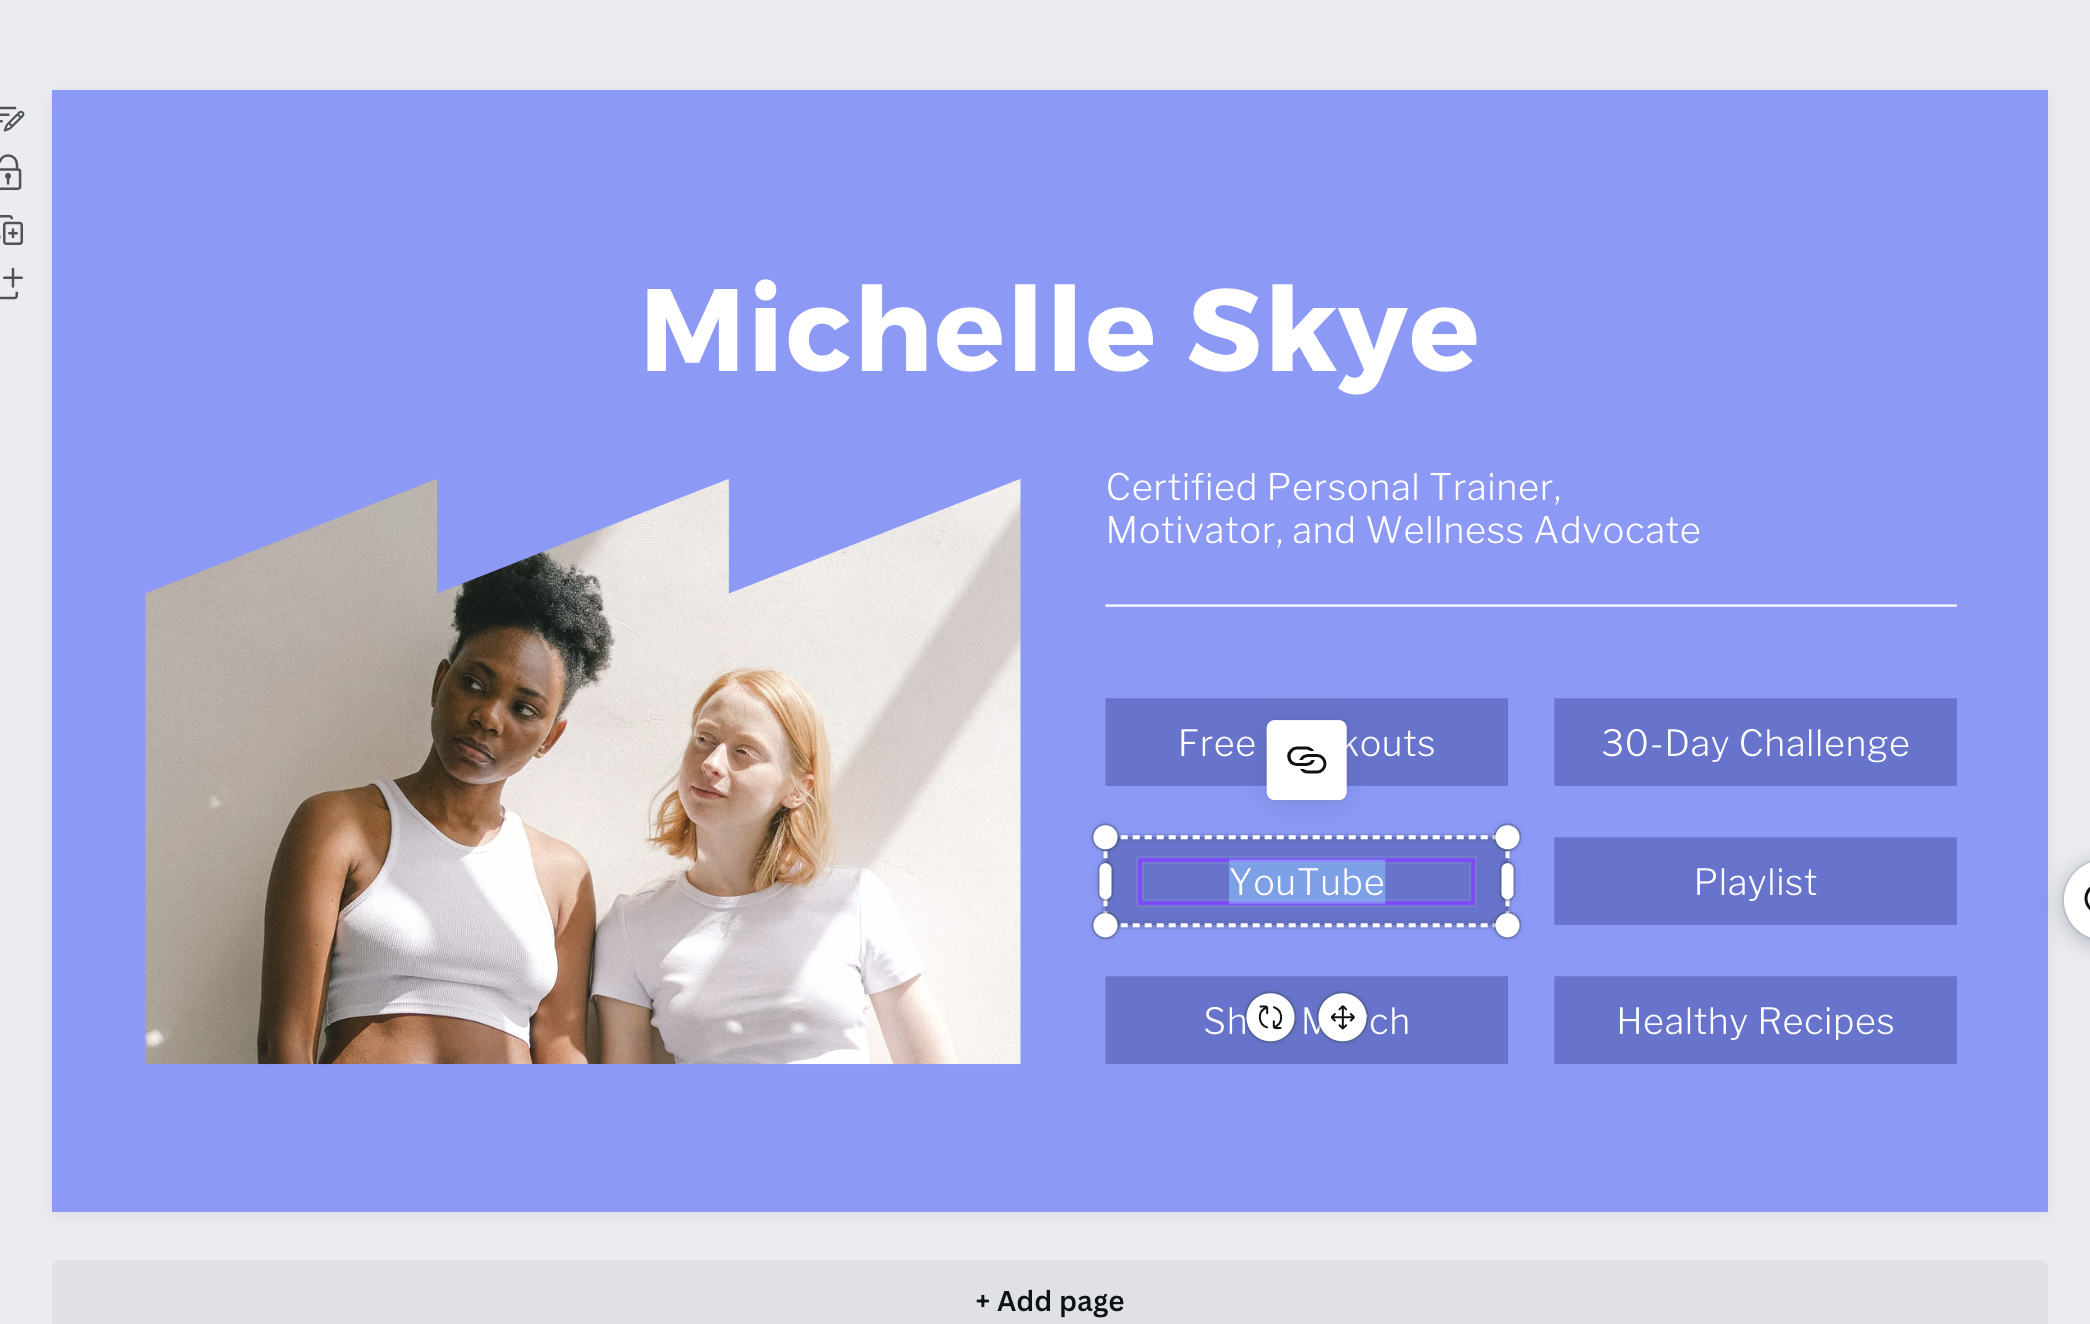
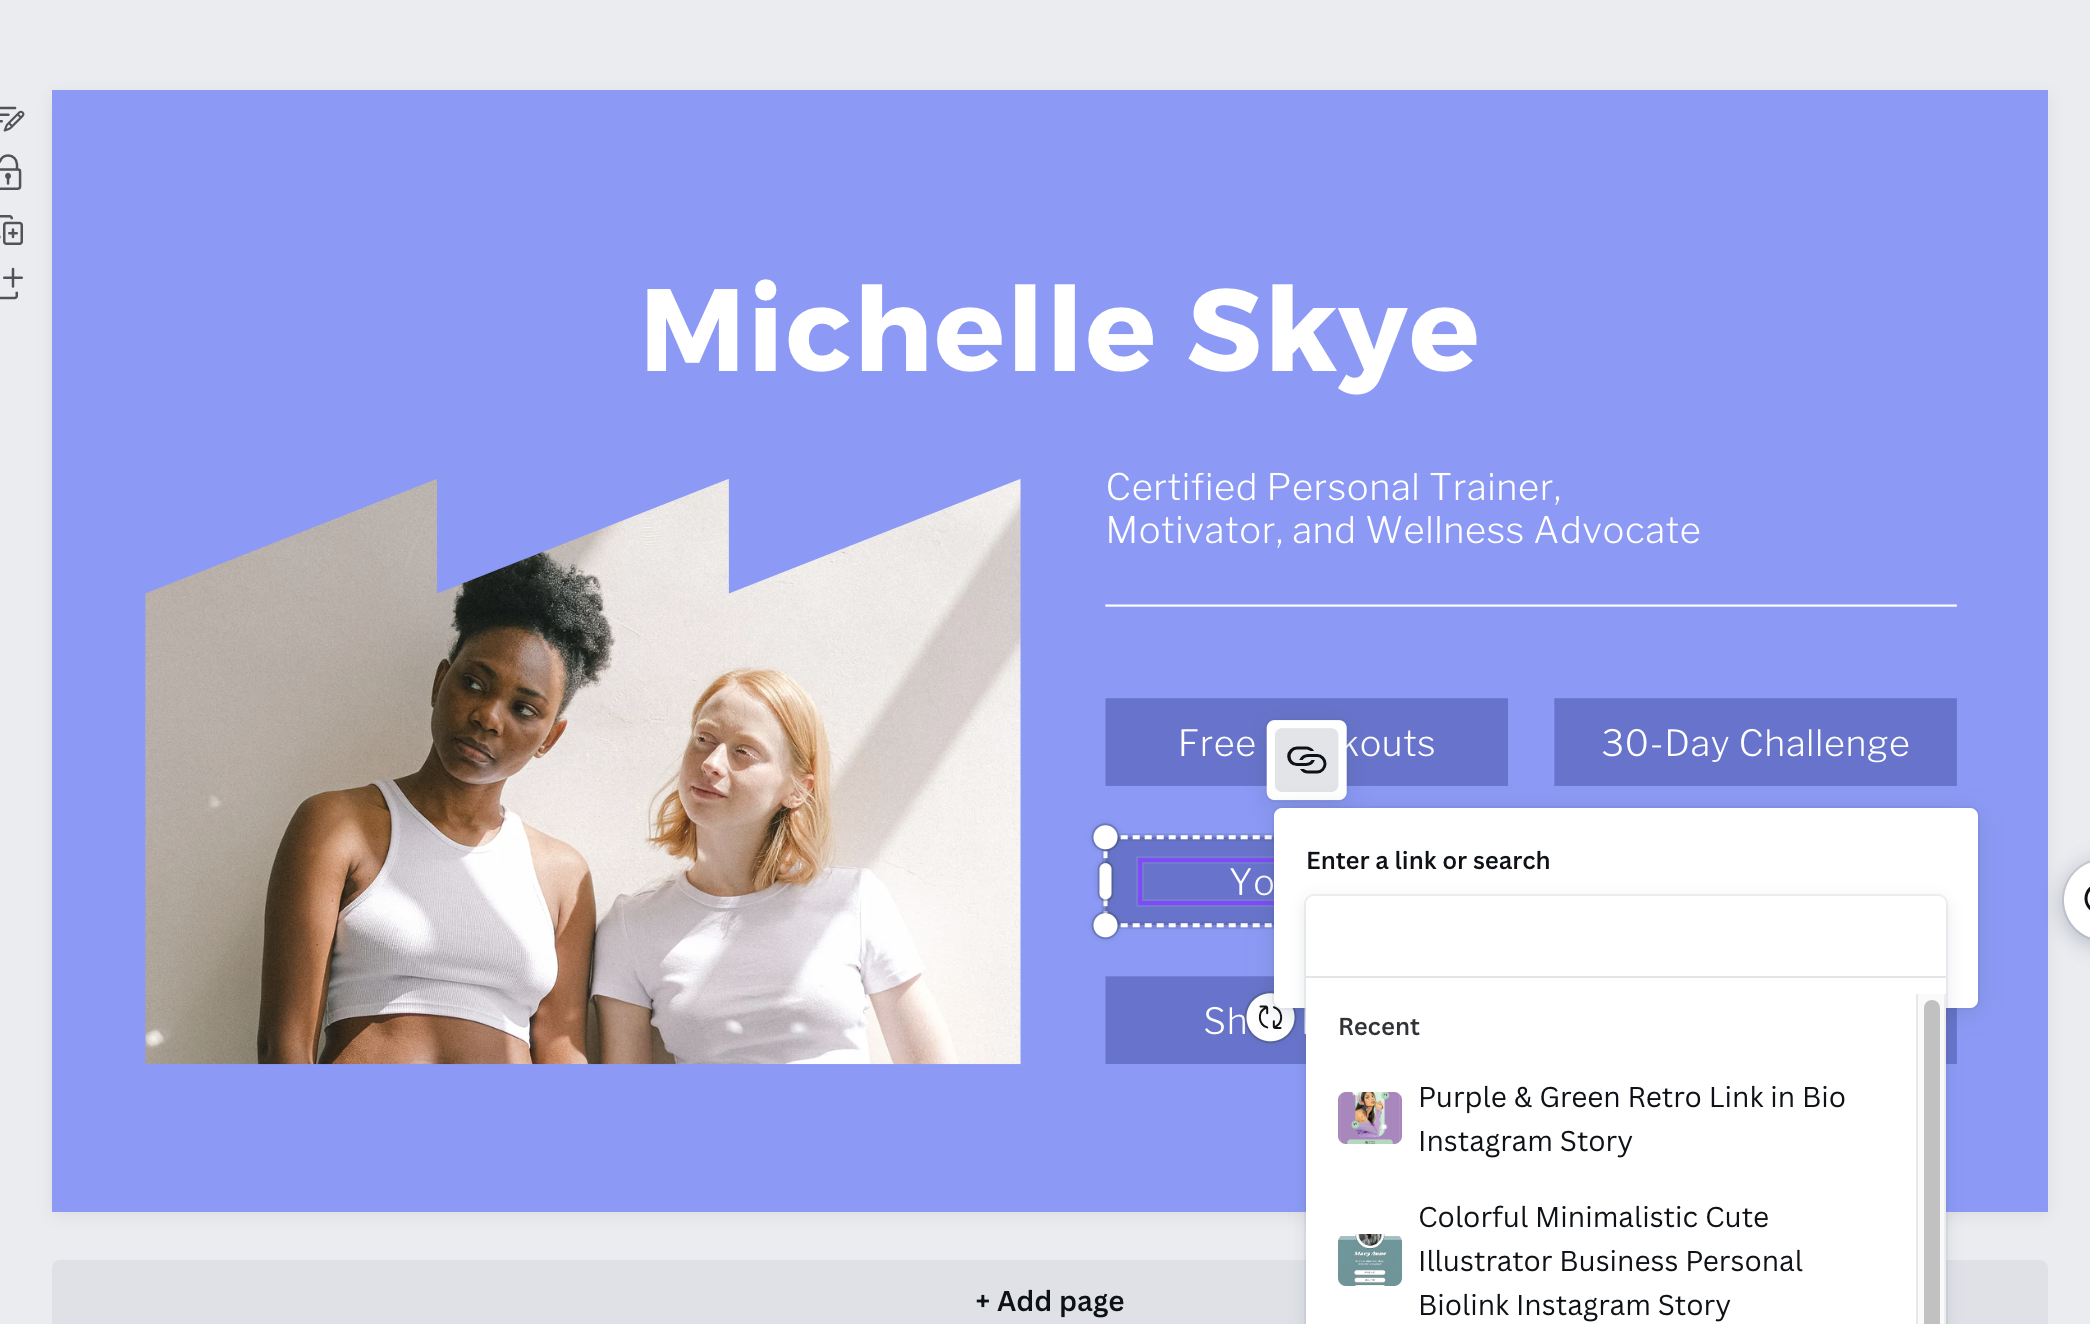
When you want to add a link, click on the relevant section in the design, then click on the three dots and add your link. Follow the same process for each link you want to send your customers to.
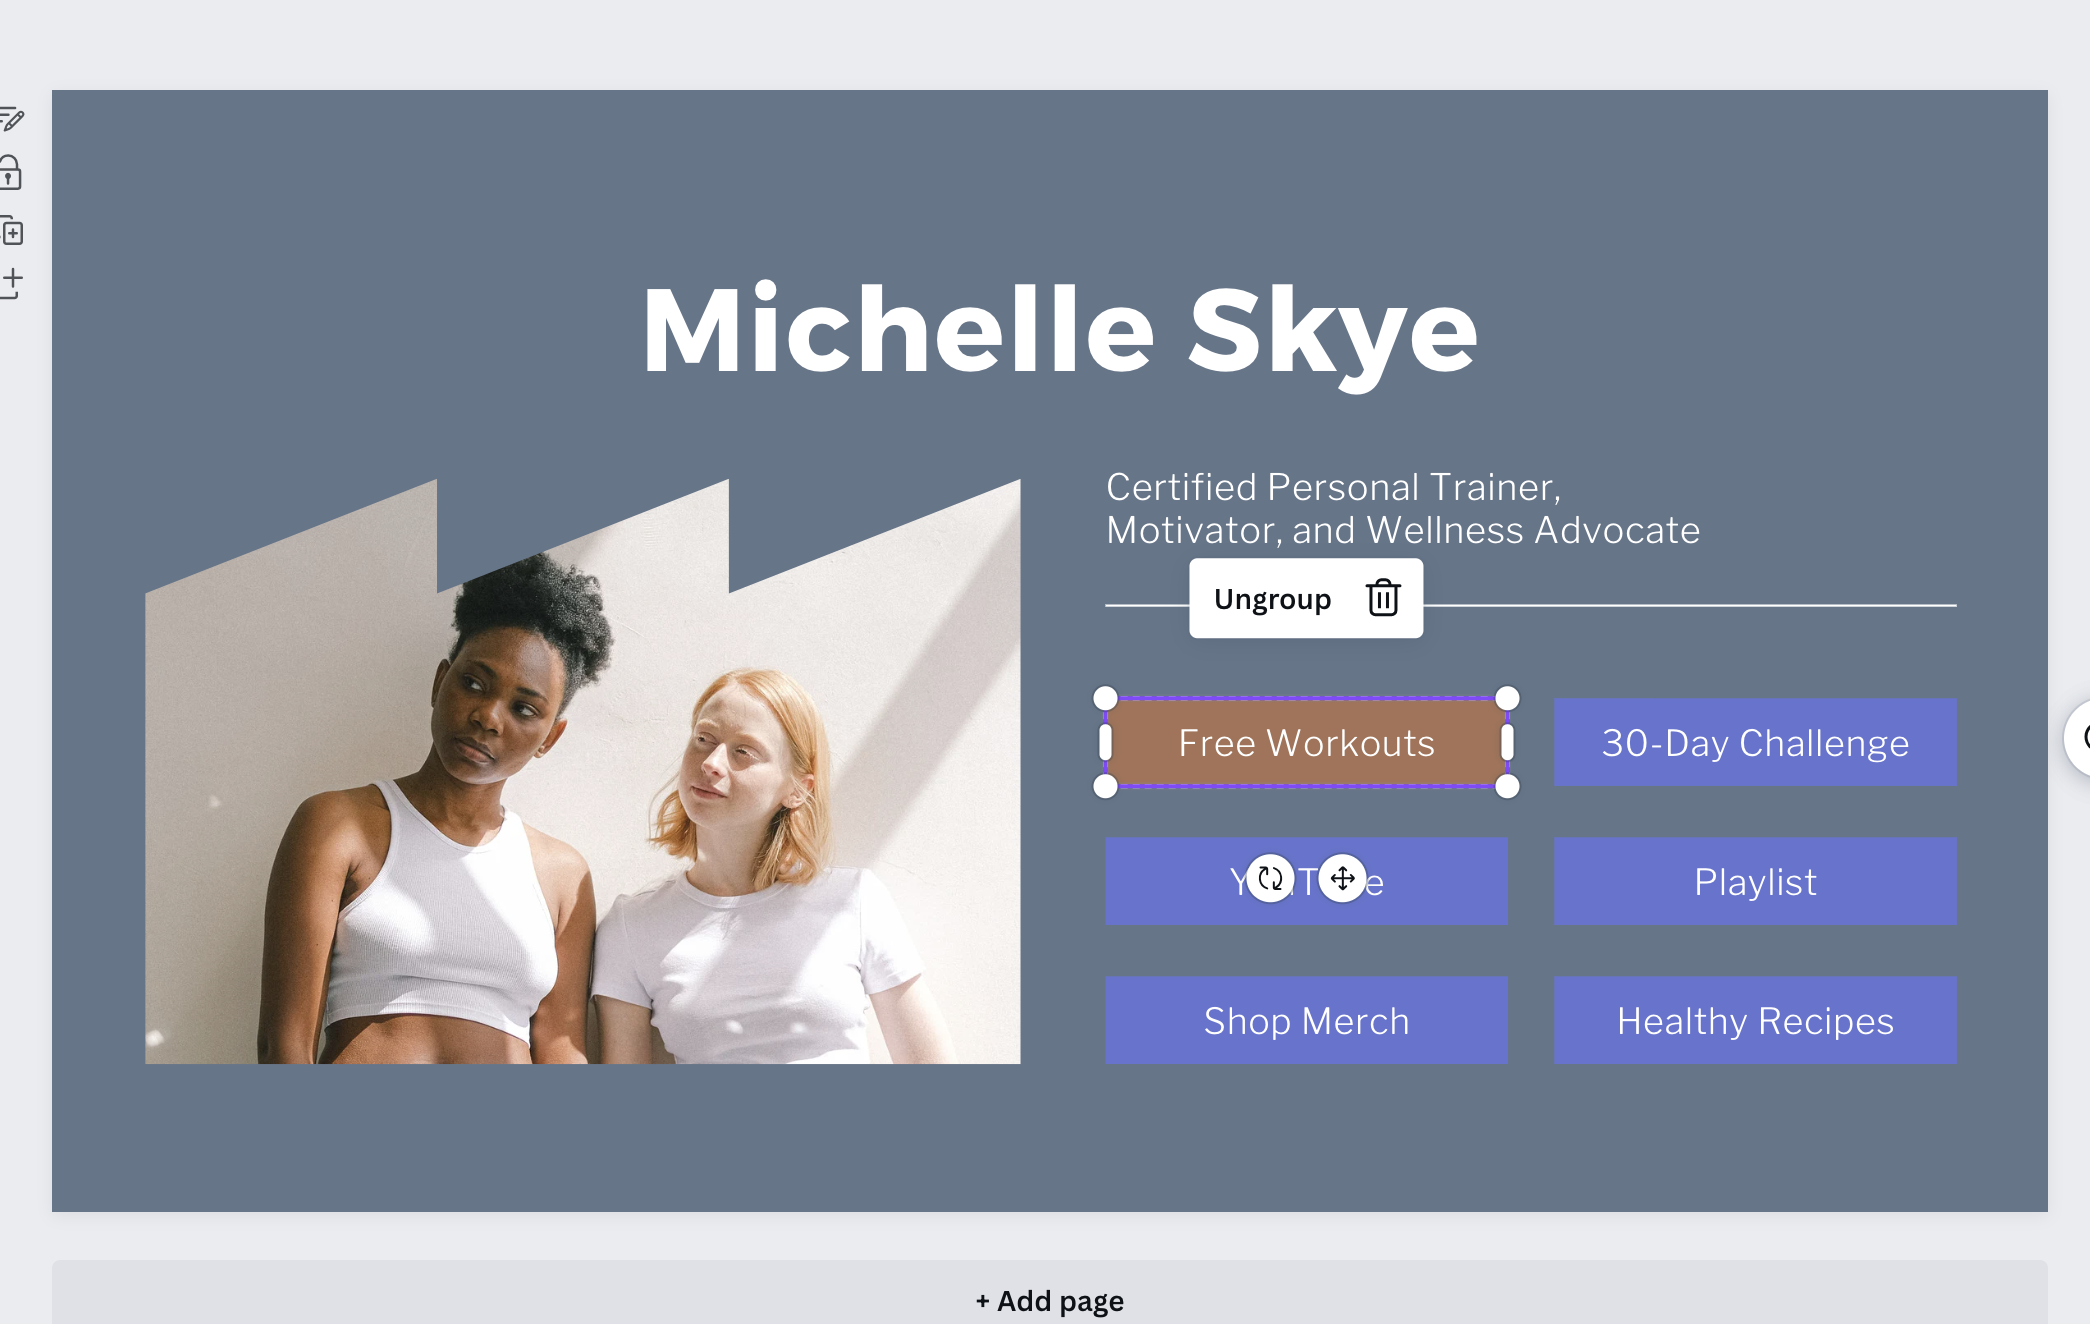
You can also add or remove pictures and elements, change the background do whatever you want to do with it.
Once you're done click on ‘Publish Website’.

#4 How to Create Carousel Posts for Instagram
This was the second tip from KCH Company and the carousel posts look really cool.
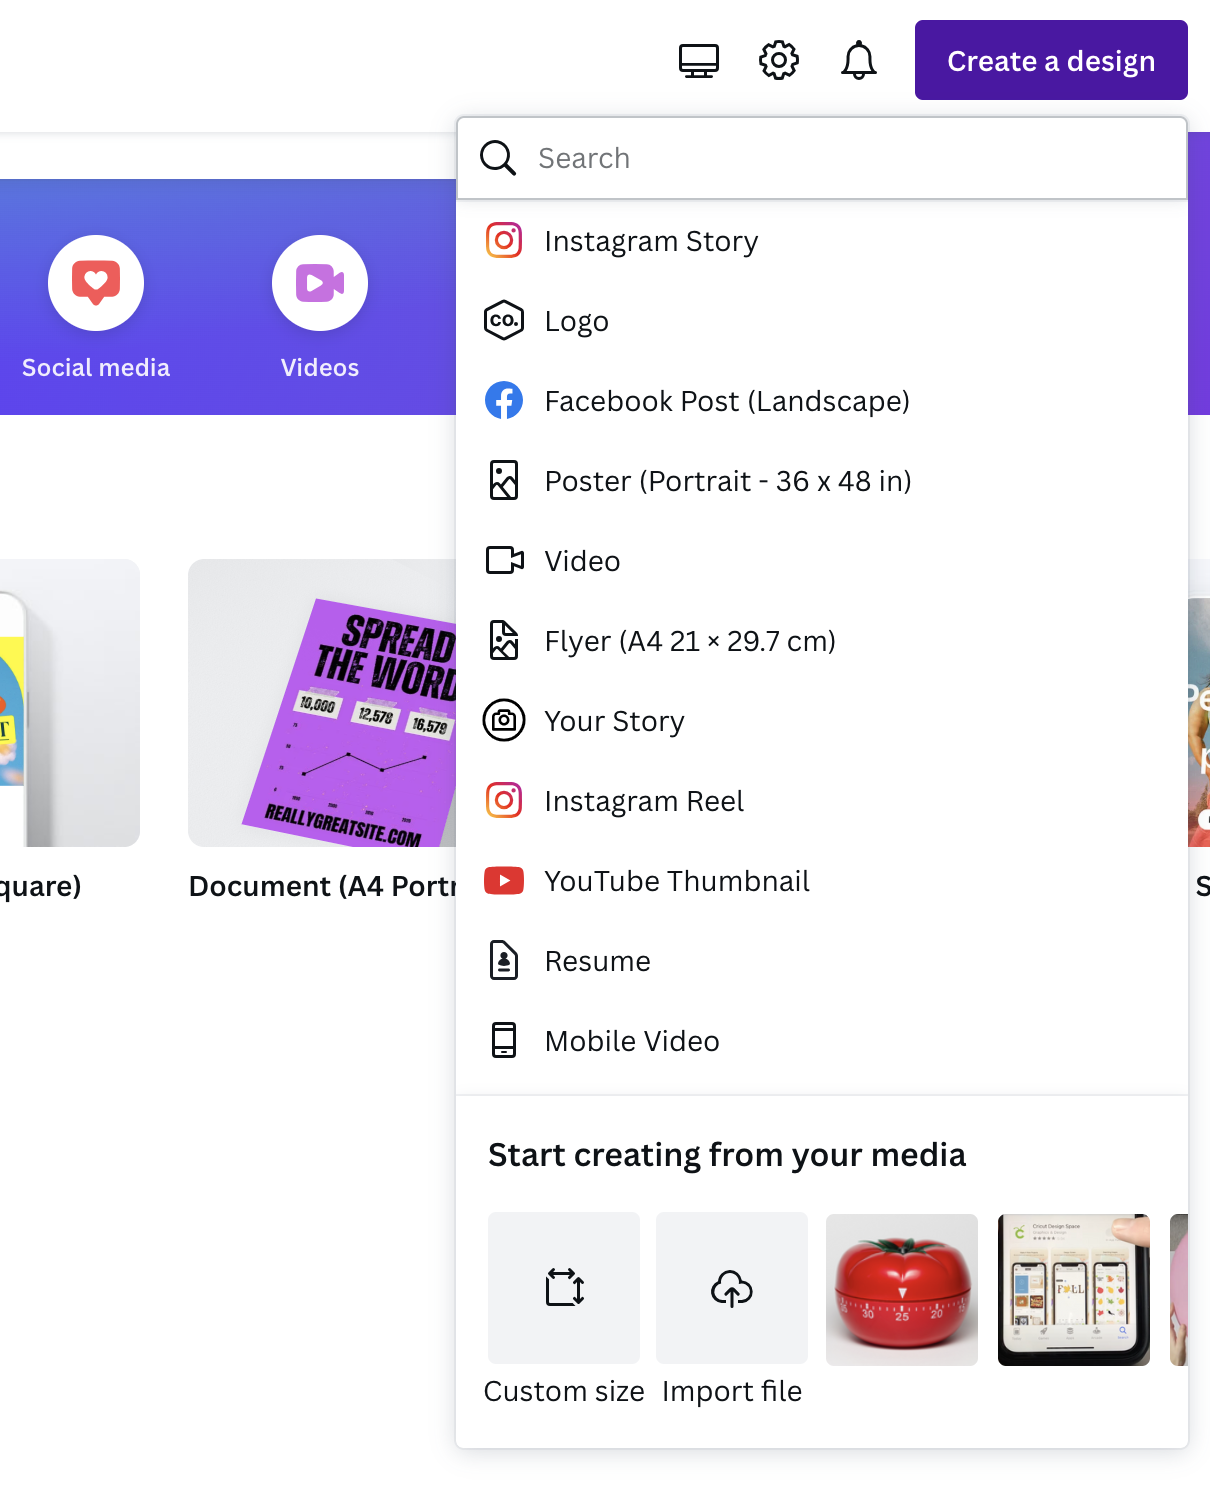
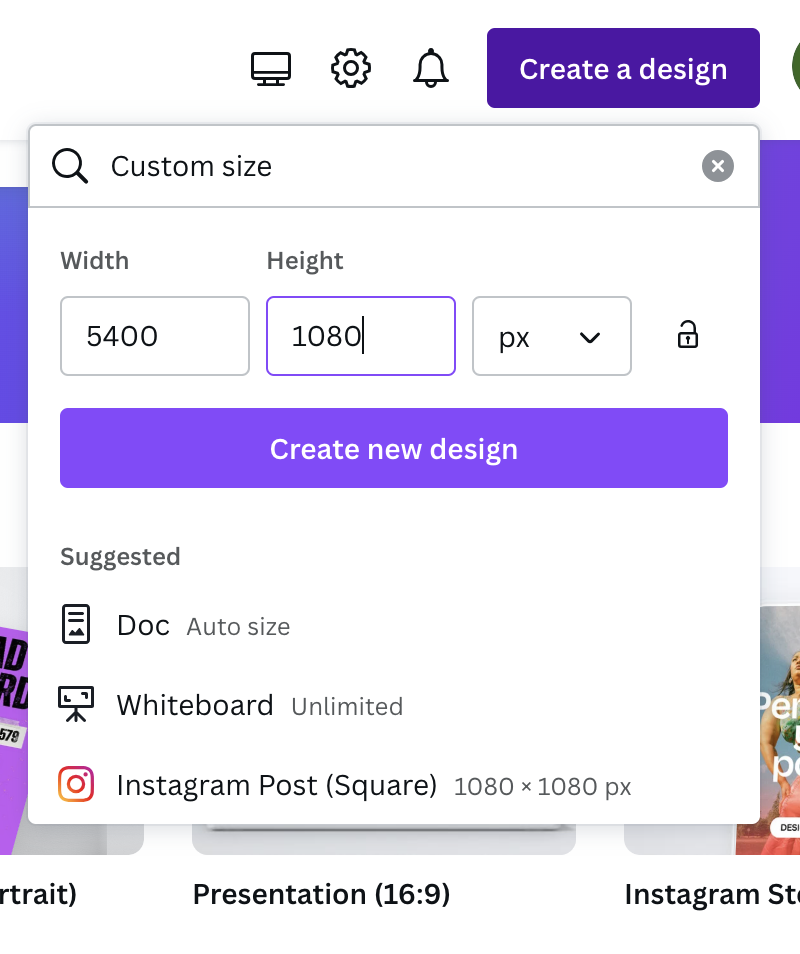
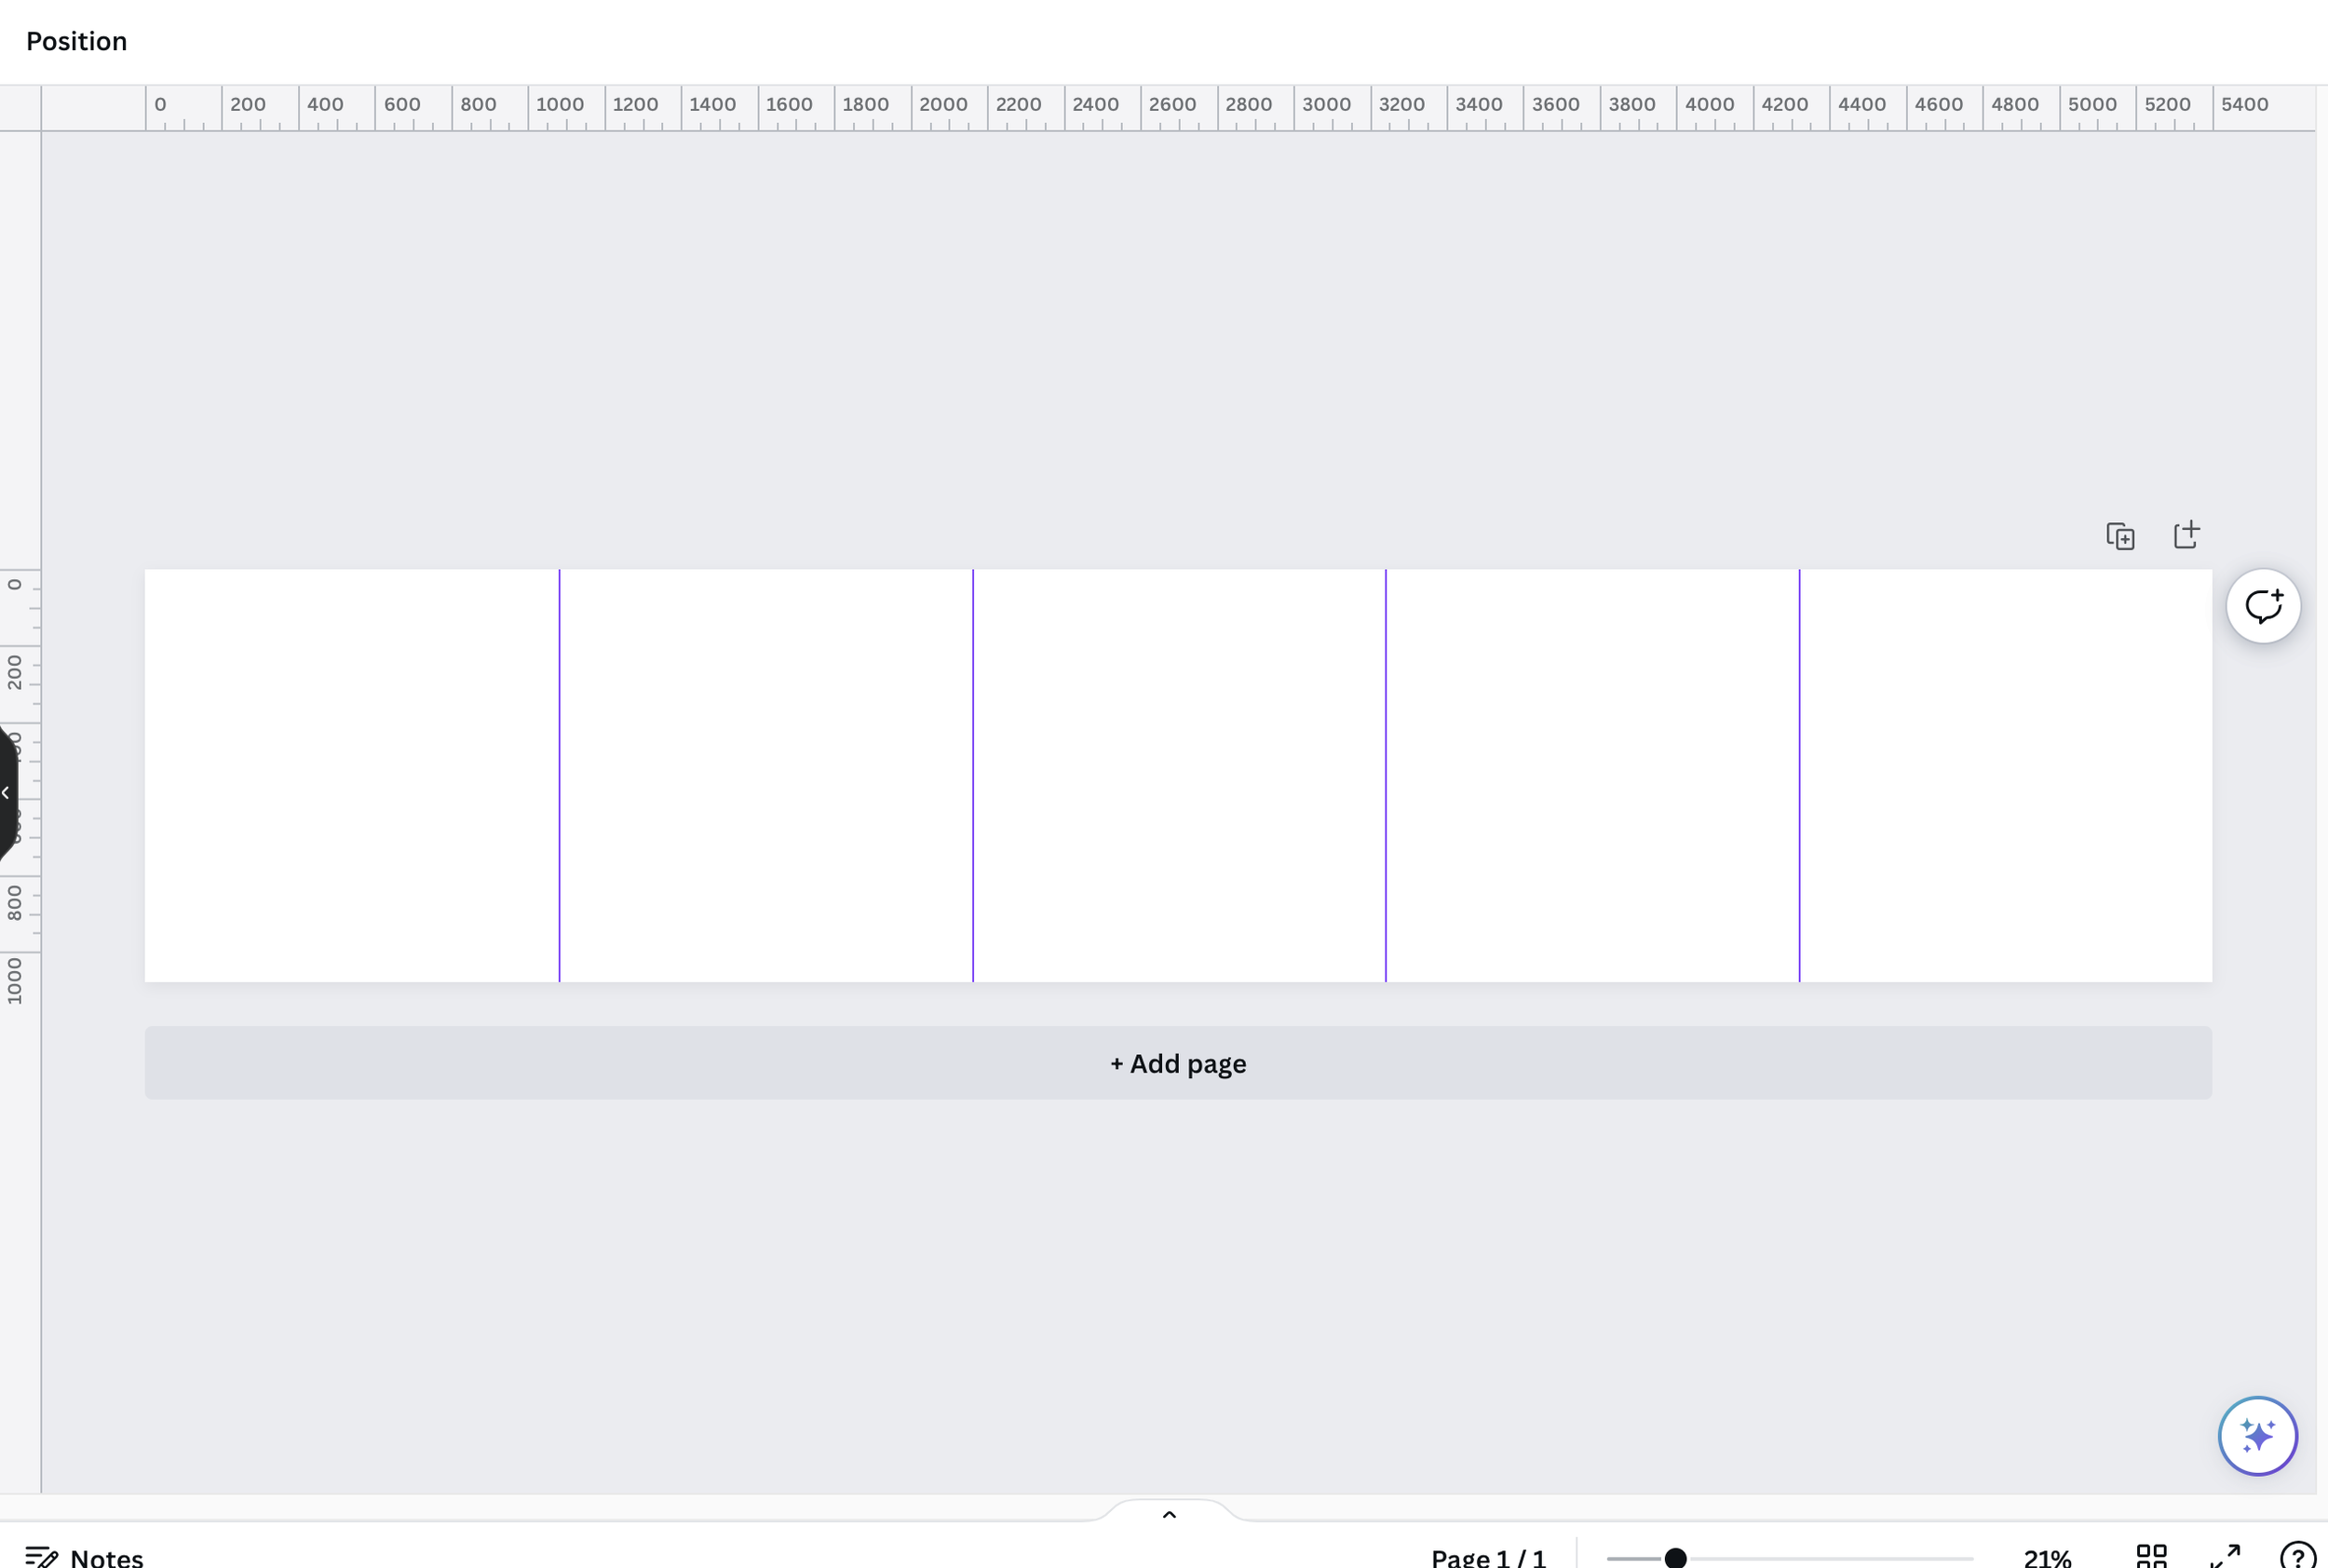
Click on ‘Create a design’ and set your custom size 5400 by 1080 pixels. Click on ‘Create a new design’
Make sure the rulers and guides are turned on by clicking ‘File’ and then clicking on ‘Show rulers and guides’.

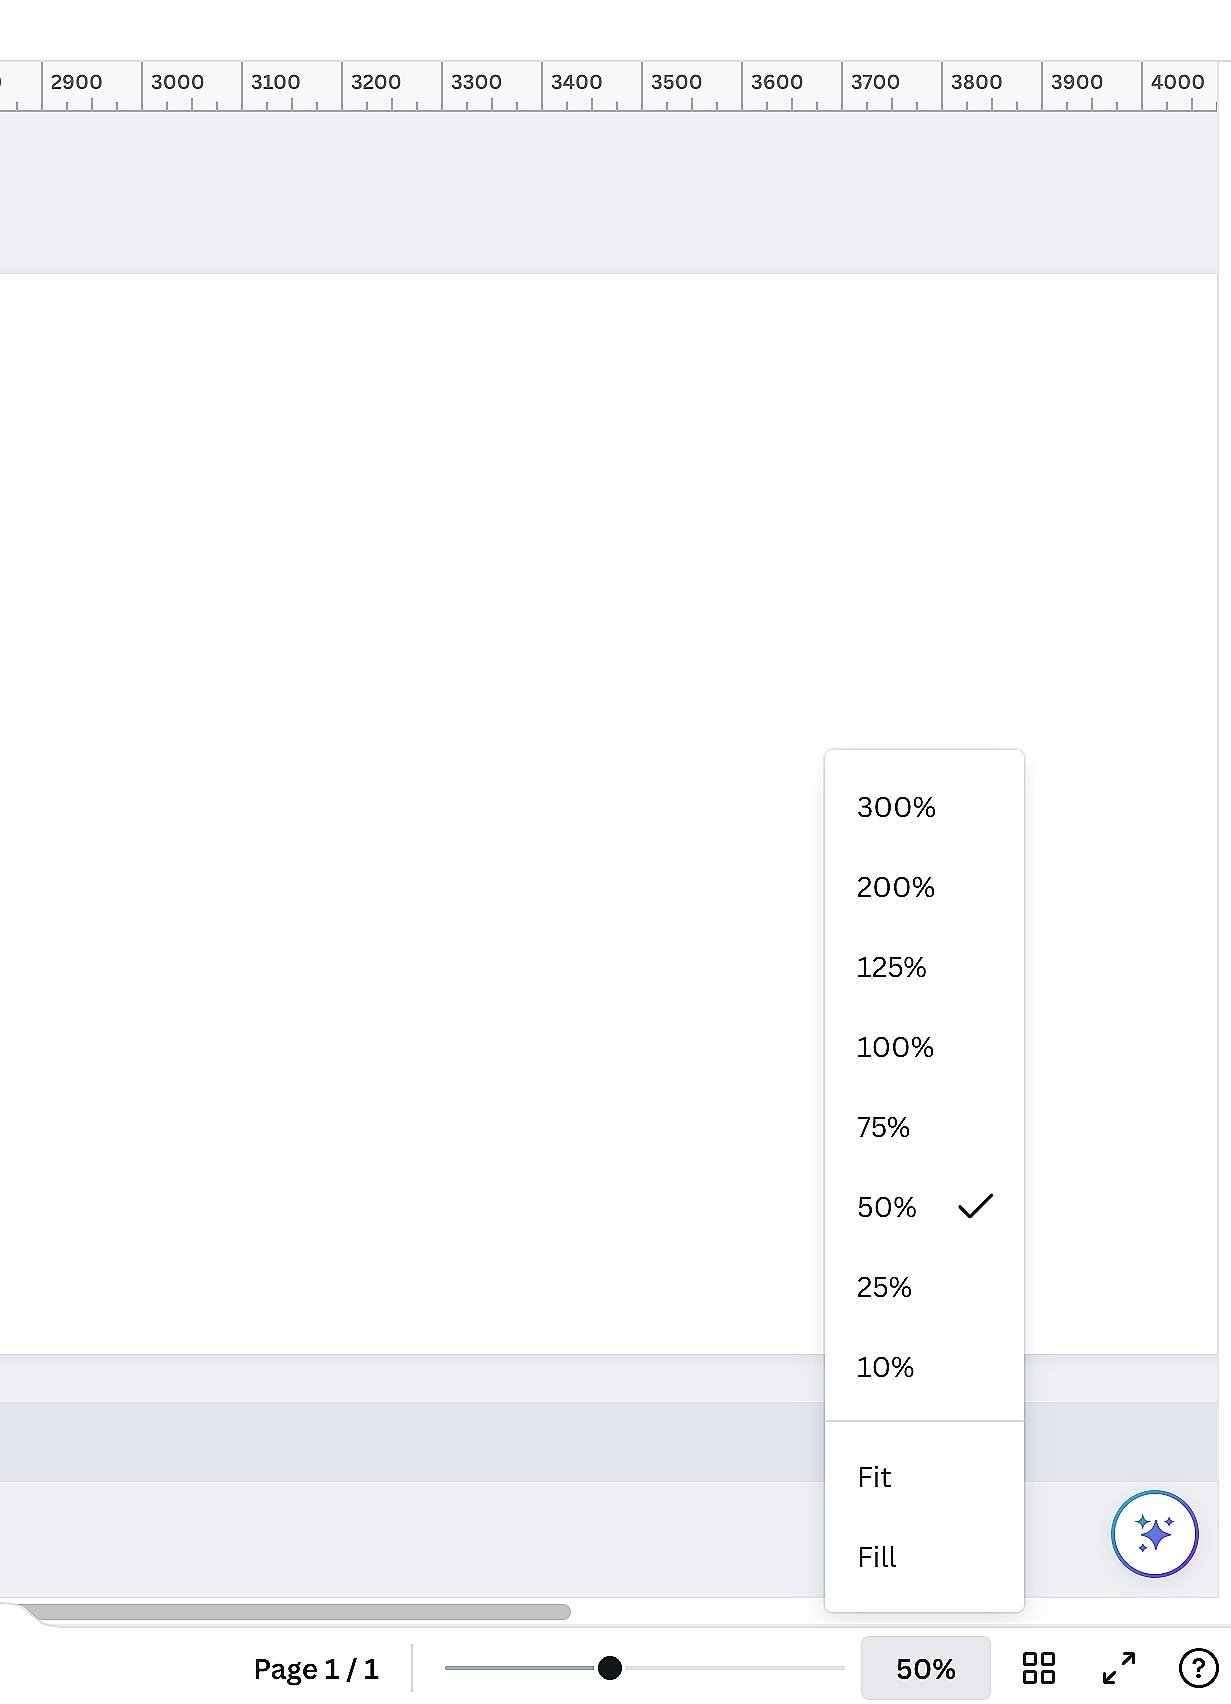
I found it a bit easier to make it a bit larger so I set it to 50%.
Pull the guides across (from the left side) so that you've got five separate equal squares of 1080. Pull them to 1080, 2160, 3240 and 4320 to make five equal 1080 squares.
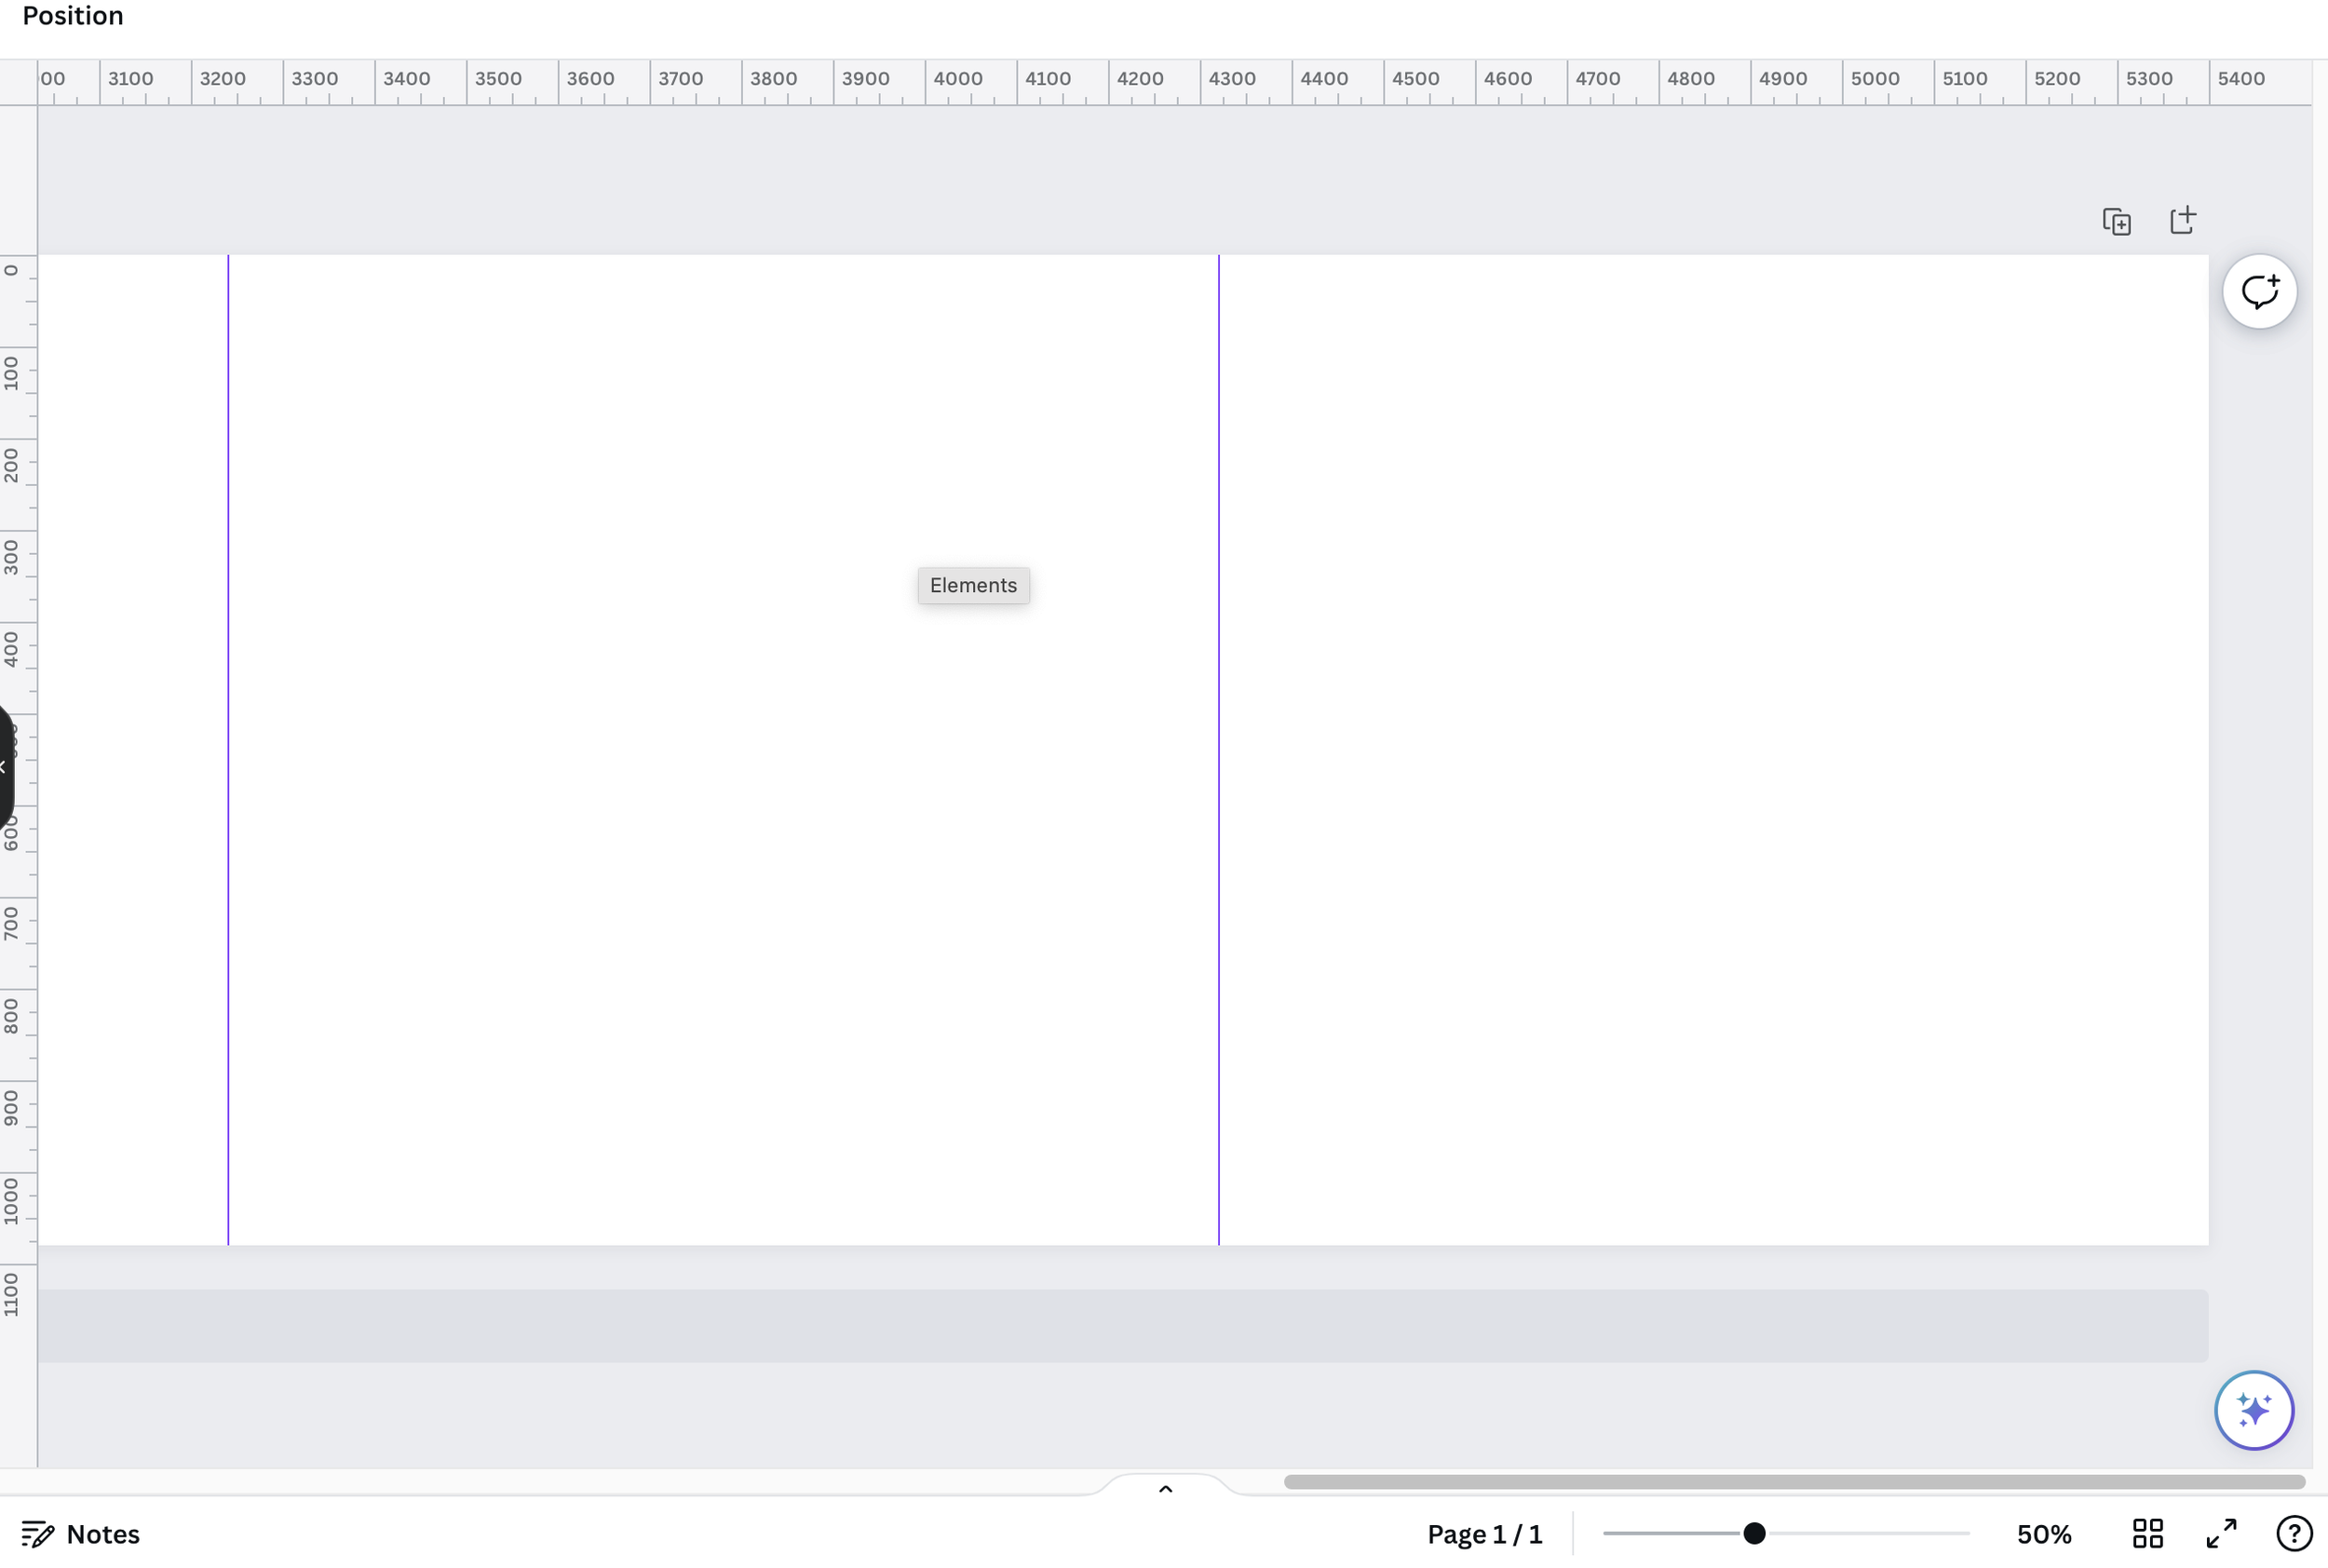
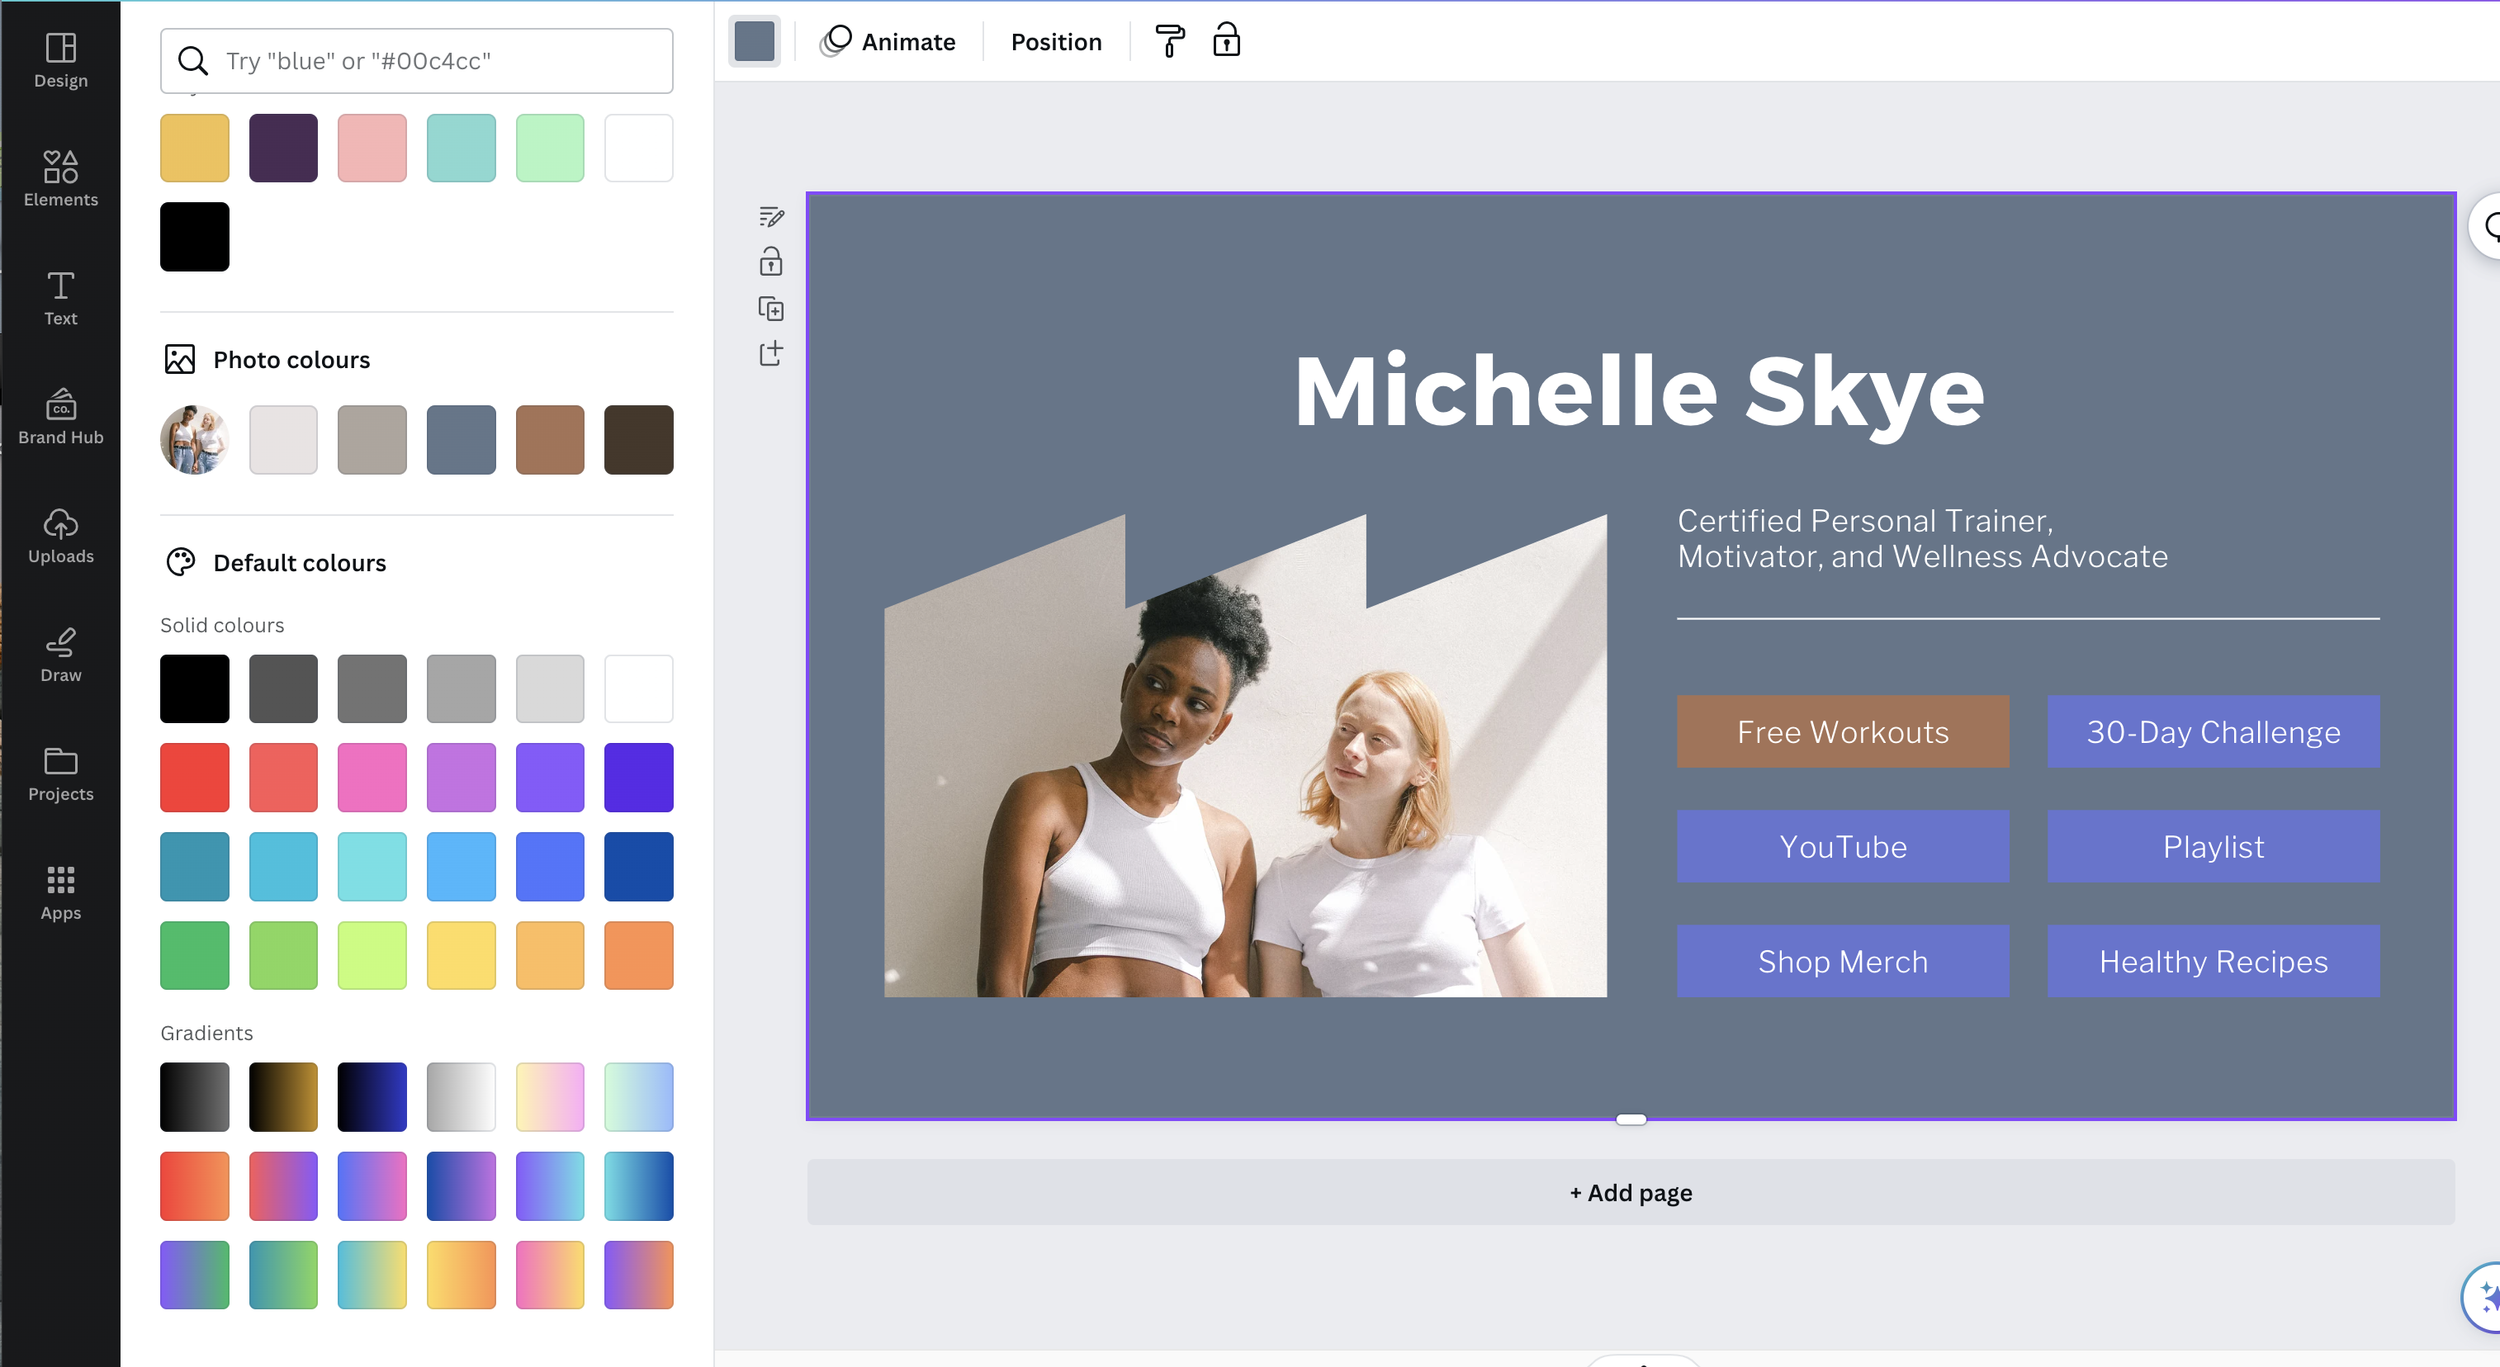
The idea here is that you do whatever wording you want and add different elements across each of the squares so that it flows really nicely and it looks as if it's all one big picture.
(This looks really rubbish I'm sure you can do a much better job than me!)

When you're done download it as a PNG and then go to PINETOOLS Split Image. Either split by ‘Quality of blocks’ into five blocks or you can split by ‘Width of blocks’ at 1080 pixels.

Either way will give you five separate squares the same size when you split the image and then you can just upload them to Instagram. Make sure they're in the right order and it'll look like one big seamless picture when people scroll through it.
#5 Elements
If you're not using elements yet then get on them. There are some really cool ones in there for all different styles and can be used in all sorts of different ways.
If you find an element that you really like which goes with your brand and is the right kind of colour scheme you can find more that are similar. Click the three dots on the picture and then click ‘See more like this’ and that will take you to lots more in the same sort of style.

If you don't want to lose it make sure you ‘Add to Likes’ and then you can find all of those in the folders at the bottom.
#6 Desktop Wallpapers
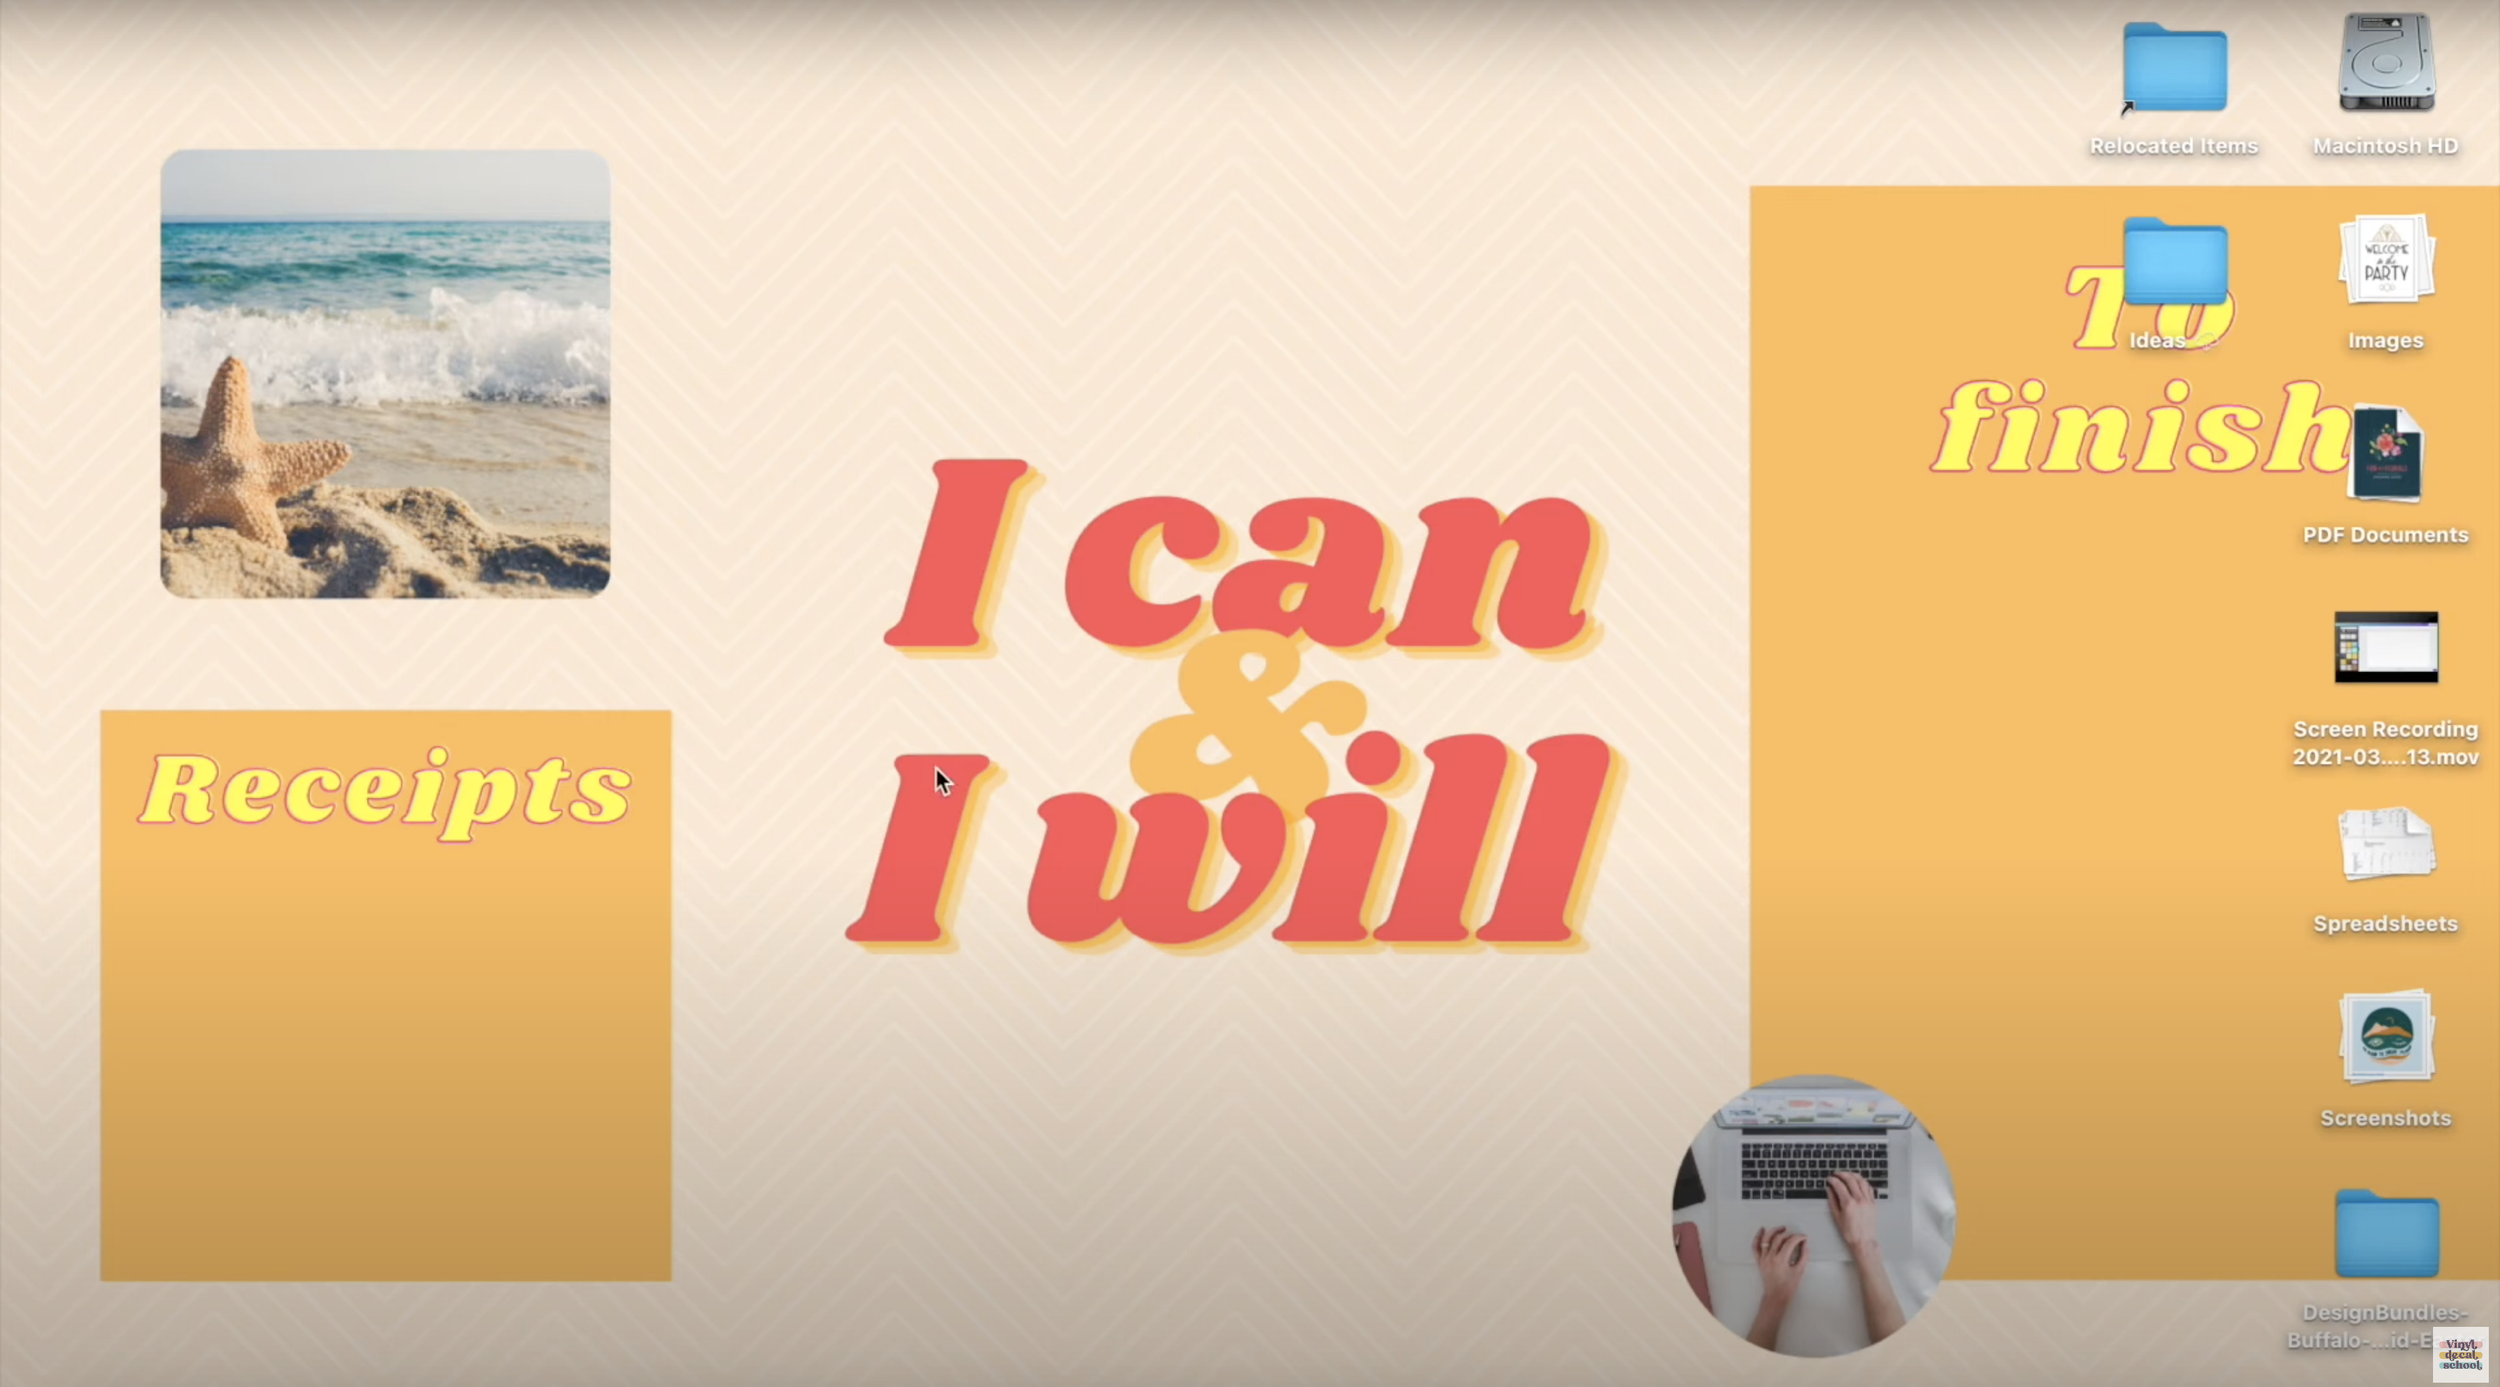
The sixth tip island from rebelleenutrition on TikTok. She has some great tips and that is to use desktop wallpapers to organize your computer.
Search ‘Desktop Wallpaper’ and it'll give you the right size. There are loads of templates you can use but you can just also use your own background and add different elements, photos, inspirational pictures, a mantra etc.
You can add boxes, depending on what kind of folders you have on your desktop, for example, if you have business receipts or business expenses to do.

Once done, just add it as your desktop wallpaper and move your files around in the different sections.
#7 Evenly Space Your Text (really easily)
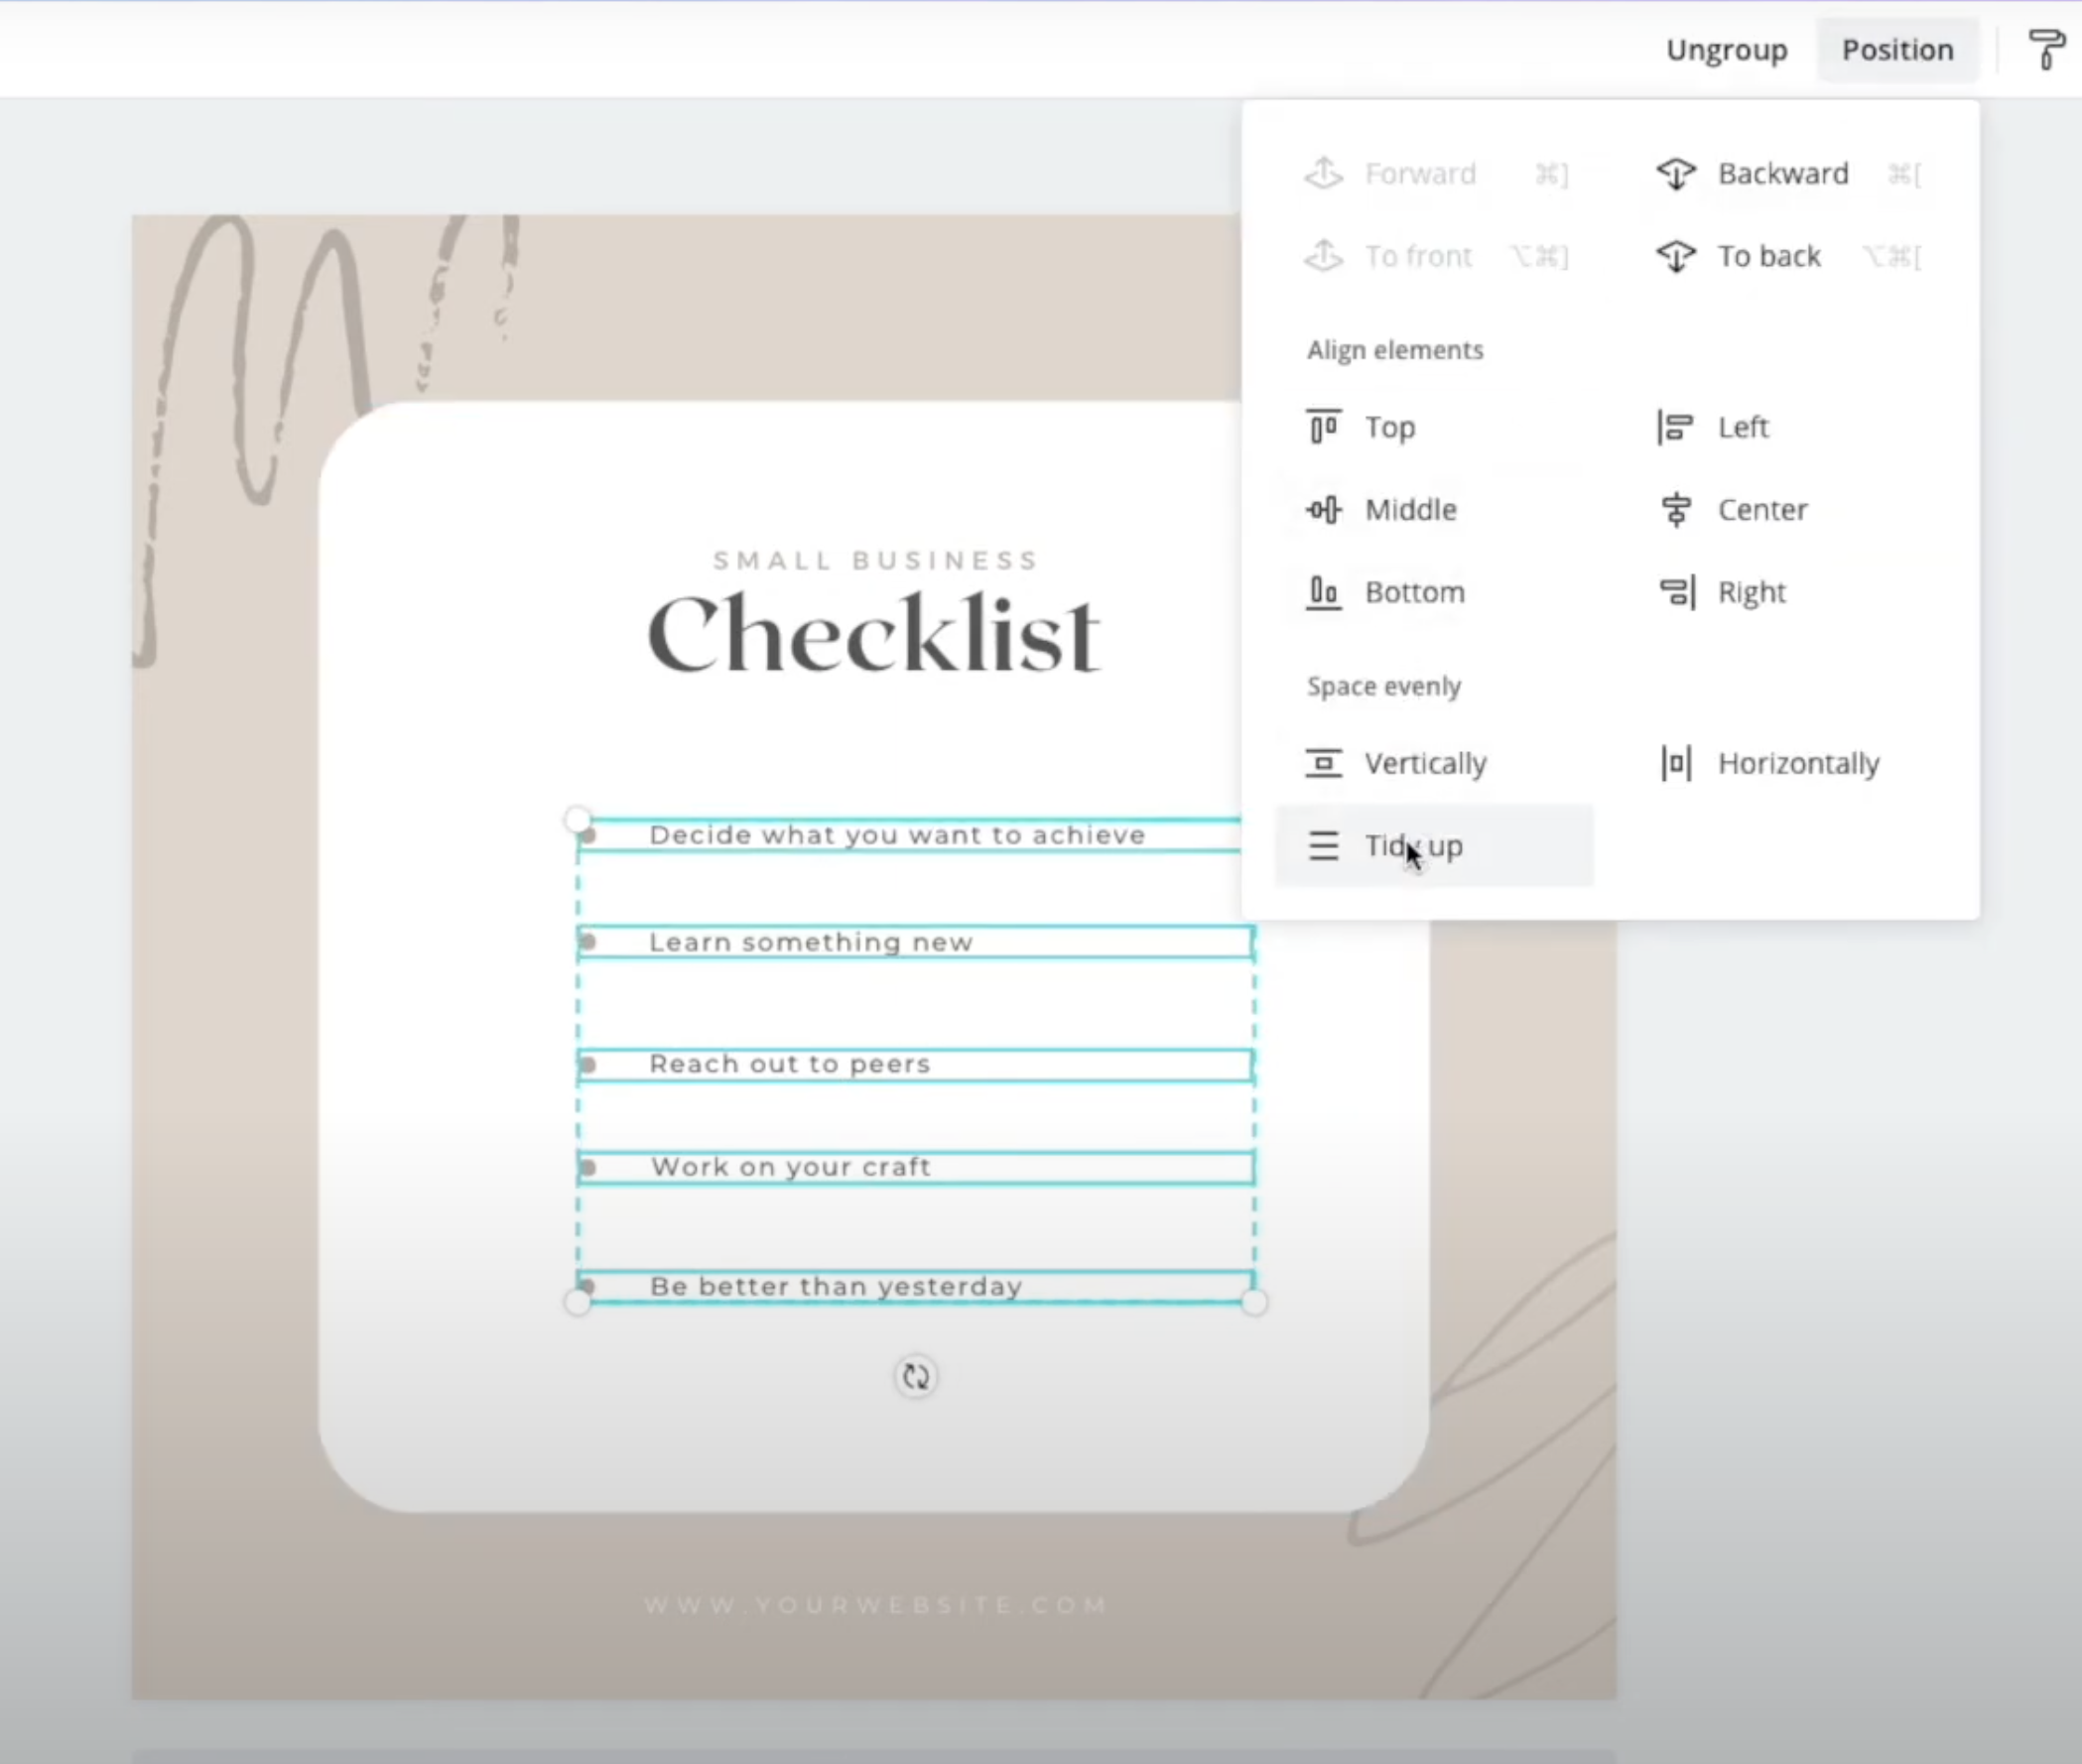
Before I knew this next one I would spend so long trying to line everything up and this tip now saves me so much time and it's super easy.
If you want to make sure everything has the right space in between it, just select each line, click on ‘Position’, then ‘Tidy up’ and it will make sure they're all lined correctly and neatly.
#8 Setting Photo Filters
The eighth tip is a huge time saver as well. If you are editing a photo in Canva using functions such the ‘Contrast’ and ‘Saturation’ and you've got it to the perfect shade which, for example, really fits with your brand, you can save the filter for other photos you may want to use.
Just copy the filter code and paste that into future projects so it recreates the same filler again and again.

#9 Animation
This next one I learned from the template creative on TikTok. It's a cool trick to make it look like your text is typing and it's great for creating social media graphics, especially if you've got a sale, or something and you want to draw people's attention to.
Start with the word you want to make look like it's typing and then you go on ‘Animate’ and choose the ‘Fade’ option.
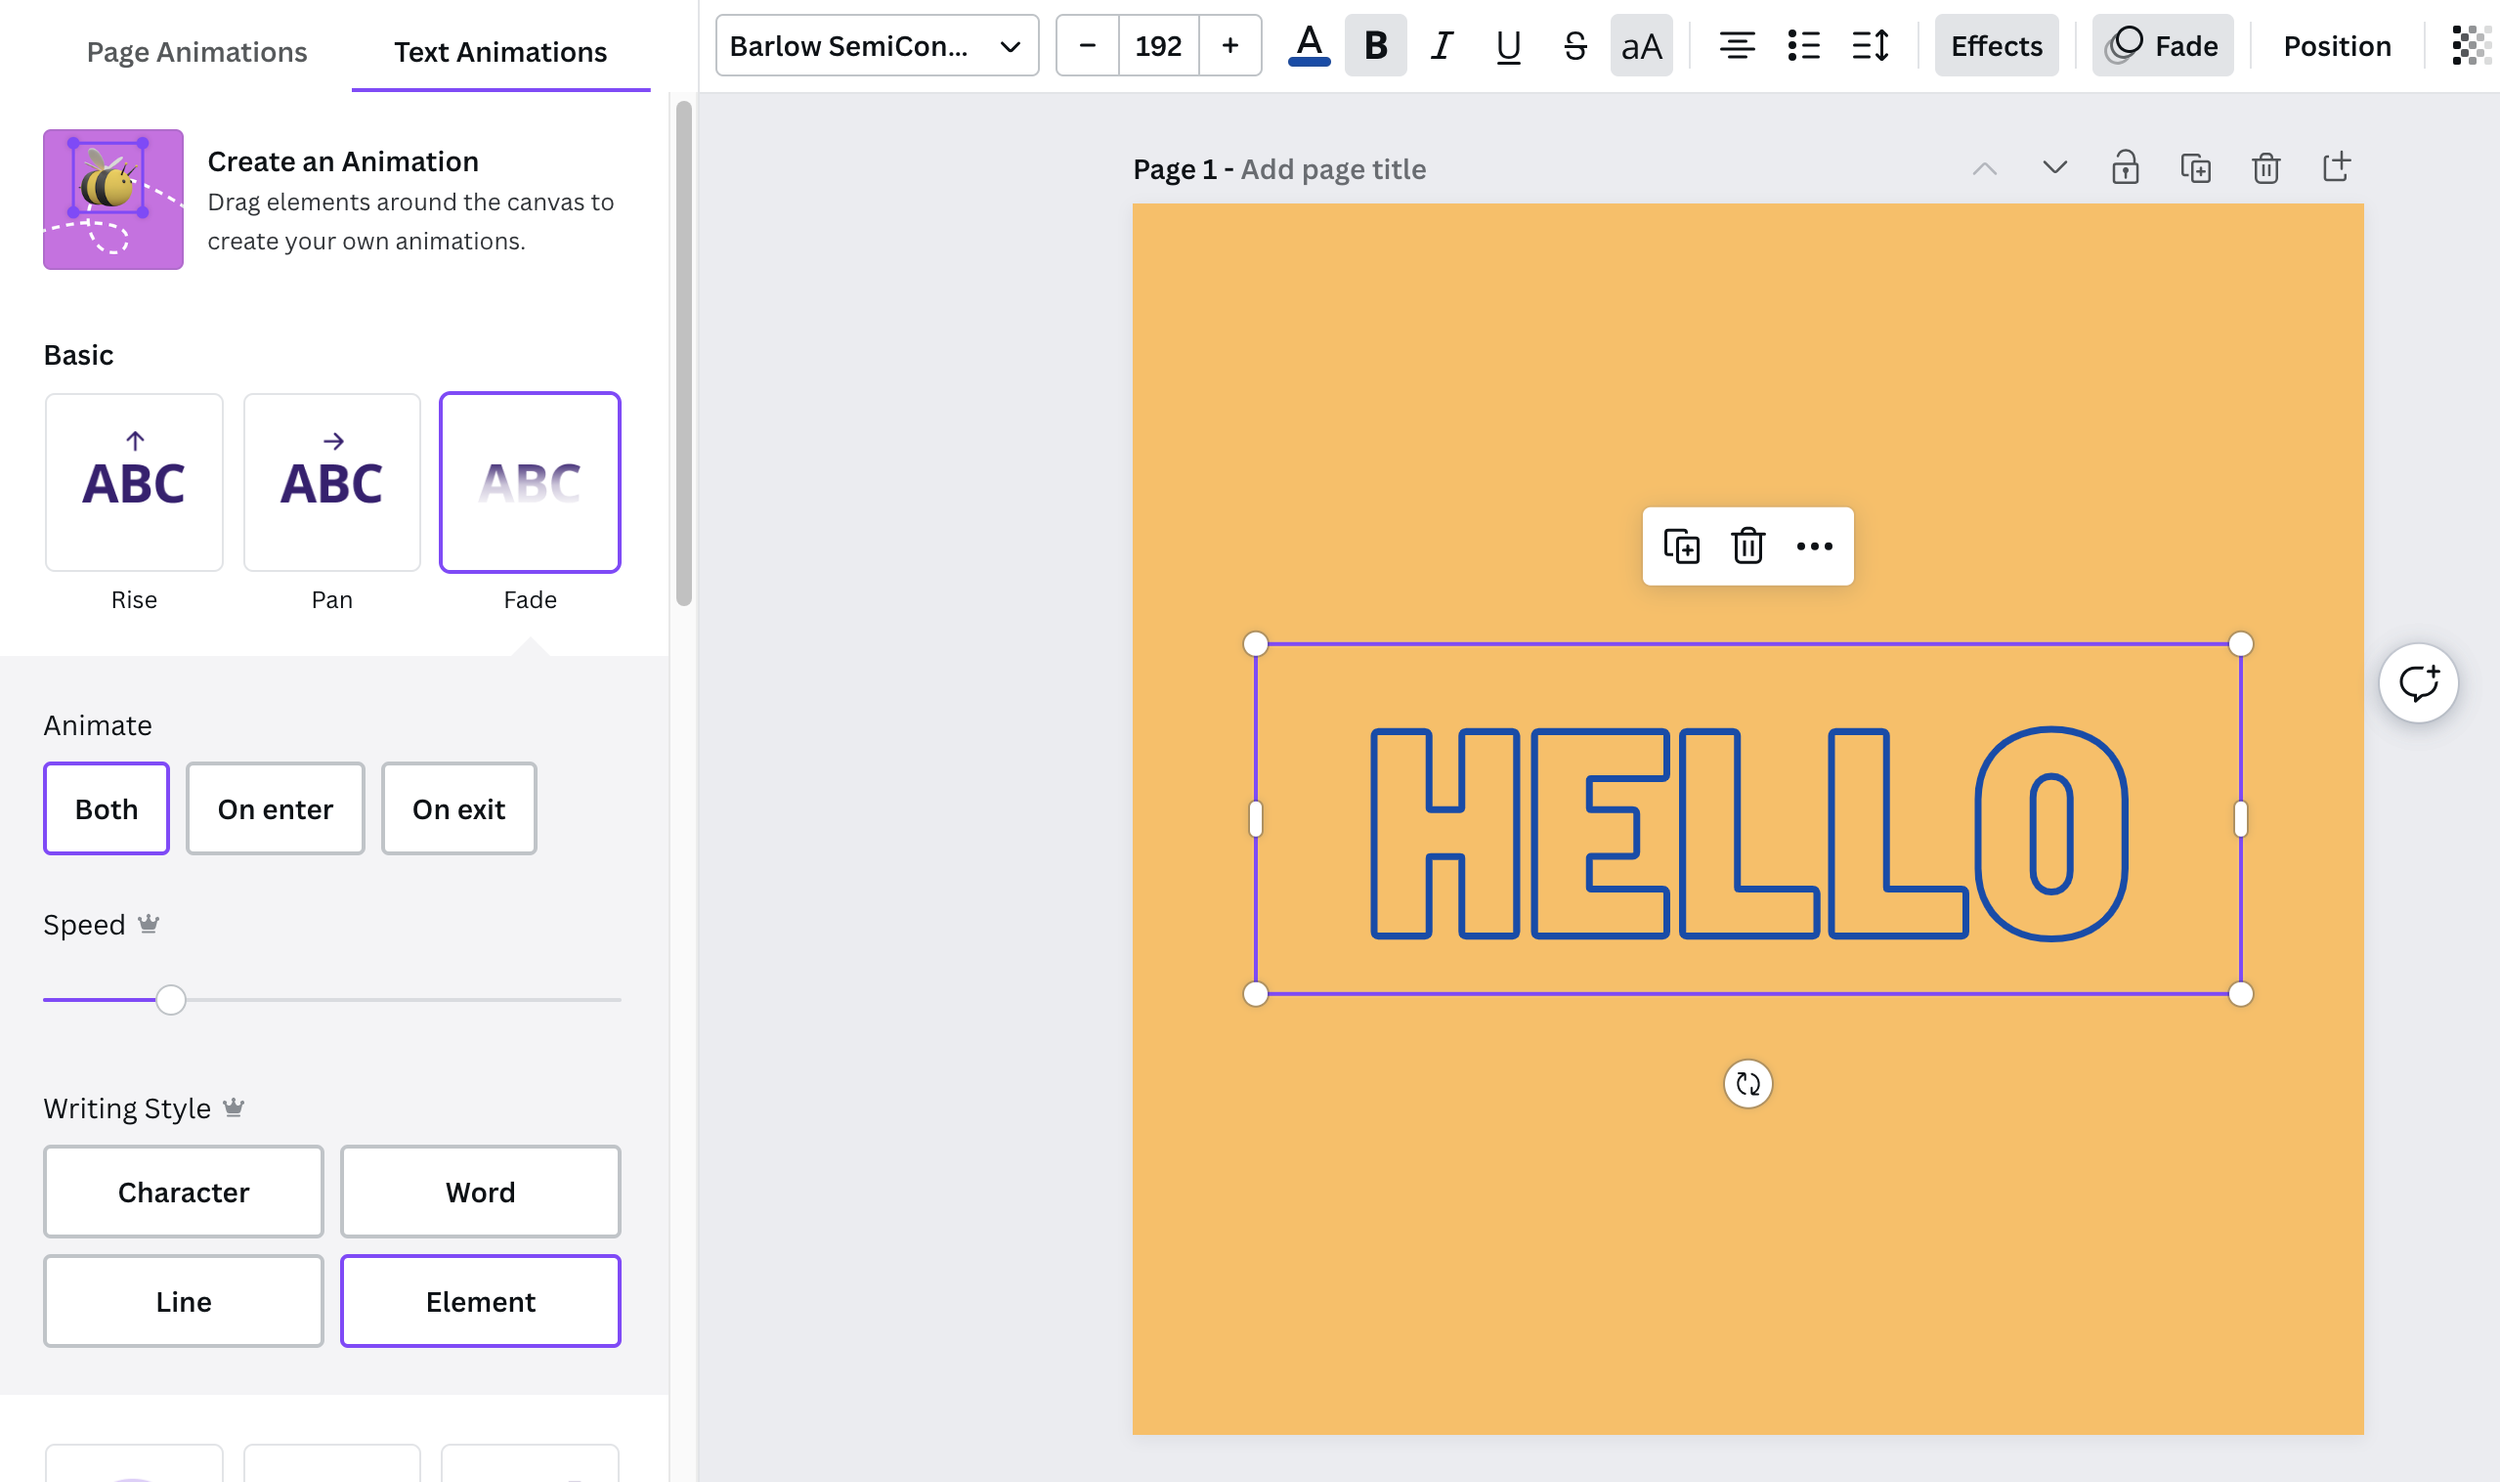
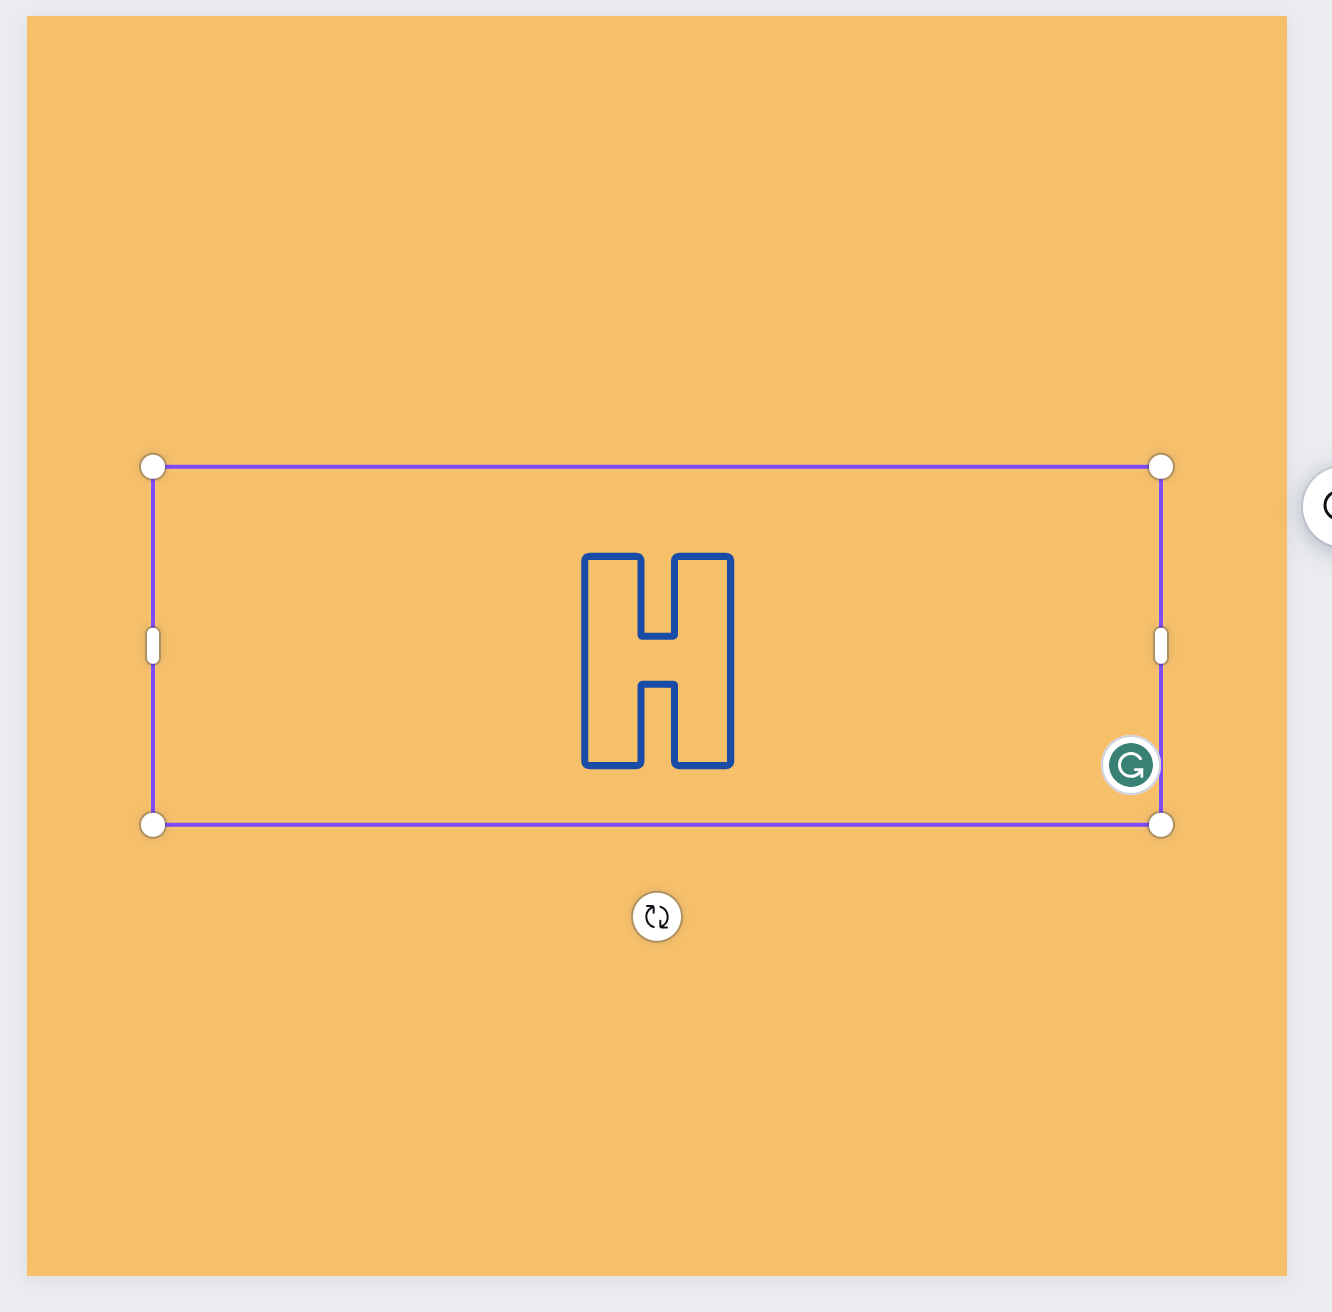
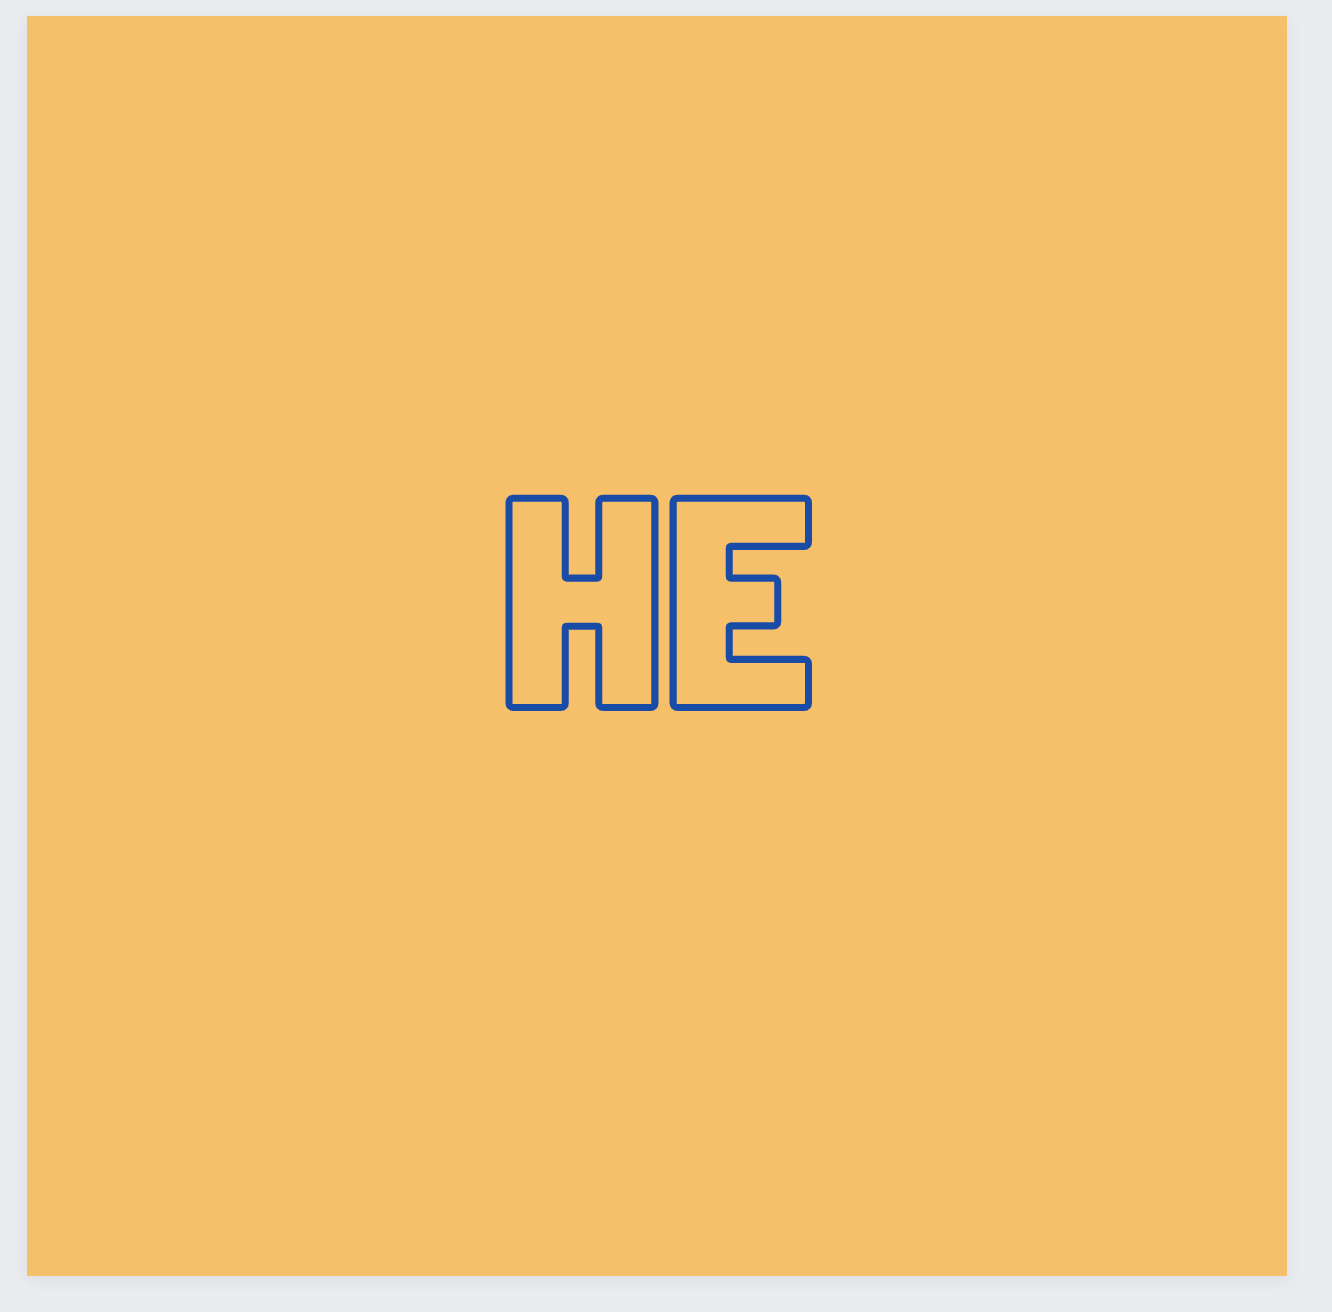
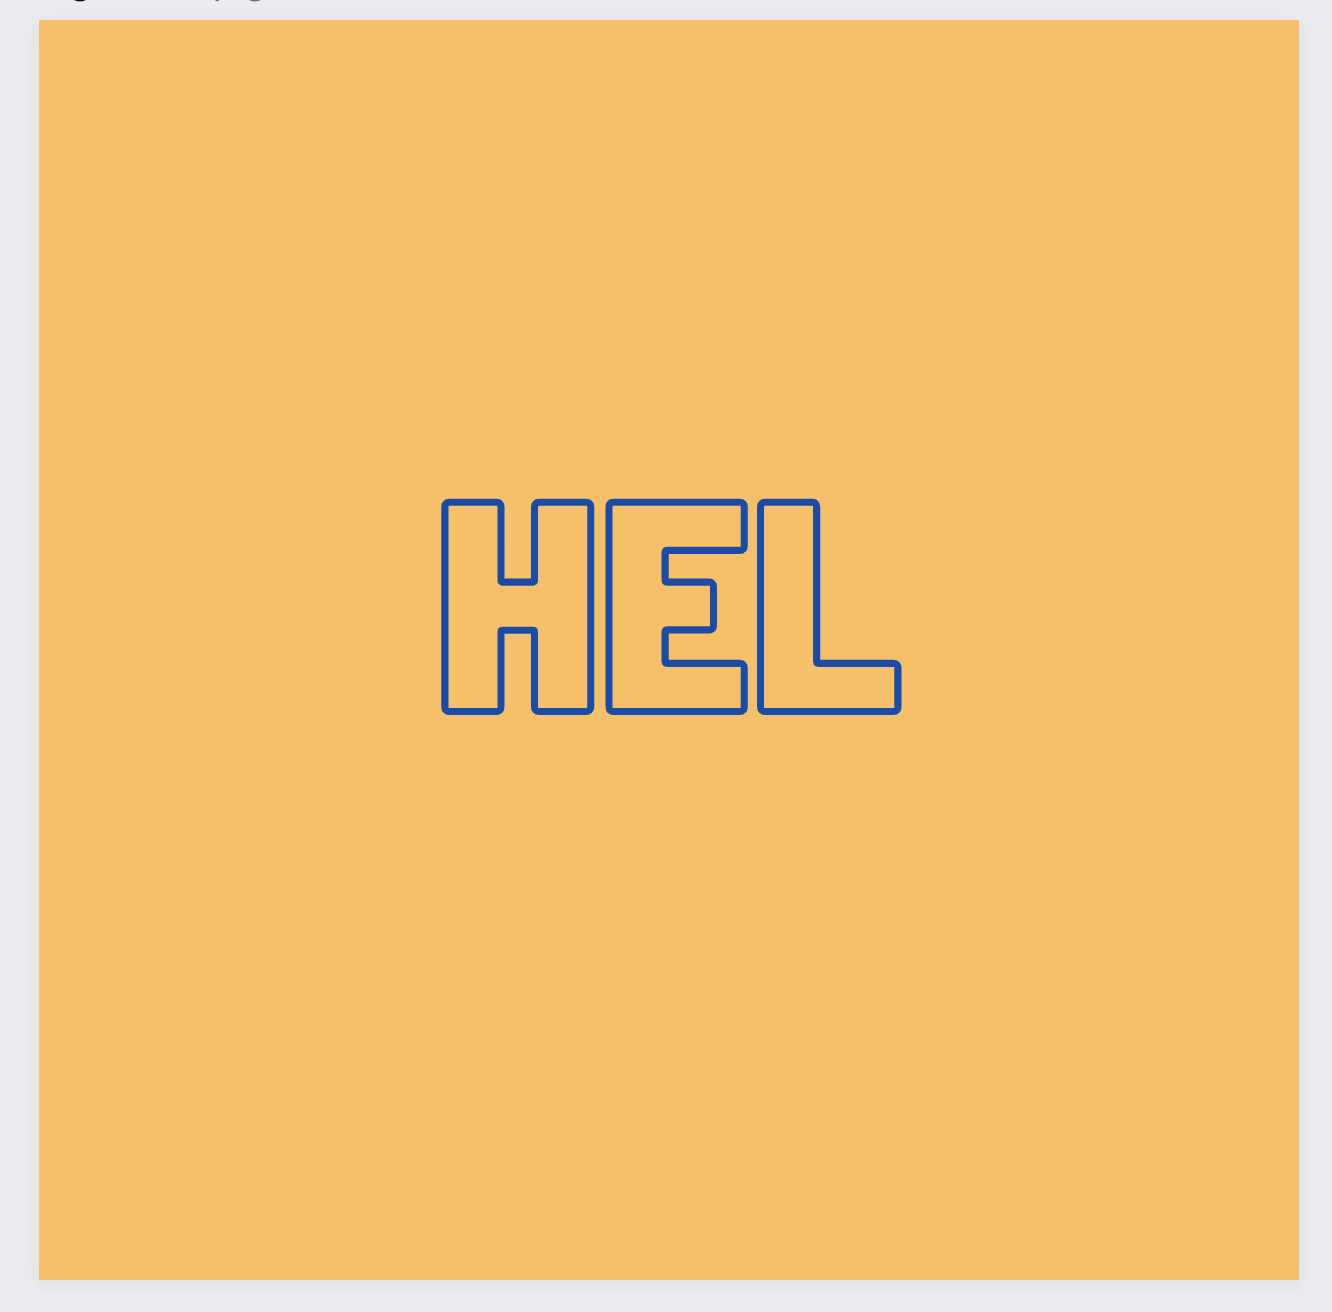
Set it to about 0.3 seconds and duplicate the page, in this case, five times because there are five letters in HELLO. Once you've done that go back to the first graphic and remove the last four letters, three in the second, two in the third and one in the fourth.
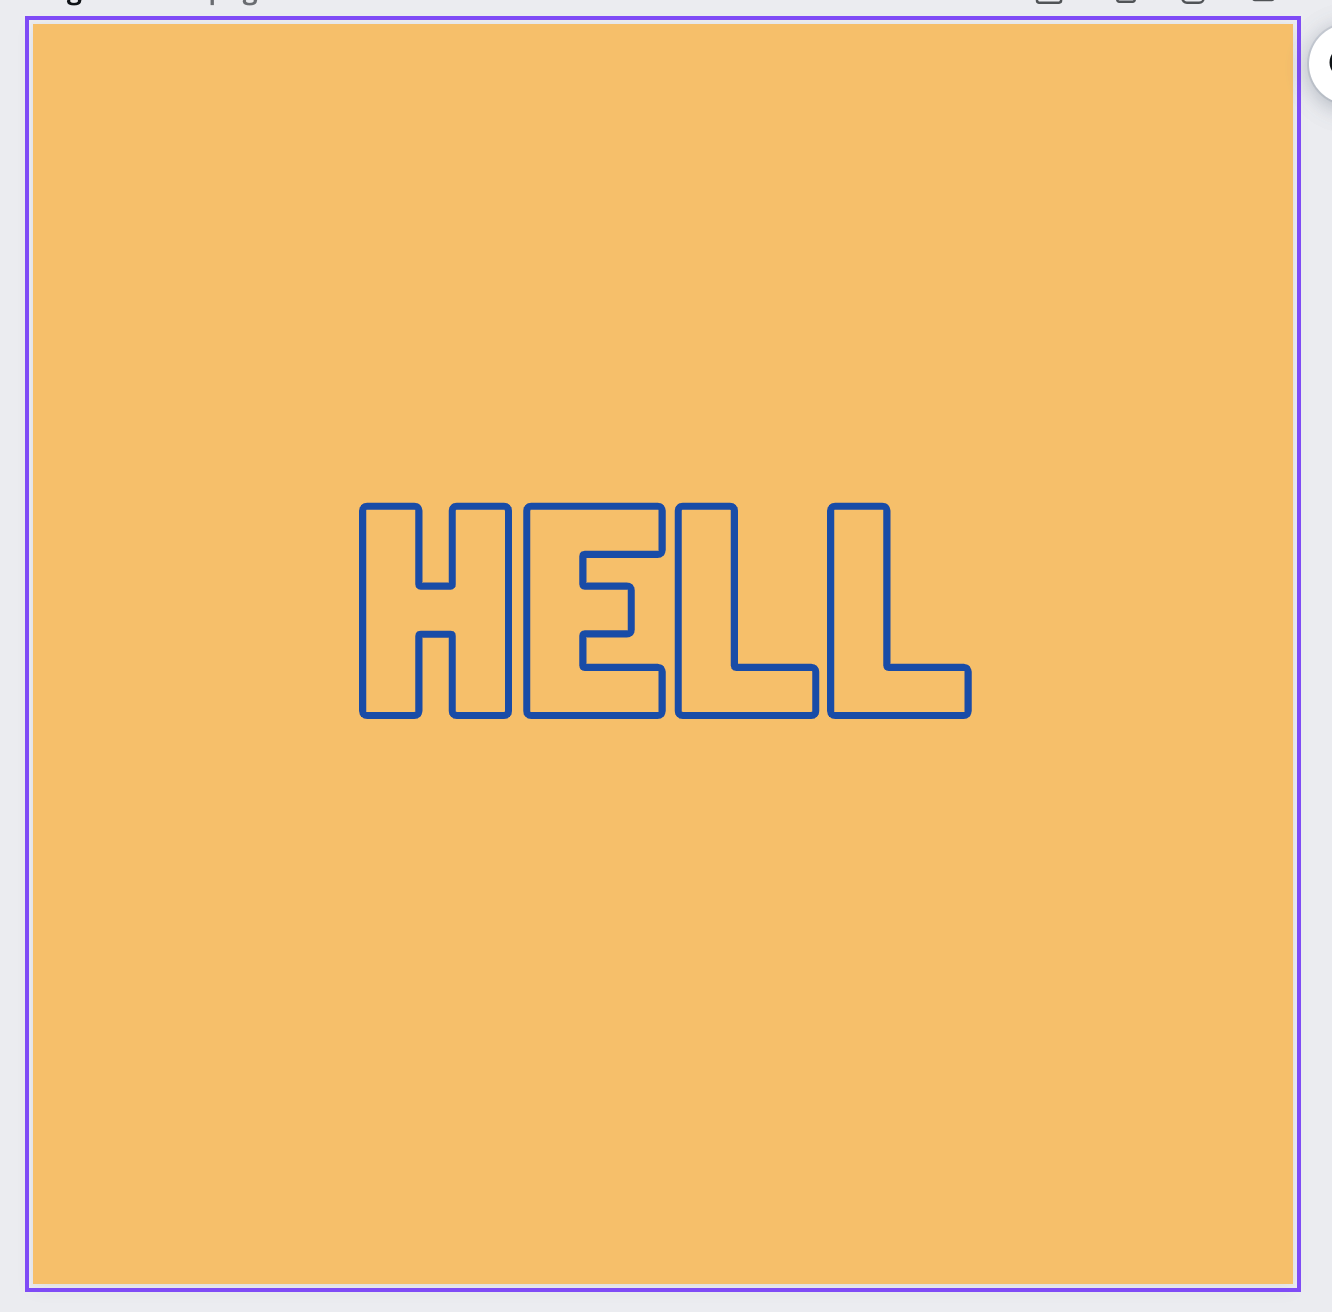
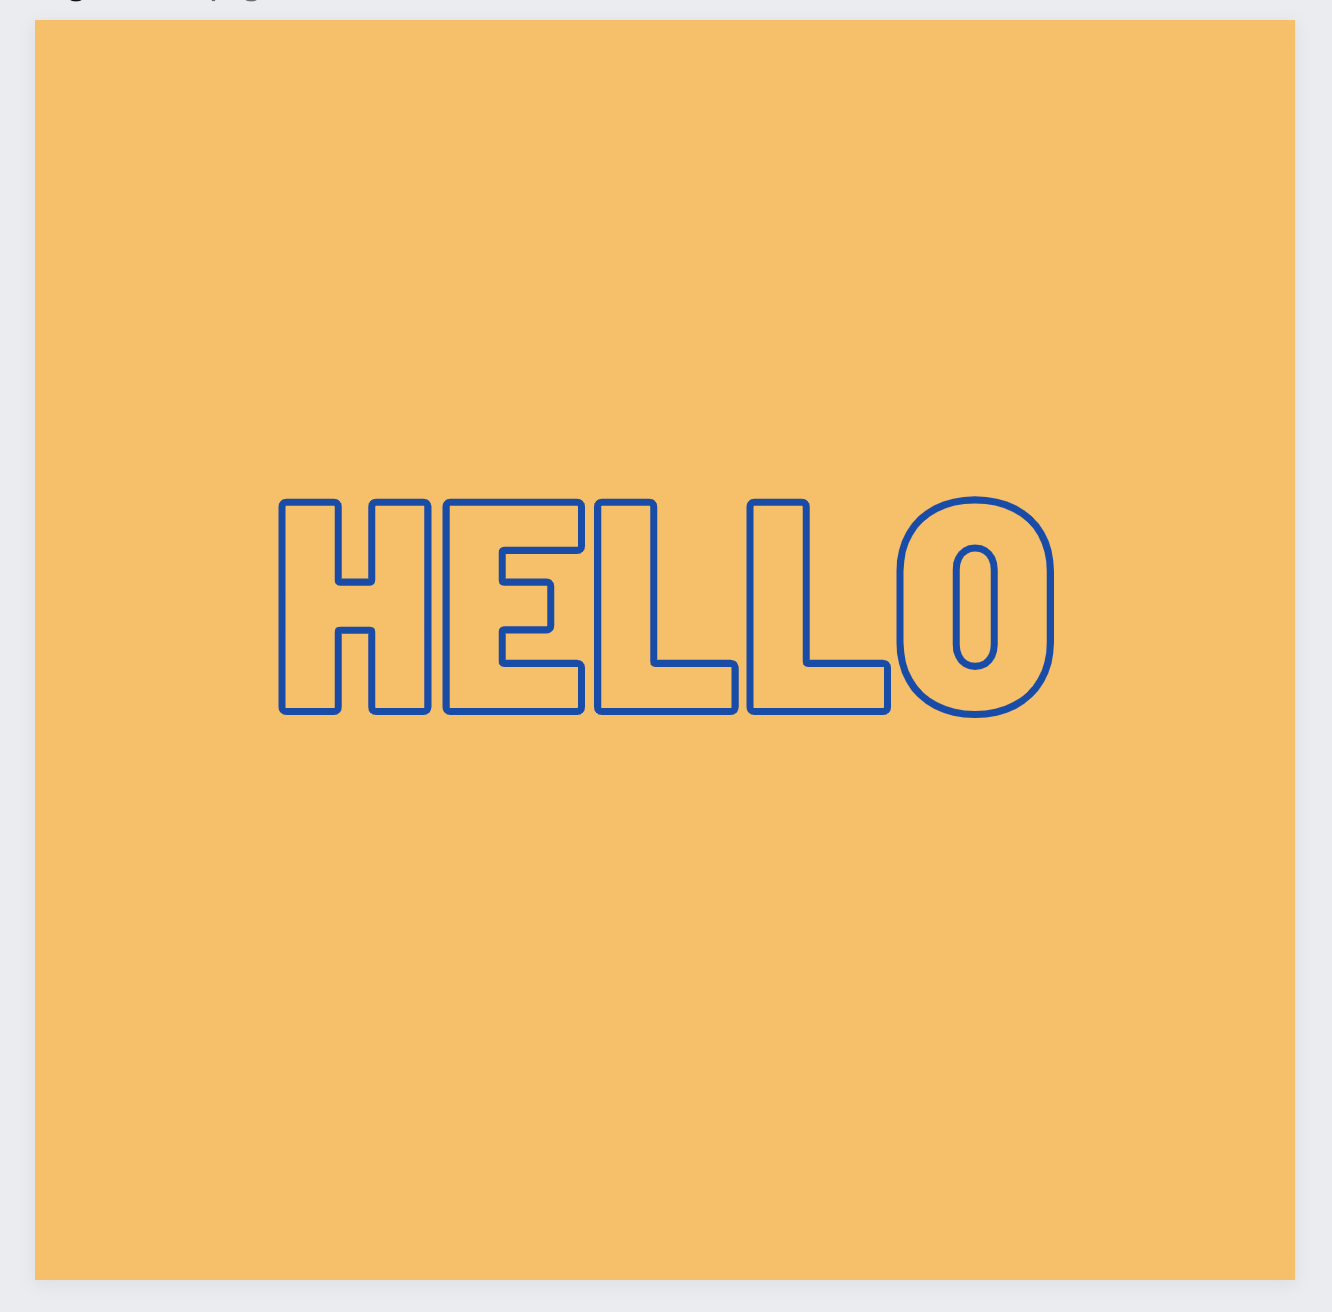
Then all you need to do is click on ‘Play’ to double check, then download as an MP4. It is now ready for you to upload it to where you want it to go.
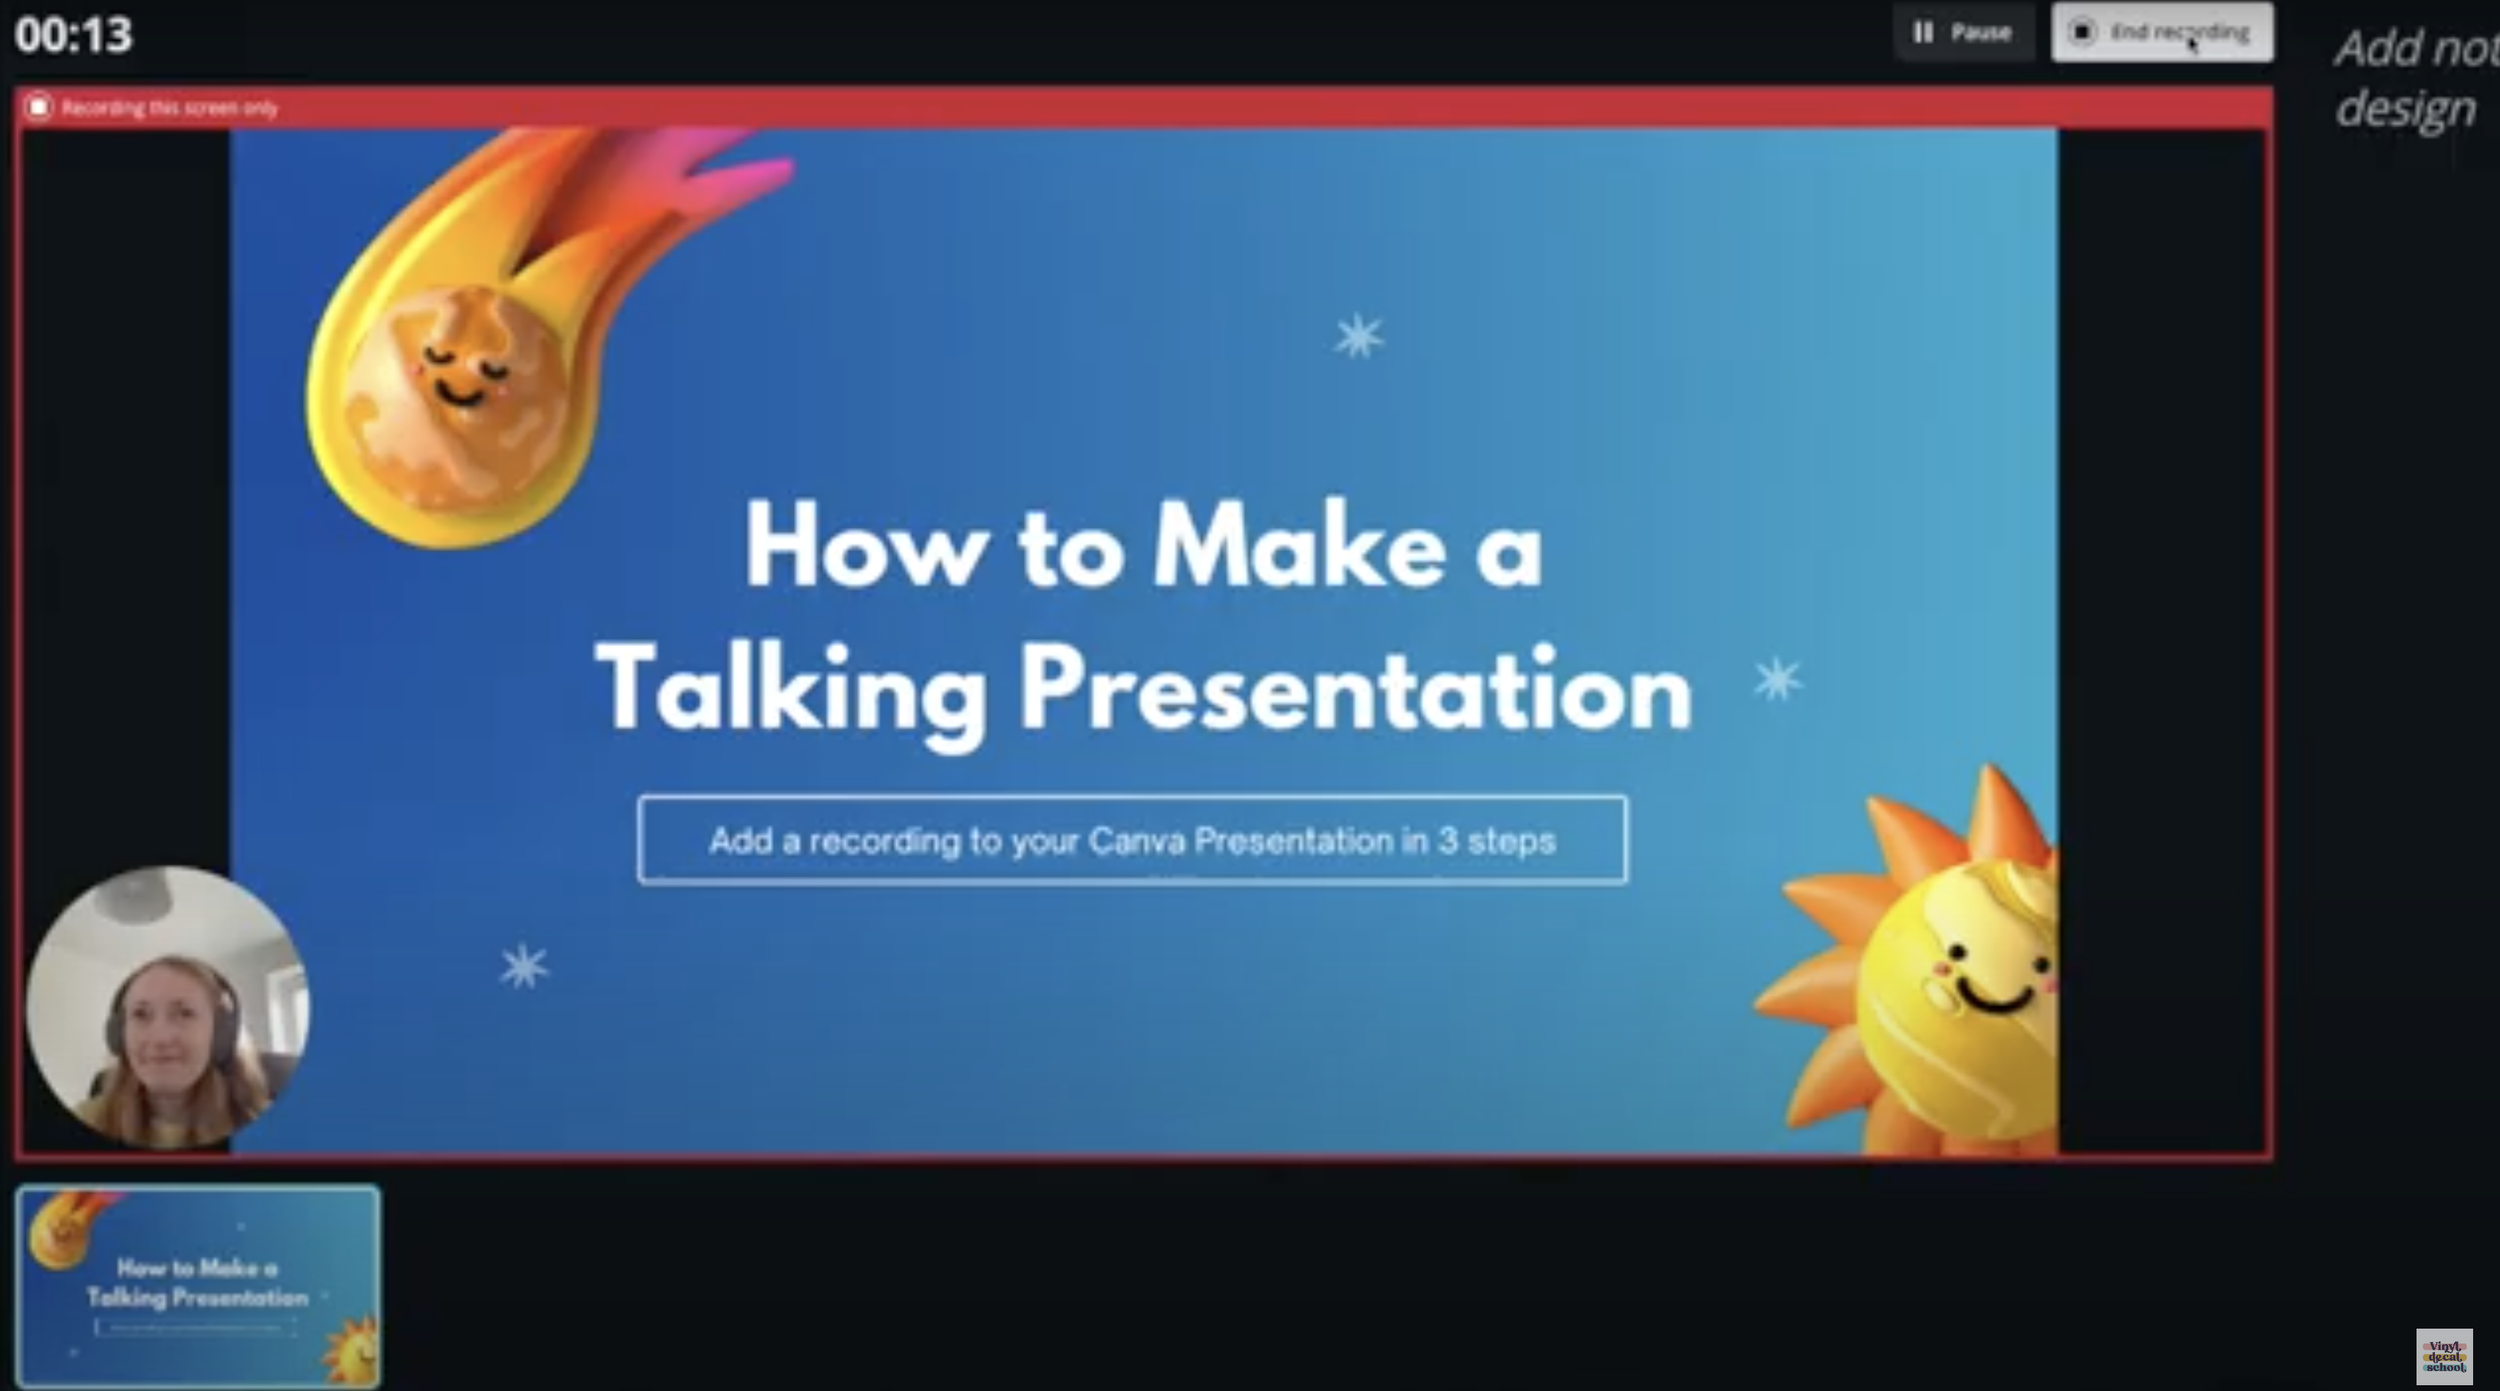
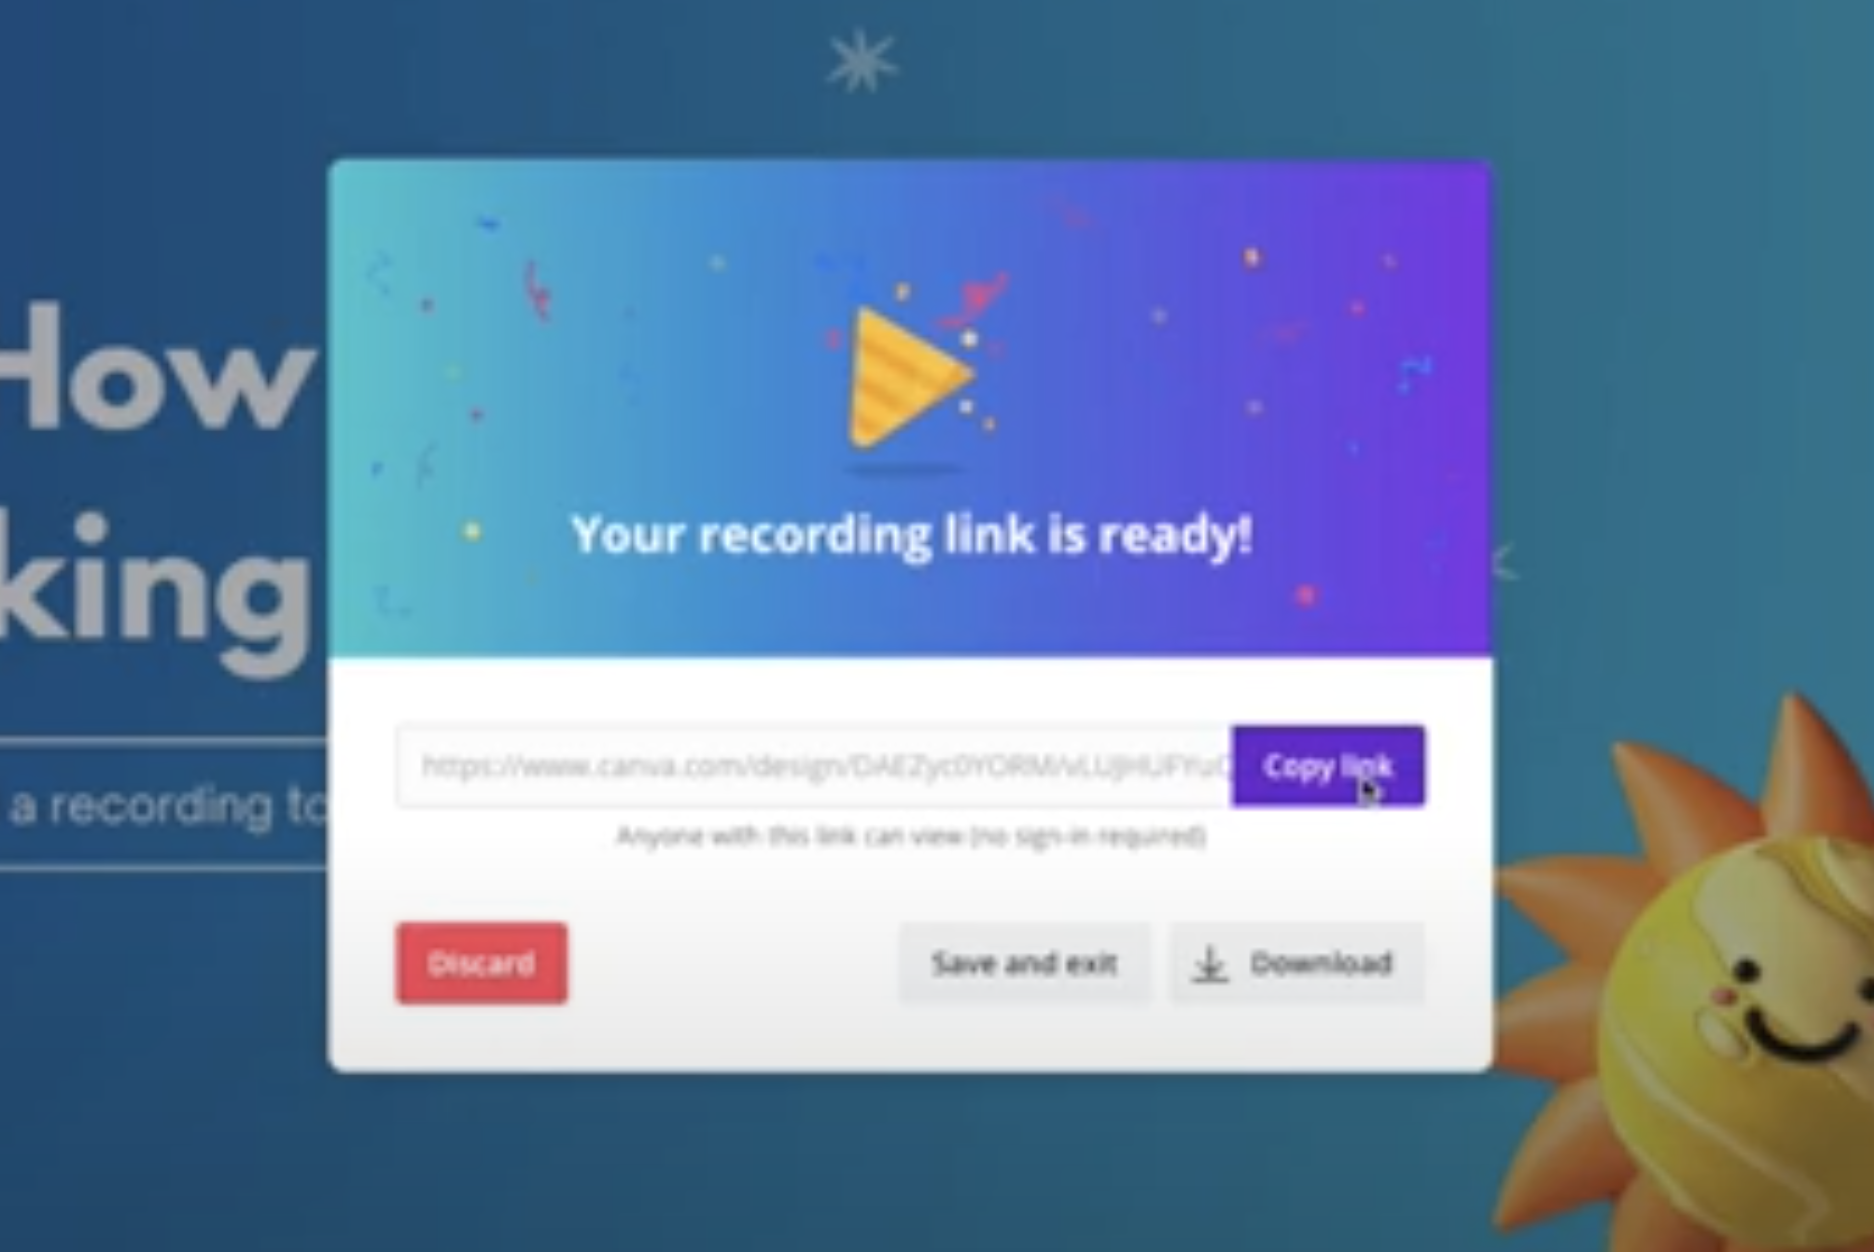
#10 Recording Presentations
Did you know you could now record presentations in Canva with a video of yourself talking the whole way through? Once it’s done you can share a link with others.
If you don't use Canva already, hopefully, this has persuaded you to use it. And if you do, then I hope you have learned some new tips you can use from now on to save you a bit of time, or to make some cool new things.
Do leave me a comment if you have any other great Canva tips because I'd love to hear them.
Thank you for watching and don't forget to ‘Like’ and ‘Subscribe’