

How To Restick Your Cricut Mat
Cricut mats can get quite messy and lose their stickiness after a lot of use, so I thought I would show you how to clean them up and re-stick them.
You can either watch the video…
The below content contains affiliate links and we may earn a commission if you shop through them, however, this won't cost you anything, it just helps us to keep the site running for free. For more information on affiliate links, see the disclosure here.
Or have a read below…
What you will need:
All-purpose cleaning product
Household sponge
Re-sticking product (I use Aleen’s Tack-It Over and Over liquid glue)
Small bowl
Make-up sponge
Kitchen roll
Step 1
Remove the cover from your Cricut mat and give it a generous spray with an all-purpose cleaner. I use an eco-friendly bathroom cleaner. Make sure not to use anything abrasive, as this will damage the surface and you won’t be able to effectively re-stick the mat again.

You may need to give it a bit of elbow grease to scrub all the dust and bits of paper off.
Step 2
Once you've got rid of the bulk I just use my Cricut scraper to remove the last little bits of paper and dust that won't come off. You're never going to get it absolutely perfect but just as good as you can get it.

Give it a wipe over again with the sponge and leave the mat to dry.
Step 3
Whilst your mat is drying give the plastic mat cover a wipe over with the sponge to remove surface dust that has accumulated. A helpful trick I learned is to then place a small sticker on one side of the plastic cover to indicate which way up to place your cover onto the mat. This prevents any dust gathered on the front surface from being transferred onto the mat itself.
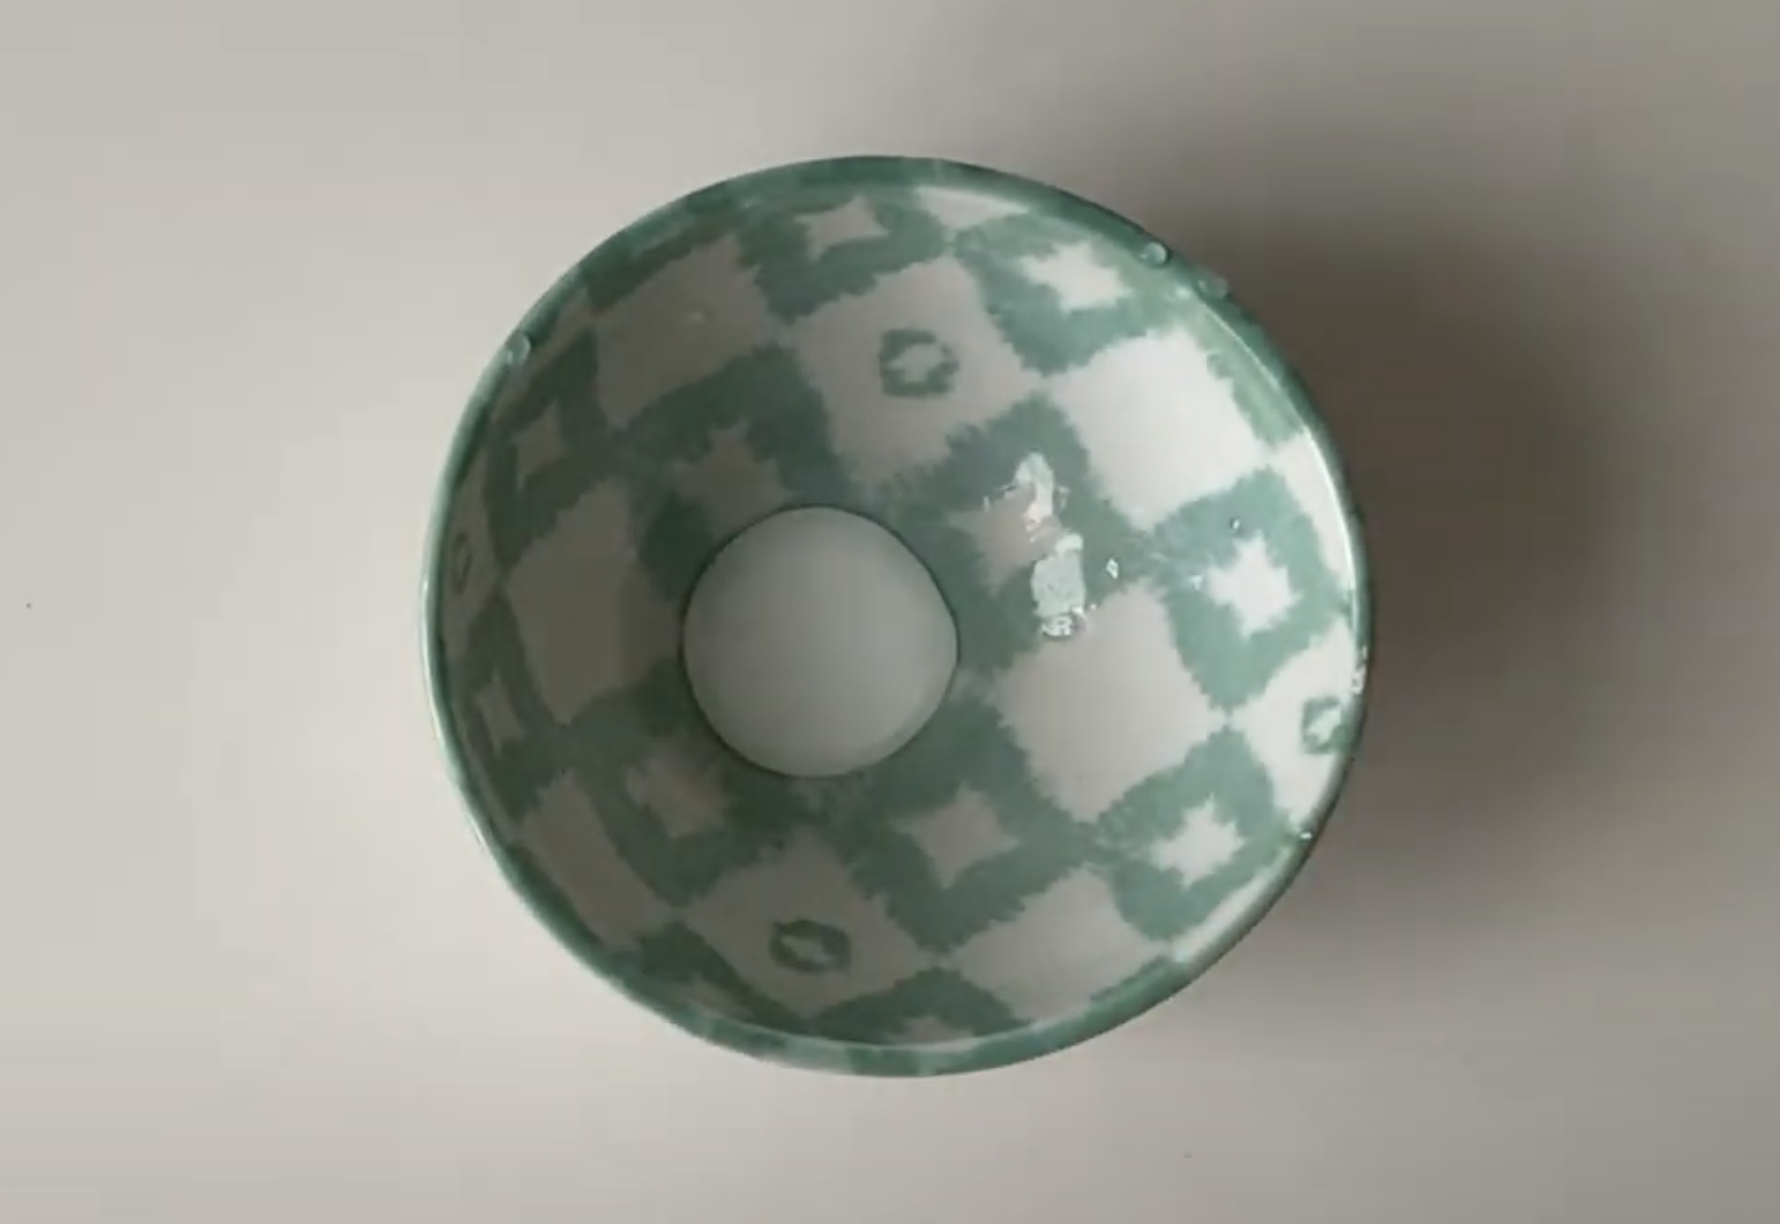
Step 4
Pour a small ball of your glue into your bowl and add a few drops of water, just to water it down a bit. Mix it with your make up sponge.
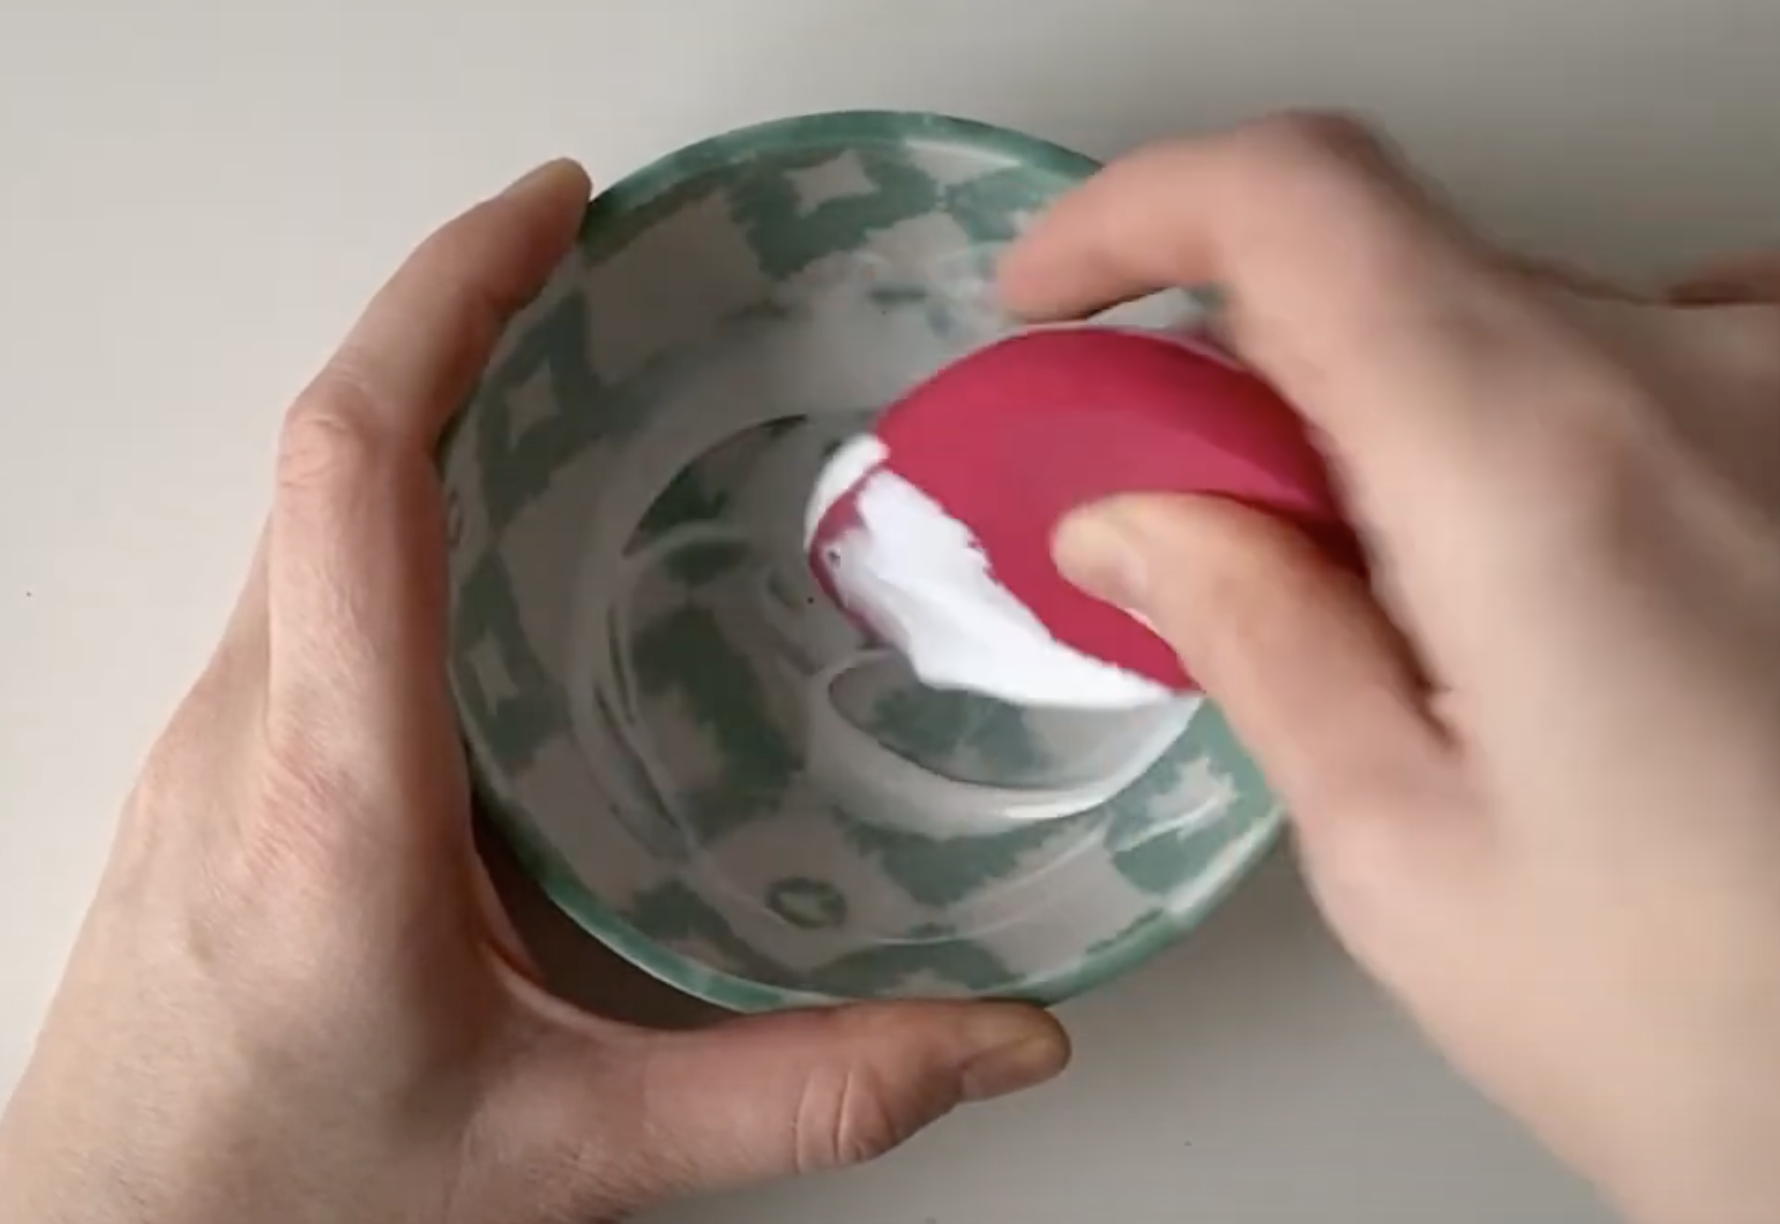
Once the contents have been thoroughly mixed together apply a thin layer to your mat. Make sure you cover all of the mat and get it in all of the corners.
Next, go around the edges with some paper towel to remove any excess so that the glue is only inside the checked lines (to prevent it from sticking to your machines).

Have a feel around the edges to make sure it is free of any glue and use a wet sponge to remove any remaining glue if necessary. The mat should feel a bit tacky to the touch.
Clean up your tools and once your mat is dry you can replace the plastic cover.
You do have to take care with your next couple of projects as the mat will be very sticky. For the first few cuts, it's always better to bend the mat away from the project if it's really sticky rather than trying to pull the vinyl or card from the mat. This will help prevent your project from tearing.
And to get as much use out of my mats as possible I use the top section of the mat for as long as I can and then spin it around and use the bottom section.
I hope this was helpful and please remember to like, subscribe and follow my videos for more content like this.
Let me know in the comments if there are any other tips or tutorials you would like me to offer.
Get my FREE BEGINNERS VINYL CHEAT SHEET guide and if you don't have a cutting machine yet, check out the latest deals here for a CRICUT and SILHOUETTE.